Week 6-Meshing of Hood Challenge
Objective-
Follow the below-mentioned quality criteria, mesh the component given below and assign thickness:
Target Element Length = 5 Units
| S.N | Quality Criteria | Value |
| 1 | Aspect Ratio | 5 |
| 2 | Skewness | 45 |
| 3 | Warping | 15 |
| 4 | Taper | 0.5 |
| 5 | Min. Length | 2 Units |
| 6 | Max. Length | 8 Units |
| 7 | Min angle Quad | 45 |
| 8 | Max angle Quad | 135 |
| 9 | Min angle Tria | 20 |
| 10 | Max angle Tria | 120 |
| 10 | Tria % | 10 |
Procedure-
1.Import the given model in Hypermesh
2.Delete the solids.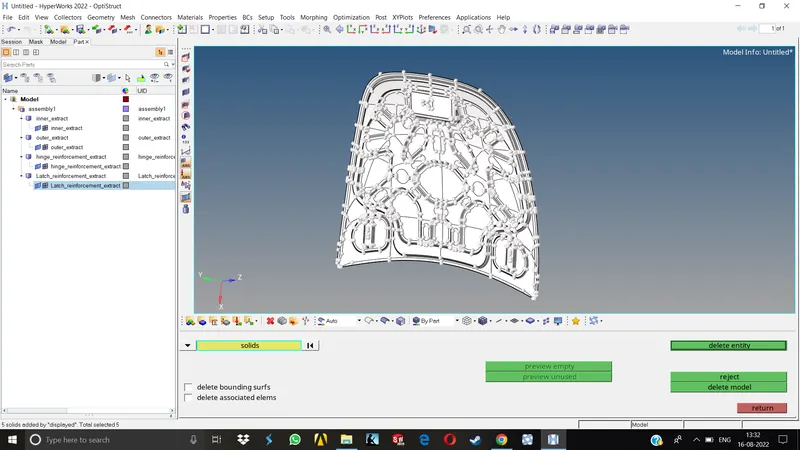
3.Check for any free edges or duplicates before proceeding for midsurface, the mid wont be accurate if there are free edges in the parent geometry.Deal with them first and then go for midsurface extraction.
4.Proceed for acquiring the midsurface of the components one by one. Go to Geometry>Midsurface & select the proper method for auto extraction. As all of the components are sheet metal & having uniform thickness, we'llgo for skin offset option. Then select the surfaces and hit extract. The midsurface will be extracted automatically.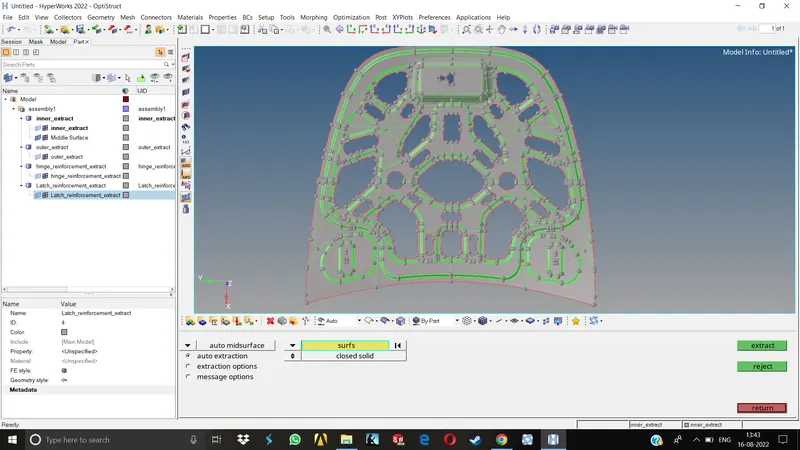
5.As most of the components here are having geometrical symmetry, we will delete the other half of the surfaces having the symmetry and then work on it.
6.Deleting half of the symeetrical surfaces will allow us for faster and symmetrical meshing on the component. We will reflect the surfaces back along with the elements.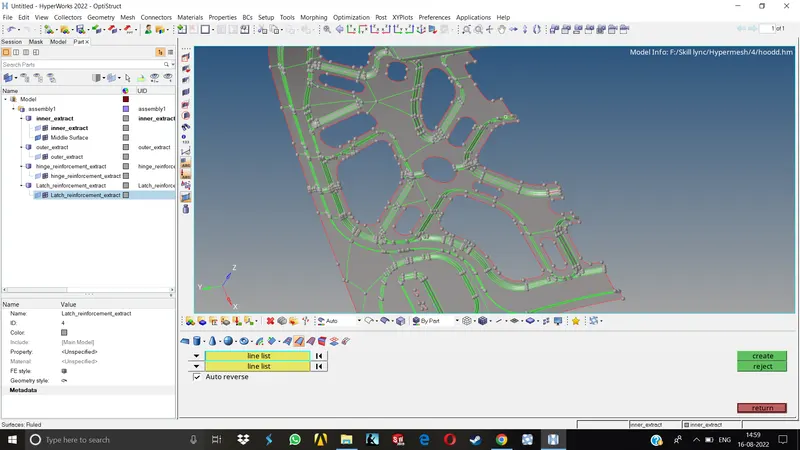
7.We will be toggling the edges where the mesh might fail for min or max element length as well as for all the other quality criterias and making various cuts on the surface for the mesh to follow a proper flow.
8.For toggling the edges go to Geometry>quick edit>toggle edge. Most of the tools required for necessary operations for editing the surface are present in this quick edit & edge edit menu.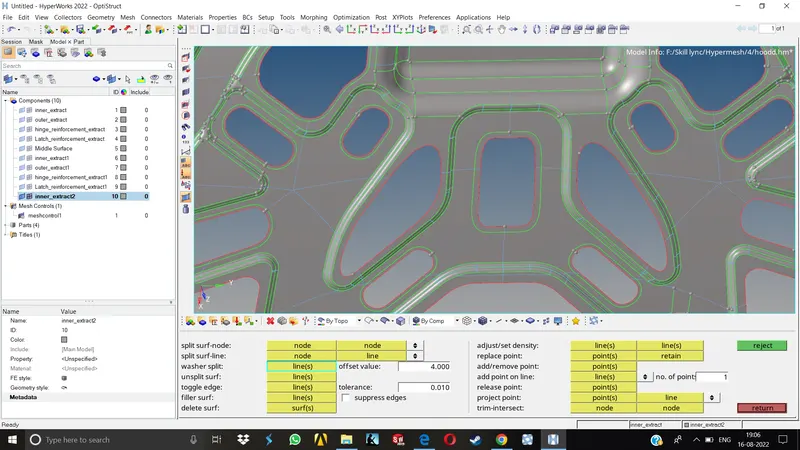
9.For creating the cuts on the surface, we might need to create new points on the surface in some cases where there are no points.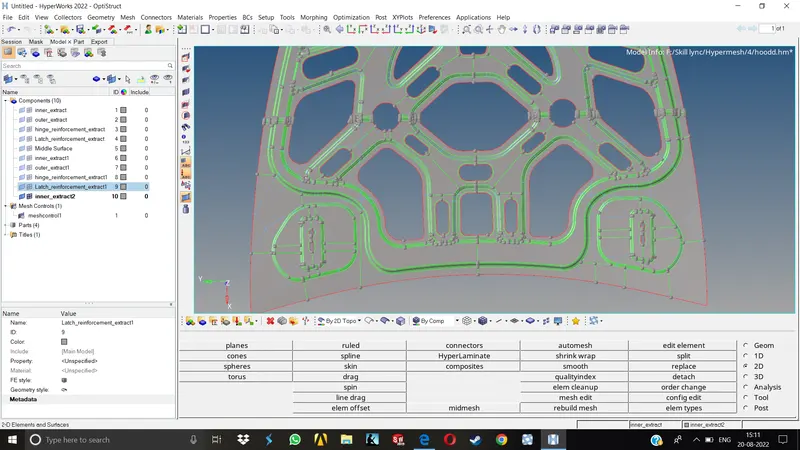
10.By using the same quick edit menu, we can perform the same operation for the rest of the components.
11.Once the surface is prepared , we can now move on to meshing the components one by one.
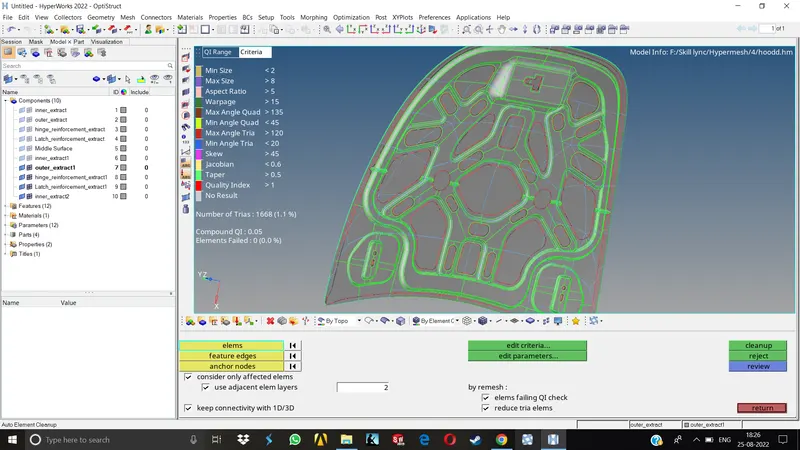
12.Before we start meshing we need to make sure that the quality criteria is set up properly. Go to 2D>Element cleanup>Edit criteria. A window will pop up showing all the current criteria settings. We need to set these values as per our requirement one by one.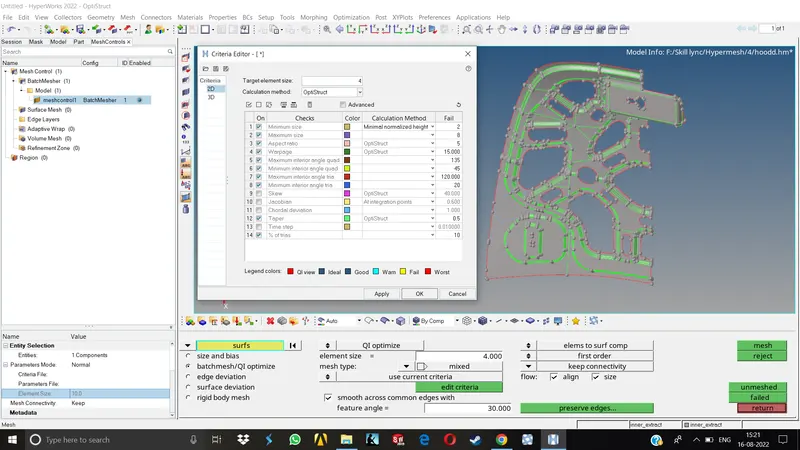
13.Once the quality criteria is set, we can move on to mesh the component Go to 2D>Automesh. Click on Surfaces and select the particular surfaces on which we want to mesh.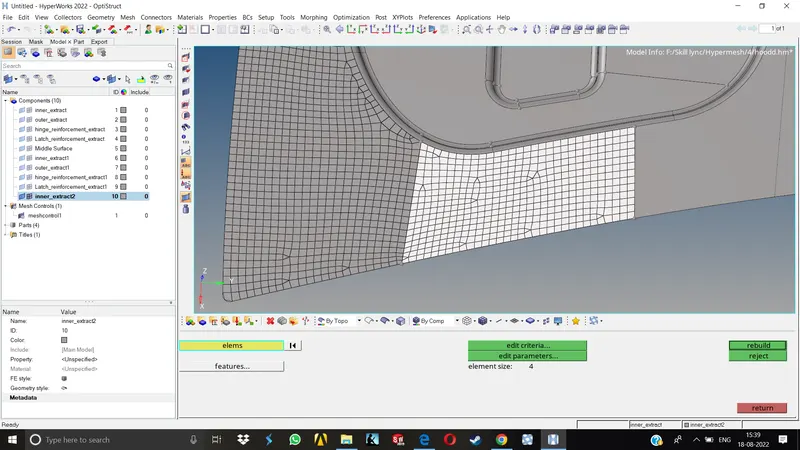
14.We might need to adjust the no. of nodes after meshing a particular surface to get rid of some avoidable tria elements and improve the mesh flow.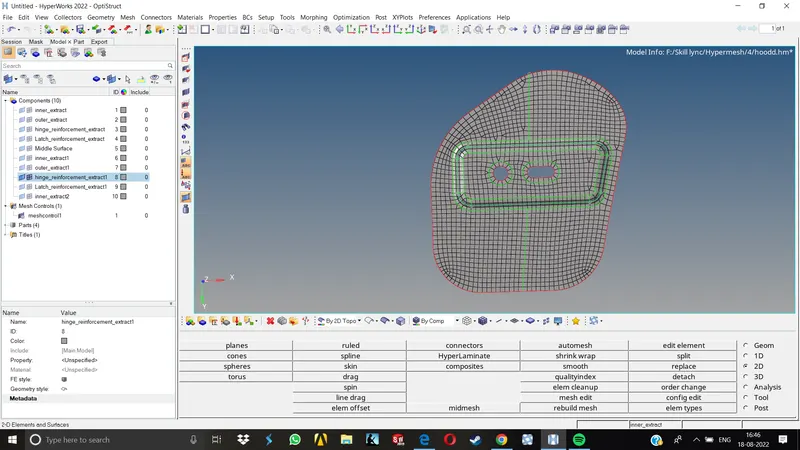
15.Once we mesh all the surfaces in the component, we need to look for qaulity errors, for that go to 2D>Element cleanup & it will show you the no. of elements failing for different qualities. Here, we can select all the elements and perform a cleanup to resolve those errors automatically. If they dont resolve automatically, we need to take care of them manually by going to quality index and using different options there like Node optimize, element optimize,swap edge, combine or split elements,etc.
16.Once all the errors are taken care of, we have to make sure that all the components have been assigned property & proper thickness. We need to create new material first then assign property and thickness to all the components.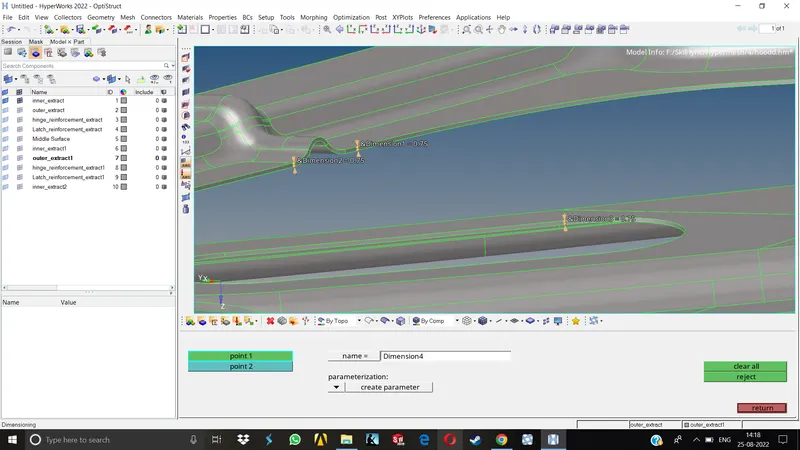
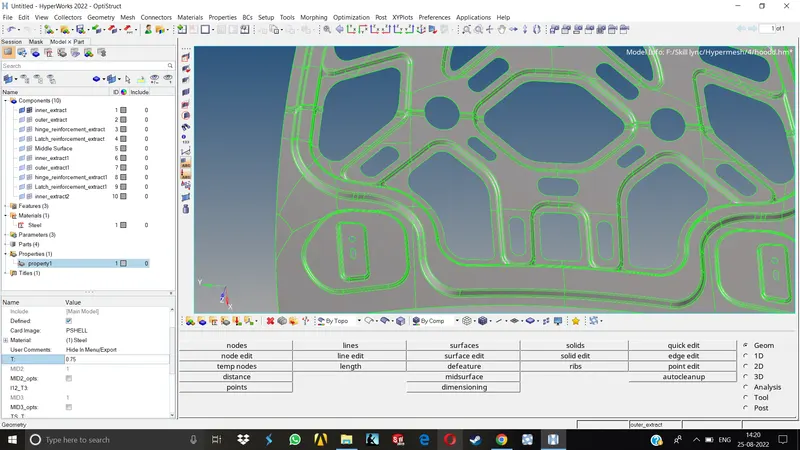
17.After assigning property the model is ready.
Results-
In this particular challenge we have learnt to extract the midsurface, performing topology cleanup, preparing the given model for meshing, meshing the model according to given quality criteria and taking care of the quality errors both automatically and manually.
Final model images-