Week- 5 - Solid meshing
Aim-
For the given Rear view mirror component, check for the geometrical errors and mesh the Surfaces with the given 2D element Quality criterias given below.
|
S.No |
Quality Criteria |
Value |
|
1 |
Target/Average length |
1 |
|
2 |
Minimum Length |
0.5 |
|
3 |
Maximum Length |
2 |
Use tetra elements to mesh the Volumes defined in the model and check for the below quality after Volume meshing.
|
S.No |
Quality Criteria |
Value |
|
1 |
Tet collapse |
0.2 |
Procedure-
1.Download the given model and open it in ANSA.
2.Delete Unnecessary hot points (Topo>Hot points>Delete) and give a TOPOLOGY (Topo Module> Faces>Topo) function to all the geometry.
3.Now All the surfaces will be stitched and double cons will be visible in the place of single cons.
4.Perform the geometry check for the given model Tools>Checks>Geometry.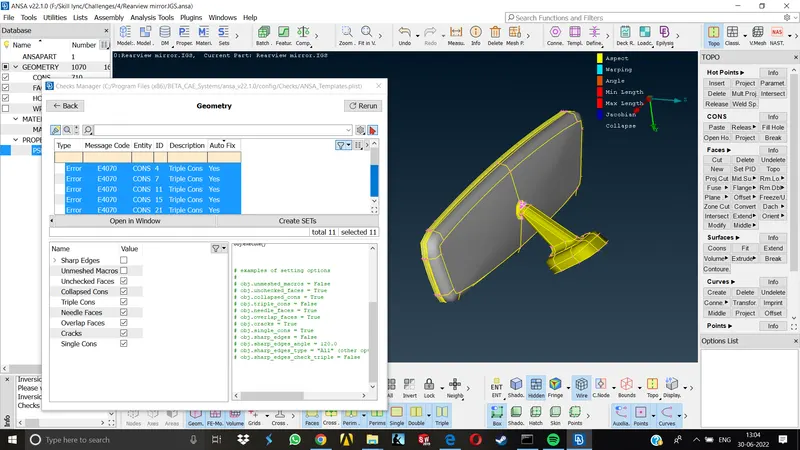
5.Resolve all the geometry errors.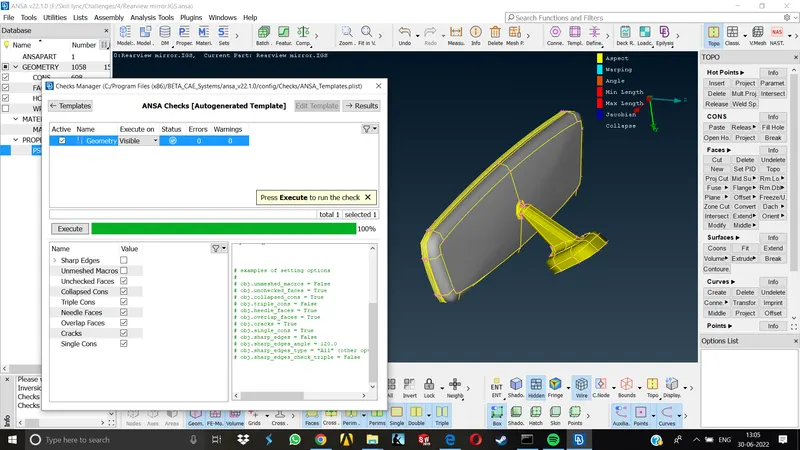
6.Now we can prepare the model for meshing, goto Mesh module>Perimeters>Length and set the length for both perimeters and macros as specified,here, Avg legth is specified as 1mm.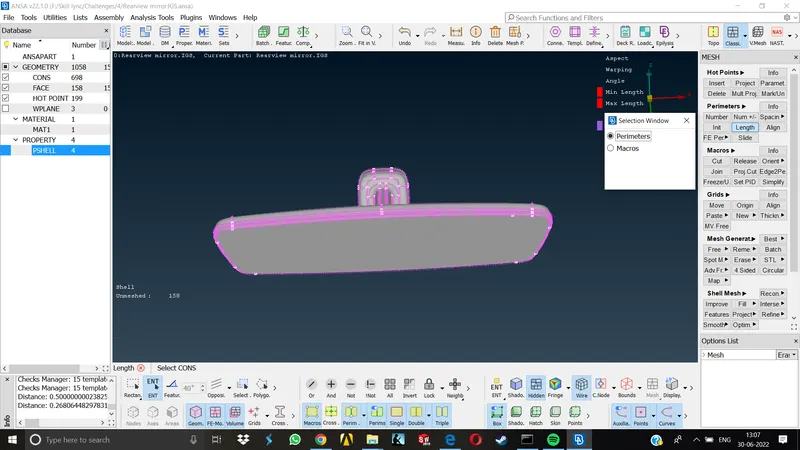
7. Now, as this model has very small feature areas, instead of manually defeaturing, we can batch mesh the component and ansa will automatically defeature where necessary.
8. For initiating batch mesh goto Tools>Batch mesh or simply click on batch mesh directly on shortcut tab, now go to New> Meshing Scenario we can see the contents tab is showing there are 0 contents.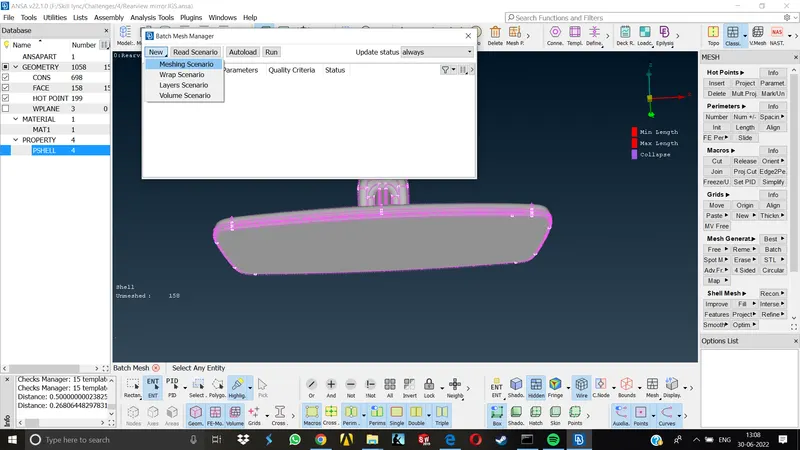
9.Now we can double click on the 0 and a new window will pop up showing the contents available,we can select the geometry to be meshed and click on the green arrow, it will be transferred into the contents tab.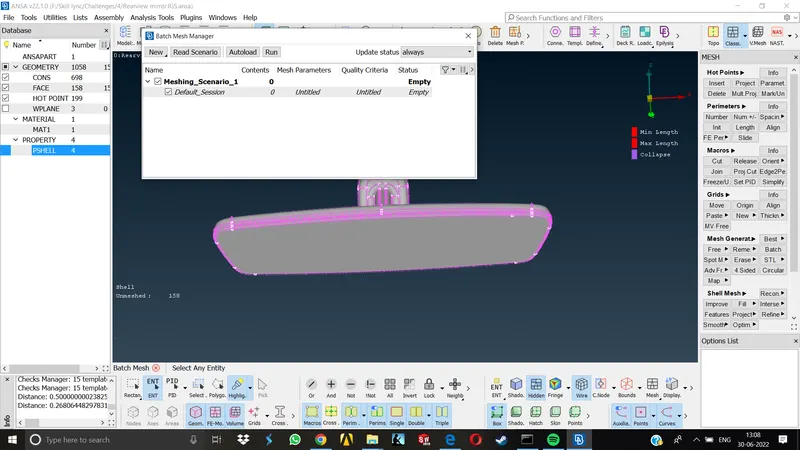
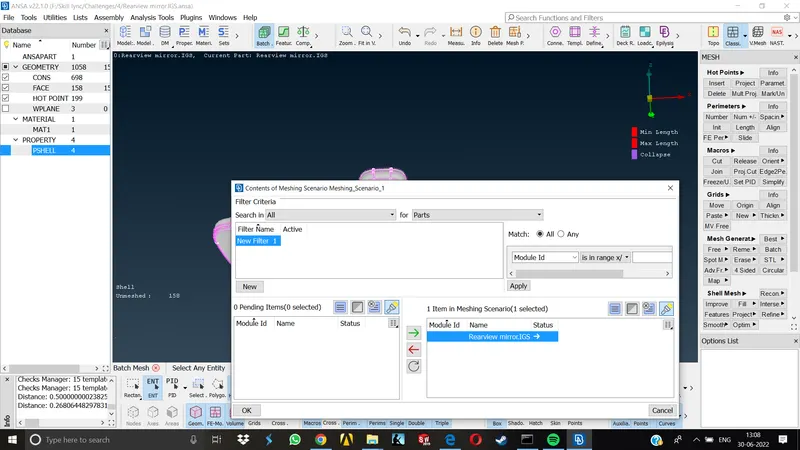
10. Now, the Batch mesh manager will show the available contents as 1. We can directly set the mesh parameters and Quality criteria from here by double clicking untitled below mesh parameters and QC respectively. (set target length 1,min length 0.5,max length2,turn on tet collapse by going to solids and set value as 0.2)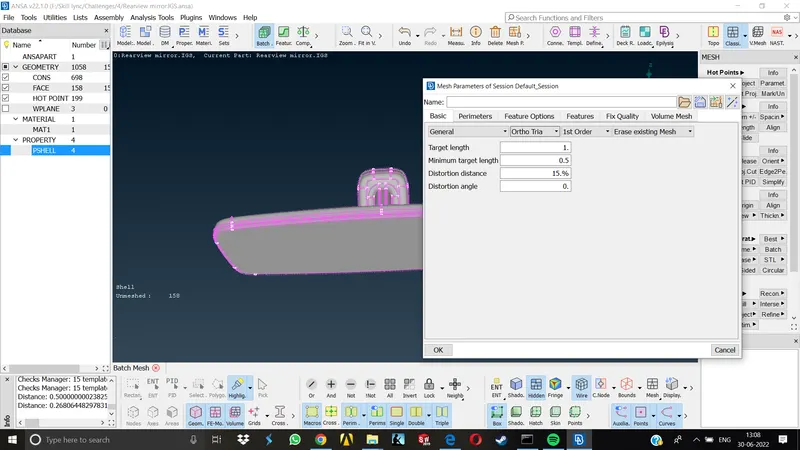
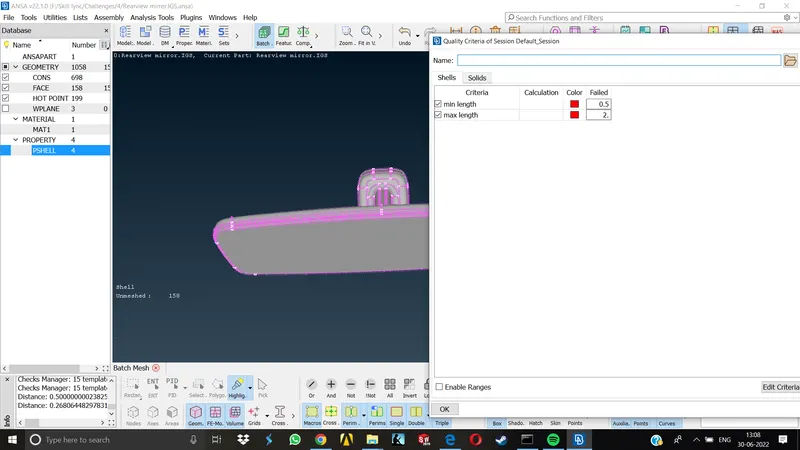
11.Once the QC and Mesh parameters are set we can give RUN command to initiate 2D meshing and ansa will mesh the geometry.once its completed check for off elements and resolve if any.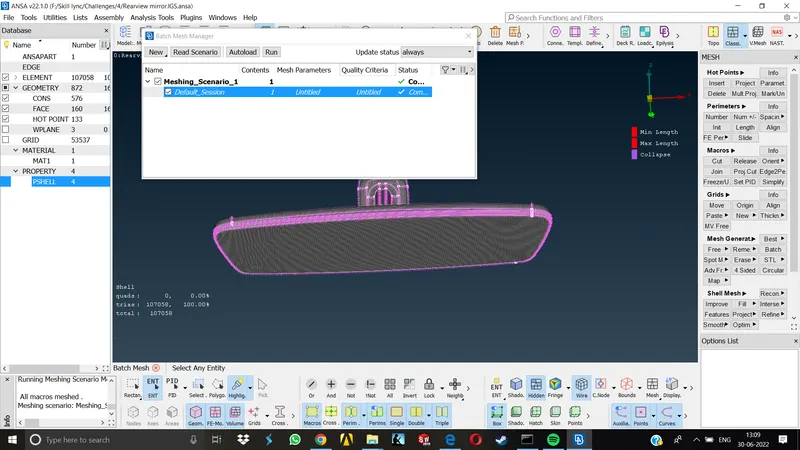
12. Now we have to assign a new volumetric property by going to Volume mesh module>Volumes>Define>Select the geometry now we can see in the bottom left corner that a new volume has been created.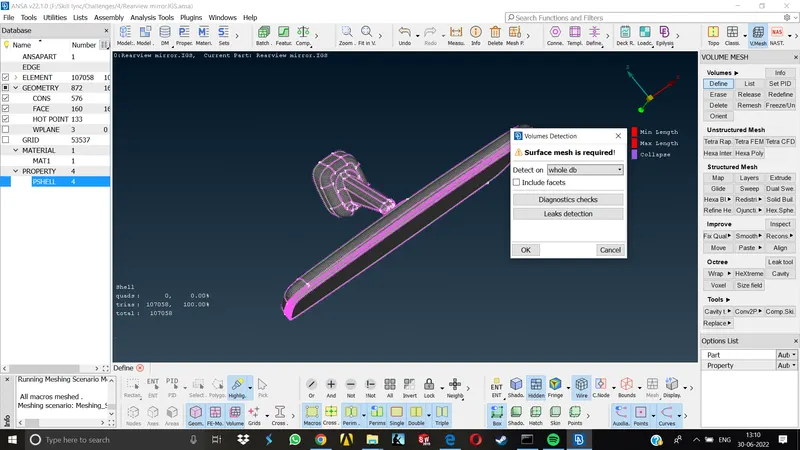
13. We can also verify this is created or not by going to property card window and it will show separate properties as PSHELL and PSOLID for solids.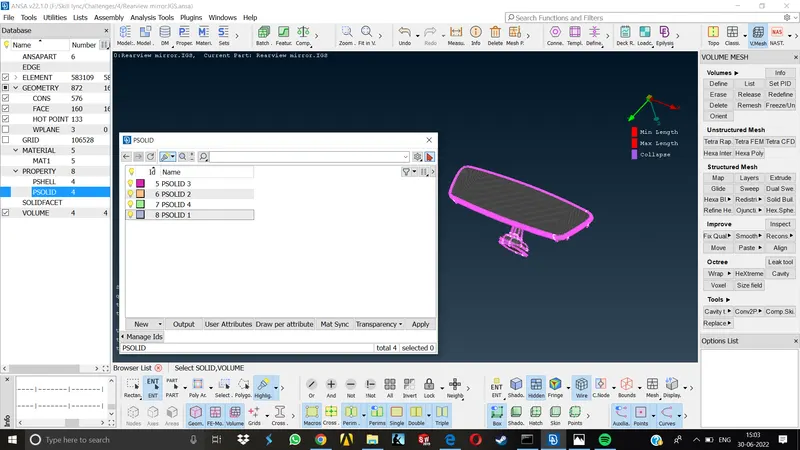
14. Now we can go ahead and start 3D meshing.
15. Go to Volume Mesh> Unstructured Mesh>Tetra Rapid/Tetra FEM>select the volume. Now volume mesh will be completed here.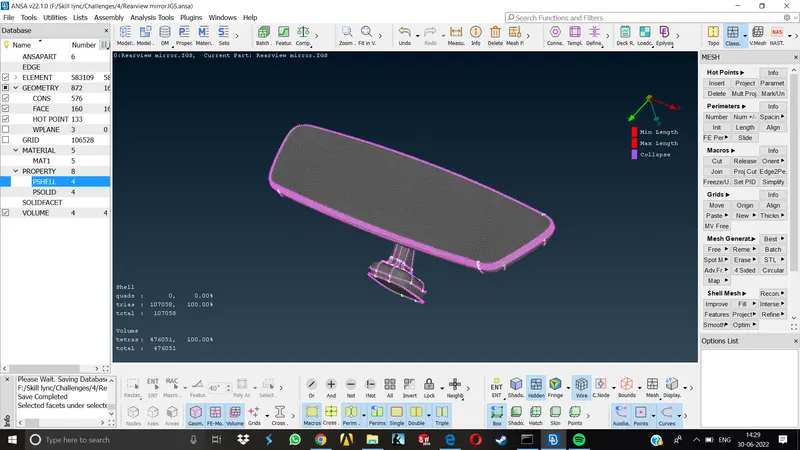
16. Last step is to check for off elements, any kinks or dents on the model and resolve every error.
17. Once all errors are resolved, Our model is ready.
Learning Outcomes-
1.Basics of Orthotria and simple Tria elements
2.Basics of Tetra elements, how to volume mesh the given model
3. Basics Of Batch Meshing
4. Basics of volume meshing
5. Dealing with the collapsed Tetra elements
Above things were new for me, but after practicing them on practice models, attempting the challenge was easy.
Conclusion- As i have learned some new things as mentioned above, with a little bit of more practice, I will be able to perform volume meshing on basic models. Also the basic steps to approach any model uptil now is pretty much the same. As we dont need to extract the midsurface of the given component in volume meshing, its a little bit easier to perform volume mesh.