Hood design-Week 2
Aim :- Design Hood outer panel, inner panel and the necessary reinforcements by following the Master section mentioned with the design parameter . an assembly of Hood inner panel, outer panel, latch, hinge and the reinforcements
Theory :-
a Hood is the hinged cover that rests over the engine of a front-engine vehicle. Its purpose is to provide access to the engine for repair and maintenance. ... Car hoods are typically constructed from steel and aluminium.
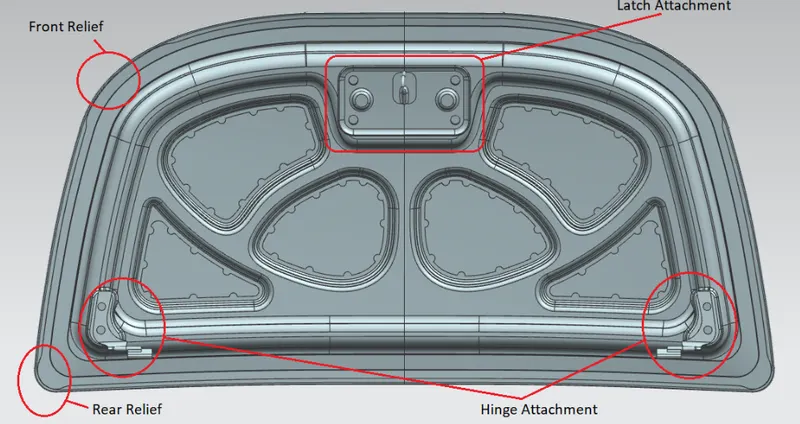
it consists of outer and inner panel having hinges that holds the hood to the car body and allows moment during opening and closing of the hood .
striker is a mechanical component that holds/locks the hood to the car body while closed. it acts as holding or locking mechanism and is placed in the front part of the hood.
here the outer and inner panels of the hood are attached together by hemming process and mastic sealant is applied
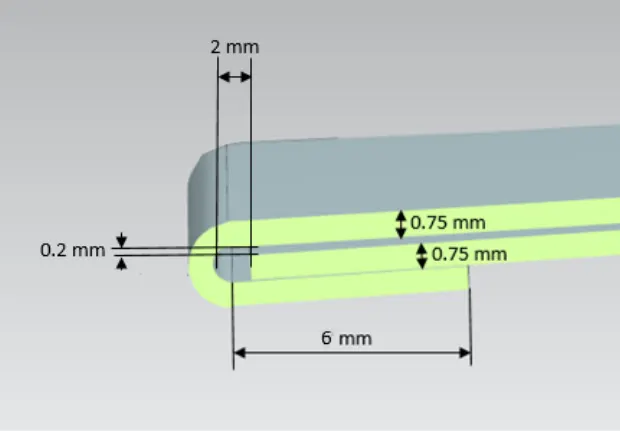
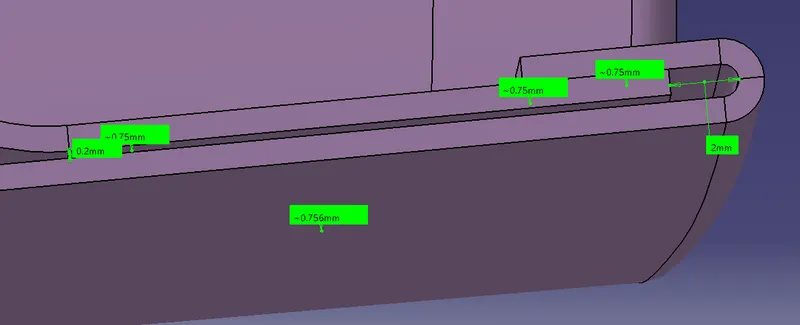
Hemming and edge releif are operations where the edges of the hood sheet are folded over other sheet to get the tight attachment- fitment. it affects the appearance and surface of the body.
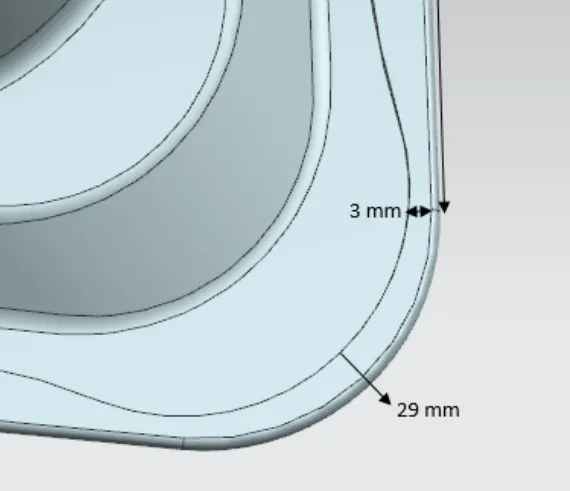
some part of the sheet is removed in convenient design to provide edge reliefs.
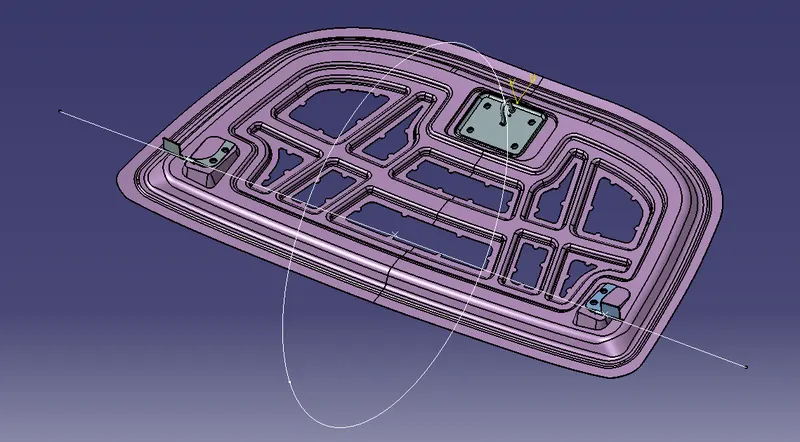
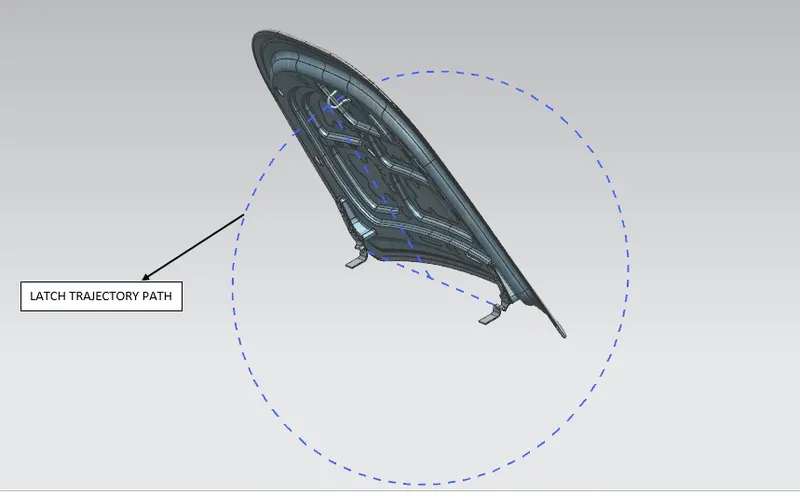
Latch trajectory by using the axis of the hinge alignment a circle is drawn through the mid point of the axis making it tangent to the axis parallel to the striker. to ensure proper and accurate placement and movement of the hood.
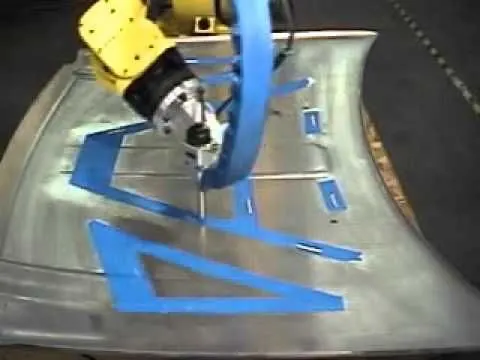
Mastic seal - it is a kind of elastic sealant the firmly attaches the hood outer and inner panels, being flexible and also providing firm attachment.
Embossing- the main aim of embossing process is to create stiffness to the panel by removing some parts of the hood sheet , it is a stamping process where sunken or projections are made on the inner panel which provide stiffness. also the embossing is created in such a way that the frontal impact deviates the force away from the passengers during collision.
hood opening angle is considered as important factor and the standard varies between the countries based on the average height of the person.
Given hood dimensions -
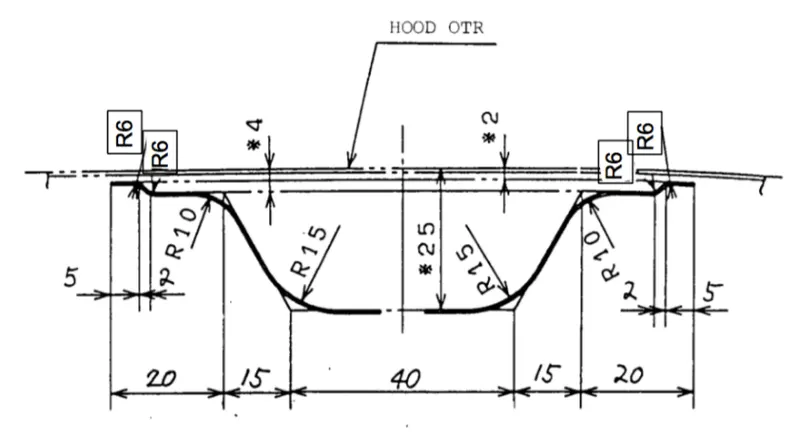
master sketch
hemming data
corner relief
Procedure :-
- according to the given master sketch the given surface is considered for reference. using split command divide the half symmetry portion of the hood while the other half can be reflected through the axis reference.
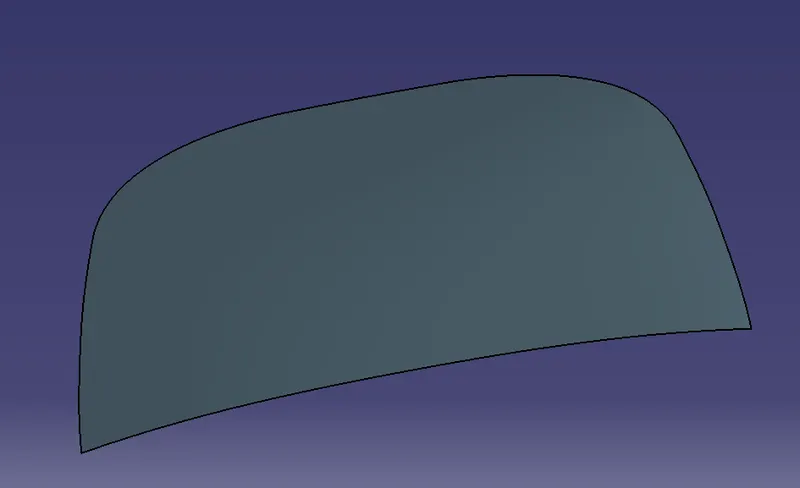
- off-set the surface to 2mm considering the design rules and using the boundry extract option extract the boundries of the model and by using parallel curve option offset the boundry curve accordingly and extrude the parallel curve and trim off the unwanted sheet .
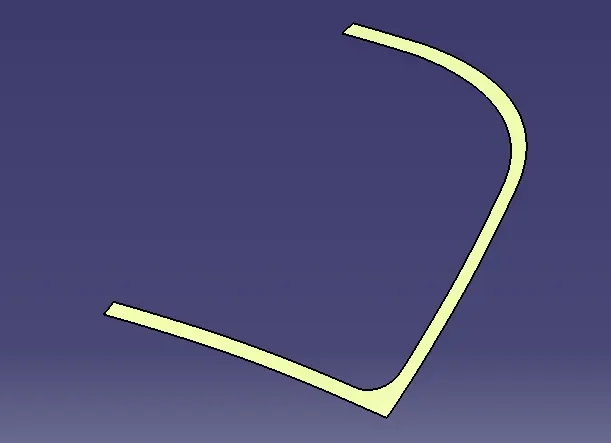
- similarly perform the same procedure following the master sketch dimensions of the next layer and trim off the unwanted sheet . the off-set is taken as 4mm
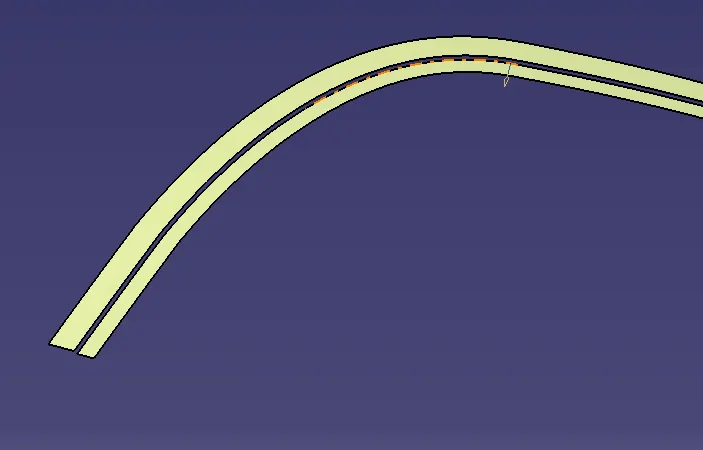
- now make the attachment between them using the multisection surface optiona and add edge fillets with the given master sketch measurement data. offset the first surface similarly with the value and using boundry-parallel curve option extrude the parallel curve and trim off the unwanted portions .
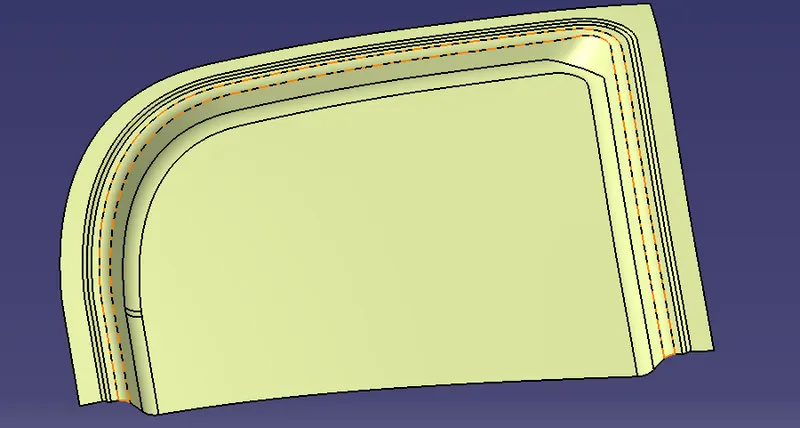
- create a sketch for the embossing portions according to the shape of the hood and off-set it to the required portion. split the inner part.using sweep option create a projection in the inward direction of the hood.
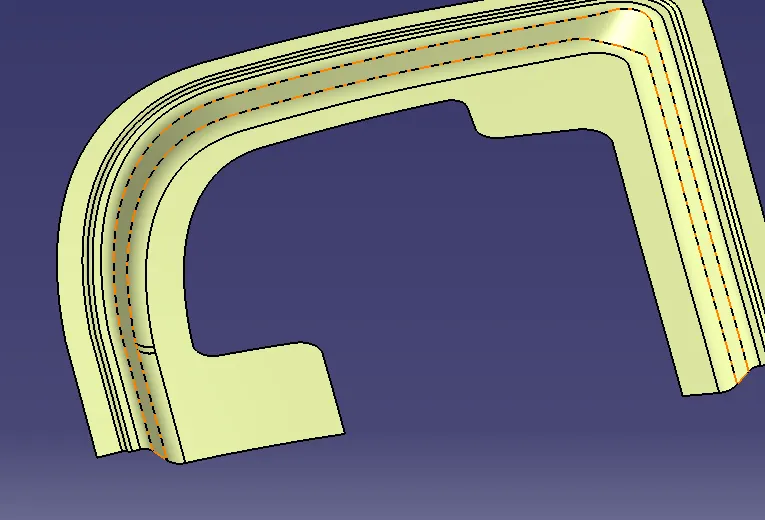
- create sketches over the surface for the embossing and the design should be in such a way that it deviates force away from the passengers during collision.
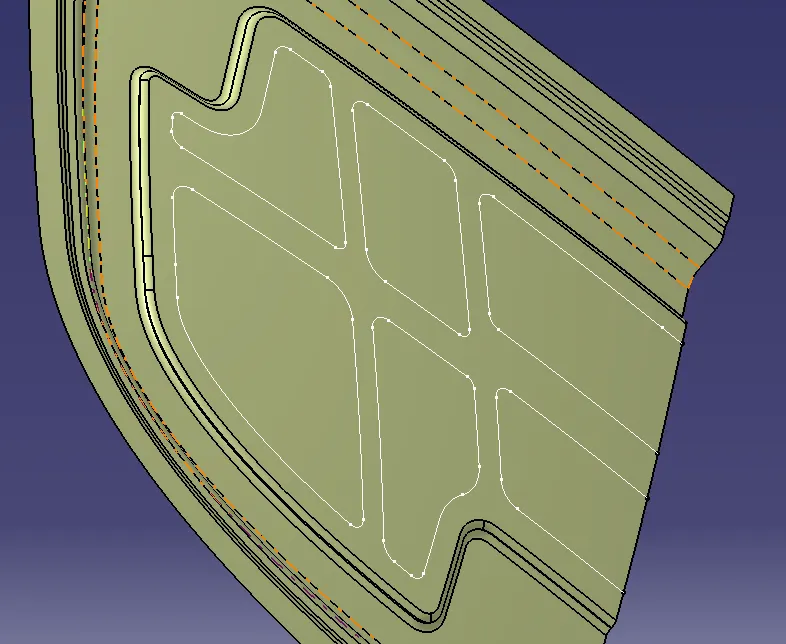
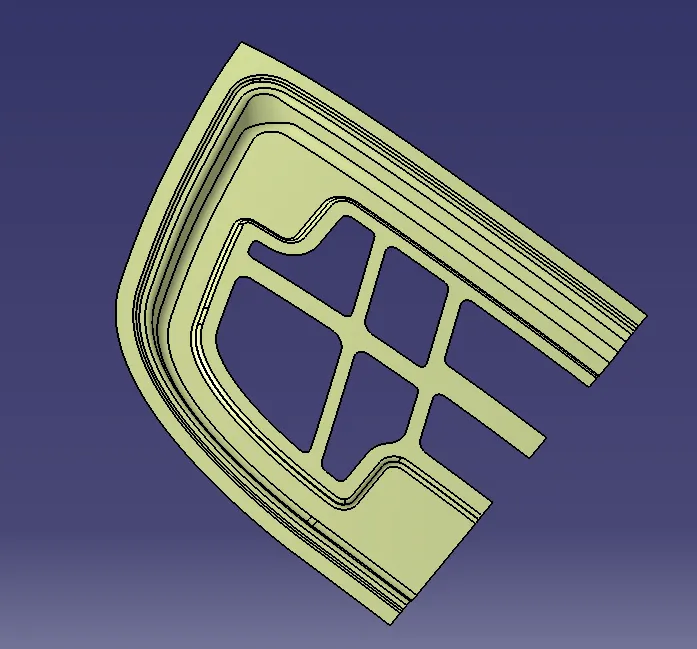
- sweep the boundries of the embossing parts with draft direction and offset the surface and trim the unwanted portion. the height of the embossing shouldnt interfere with the height of the hood. add edge fillets to the embossing following the master sketch design dimensions.
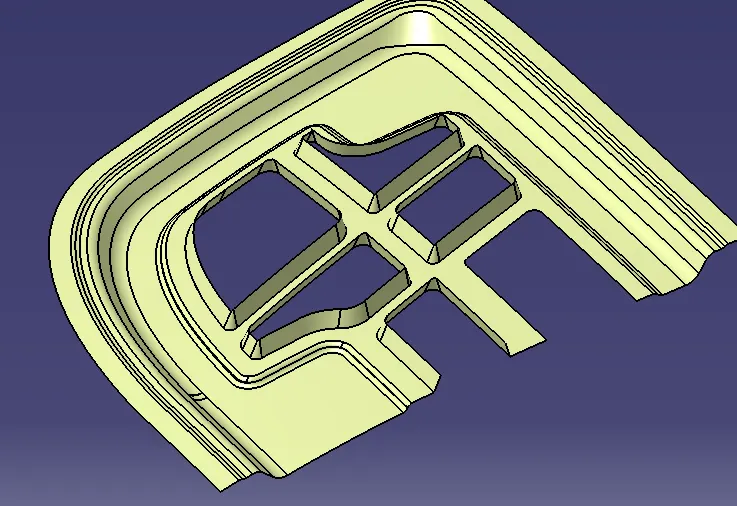
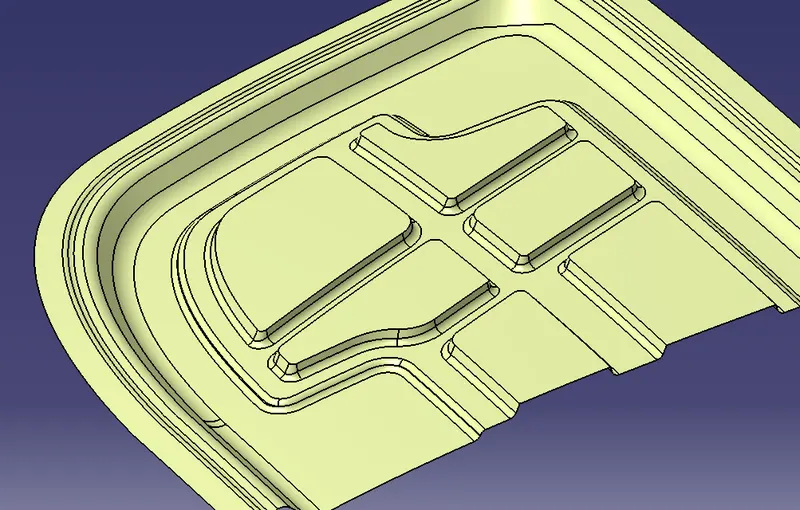
- now create sketch over the embossing surface providing the mastic sealant provision and split the hood surface with the sketch as cutting element.
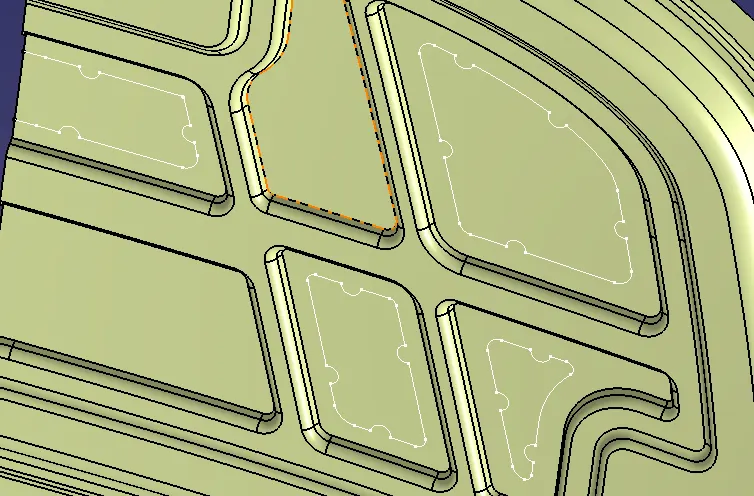
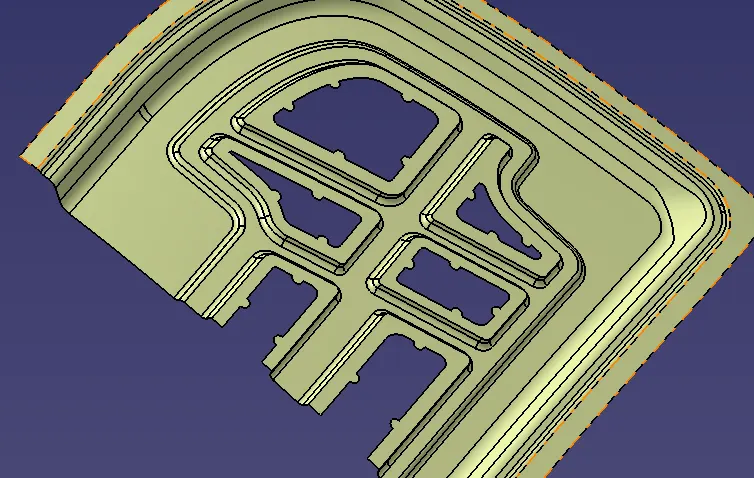
- now the hemming surface is created by taking the surface off set maintaining the the hemming design rules and following the similar procedure of parallel curve the boundry and splitting. join the two surfaces of the hemming using multisection and add edge fillets.
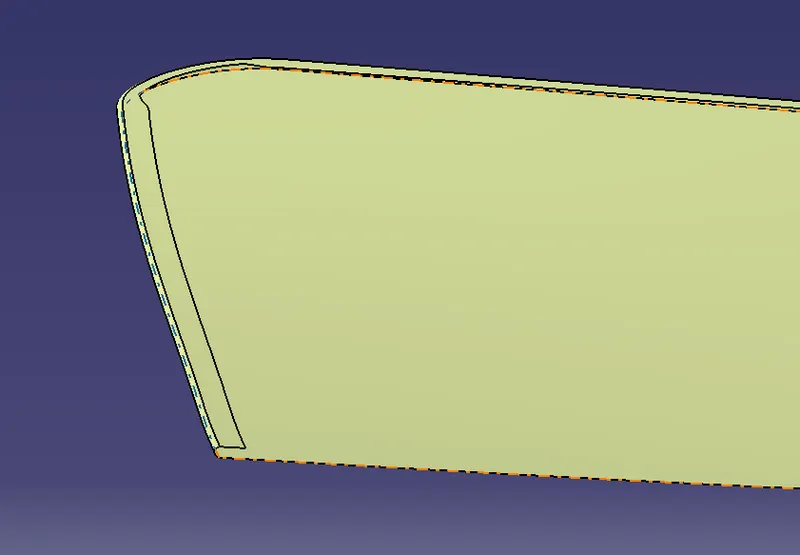
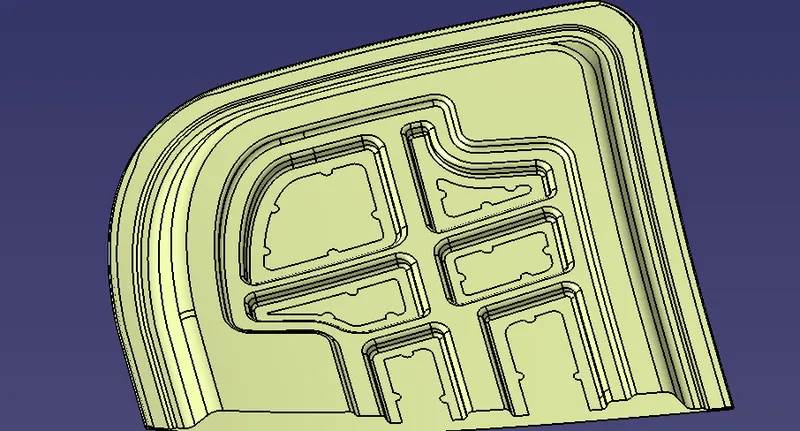
- according to the hinge placement through the manipulation fromthe assembly workbench create projection for th eplacement of the hinges on both sides.
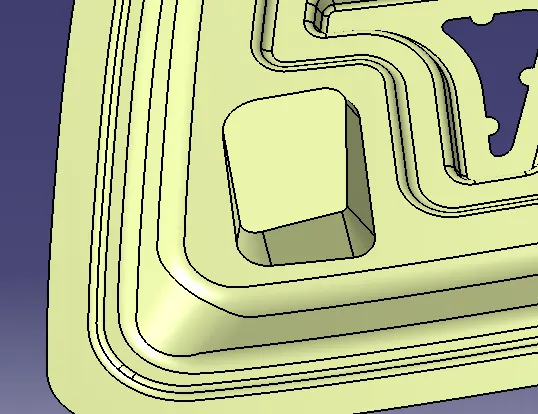
- similarly create for the striker placement and using the symmetry option reflect the half portion of the hemming and hood . join both the surfaces.. incase if there is surface overlapping. extrude and trim the surfaces accordingly to join them
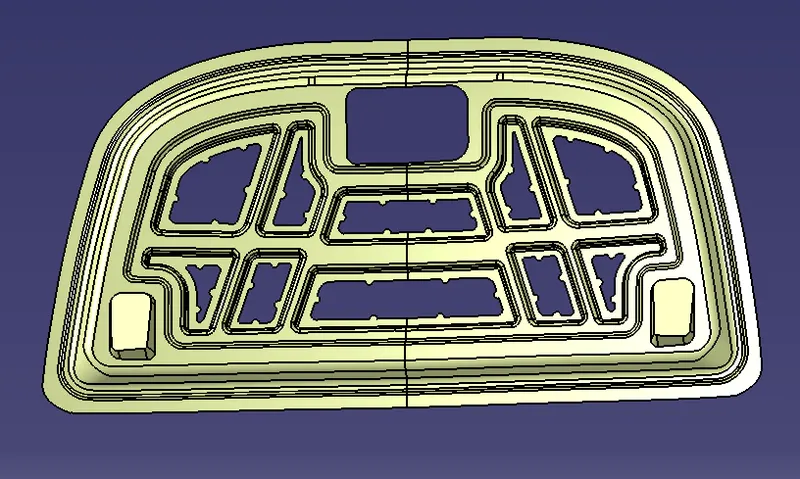
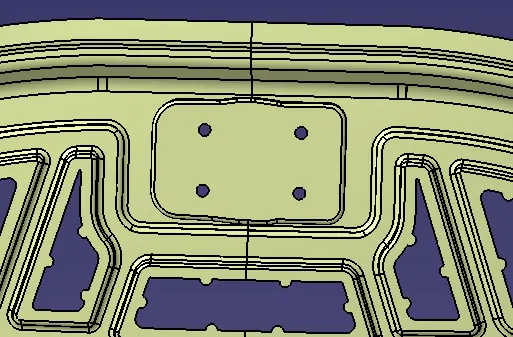
- now through assembly workbench place the latches over the surfaces created for the placement and create a parallel axis through them and create a mid point on the axis.' using the volumes- thickne option thicken the surface according to the master sketch .

- now place the striker in the position and create a line parallel to the striker and draw a circle through the point on the hinges axis perpendicular to it and make sure that the triker line is in tangent with the circle thus following the Latch trajectory.
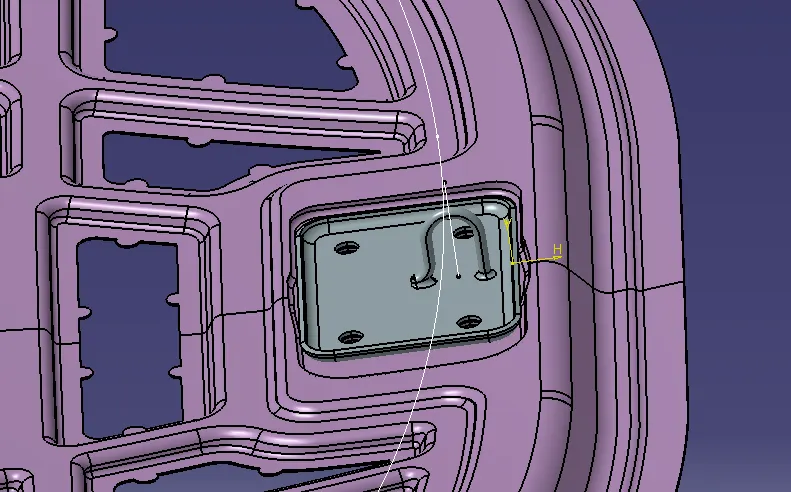
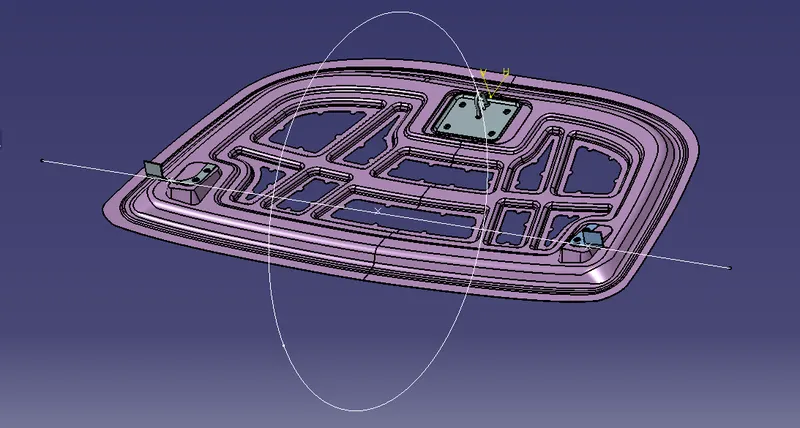
- since the latches and striker are provided with the elevated surface as support a reinforcement is provided under it in order to proviode extra stiffness.
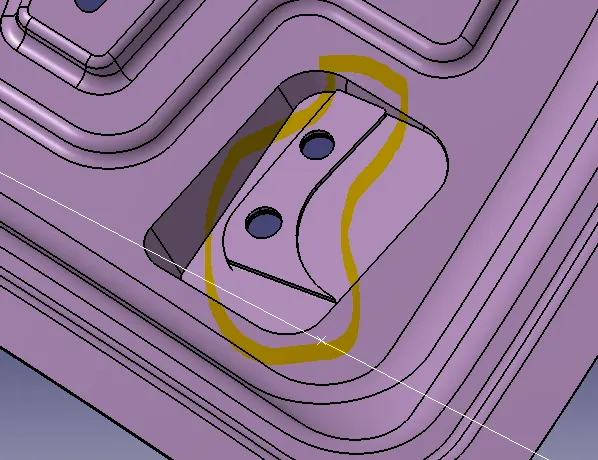
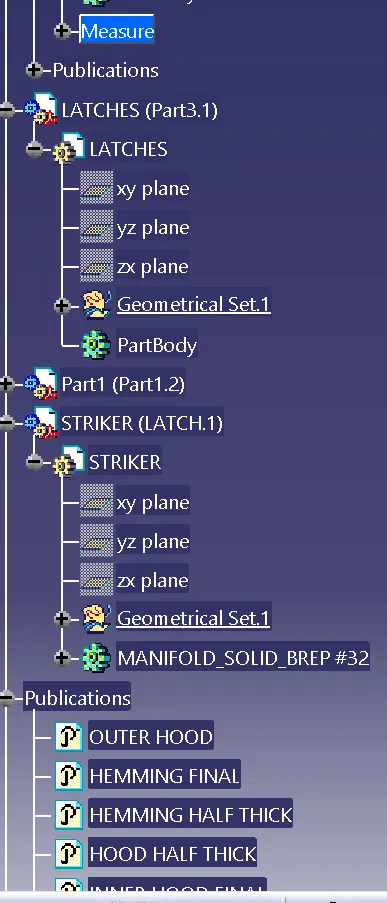
- use publish option to highlight the comnponents from the tree structure.
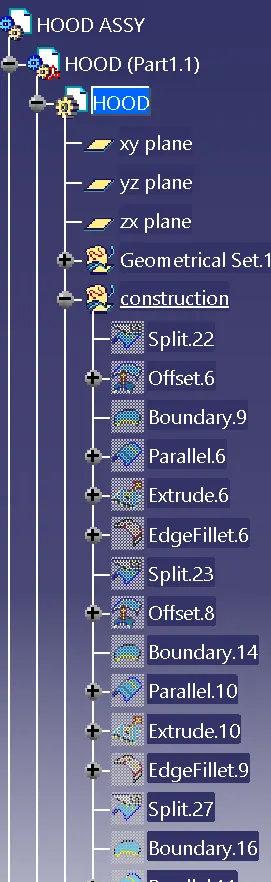
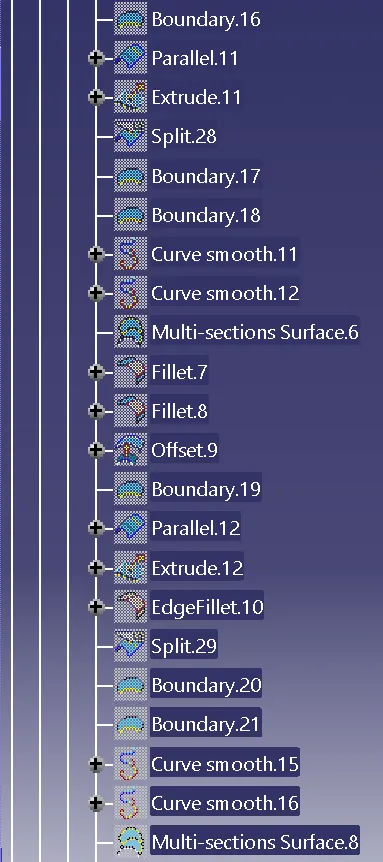
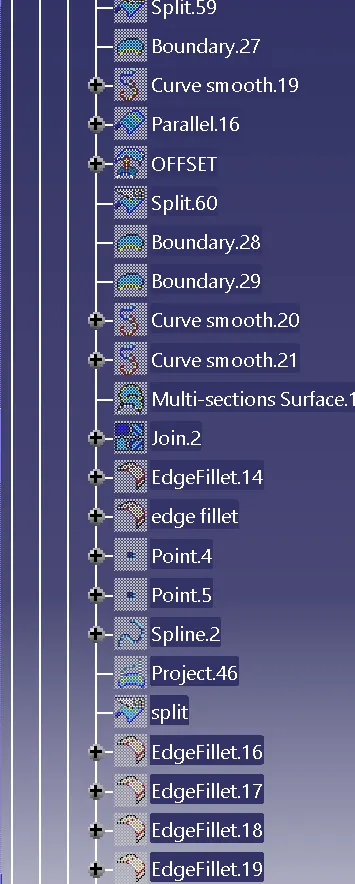
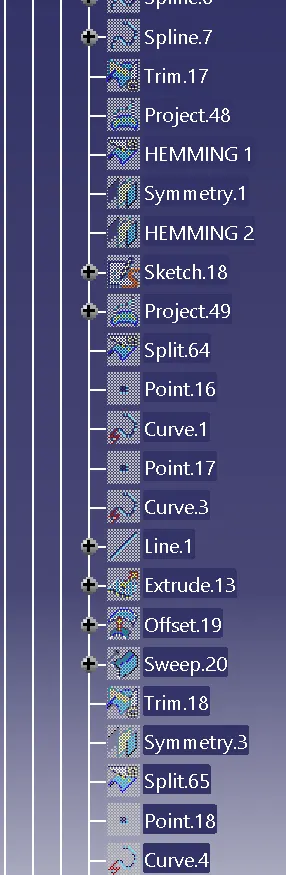
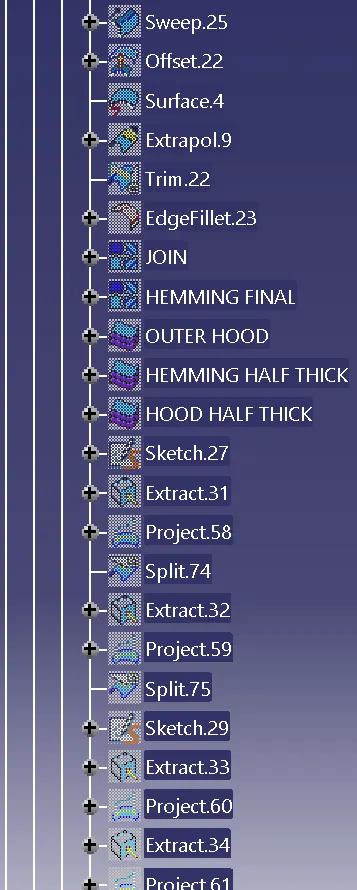
MODEL TREE :- brief.
Result :-