Week 8 - Challenge 2 - Base Bracket Design
Aim :- To Create the Base Bracket Plastic component through the given Class-A surface. creating both class B & C surfaces and performing the draft analysis.
Given Class -A surface :-
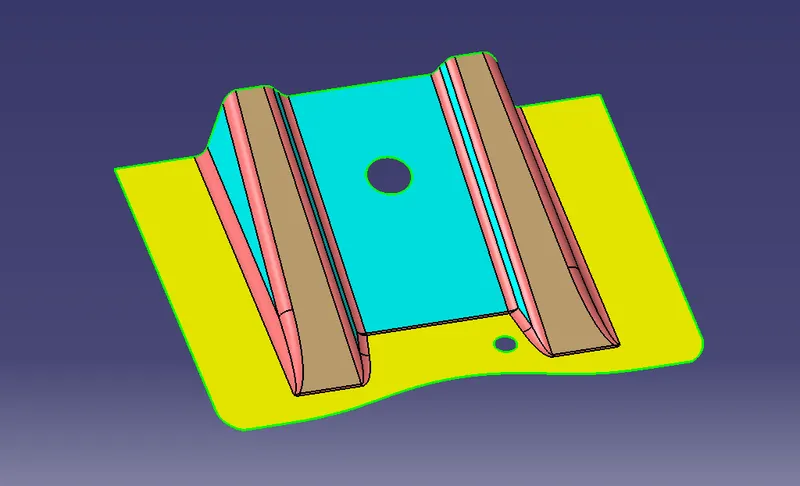
Procedure :-
- check the class-a surface for any gaps or boundaries in the middle of the surfaces. check through boundaries option to easily visualise any unwanted gaps in between.
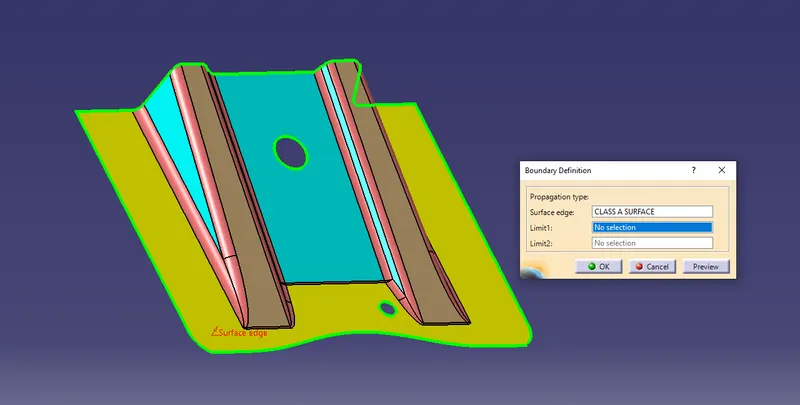
- Insert a geometrical set and rename as draft analysis and perform the tooling axis creation.
- create a point in between the hole and create a plane through it in ZX-direction . now intersect the plane to the class-A using intesection option .
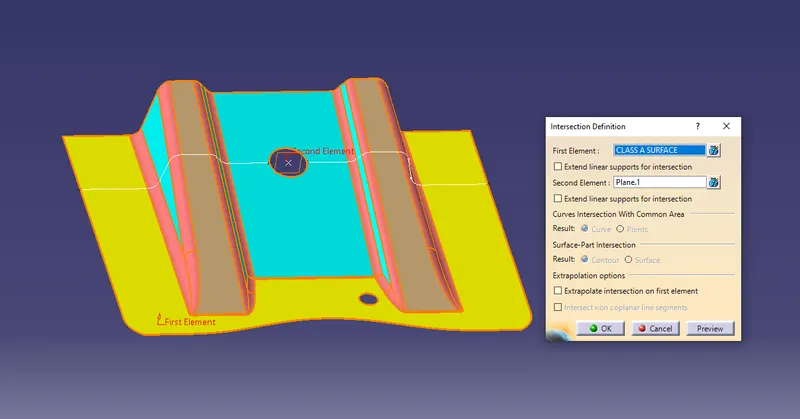
- using the intersection lines create a reference lines for the tooling axis by using point- point option in the lines./
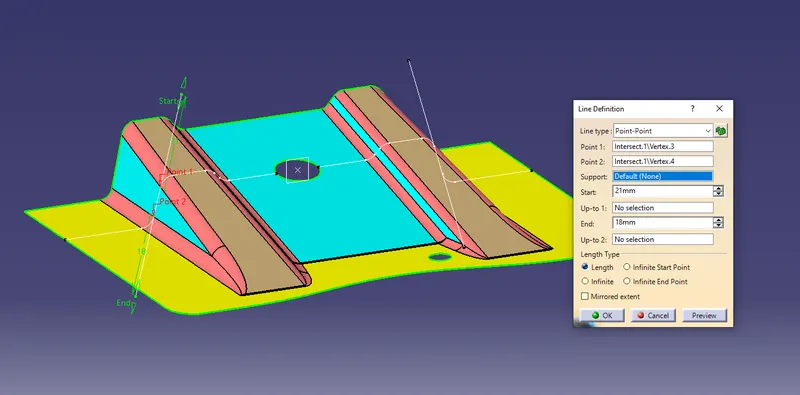
- now bisect the two newly created lines to get the tooling axis.
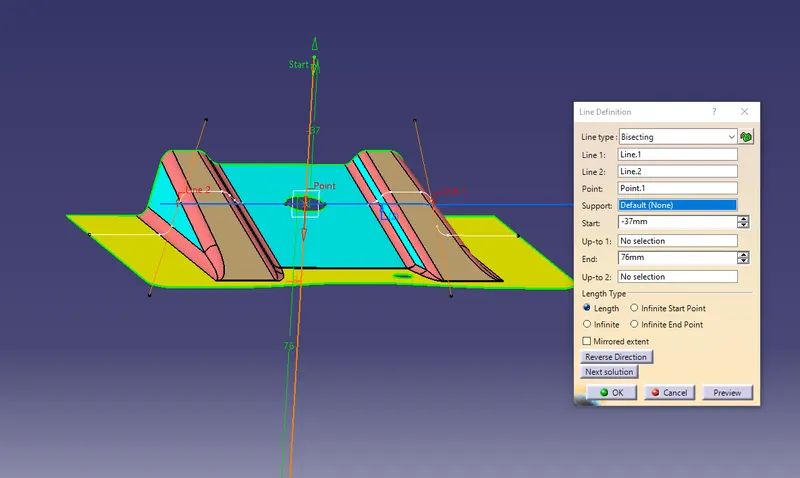
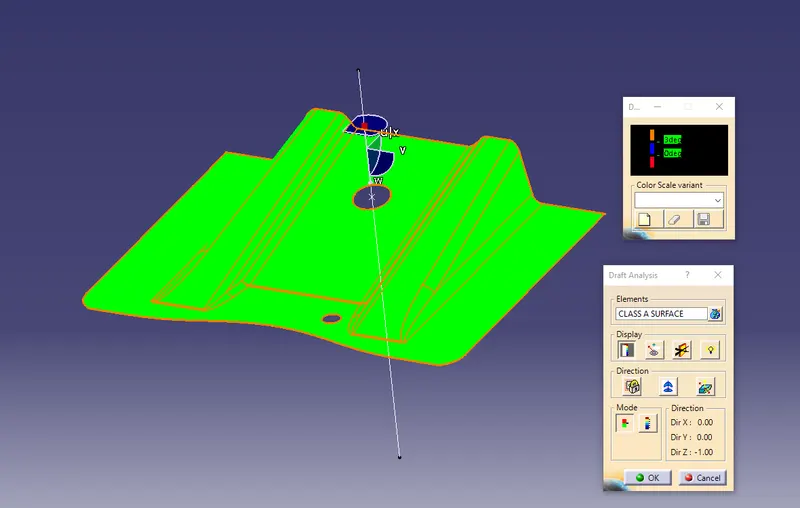
- hence the tooling axis is created using line bisecting method. perform draft analysis for the given surface.. Goto - Insert - Analysis - feature draft analysis. set the draft angle to 3 degrees , place the compass on the tooling axis and check for the draft angles.
- now to create a class -B surface.. insert another geometrical set and rename as B-surface. using EXTRACT option(non propogation) extract the top and side surfaces of one of the rib portion separately from the given class-A.
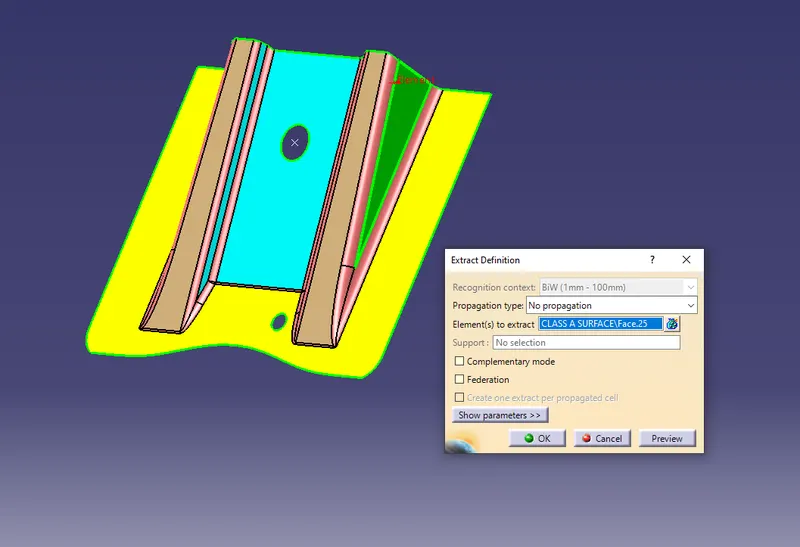
- after extraction , untrim the extracted surfaces using untrim option
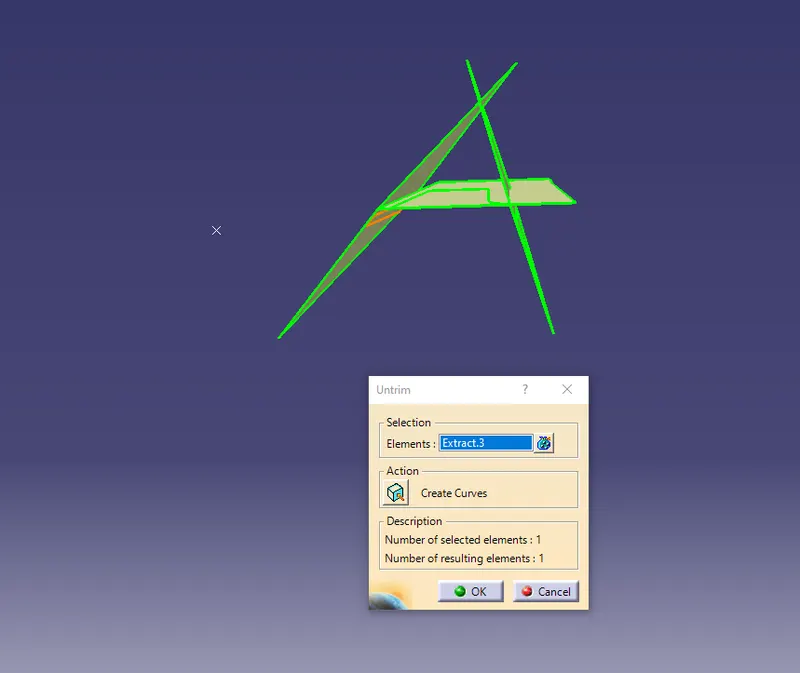
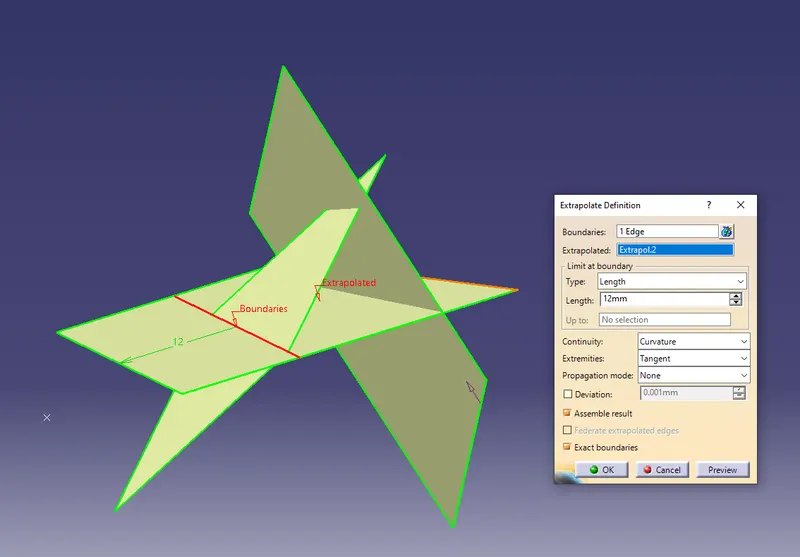
- now EXTRAPOLATE the surfaces by point continuity using extrapolate option and extend them enough.
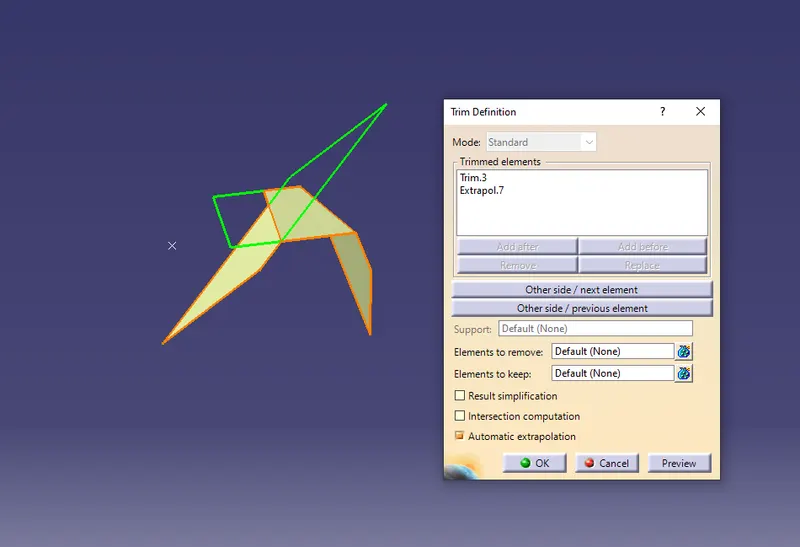
- now trim the surfaces according to the shape of the class-A surface .
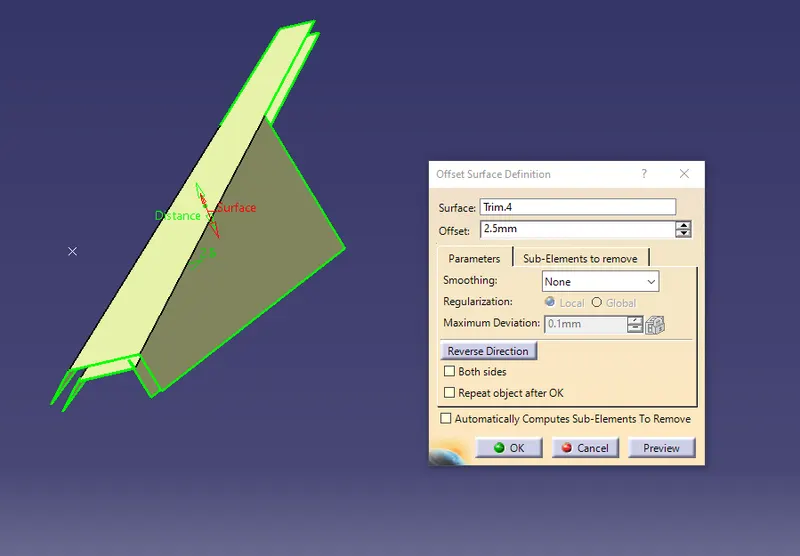
- Now off-set the extracted surfaces to a 2.5 mm downwards with the class-A surface.
- insert two separate geometrical sets for both the surfaces under the B- SURFACE inorder to differentiate them.
- now to create the B- surface of the base.., insert another geometrical set and rename is as BASE. now extract the two inner and outer base separately using no propogation .
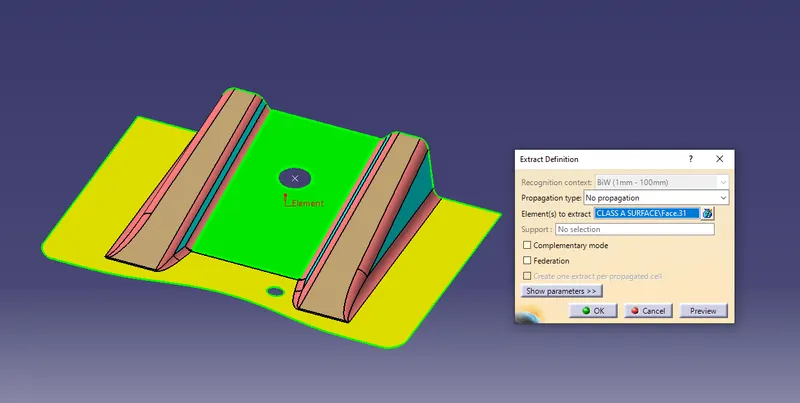
- Now EXTRAPOLATE the surface by point continuity and tangent method also untrim . and off-set the surface with 2.5mm away from the class-A surface and trim the base with RIBS
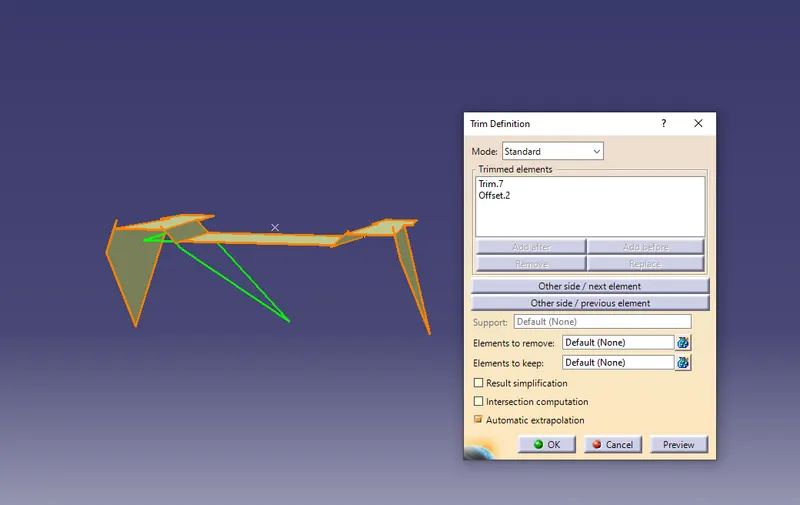
- similarly untrim the outer base and extrapolate it by point continuity and tangent method. now trim the surfaces with the ribs similarly.
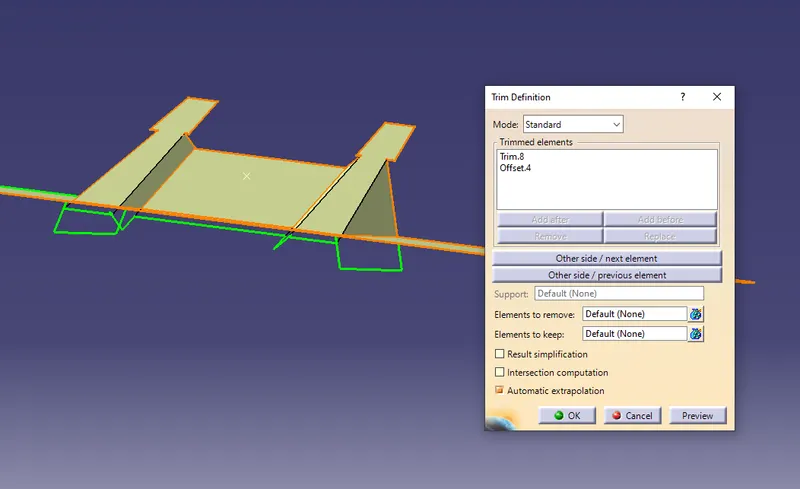
- off-set the Base with 2.5 mm similarly with the inner base .now a class - B surface is created using the class-A as referrence.
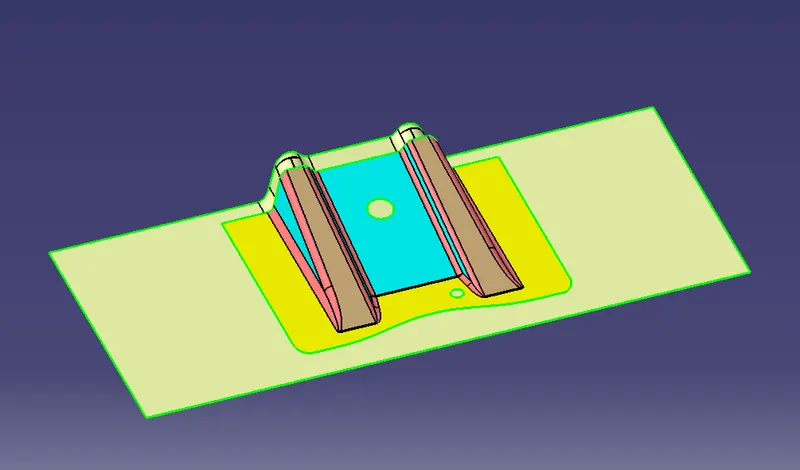
- to create a class-C surface the referrence is based on the boundry of the Class-A surface. take the boundary of the givemn class-A and using the SWEEP option ( draft direction and 3 degree angle) . extend it towards the off-set surfaces and select the outer direction to sweep.
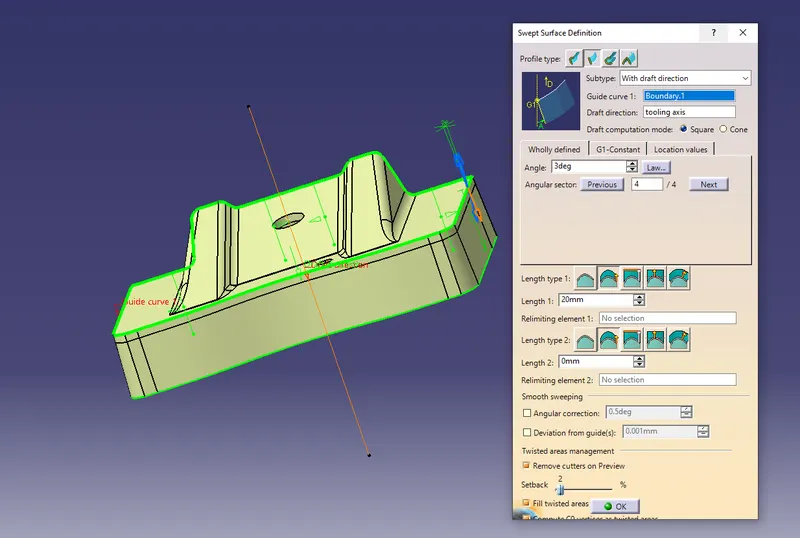
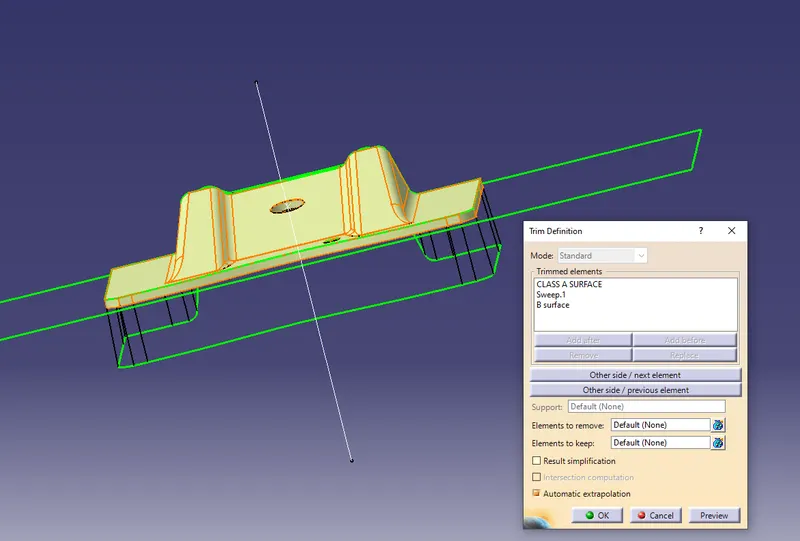
- Trim the c-class with the already created surfaces and remove the unwanted surfaces.
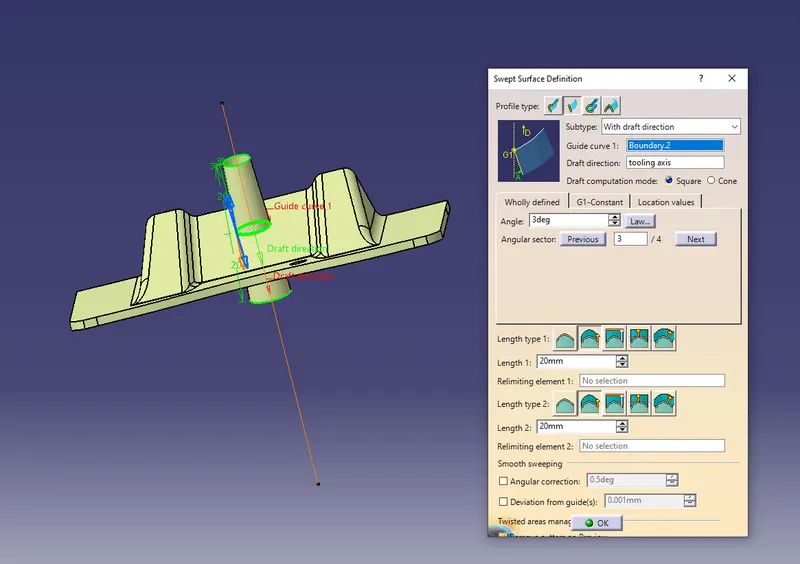
- now to create the given two holes use boundry of the two holes separately. using sweep option (draft direction and 3 degree angle) use the outward direction and sweep the holes separately.
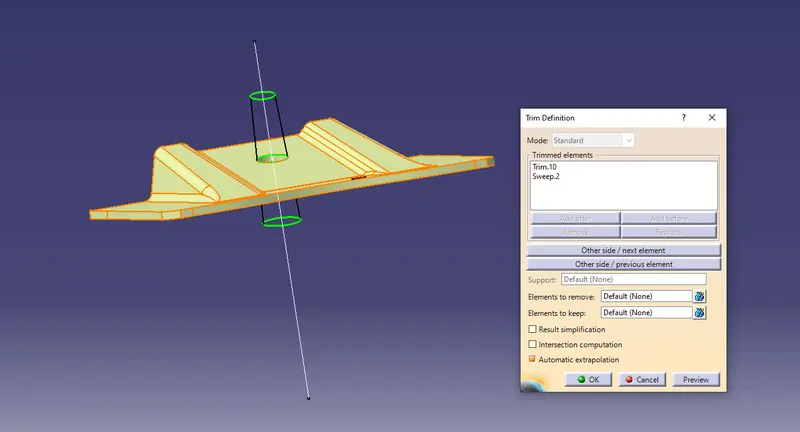
- now trim the sweeped hole with the surfaces and extract the hole with desired draft angle.
- join all the 3 surfaces class A,B,C to get the closed body. check for the boundries option and select the component to make sure the part is closed body.
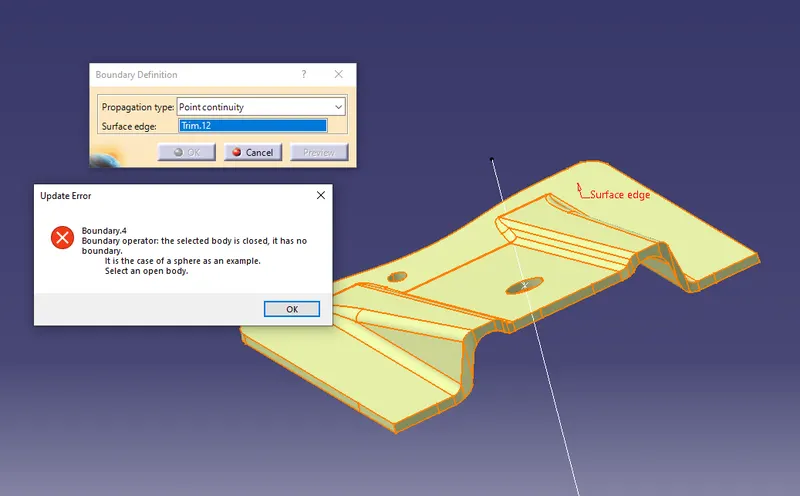
- now Goto part design and defining the part body using fill surfaces , create a solid body by selecting the closed component.
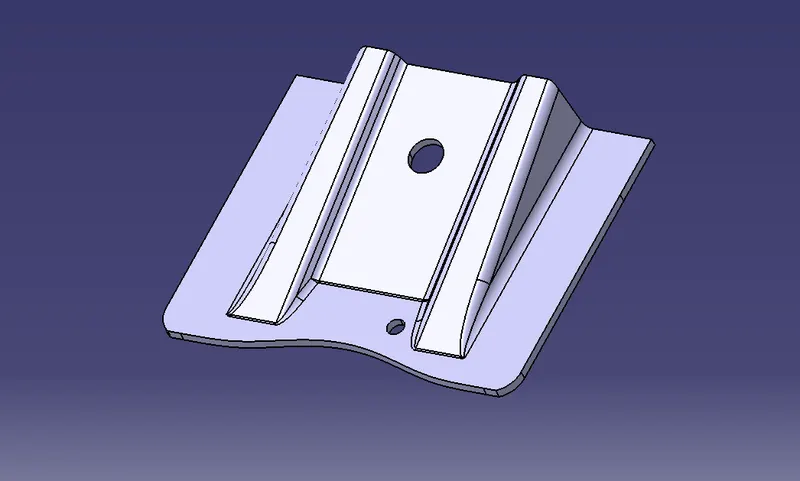
- insert another geometrical set and rename it as draft analysis-2 and perform by using the tooling axis as reference.
- Goto Insert- Analysis- feature draft analysis and place the compass on the tooling axis , make the draft angle as 3 degrees. rotate the compass to check for the colour variation according to the angle of draft.
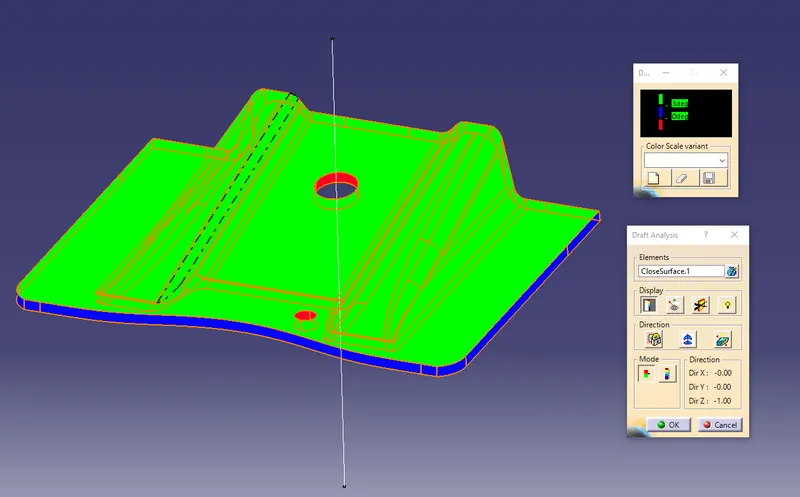
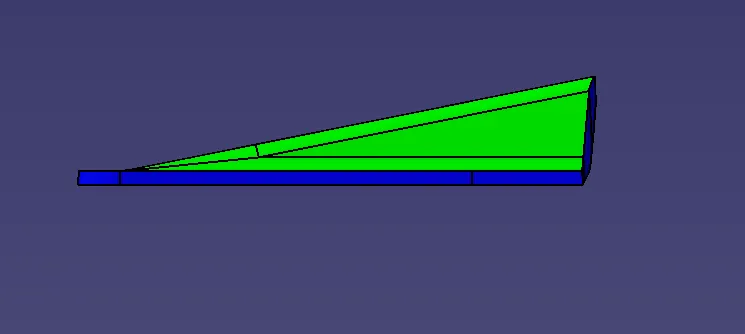
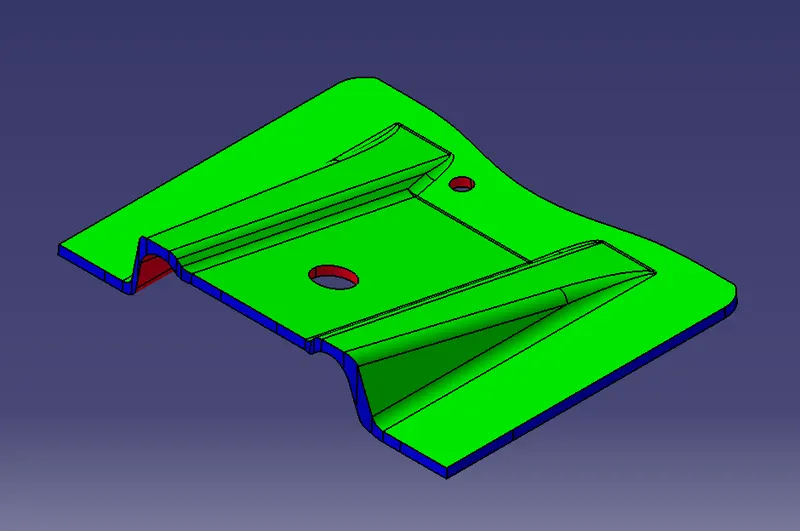
- the class-A surface is defined in green in colour , the class-B is defined in red in c olour , class-C is defined in blue in colour.
- the draft angle variation using the compass is shown below
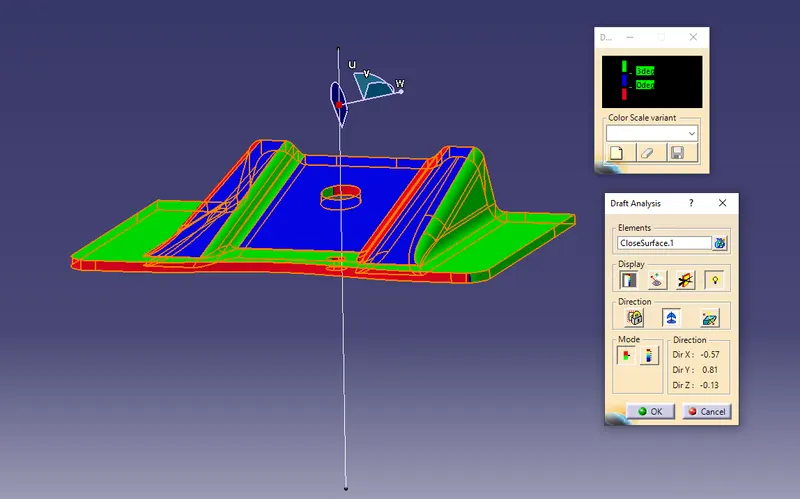
- make sure the geometrical sets are in proper order, tooling axis and class surfaces can be published to view them easily in the tree structure.
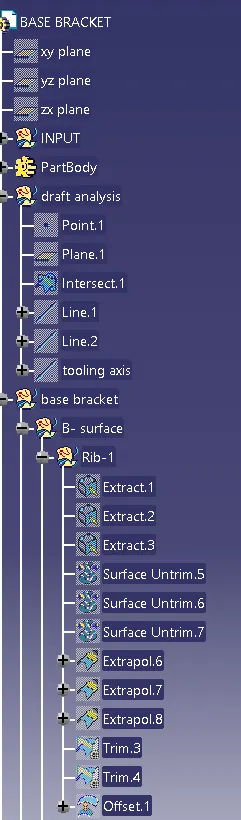
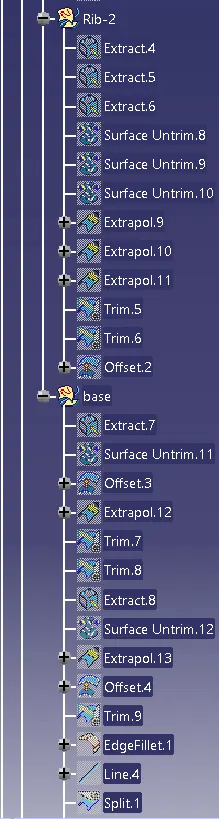
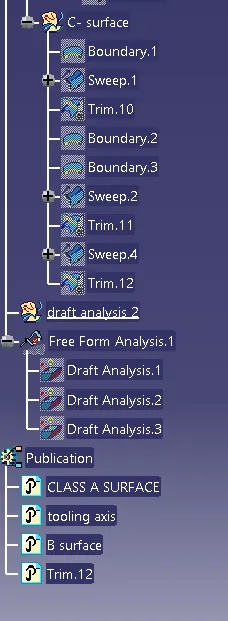
Model Tree :-
Result :-
Isometric view -
Front view -
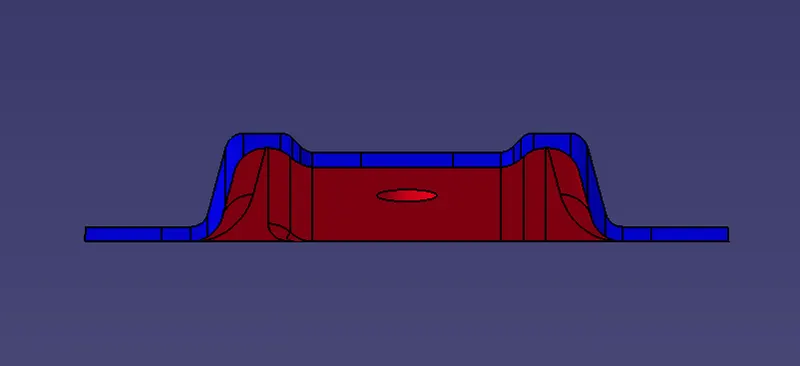
Side view -