Week - 8 - Morphing
AIM: To understand the basics of morphing.
OBJECTIVES:
1) Practice all the Morphing techniques that were shown in the video for Model-1.
2) Perform morphing for the Model-2 and Increase the Height of the Dog houses and Ribs.
MORPHING:
Morphing is the process of modifying the design of the model without the involvement of any numerical inputs. If the design change is feasible, the design team can work full-fledged on the model and bring out the changes to the component.
BOX MORPHING:
Box morphing is done with the help of boxes with nodes in the corners. These boxes are created around the part or component which needs to be morphed.
By moving the nodes of the box, the morphing is done on the component inside the box. This type of morphing can be done on both CAD & FE models.
DIRECT MORPHING:
This type of morphing is done locally on the part without creating morph boxes. This method is useful for modifying single parts. Direct morphing can be used to move selected features along the contour of a surface, freeze elements during the morphing process, etc.
APPLICATIONS OF MORPHING:
- Component and full system level FE/CFD models (such as automotive vehicle Crash, NVH and durability models) can be morphed to fit target design features such as styling lines, sections, proportions etc. precisely.
- Minimizes time in design modification by directly working at mesh level thus improves the overall lead time
- Creation of ‘n’ number of parameters for different designs, enabling easy trial and error method of design correction
- For the cases where, parametric CAD is not available or is not easily linked to the CAE, morphing softwares allow engineers to study parameterized changes in the attributes of vehicle geometry.
- In automatice industry morphing is commonly used for match styling, upper body to carry over under body matching, morphing sedan to station wagon or SUV etc. rapidly.
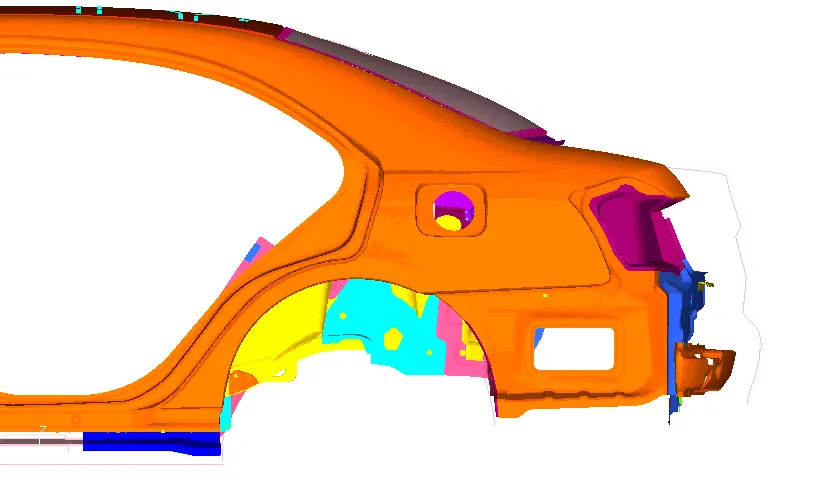
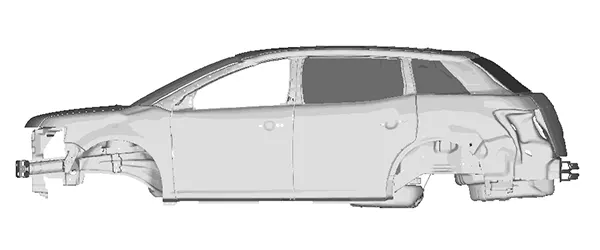
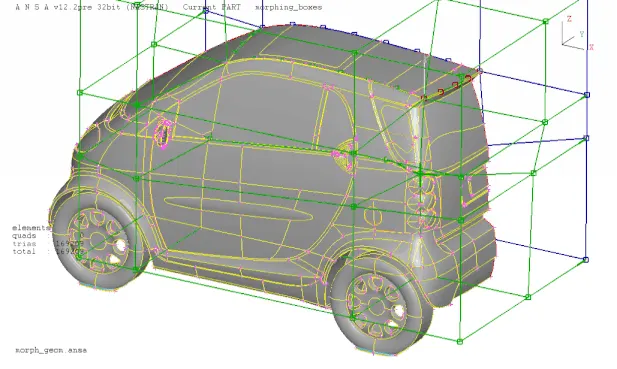
GIVEN COMPONENT :
PROCEDURE:
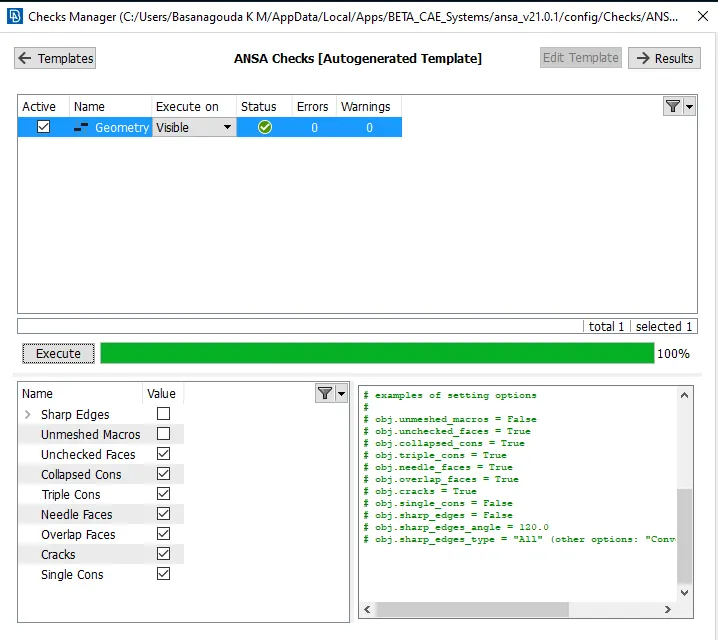
- Import the geometry into ANSA and perform geometry cleanup. To perform cleanup go to Checks>geometry>check all the required criteria> Execute.
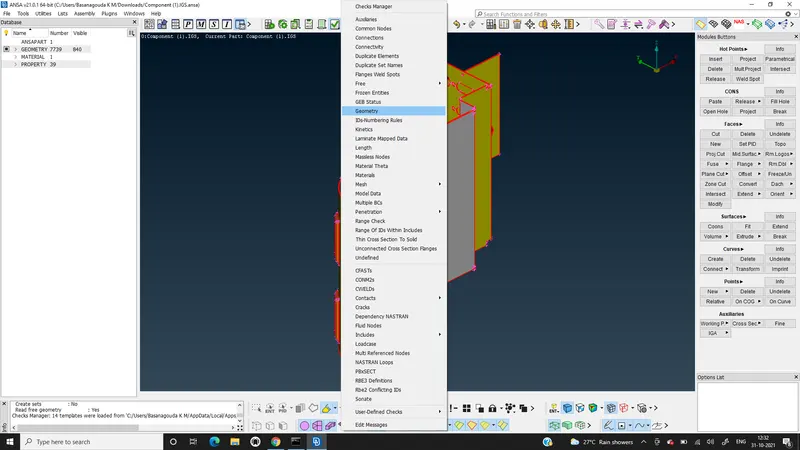
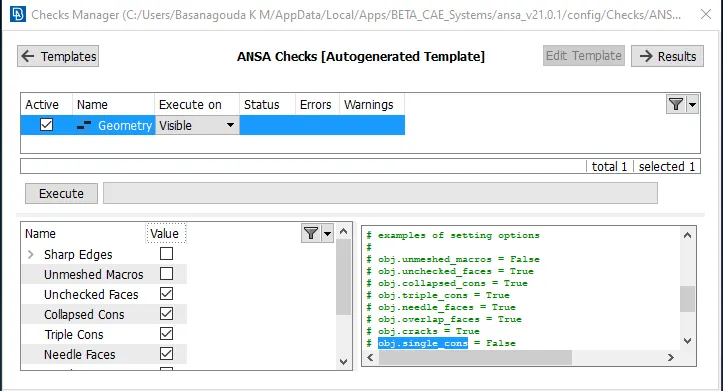
- After clicking on Execute if there are any errors present it will display.
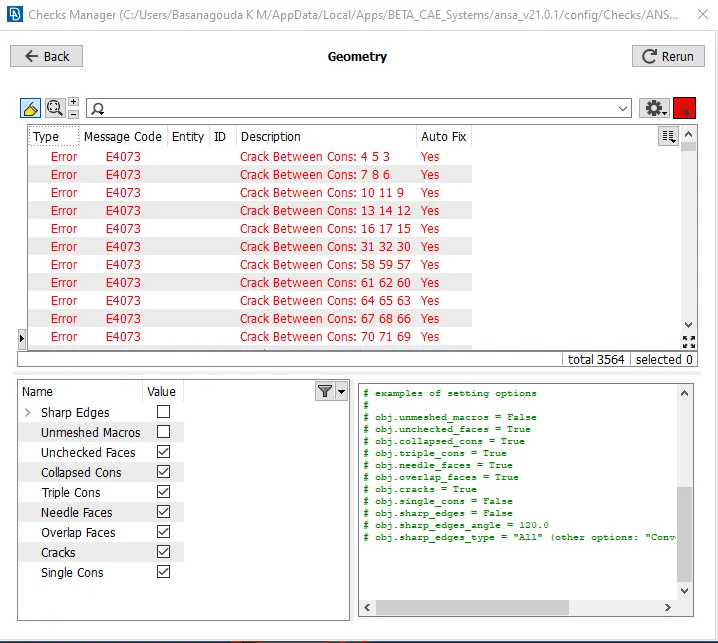
- That can be fixed by selecting the error and right clicking on it and fix. But it is always better to cleanup manually.
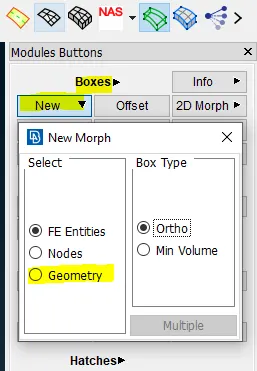
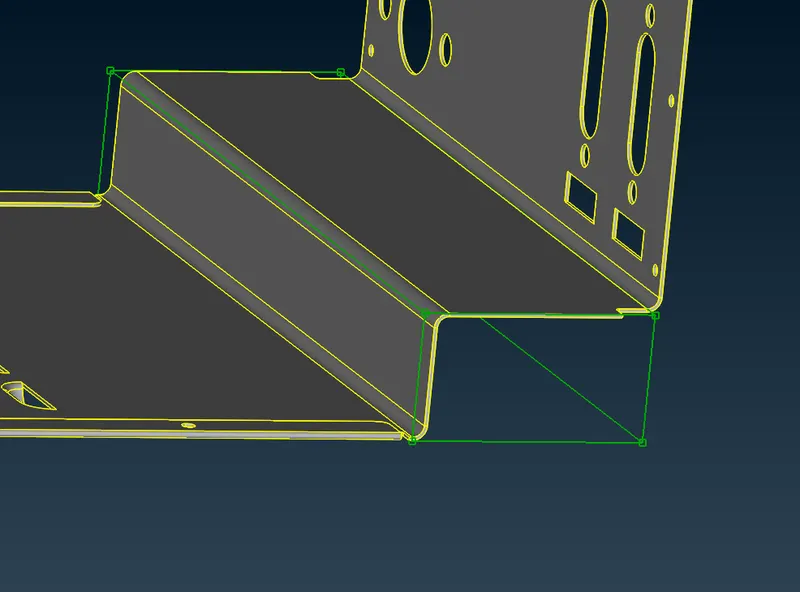
- Now, to perform morphing on the geometry go to Morph panel> Boxes> new>ortho>geometry>select geometry where the box to be created>Middle click and confirm.
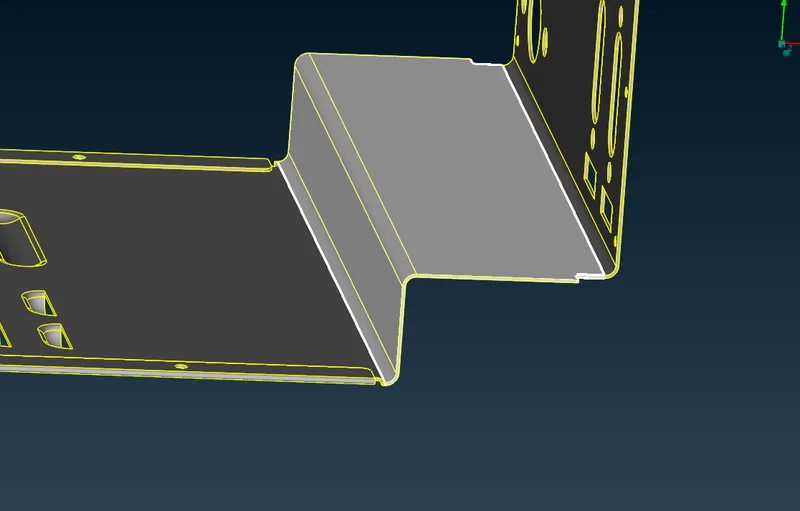
- Selected geometry
- Box created.
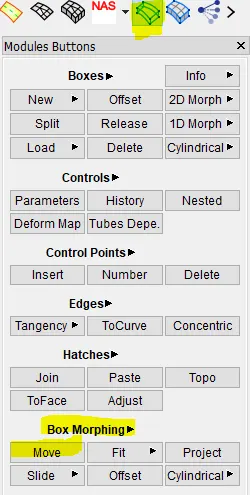
- Now, to make changes and to achieve desired shapes the geometry should be moved. To move control points go to Morph panel>Box morphing>move
- By clicking on move a window will pop up as shown below. There select the entity or nodes to be moved and direction at which it should be moved.
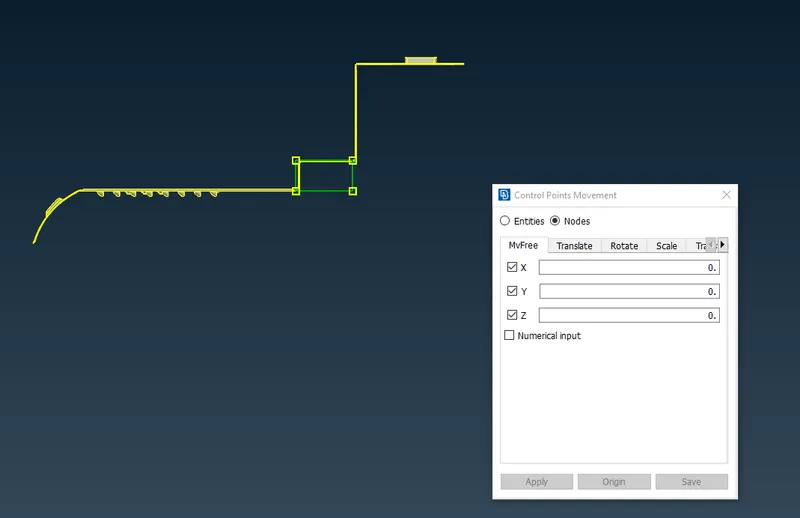
- after moving, confirm by clicking middle mouse button to keep the changes.
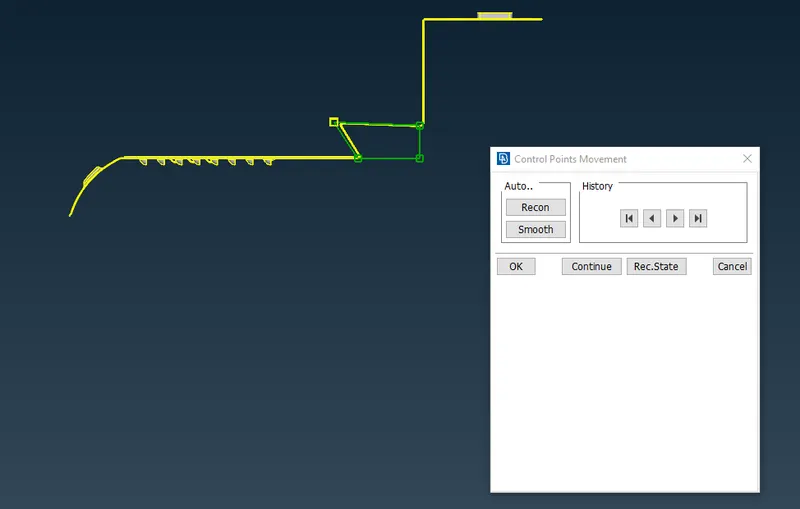
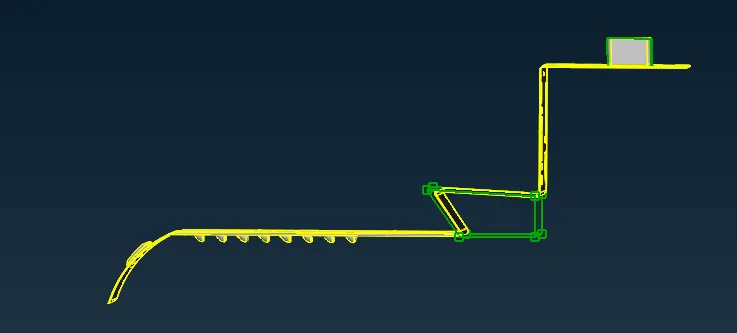
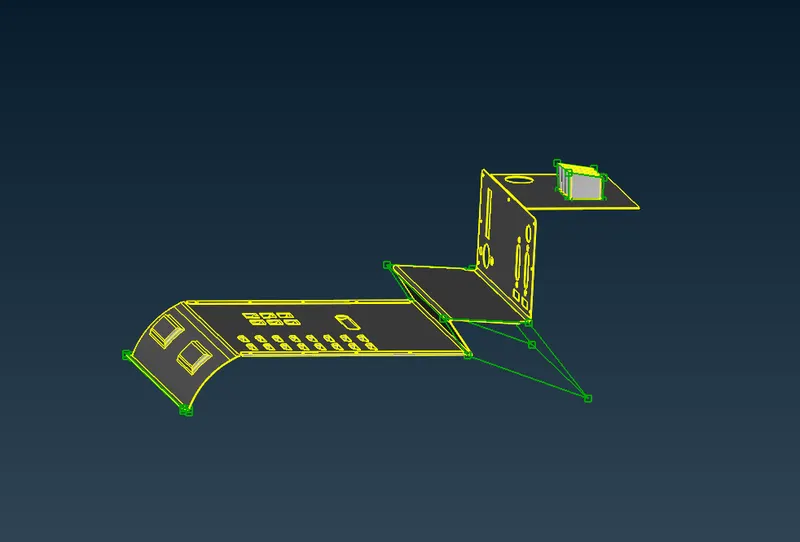
- The same procedure can be followed to perform morphing on another model given in the challenge.
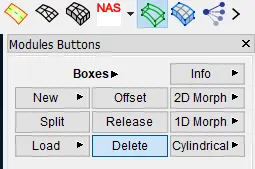
- After morphing, boxes created can be deleted. To delete boxes go to Morph panel>Boxes>Delete.
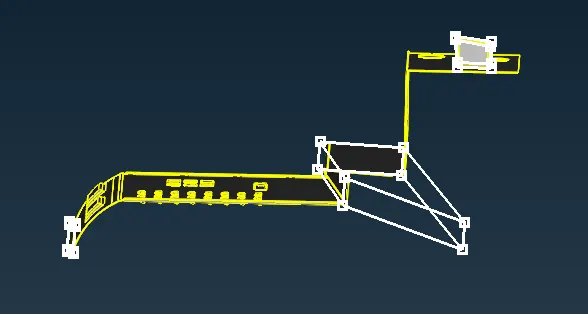
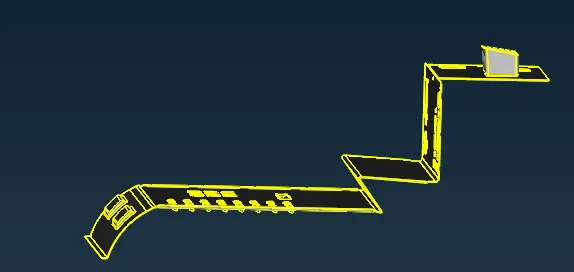
- MODEL_2
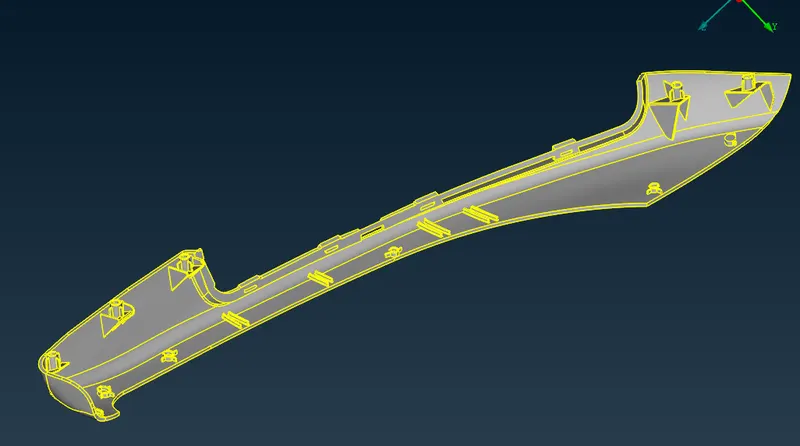
- Imported and geometry cleanup has been done.
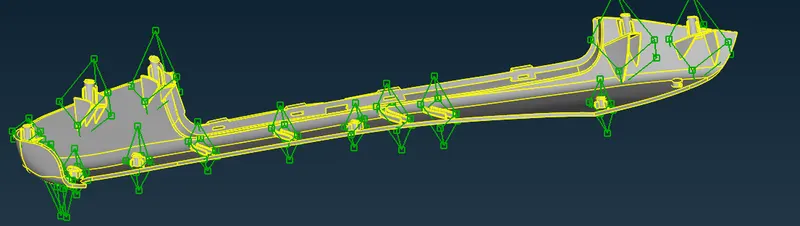
- To perform morphing Boxes have created.
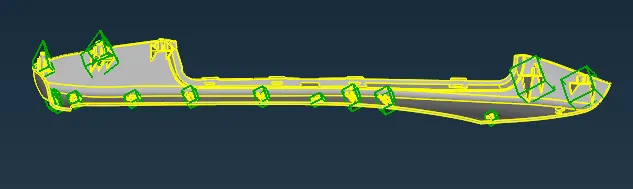
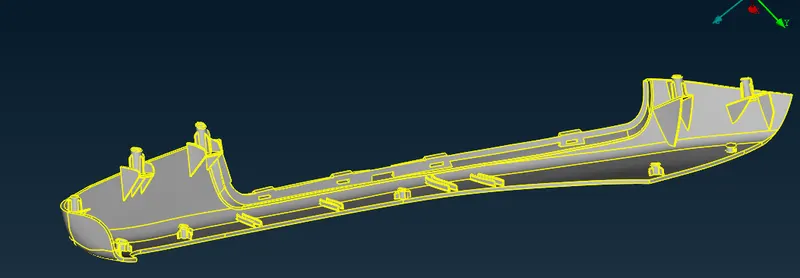
- Dog house and Ribs heights were increased through morphing.
- Boxes created can be deleted and the desired shape achieved can be observed.
CONCLUSION:
Through this challenge I have learnt about the basic concepts of morphing using ANSA.