Week 3 Challenge : CFD meshing on Turbocharger
CFD meshing on Turbocharger
AIM:
This project aims to mesh a turbo charger for conducting CFD analysis.
OBJECTIVE:
The main objective of the given challenge is to perform surface mesh and volume mesh on turbo charger and also geometry clean up with the surface mesh for the PID's as
Perform surface mesh with the given target lengths as per PIDs.
- Blade stage-1 = 1 mm
- Blade stage-2 = 1 mm
- Impeller = 2 mm
- Shaft rotor = 1 mm
- Turbo casing = 5 mm
- Compressor casing = 5 mm
- Inlet casing cover = 5 mm
Perform Volumetric mesh for the required volumes..
Learning outcome :
- Checking for geometry errors and correcting the geometry using different geometry editing tools.
- Deleting overlapping regions to improve mesh quality and avoid errors while volume meshing.
- Correcting the triple cons and single cons accordingly as per the geometry requirement.
- Using fine under auxiliaries helps in giving a finer surface finish at the connecting region.
- Creating surface mesh individually and also maintaining mesh length range at the contact region in different mesh lengths.
- Identifying and creating volume mesh only for the fluid region part.
- Tools to create volume mesh.
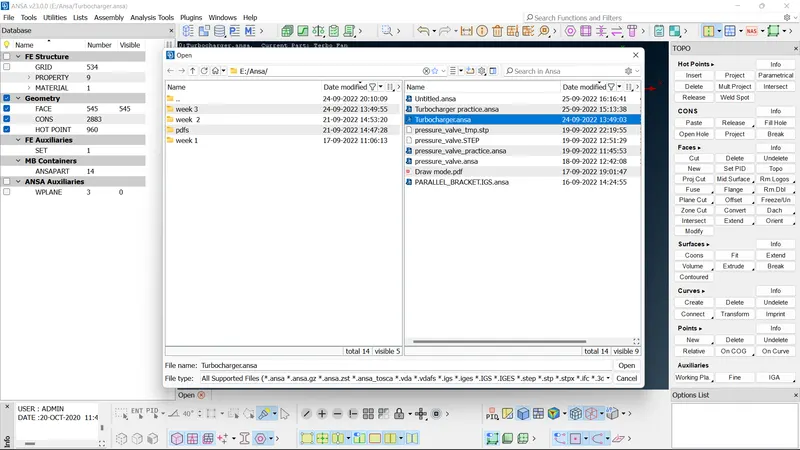
Open the file and import the Trubocharger.ansa file...
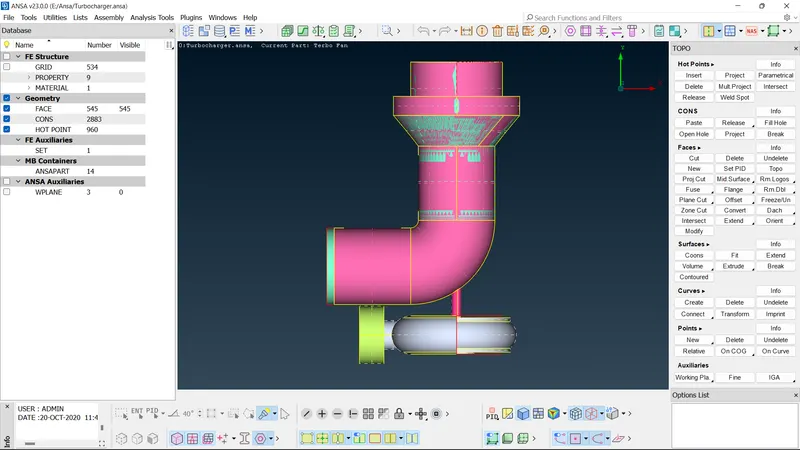
We can see the Picture it as the purple glitching on the green surface. This means that there are 2 surfaces overlapped on each other at that location we use the PID selection to select the glitching and delete it.
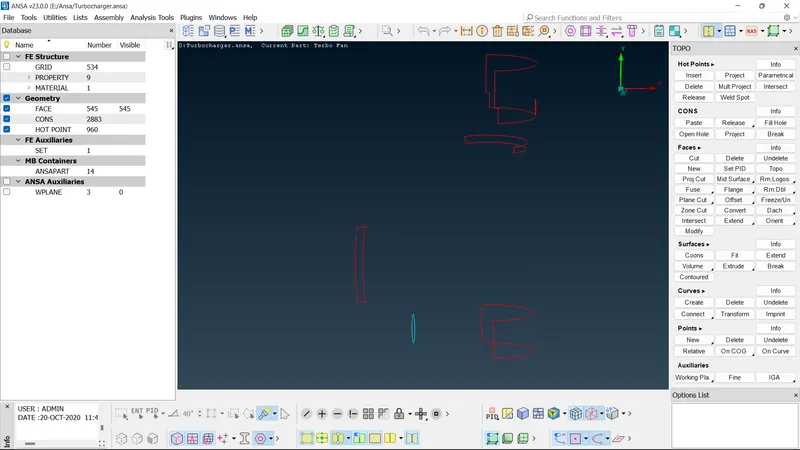
The Red colour cons are single cons it's means contain the Gap in surfaces, We use the basic methods like create faces to eliminate all the single cons.
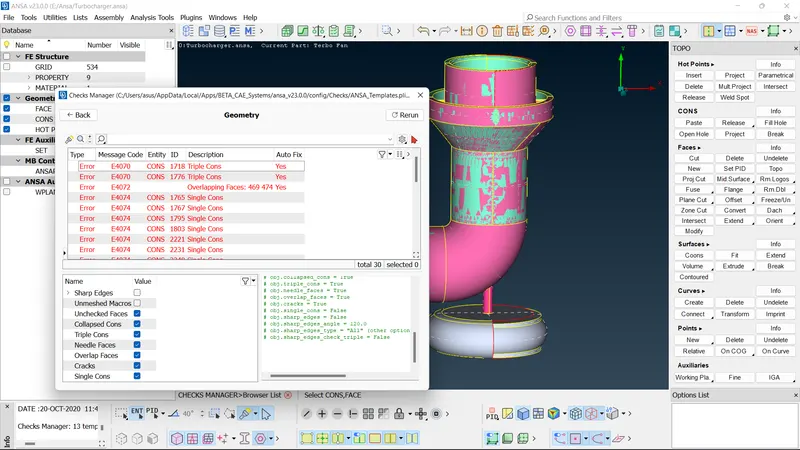
We can find the any errors while using Geomentry check its show the all errors present in the model.
we can see wireframe mode to identify the location of singe cons in exterior and interior of the model.
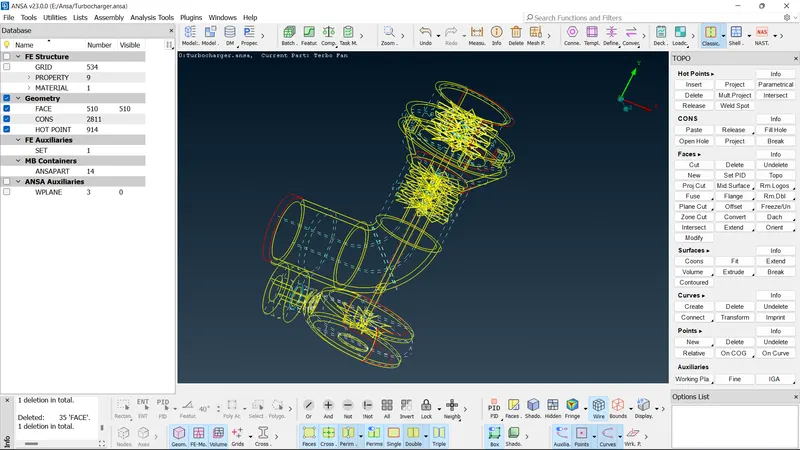
Here two surfaces are overlap not intersect each other. we can use intersect tool to intersect the surfaces and delete the excess surfaces
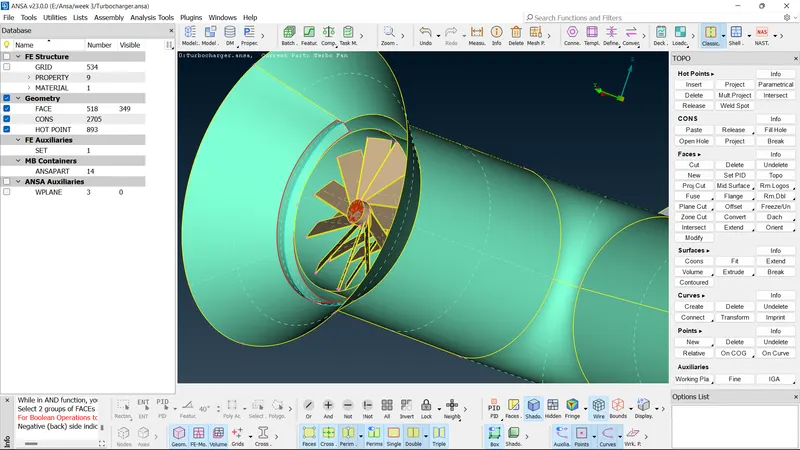
this the full modal with fill all gaps in sufaces
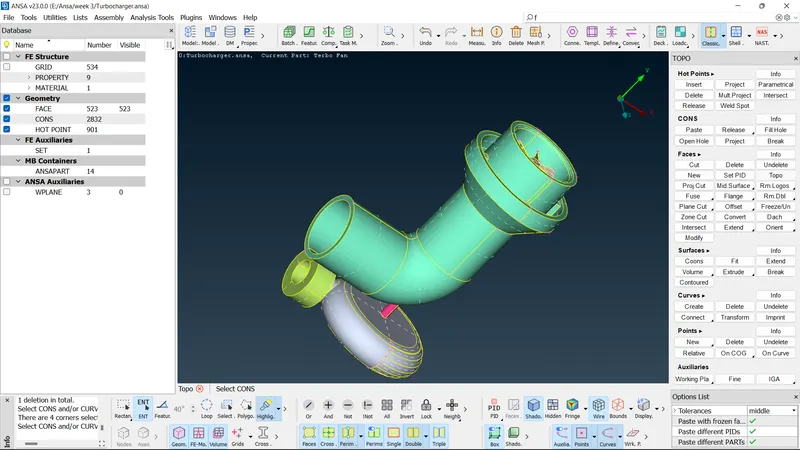
we can check in wireframe mode to check if any single cons or present. its is one way or else find it in Gemoentry check.
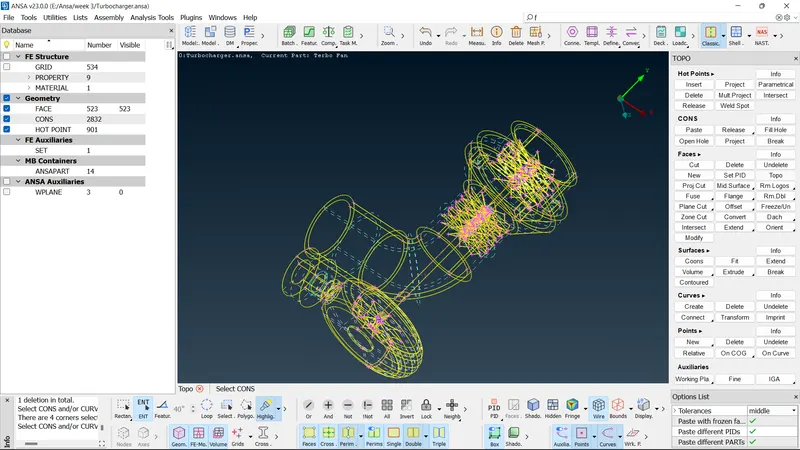
The blue circles indicate triple cons. These cons are not errors and are required to make the geometry water tight. as we can check every triple cons and find it, if this triple is need or not, if ts required then stay otherwise convert into doube cons.
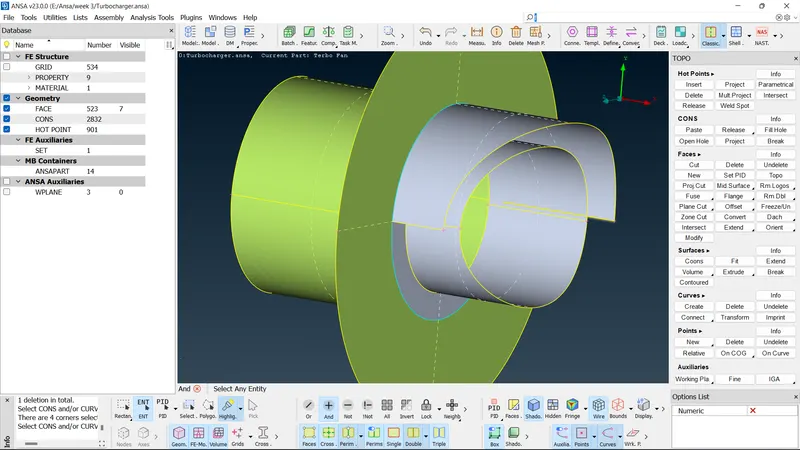
same as in this model, it is inside of the Turbocharger is contains the blades, impellar and shaft, we find the what are the errors present in side this model.
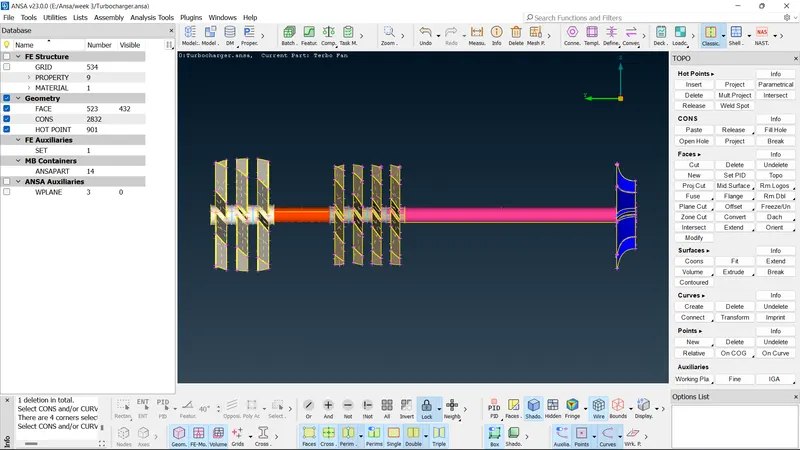
Its contain the overlap surfaces and triple cons. so we can delete the overlap surfaces and find which triple cons is required.
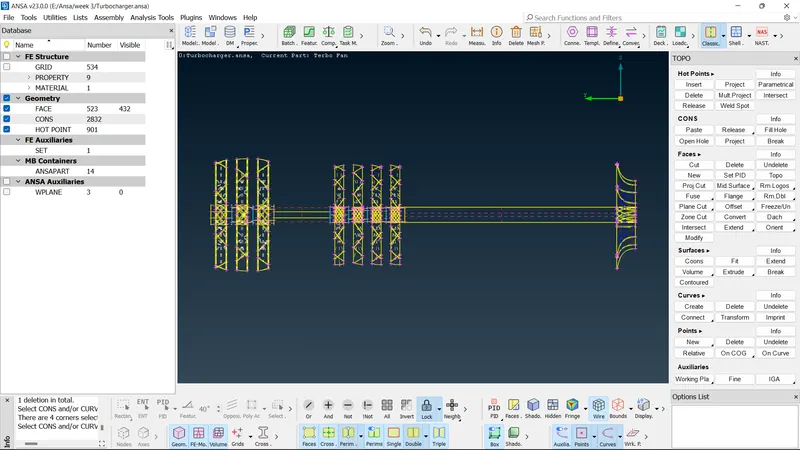
here the over lap surface and the shaft rod is mode so we can delete the pink colour shaft by using project options in CONS
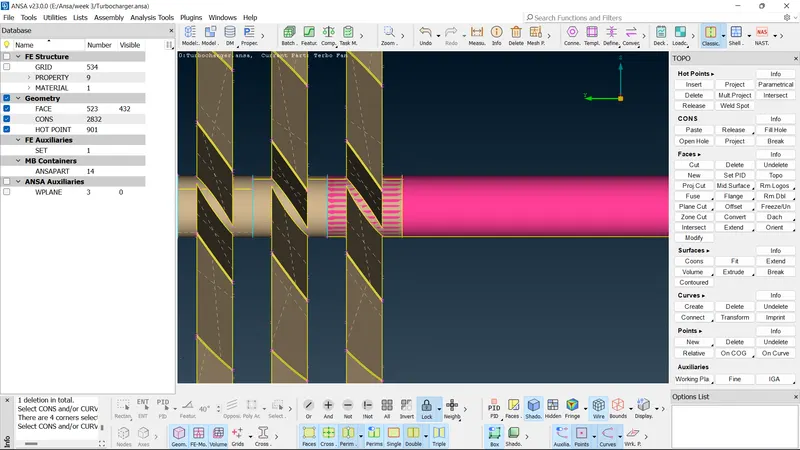
After Deleting Overlap surface and converting triple cons to double cons, again check any erroes present in use of wireframe mode.
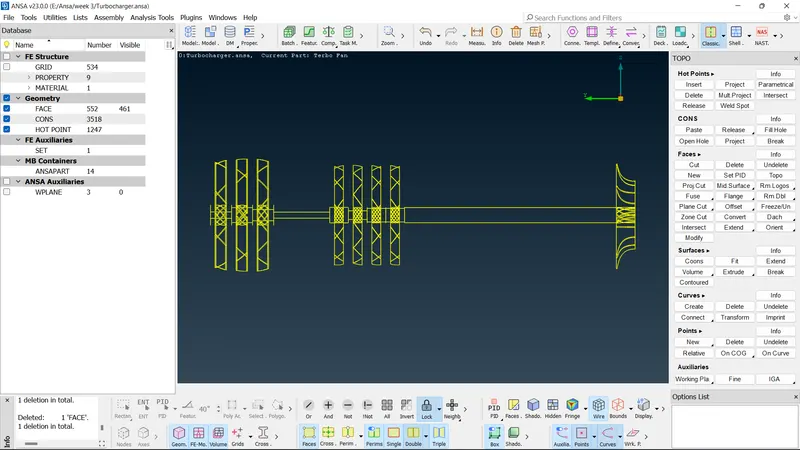
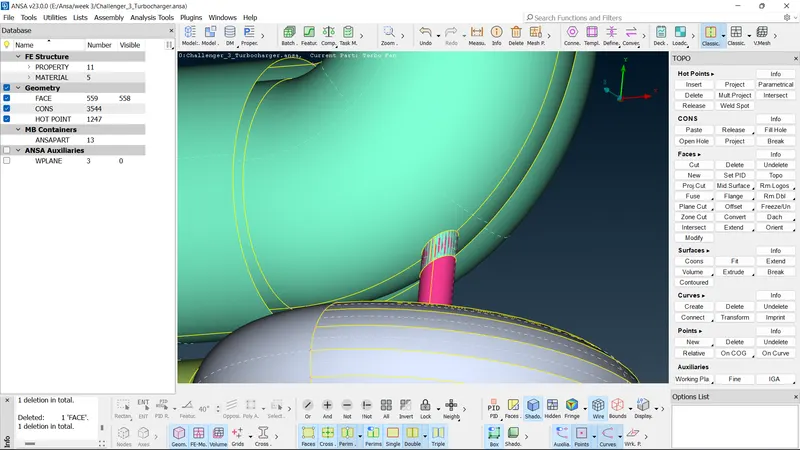
If we can observe deep some overlaps present inside the model, this error is not shown in Geomentry check. so have to carefull this type of error.
here the surfaces is overlap and we have to project the cons to the shaft surface then the double cons convert to triple cons then delete the surface.
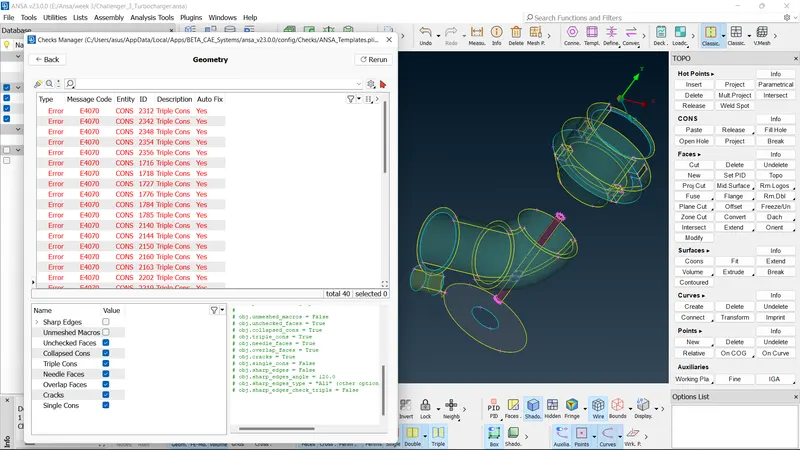
Check the Errors in Geomentry check, it shows all triple cons but these tirple cons are must be required.
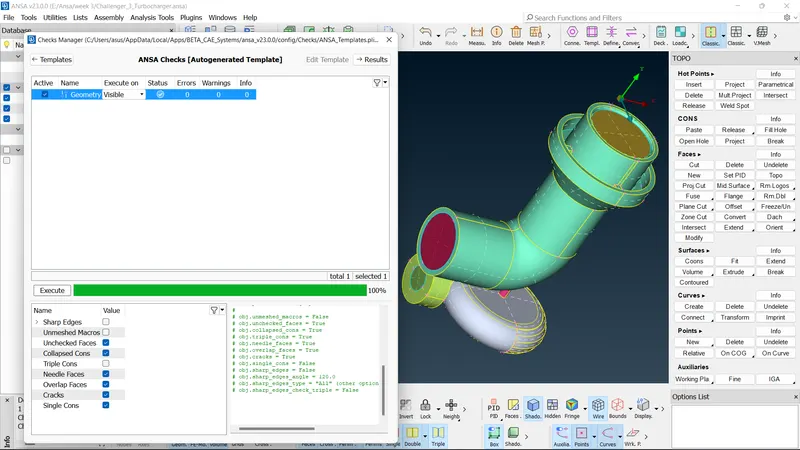
Expect the triple cons there is no error in the geromenty. so we can move to surafce mesh now.
Assigning relevant PID's:
Click on Surfaces > Set PID > click on surface that you want to assign a PID and also make sure that wire option is enabled
Left click on surface to select it and click middle mouse button to assign a new PID to your selected surface
Repeat the same process to assign PID's for remaining surfaces
Compressor casing:
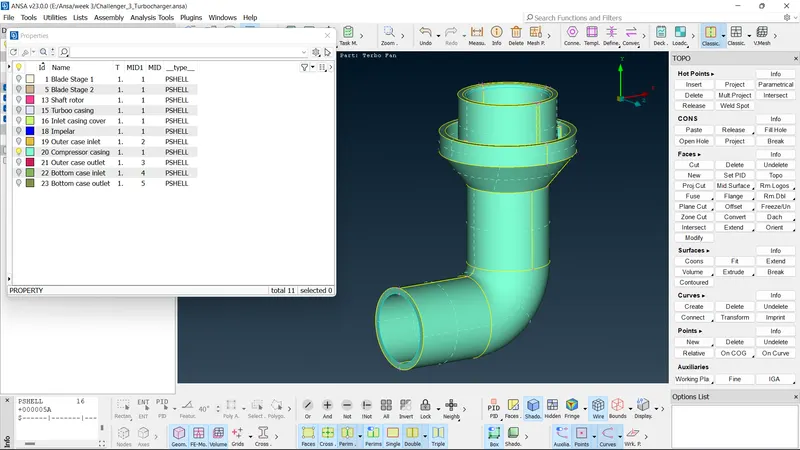
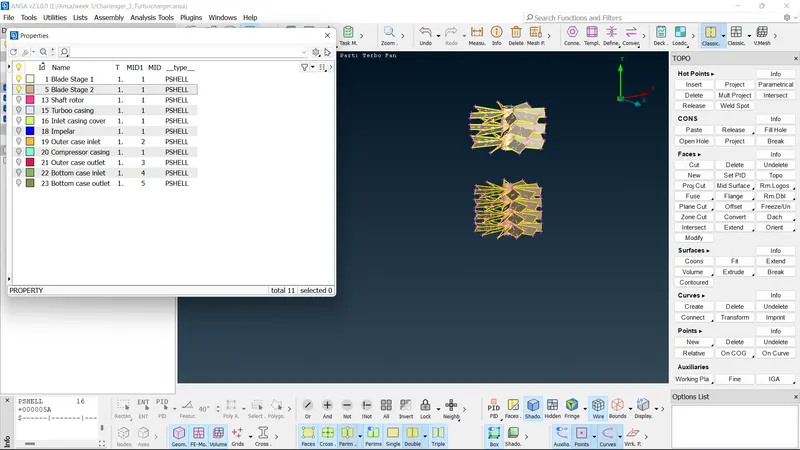
Blade stage:
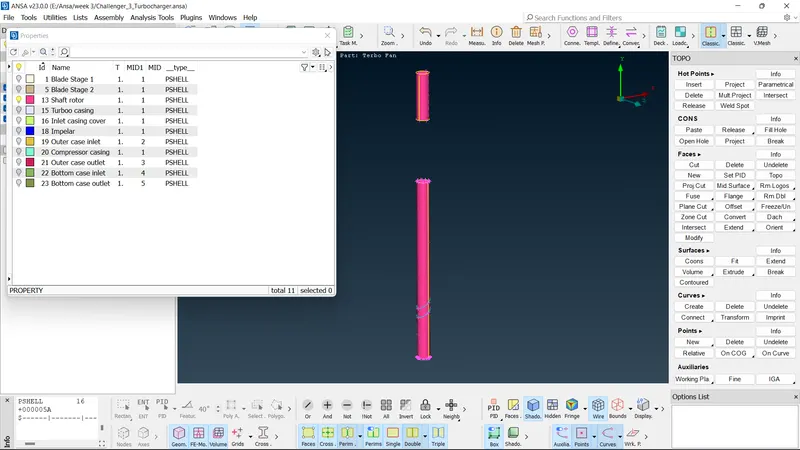
Shaft :
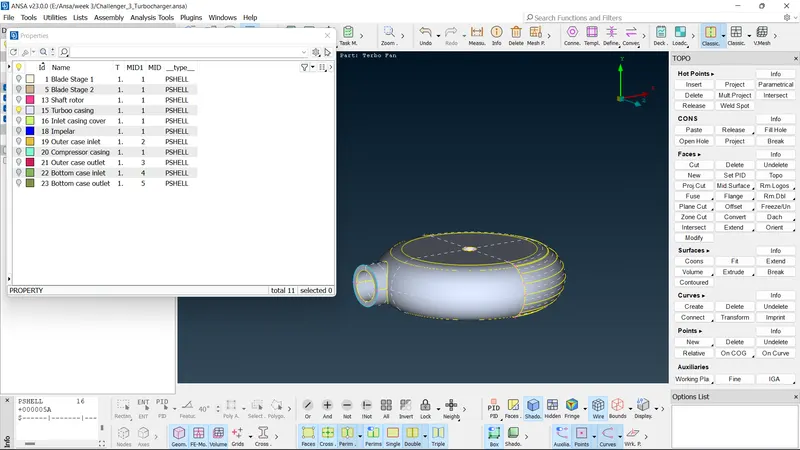
Turbo casing:
Inlet casing cover:
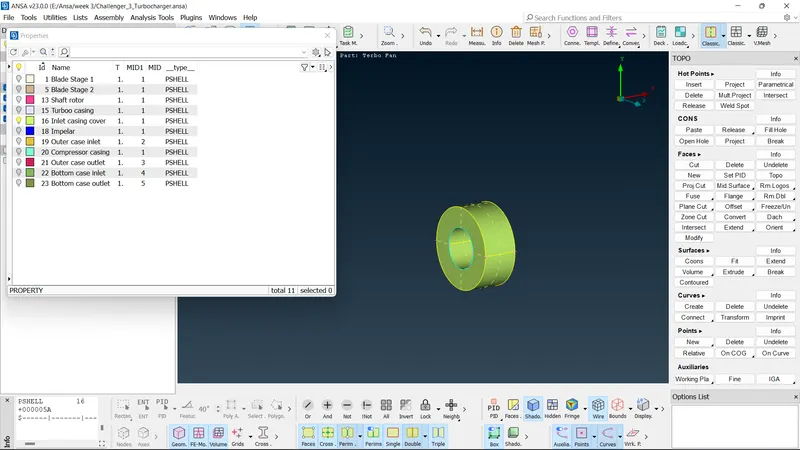
Impeller :
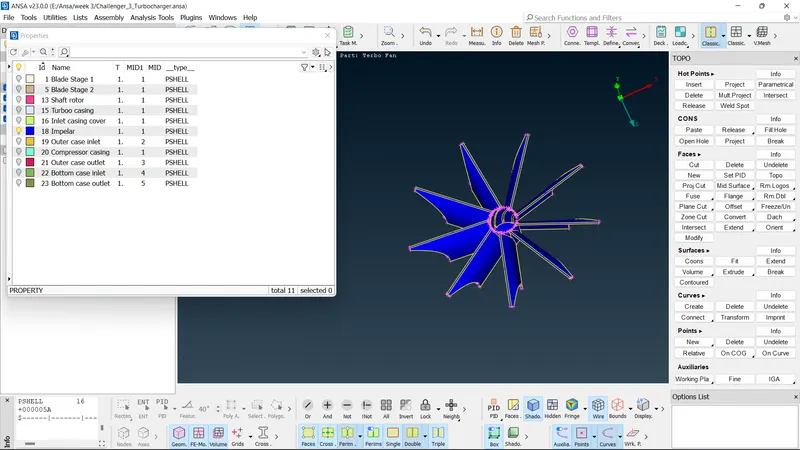
Outer case inlet and outlet:
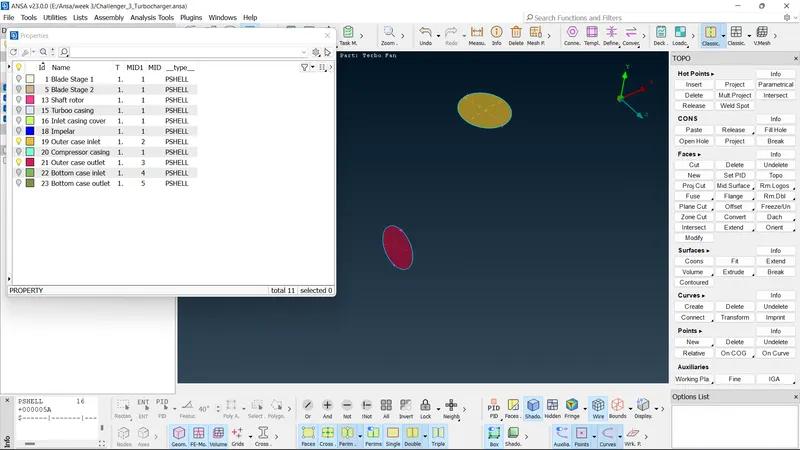
Bottom case inlet and outlet:
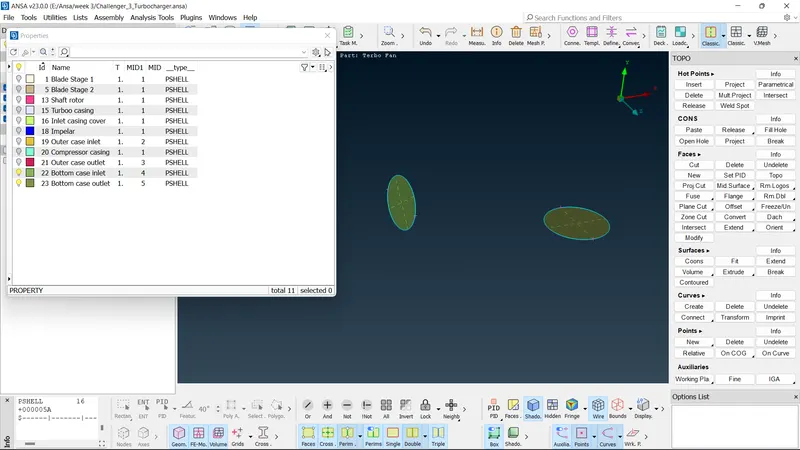
The full model is ready to surface mesh
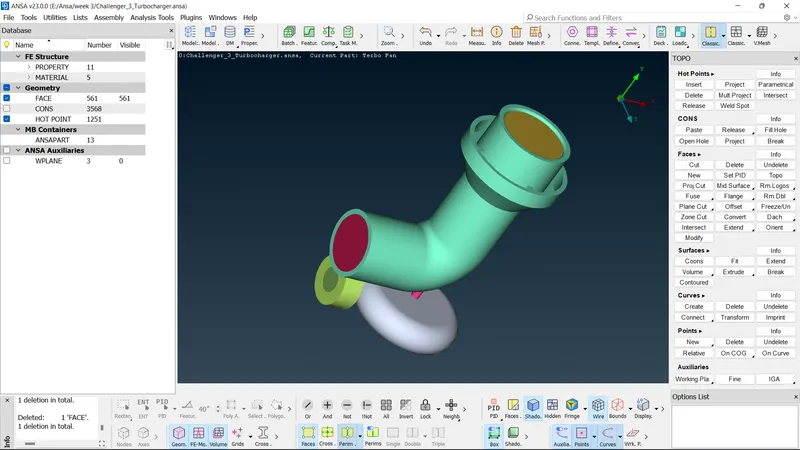
Surface Meshing:
Select the MESH module button > parameters > length
Drag the cursor to cover the entire model and click middle mouse button to give the mesh size as 5mm for entire model
Select Mesh generators > Free mesh and drag the cursor to cover the entire model and click middle mouse button
Surface Meshing:
- Blade stage-1 = 1 mm
- Blade stage-2 = 1 mm
- Impeller = 2 mm
- Shaft rotor = 1 mm
- Turbo casing = 5 mm
- Compressor casing = 5 mm
- Inlet casing cover = 5 mm
The Compressor casing model is meshed with size of 5mm
Similarly Meshing of individual components is done according to the given requirements.
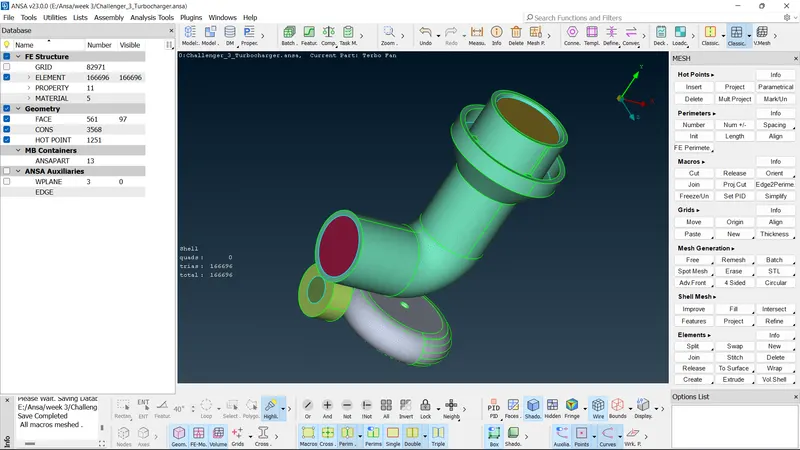
Result of Surface mesh:
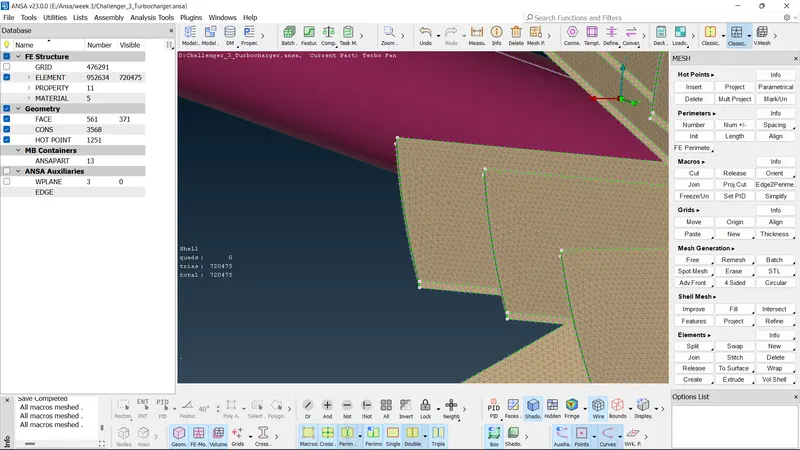
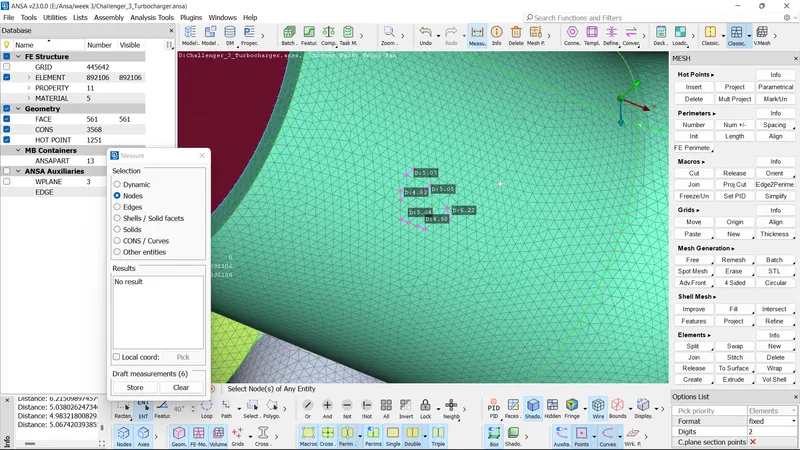
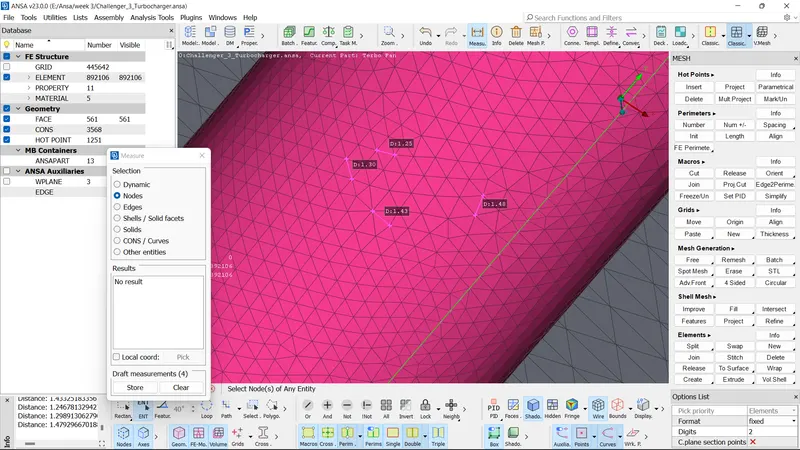
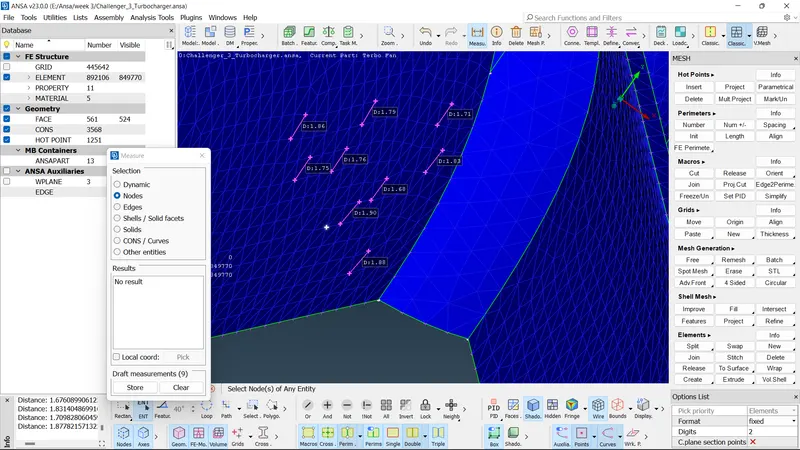
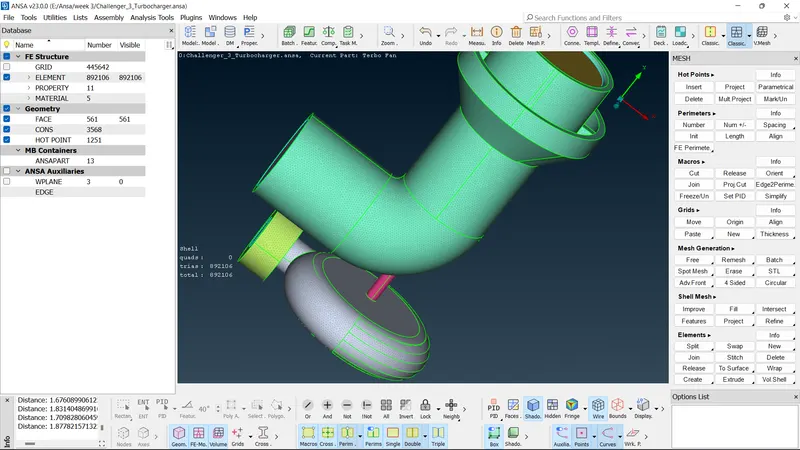
We can see that the mesh has total 892106 elements in ovrerall component with no unmesh . All triangles and no quads. This means that we have meshed our geometry correctly
volumetric mesh :
For generating a volumetric mesh, we go to the right-side menu and in the volume tab > Define > use the entire database and press ok.
Under volume meshing, choose define and select whole db in the pop-up window.
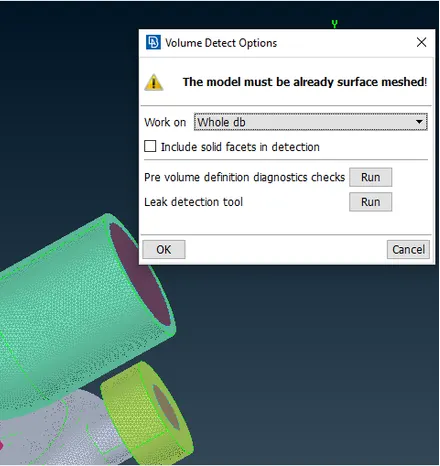
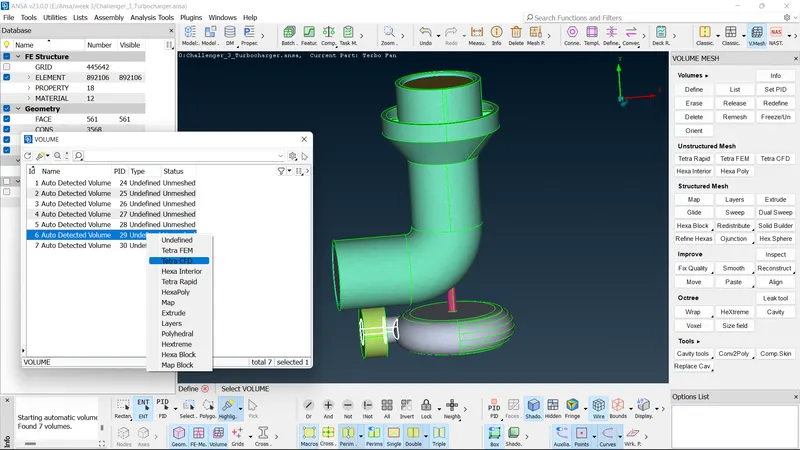
ANSA identifies various volume present in the geometry, we can delete the unwanted ones and keep the necessary volumes where the fluid can possibly flow in geometry.
It should detect a total of 8 volumes. In those 8 volumes we need only 4 volumes. These volumes are the thickness of all the components.
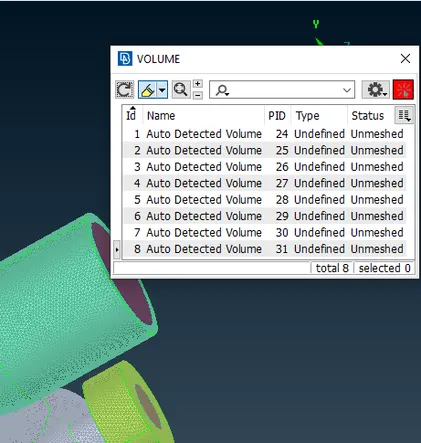
After the deleting the outer thickness volume and only keeping the fluid volume region, we can remesh each volume using the tetra CFD option under remesh.
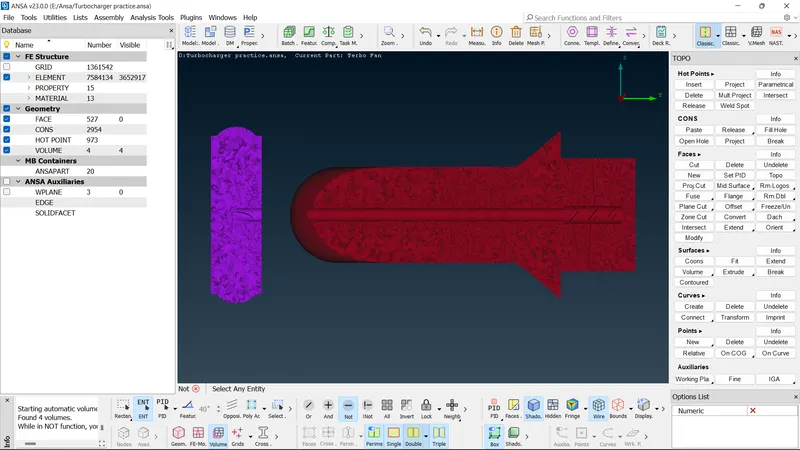
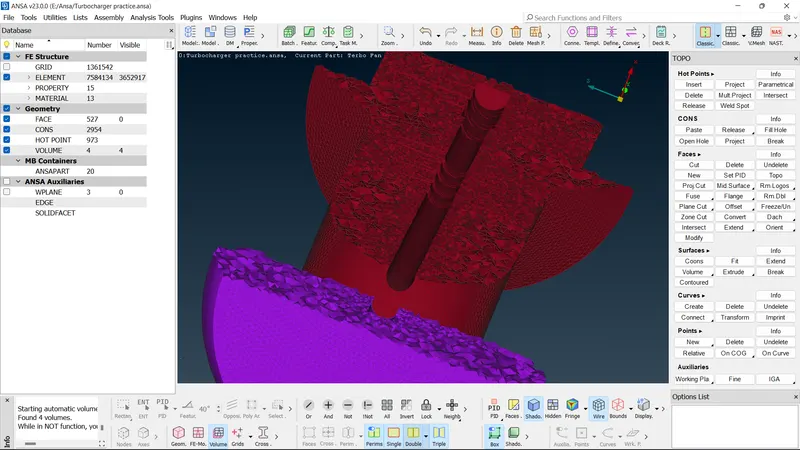
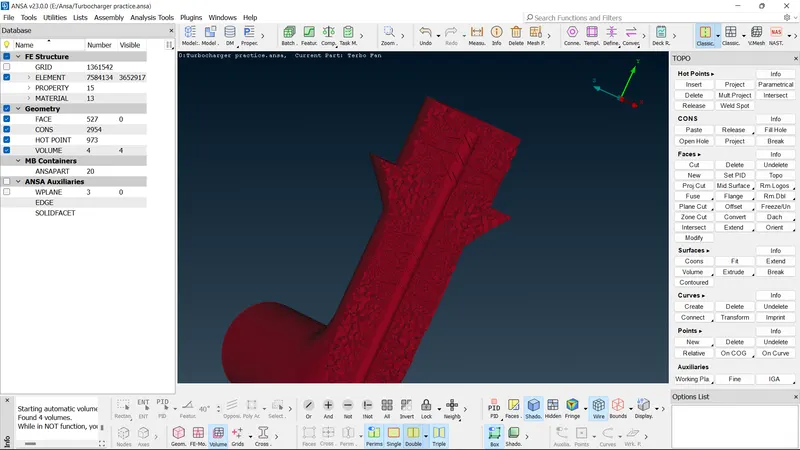
After each volume is remeshed, the volume mesh can be viewed for each component.
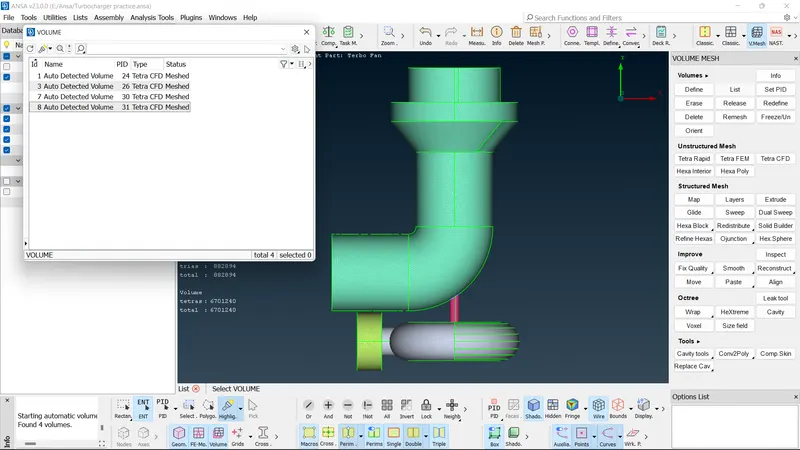
if we select all in the list and show only its will the meshed part of the model.
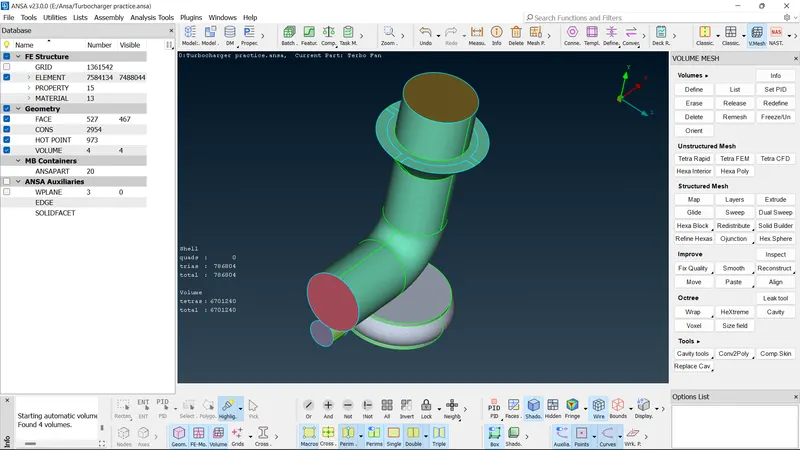
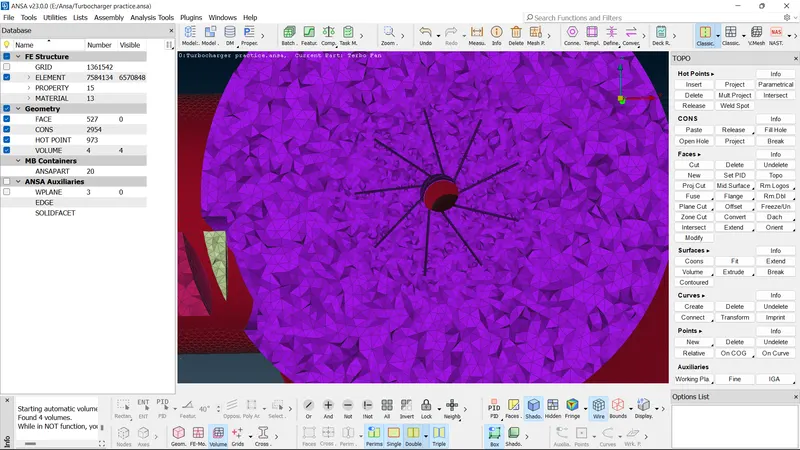
After volumetric mesh if you open in topo the model will look like overlap surfaces present on it.
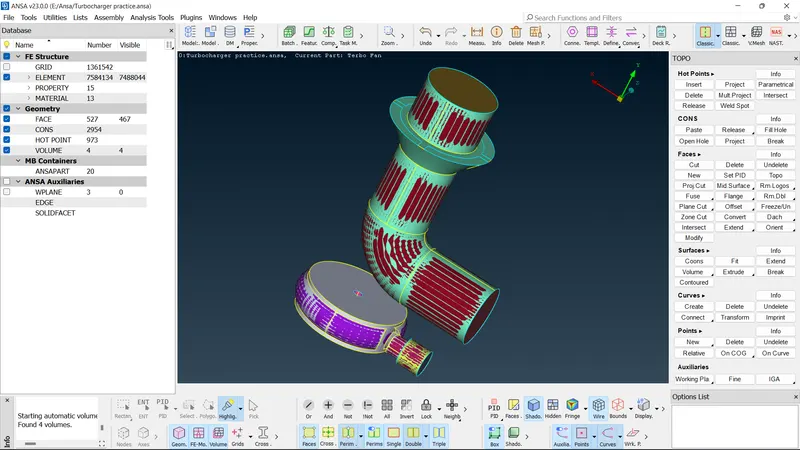
if you turn off the Geomentry and FE-mode the correct view is showed.
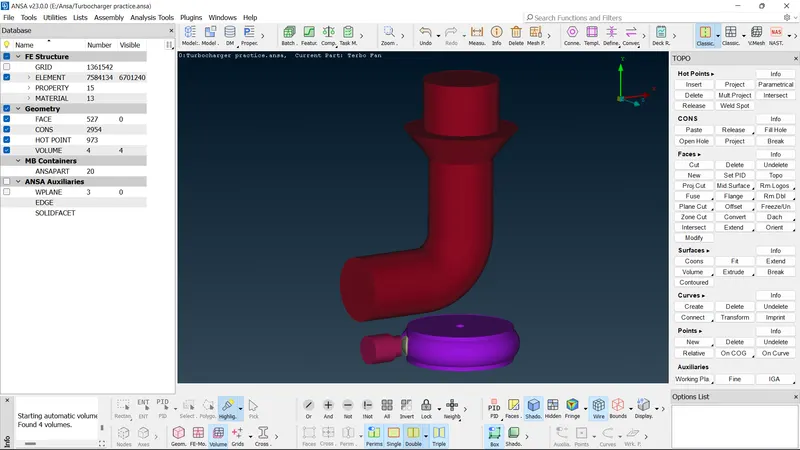
Result of volumetric mesh:
Conclusions :
- Achieved volumetric mesh of the turbocharger model.
- Different mesh length size tend to give errors at the contact regions in different mesh length regions, therefore mesh ranges can be given to avoid erasing of mesh.
- Volumetric mesh can be achieved only after creating surface mesh successfully, or else the geometry can give fatal errors while volume meshing.
- Overlapped surface can be deleted using the universal delete option.
- Unnecessary single and triple cons can be removed and edited using different tools such as cons project, topo, release and fine tools while geometry clean up.
- Successfully volumetric mesh can be achieved only after correct geometric clean up and surface mesh.
CFD meshing on Turbocharger:
https://drive.google.com/file/d/1whOpEmBPsQEvB3pa9NyEeewHzGhYU17A/view?usp=sharing