Project 1 : CFD Meshing for Tesla Cyber Truck
CFD Meshing for Tesla Cyber Truck
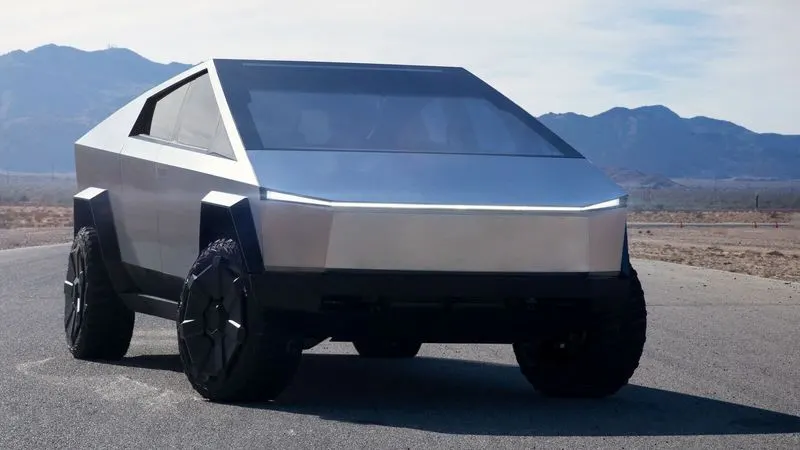
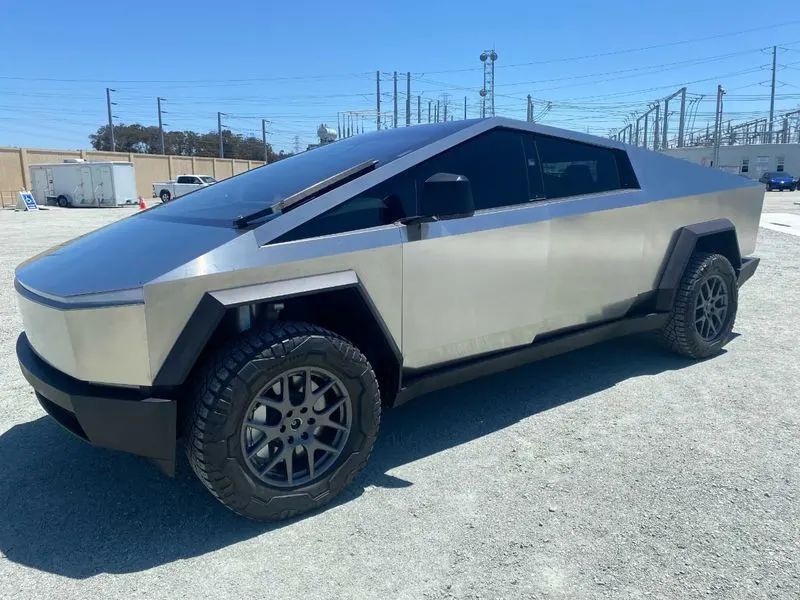
Initial Model
First of all insert the model.
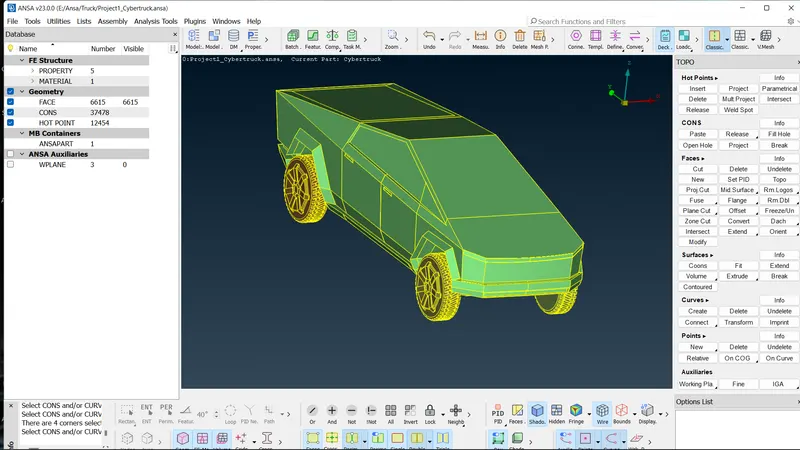
PROCEDURE :
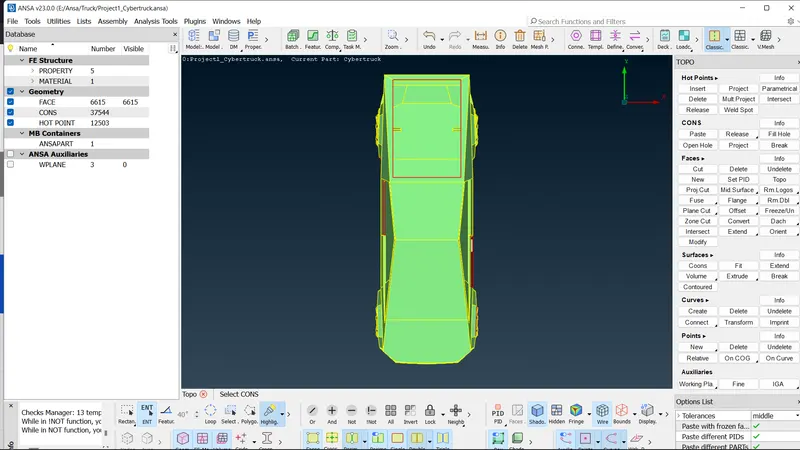
Front view
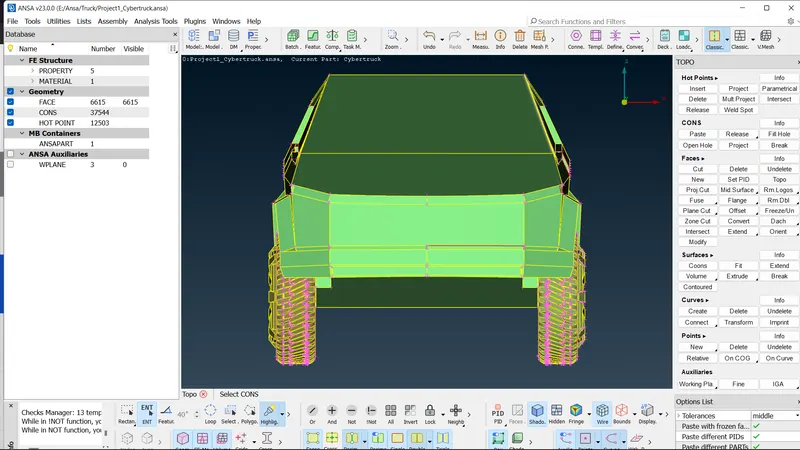
Bottom view
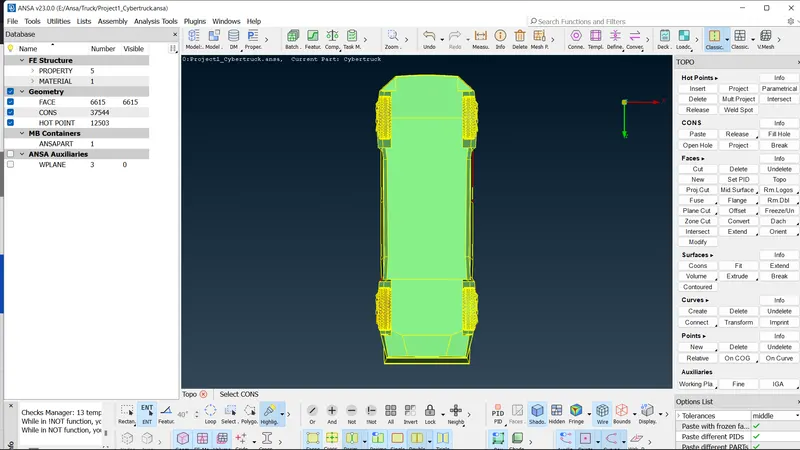
Side view
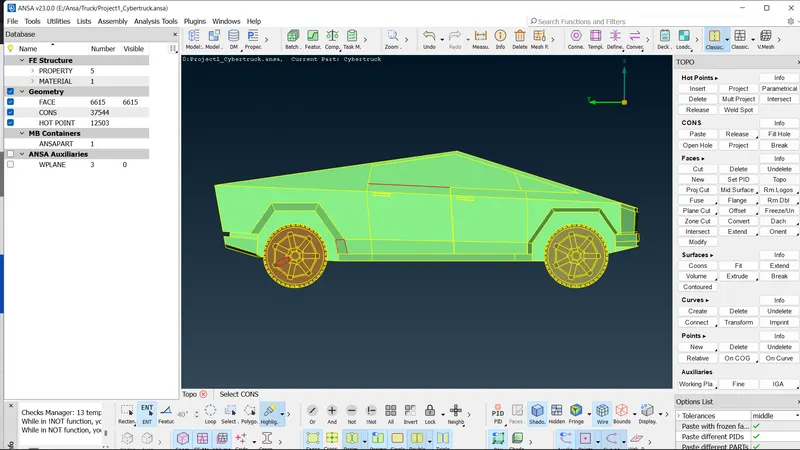
Top view
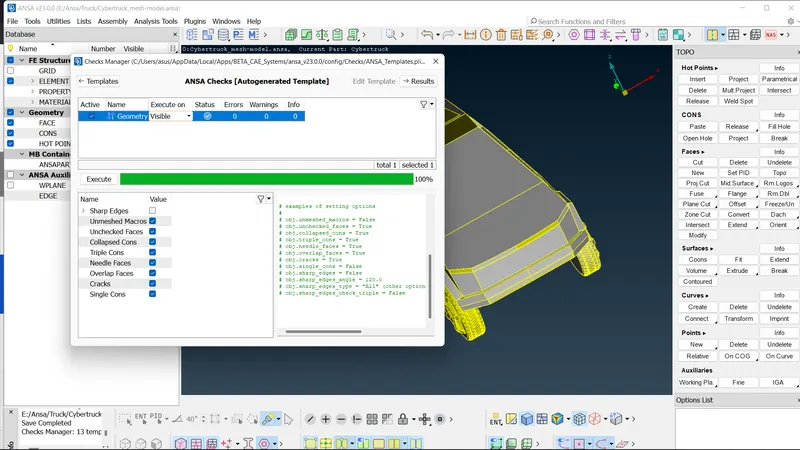
check the Geomentry check and find the erroes present in the model
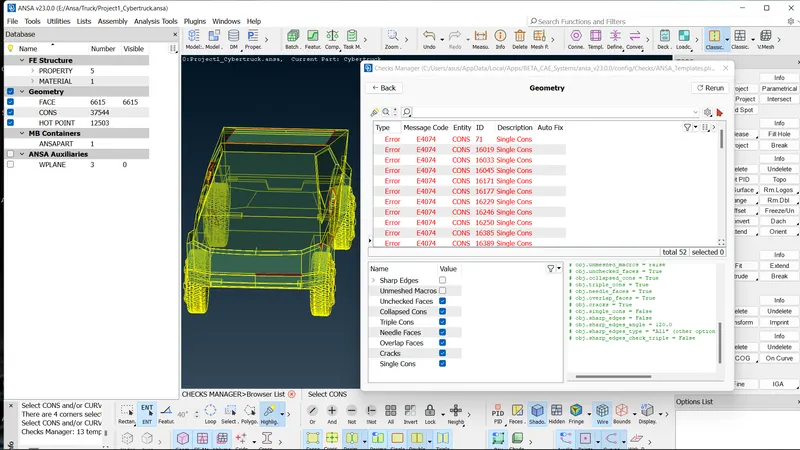
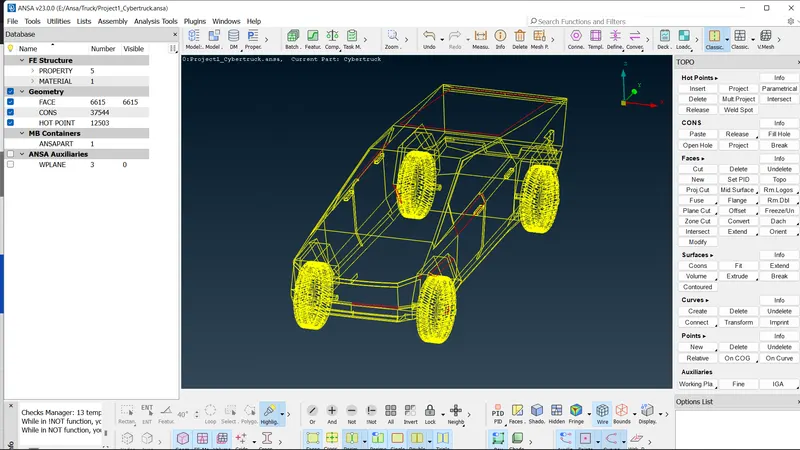
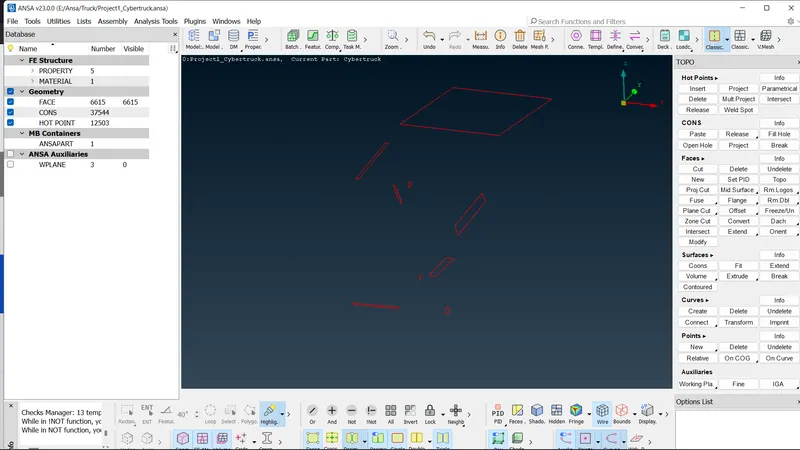
Our Model have so many single cons so apply topo to entire model and topo will work, it will join the two or three cons together respectively.
As our model has uneven surfaces so to make the surfaces fine use fine option from auxiliaries. If we have to do cons resolution of entire model
in one shot then go to mesh desk and apply perimeters and macros equal to 1mm so that it will improve cons resolutions of the entire model. It will
ultimately reduces the distance between two cons which equal to 1mm in order to make surface finish.
If two single cons are near to each other then we can join them by using paste option.
Geometric checks are performed to have no single cons present in the model and possible triple cons are removed by deleting it using universal delete option.
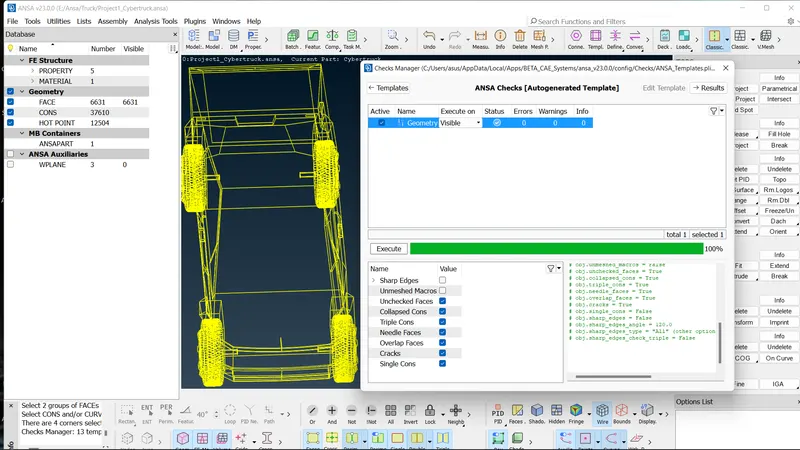
Before creating surface mesh, the cons and small edges that have length less than minimum mesh length are identified by measuring the distance between cons and solved using 'cut' option in order to avoid mesh failing the mesh criteria at this small surfaces.
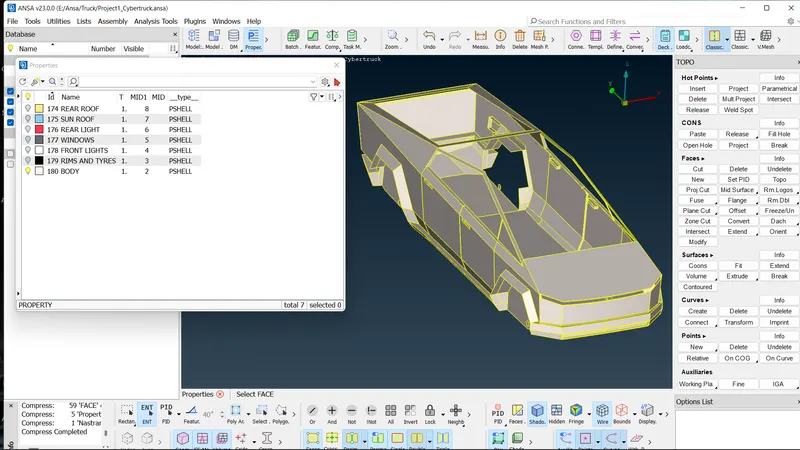
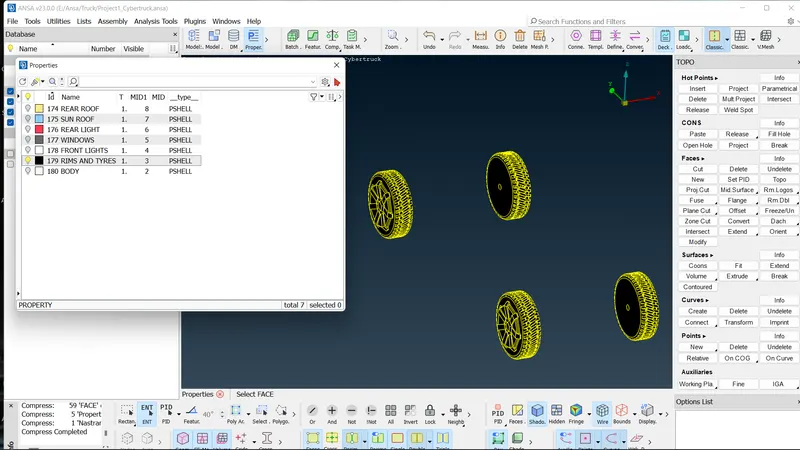
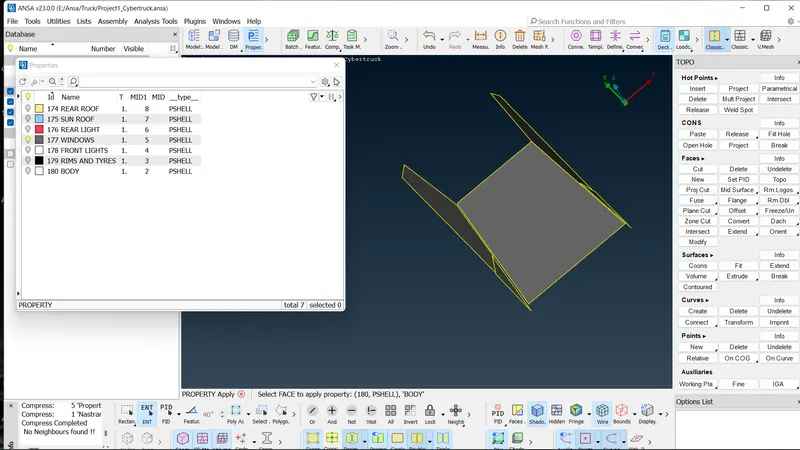
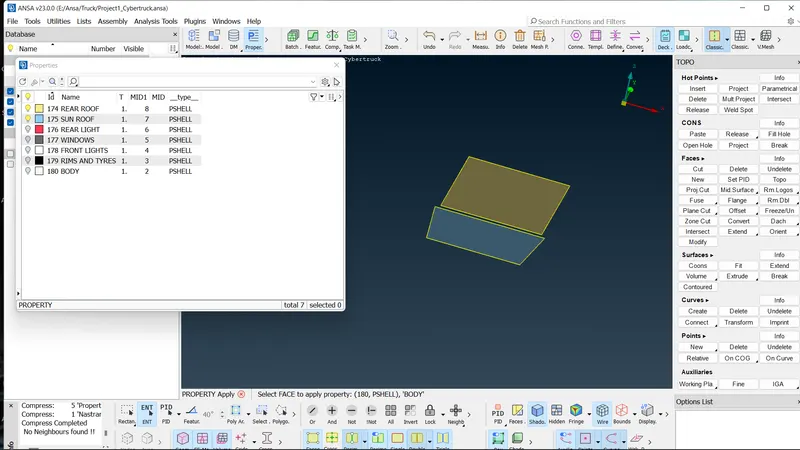
PIDs are assigned using the PID manager which is present top deck for all parts in the body.
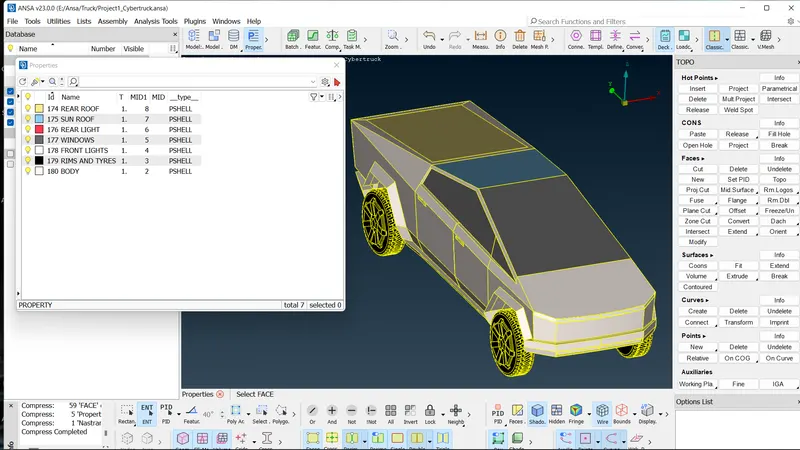
BODY
TYRES AND RIMS
WINDOWS
SUN ROOF AND REAR ROOF
REAR LIGHT AND FRONT LIGHT
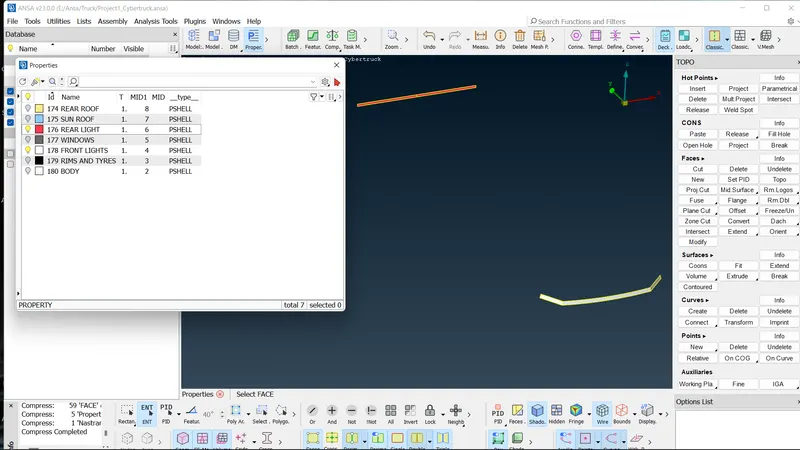
Full model with PID's
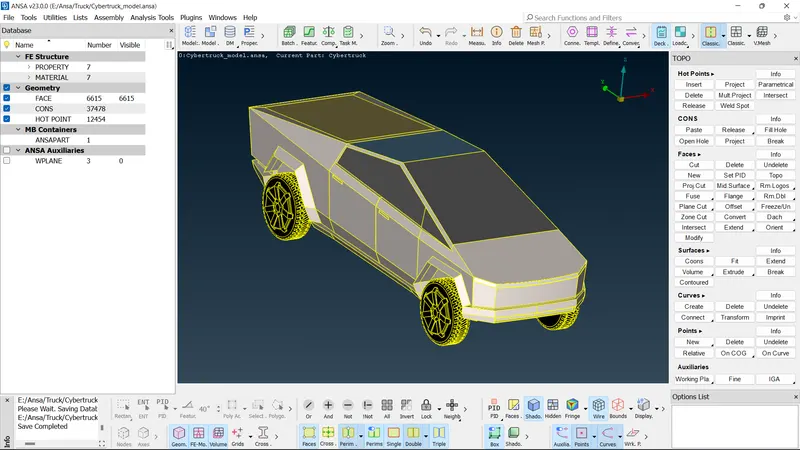
SURFACE MESHING :
First of all, wisely choose the Quality criteria parameters which are only required: -
1) Individual elements are meshed with respective mesh length with minimum and maximum length.
2) Body isolated and give a mesh length of 4mm with minimum and maximum length of 2mm and 6mm with triangular elements and for Quality criteria provide appropriate mesh length. Here is quality criteria and mesh element size for all the components.
3) The mesh is seen in Hidden Mode and ENT wise, which will show off elements which are violating the criteria. So, we need to remove off elements by using options such as MOVE, SPLIT, RECONSTRUCT, SMOOTH the grid respectively, from this we can improve our meshing.
4) Once the off elements' number reduced to 0 then meshing is done successfully, and Similar method is used for other PID's.
BODY = 4
TYRES AND RIMS = 4
WINDOWS = 5
SUN ROOF = 3
REAR ROOF = 3
REAR LIGHT = 1
FRONT LIGHT = 1
Mesh the all PID'S as per given element sze
BODY
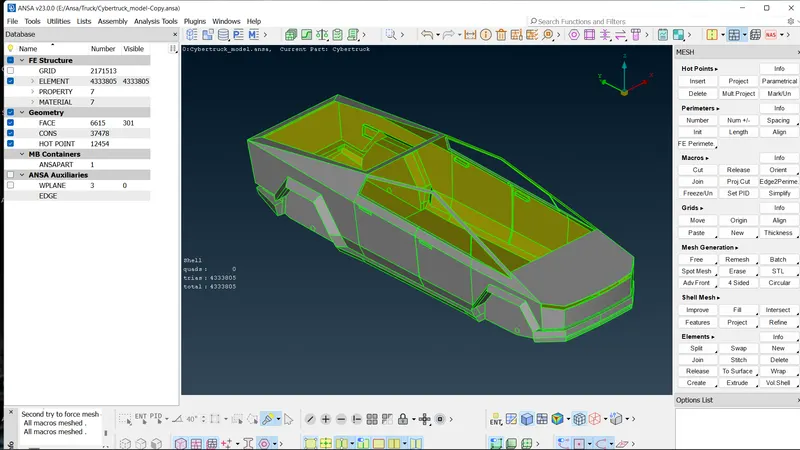
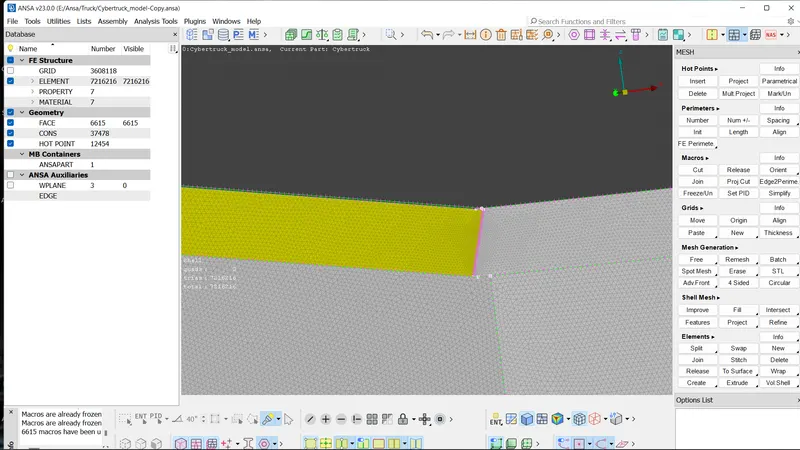
TYRES AND RIMS
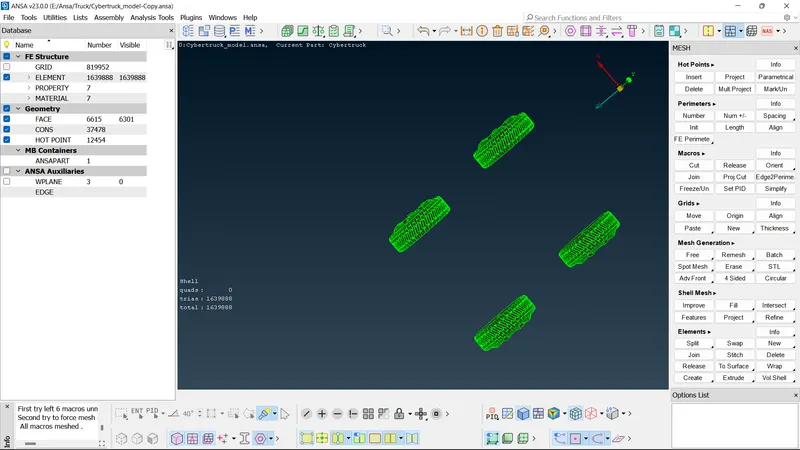
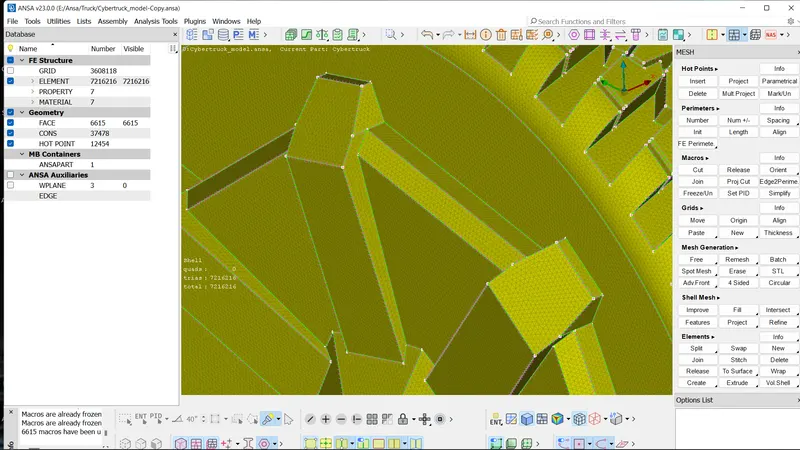
WINDOWS
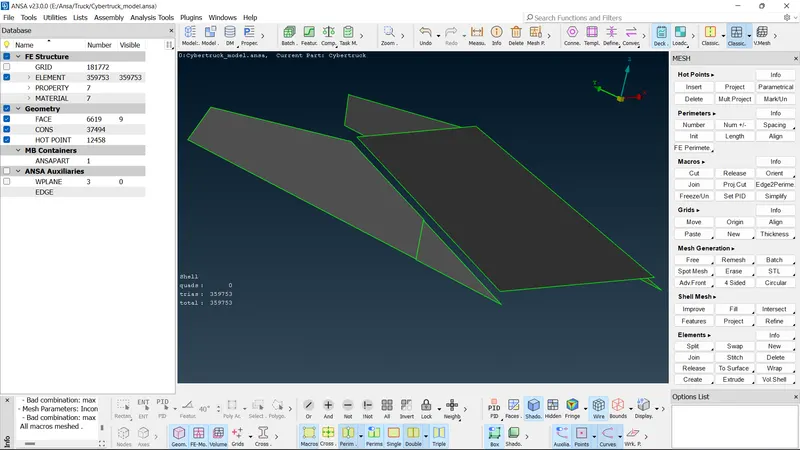
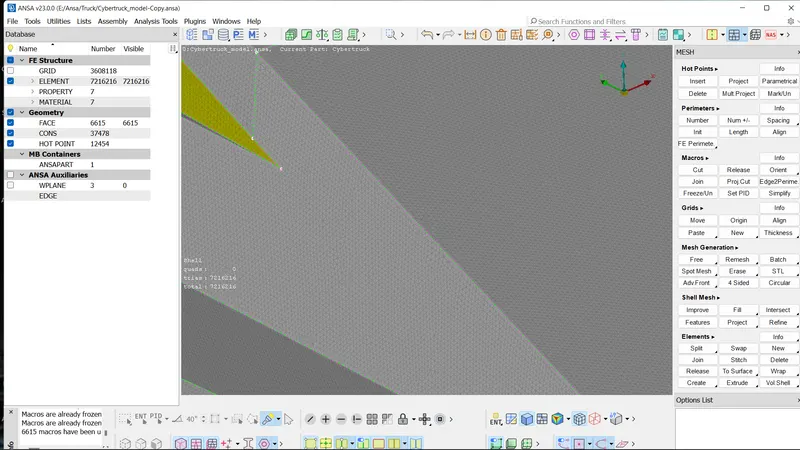
SUN ROOF AND REAR ROOF
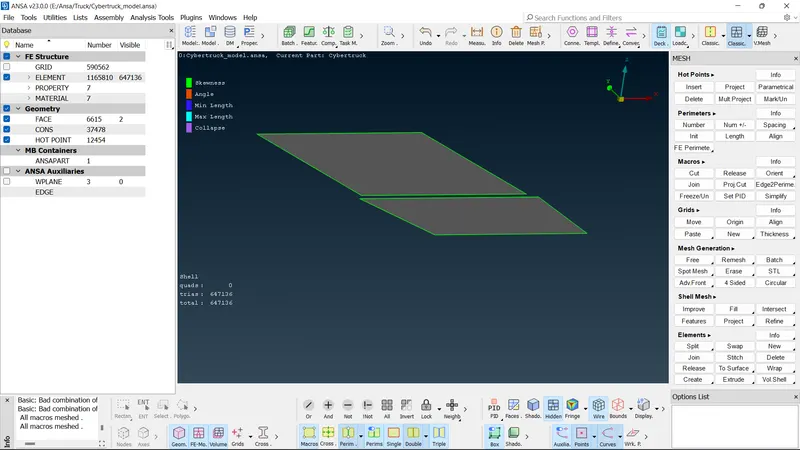
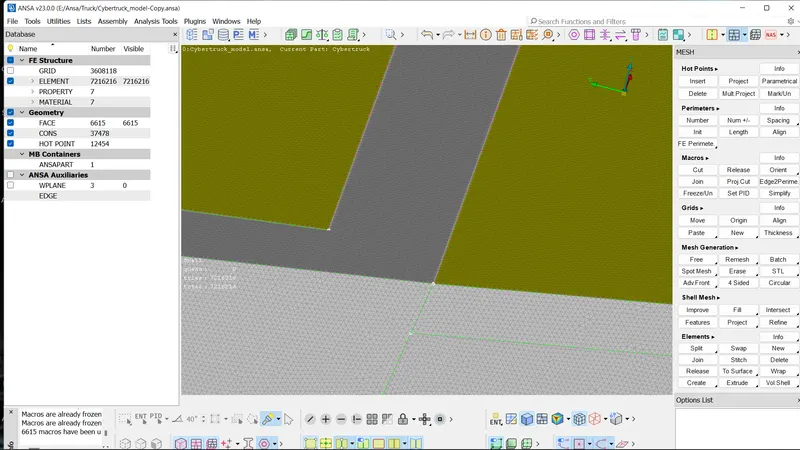
REAR LIGHT AND FRONT LIGHT
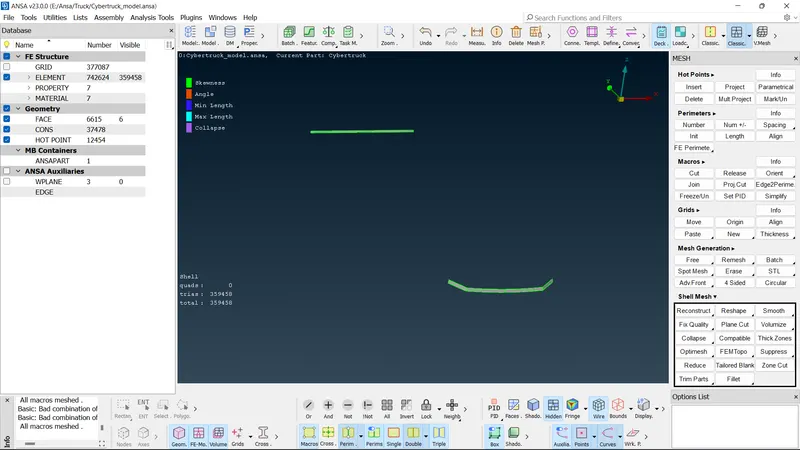
aftre surface mesh chesk the geomenty check bt selecting unmeshed and single cones, its the geomentry is proper then we can go to next step.
WIND TUNNEL:
Data for wind tunnel are as follows:
The wind tunnel dimensions are, if x is the lengths of car then
The front of the wind tunnel is 4X from the car.
Rear of wind tunnel is 6X from the car.
The top of the wind tunnel is 3X from the car.
Side walls of wind tunnel are at X from the side portion of the car
Bottom of wind tunnel is in close proximity of wheels
Points are created by using 'Relative option' in points of Topo Deck.
Total length of the Car is 6000mm, we can ues this value to creat the wind tunnel
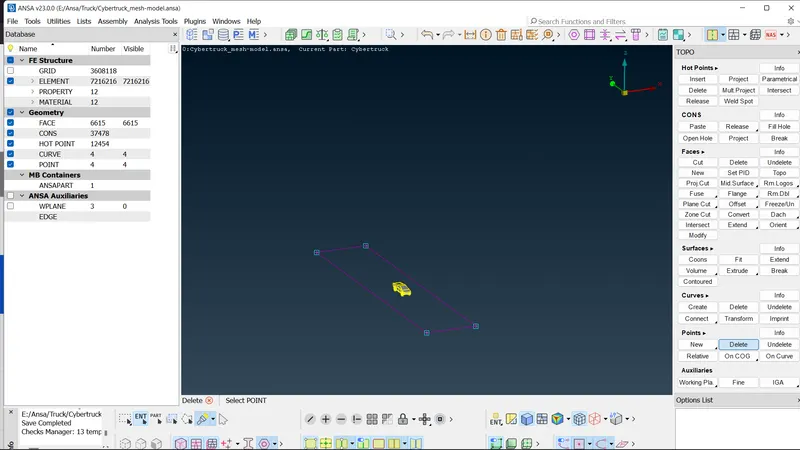
Do curve to joint points
Topo Deck- points - relative - points - select points. After the points are created join these points from bottom plane by 'create curves'
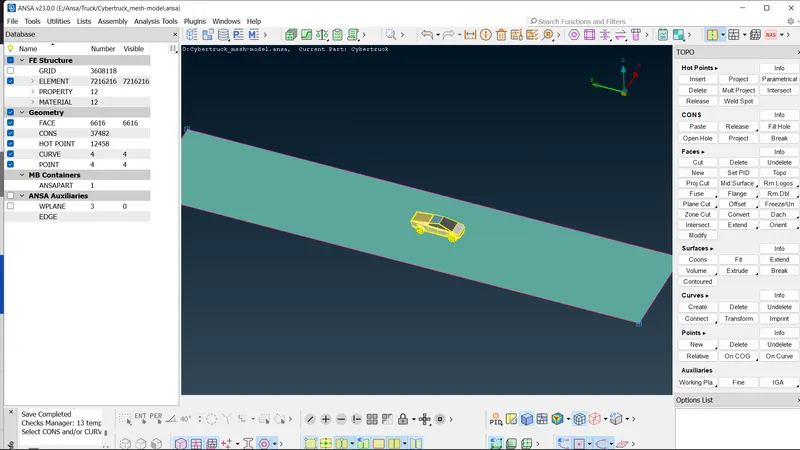
Once the curves are created for top and bottom then create a surface with help of 'New' option in 'faces'
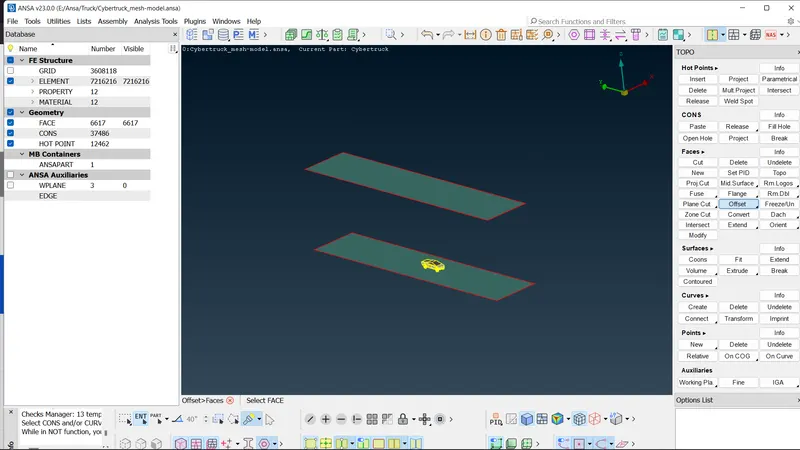
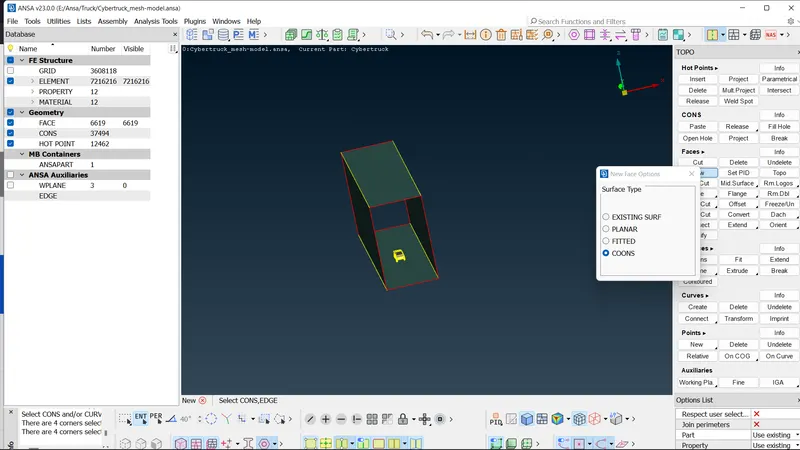
Topo - Faces- New -Fitted -will open PID manager window-create new PID -double click on it to create surface on it.
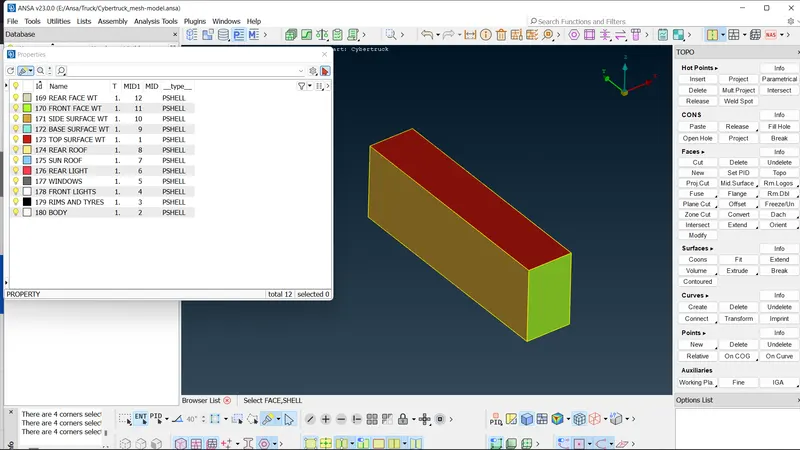
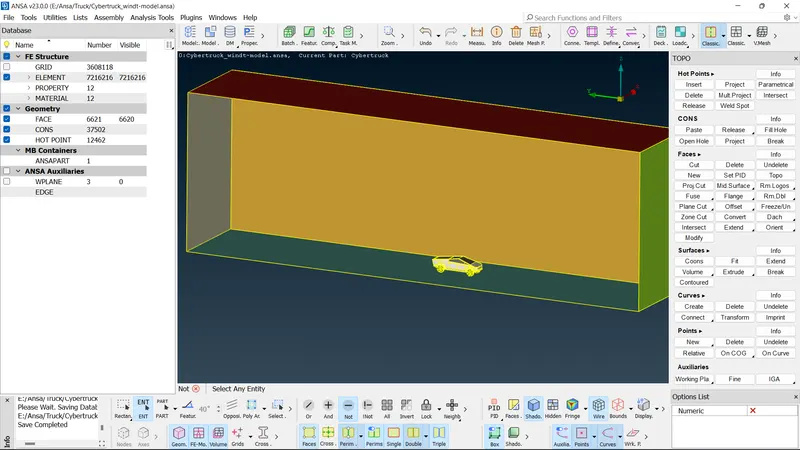
As the analysis of what happens over the surfaces of car is of importance so the bottom of wind tunnel should have good resolution as compared to the top portion as it relatively at larger distance than bottom. So, mesh length of 20 is taken at bottom and 100 for top portion.
As the front and rear of car are connected with the top and bottom surfaces then the mesh length for this surface should vary from 20 to 100 from bottom to top portion. This gradual variation can be achieved using Spacing option from the perimeters section of Mesh deck.
Perimeters- Spacing -Geometric -factor of 1.1 and d-min of 20 successful application of this will be indicated by upward pointing arrows.
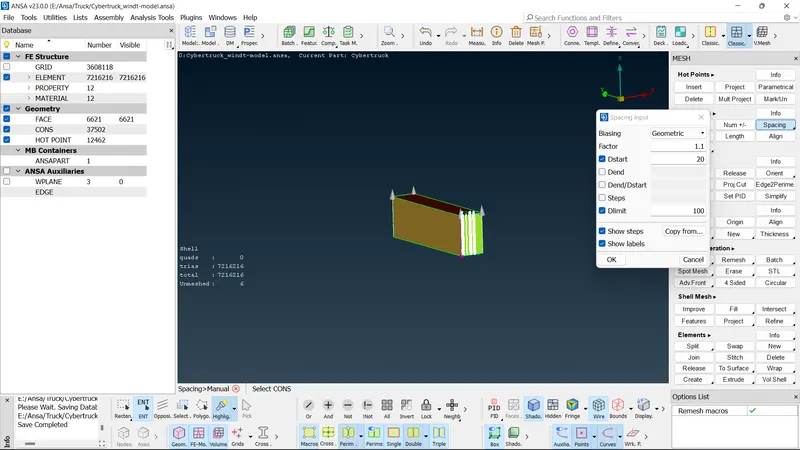
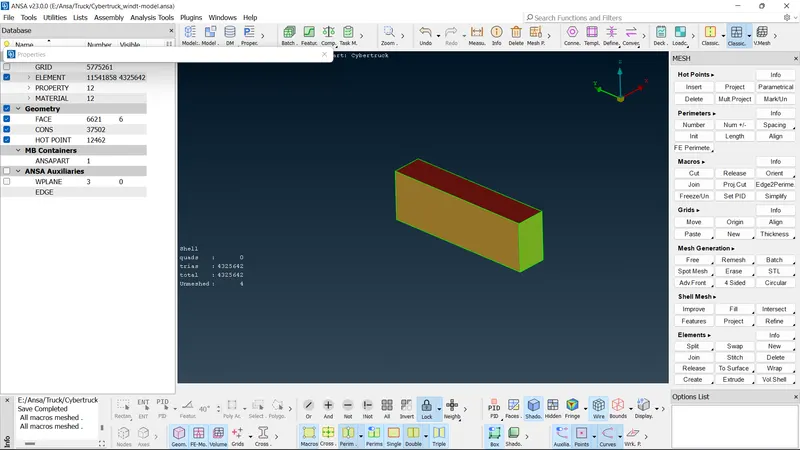
Mesh is generated by applying Spot mesh for individual surfaces.
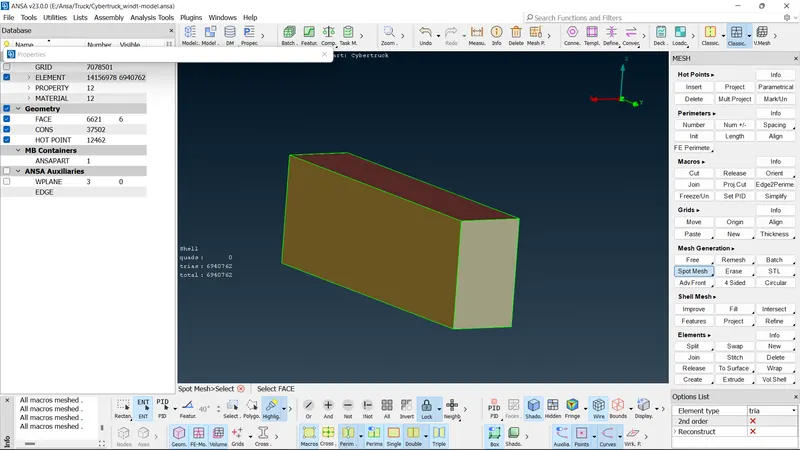
Volumetric mesh
For generating a volumetric mesh, we go to the right-side menu and in the volume tab > Define > use the entire database and press ok.
Under volume meshing, choose define and select whole db in the pop-up window.
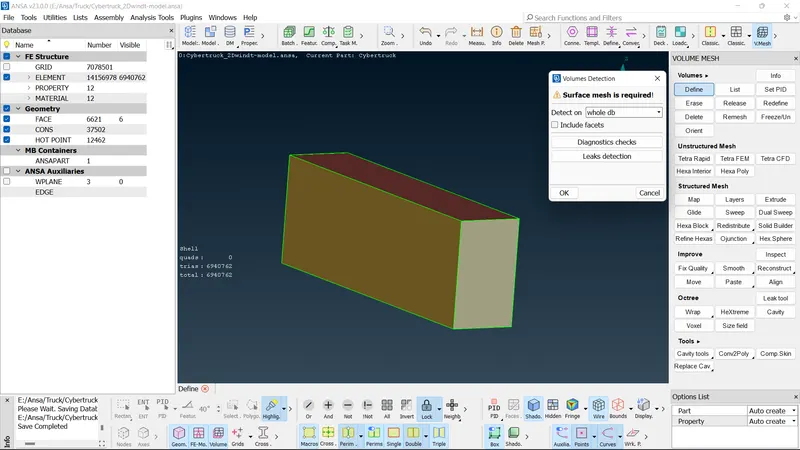
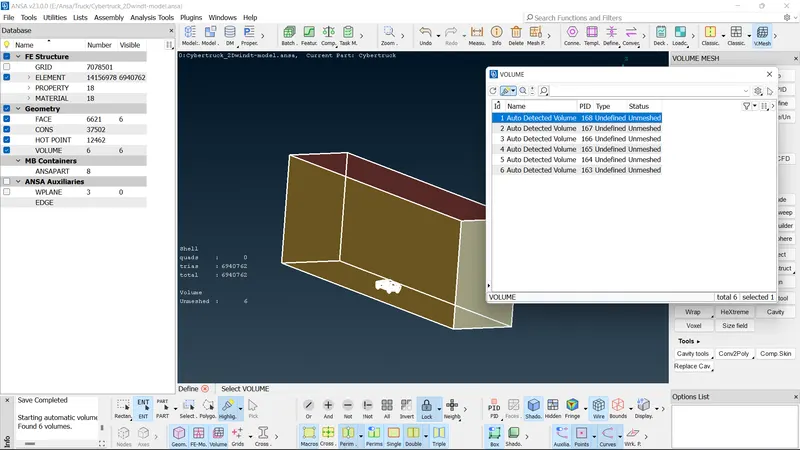
ANSA identifies various volume present in the geometry, we can delete the unwanted ones and keep the necessary volumes where the fluid can possibly flow in geometry.
It should detect a total of 6 volumes. In those 6 volumes we need only 1 volumes. These volumes are the Domain of the car and wind tinnel.
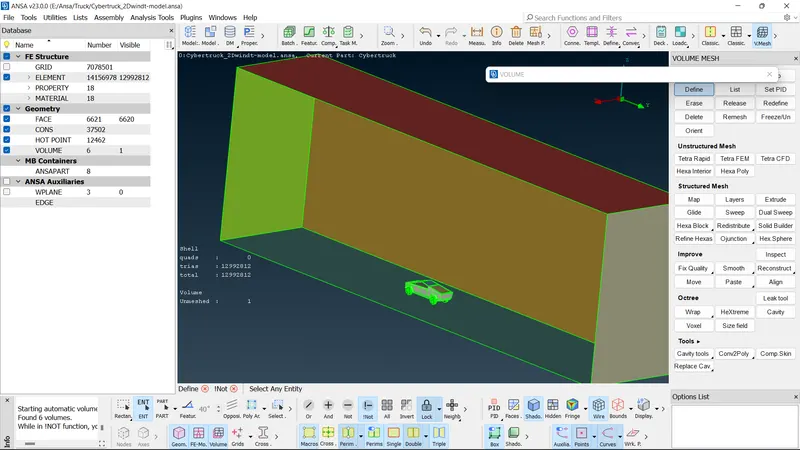
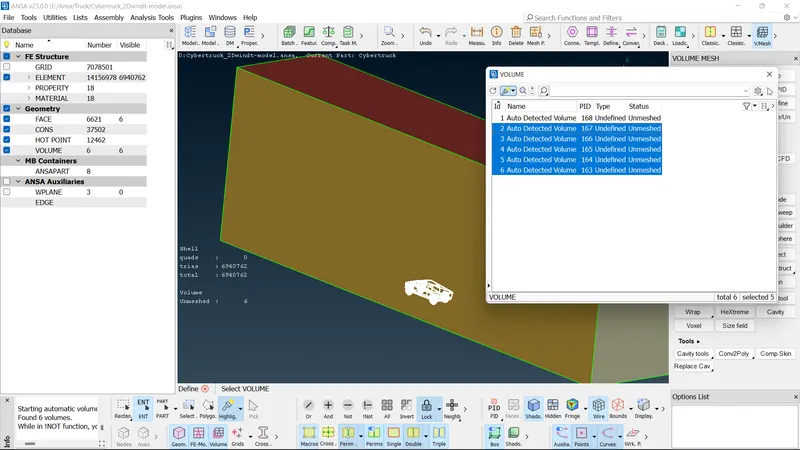
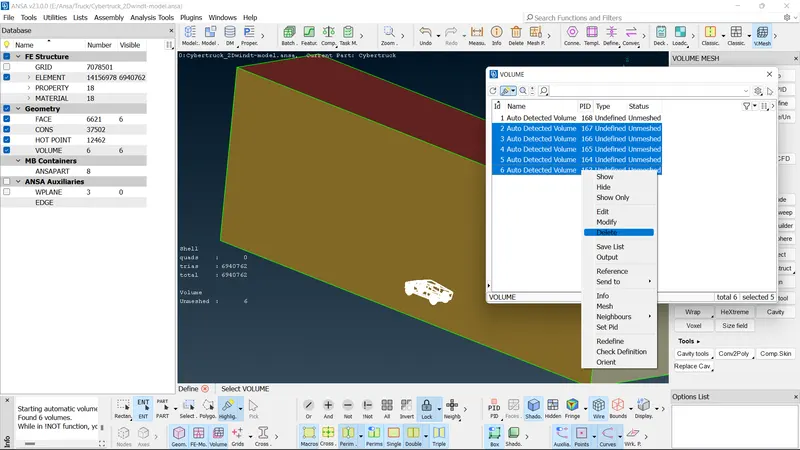
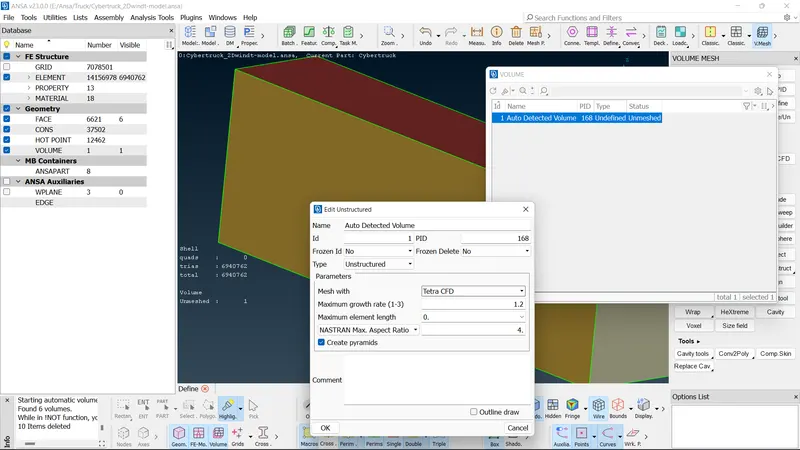
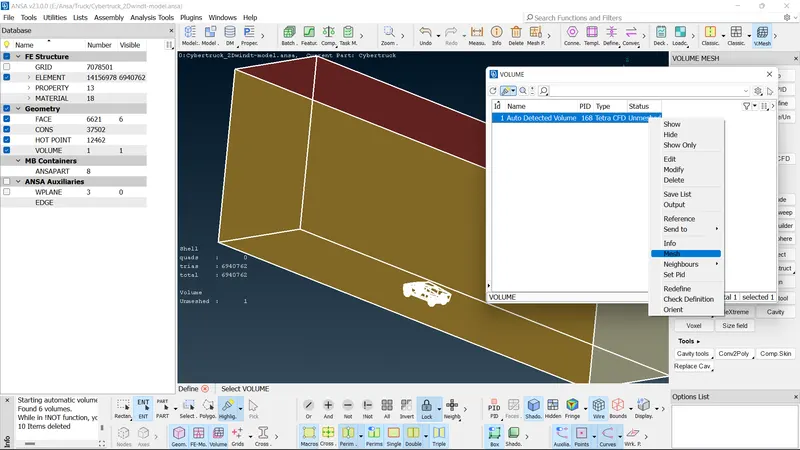
After the deleting the outer thickness volume and only keeping the fluid volume region, we can remesh each volume using the tetra CFD option under remesh.
Learning Outcomes:
- Learnt the complete CFD meshing skills from scratch.
- Performed various topo clean-ups using different tools.
- Understood the need of double cons and removing unnecessary triple and single cons.
- The use of symmetry helps in reducing the work time and help in having accurate results with less work.
- Create surfaces using references hot points by using relative points.
- Surface meshing for different components and their varying mesh lengths.
- Using spacing option in surface meshing helps in having varying mesh lengths along the surfaces.
- Using re-construct option to reduce off elements to a level where we can edit it manually.
- Using the mesh modifying tools like move, split and smooth options.
Conclusions:
- CYBER TRUCK car model is topo cleaned and surface meshed appropriately.
- Wind tunnel is created, and surface meshed with reference to the car model size.
- Single volume is created of the car body so that it can be avoided at one go when creating a volumetric mesh.
- Required physics tests can be performed on the wind tunnel volume model after volumetric meshing successfully.
CFD Meshing for Tesla Cyber Truck
https://drive.google.com/file/d/1qtyIjnoD3JrOZPJZYx08gL8Si02KZuaL/view?usp=share_link