Week 10 - Challenge 2- Attachment Feature Creation (Dog House)
AIM:To create the Door Trim Plastic Component from the given Class A Surface & then create two dog houses as attachment features for it while following the given Design Guidelines.
OBJECTIVE:
- To create a tooling direction.
- To perform draft analysis for given Class A-Surface .
- To design the B-Surface and C-Surface using the given Class-A surface.
- Take the Thickness of the component to be 2.5 mm.
- To create the dog houses as attachment features for it while following the given Design Guidelines.
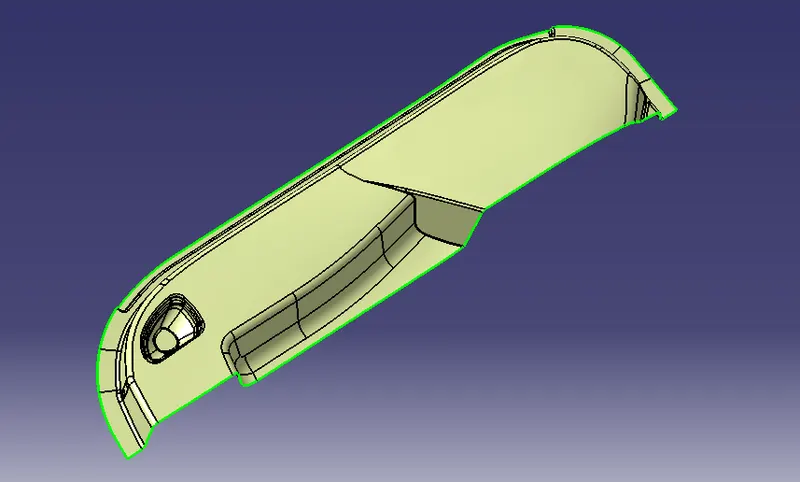
- CLASS A SURFACE
Given Class A Surface
TOOLING AXIS:
observe the given class-A surface and find the proper surface to create Tooling axis,
- Create a Point on curve.
- Draw a Point To diraction line through that point along Y.
DRAFT ANALYSIS:
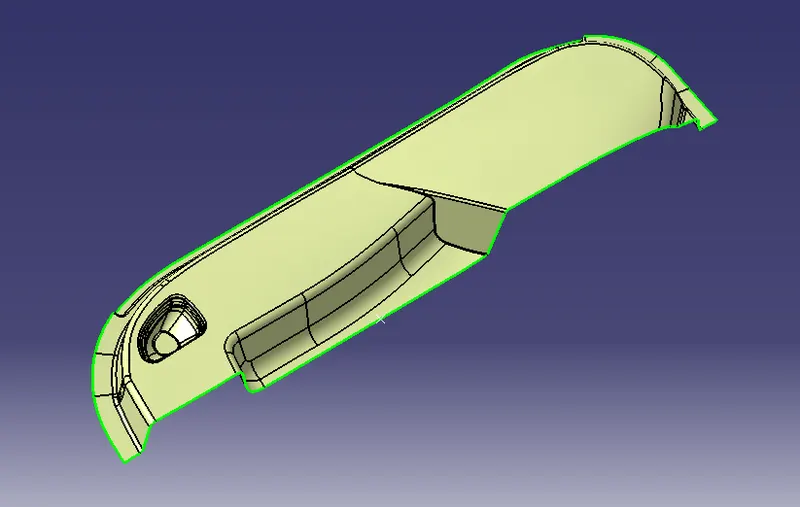
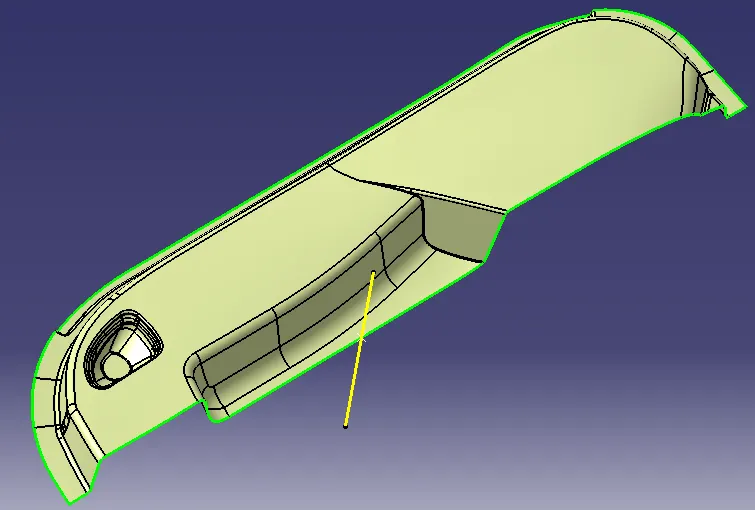
Draft analysis for the given CLASS-A surface,
Draft analysis is done after determining the tooling axis, draft analysis is used to check whether the minimum draft (3 degrees) is maintained or not.
- Open the featured draft analysis tool.
- Drag and align the compass on the Tooling axis.
Lock the draft direction and perform draft analysis by clicking on the component
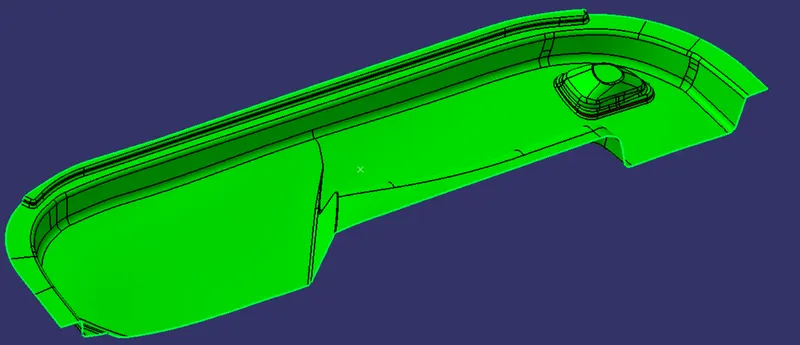
We found some regions that are not clearing the Draft Angle.
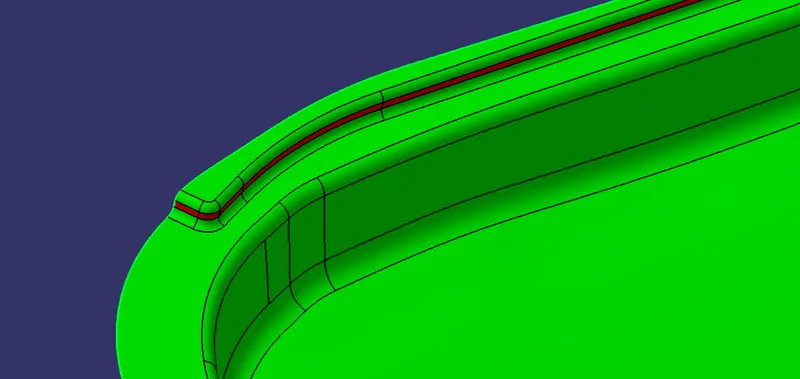
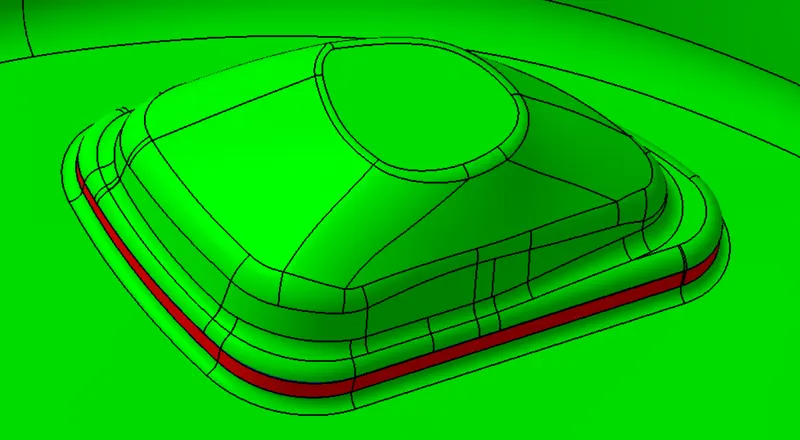
- CLASS B SURFACE
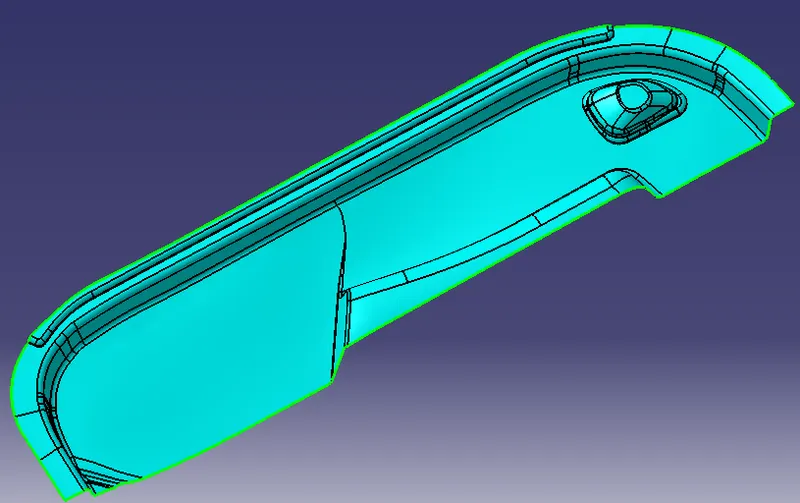
Class B Surface is created With the help Class A Surface
- Offset the class-A surface to 2.5mm inward direction.
- Remove patches and discontinuity of the offset surfaces using the features like extract, multi-extract,Un trim, extrapolate.
- Provide proper Fillets.
To ensure there is no gap in Class-B surfaces ,check the boundary command to find out the boundary
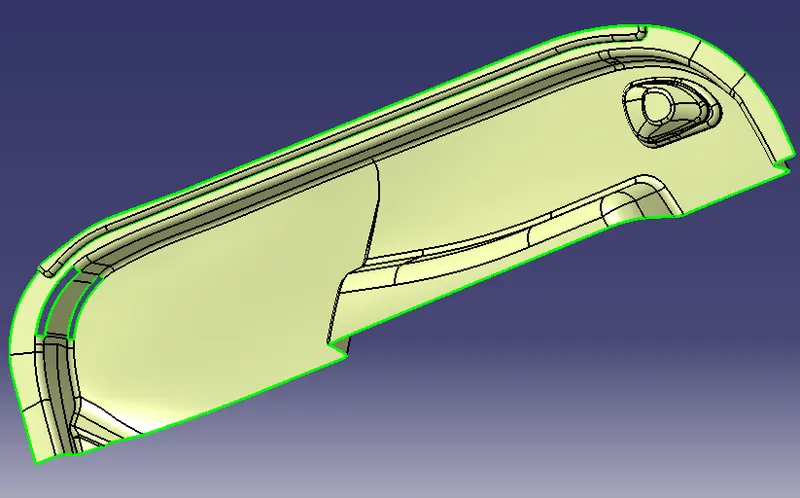
CLASS B
- CLASS C SURFACE
Class C is created with help of A-Surface,The Surface that joins class-A and class-B surfaces.
- Create the Boundary
- Sweep at 3 degree,Draft with Tooling Axis.
- Extrapulate.
- Trim off the sweep surfaces.
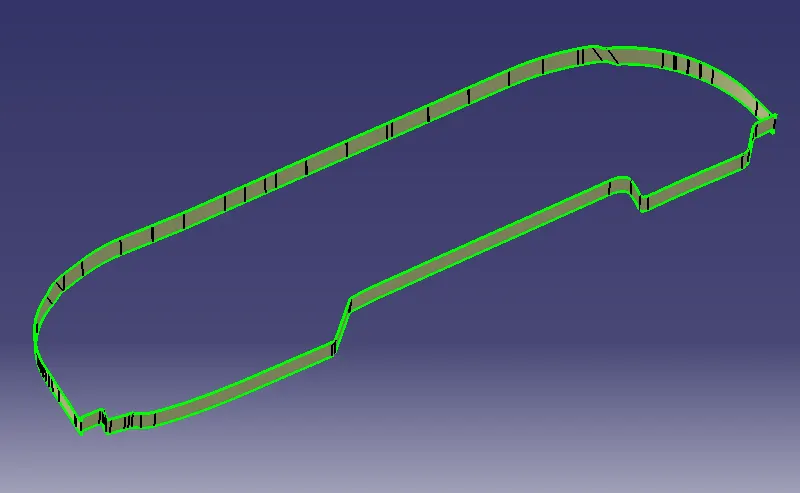
JOIN CLASS C WITH CLASS A
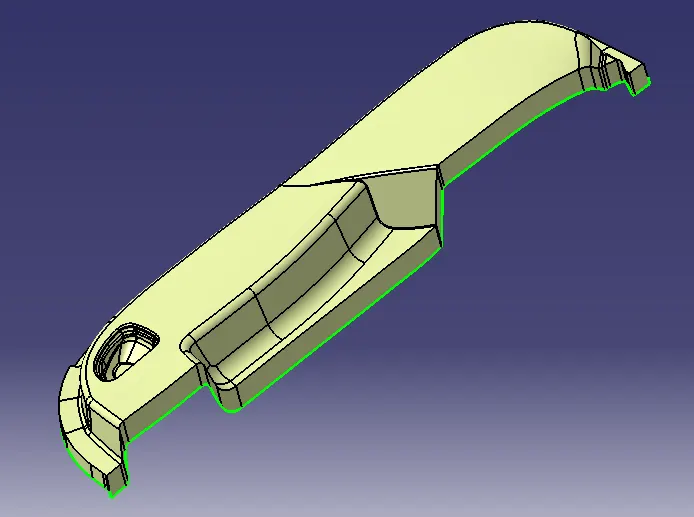
- FINAL TRIM
Trim the Joined surface with CLASS-B surface to achieve the final Out put.
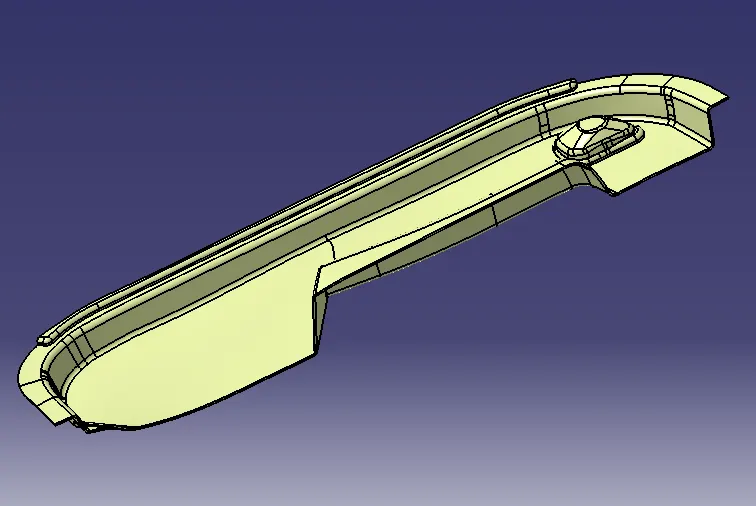
In part design work bench and using the close surface command create the part as solid part body.
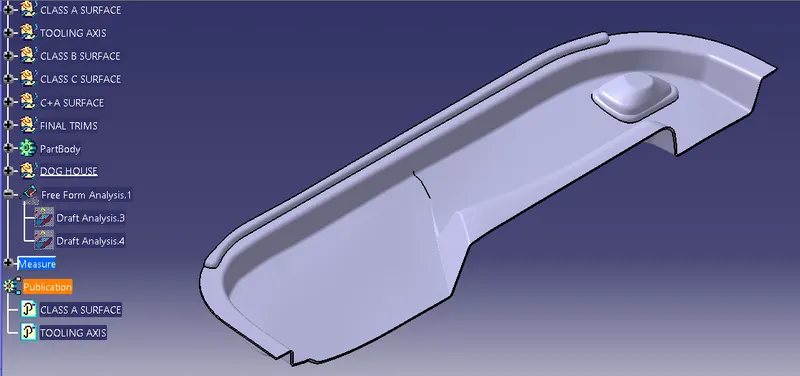
CREATION OF DOGHOUSE:
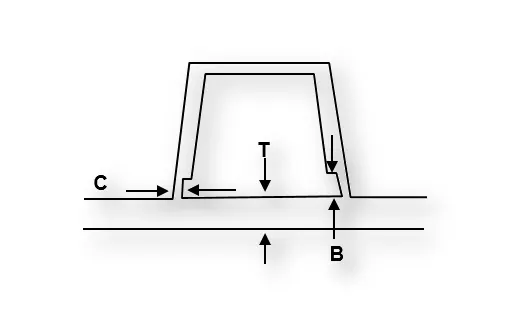
Dog houses are designed to avoid SINK MARK created on the CLASS-A surface by screw bosses and to solve the length issues when giving screw bosses which need to be assembled to other components.It is also useful when perpendicular screw bosses are required on the part to the tooling direction.
Design considersation of Doghouse,
 .
.
- C thickness should be 40% of the main wall thickness T
- Minimum width of the dog house is 12 mm.
- Height of B should be 3-6 mm
- Minimum draft for the do house degrees 5 degrees to die draw.
Procedure for creating the DOG HOUSE,
- Exteact the face.
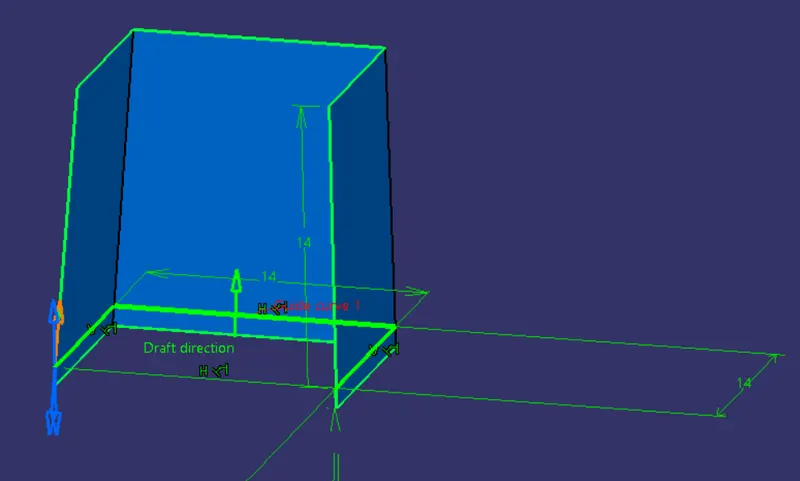
- positione sketch on the z-x plane.
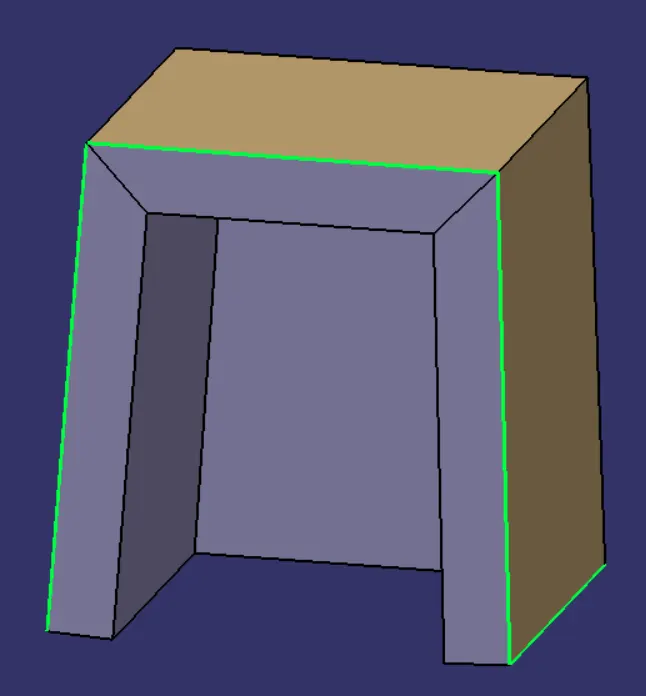
- sweep method create dog hose outer walls with Tooling Axis.
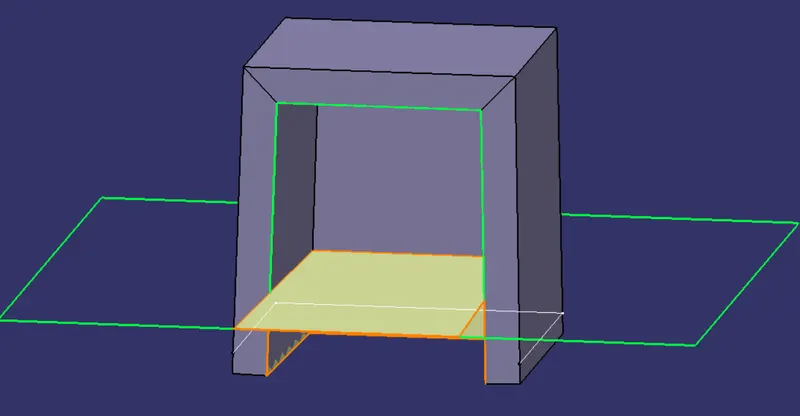
- Ofset the Extract face and trim it with sweep.
- Using thicken command in the part workbench, create a solid part of the dog house.
- Create side core axis which is perpendicular to Tooling Axis to Provide Inner draft.
- Give proper draft angles and fillets by considering the design rules.
- Using Boolean operation, union trim the dog house body part with the door trim component.
AFTER Creation of Dog House Transilate It.
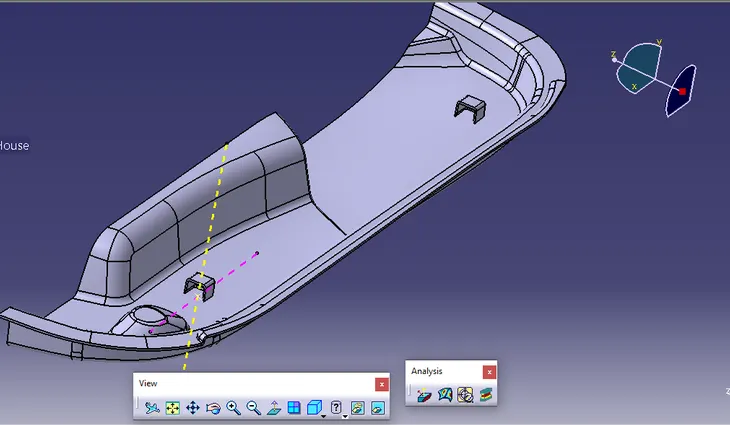
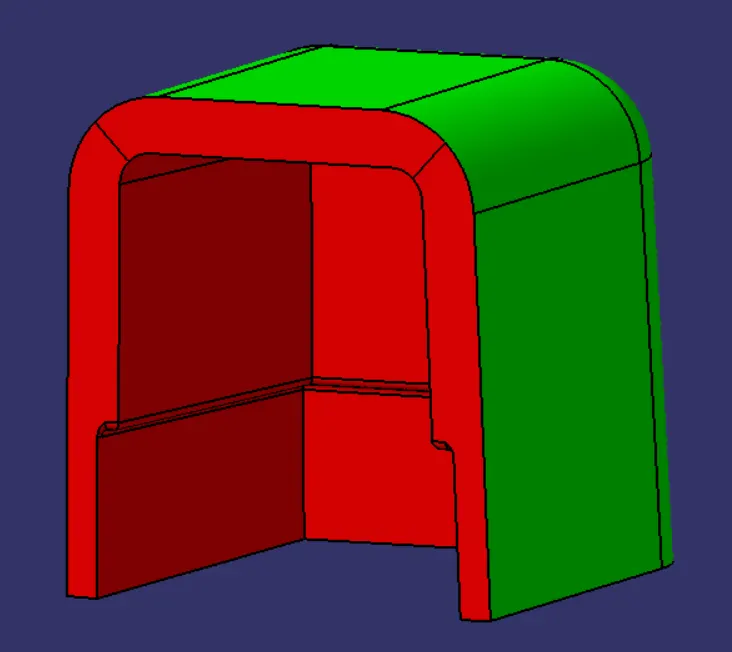
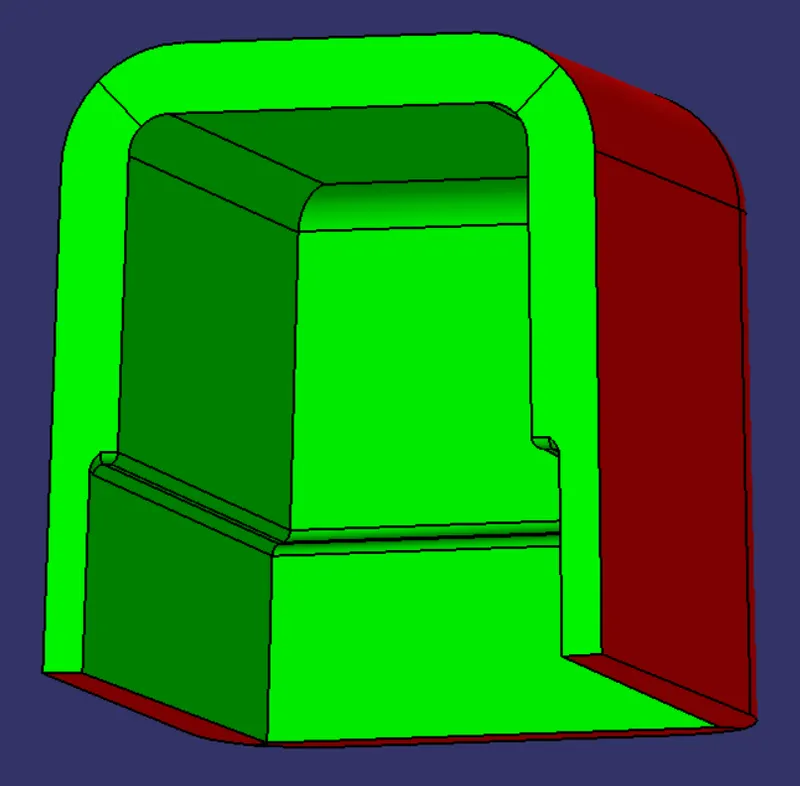
DRAFT ANALYSIS:
On final Body,
- Change the view mode to Material Mode.
- Align the Compass with Tooling axis.
- Lock the draft direction and perform the Draft analysis.
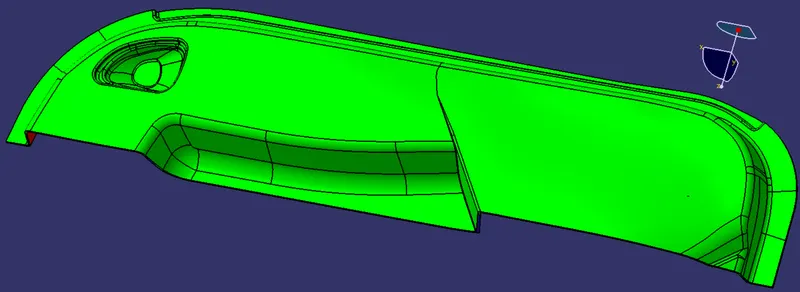
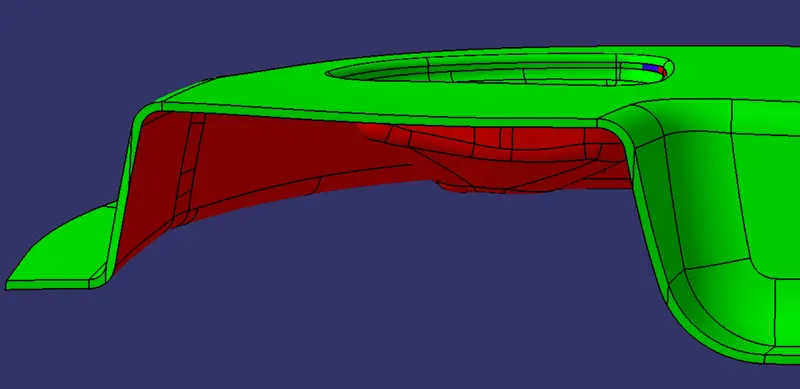

DRAFT ANALYSIS OF DOGHOUSE WITH RESPECT TO MAIN TOOLING AXIS,
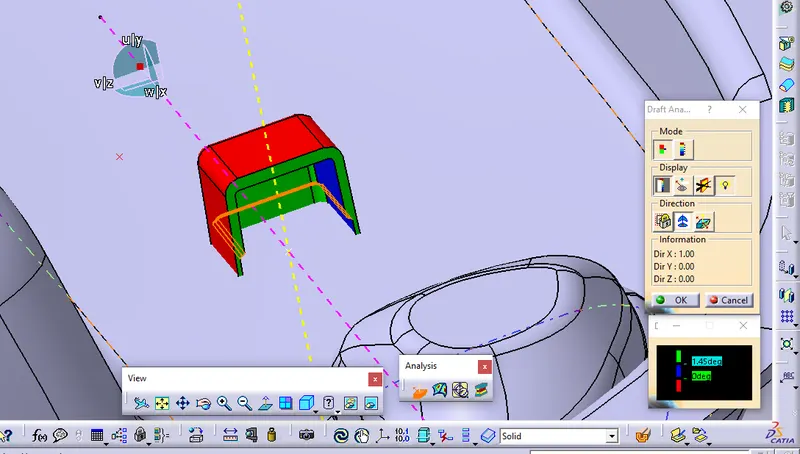
DRAFT ANALYSIS OF DOGHOUSE WITH RESPECT TO SIDE CORE AXIS,
RESULT:Thus the the dog house for the door trim was created by considering the design rules, and the Draft analysis performed on the final component is successfully done.