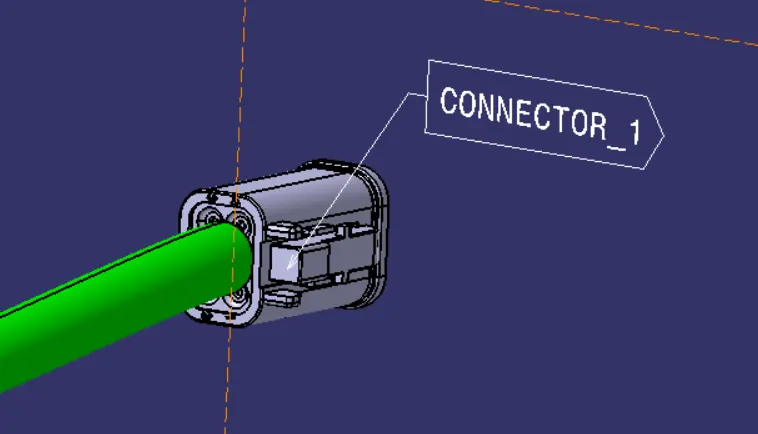
Wiring harness design in CATIA V5 - 3D modeling Week 5 & 6 Challenge
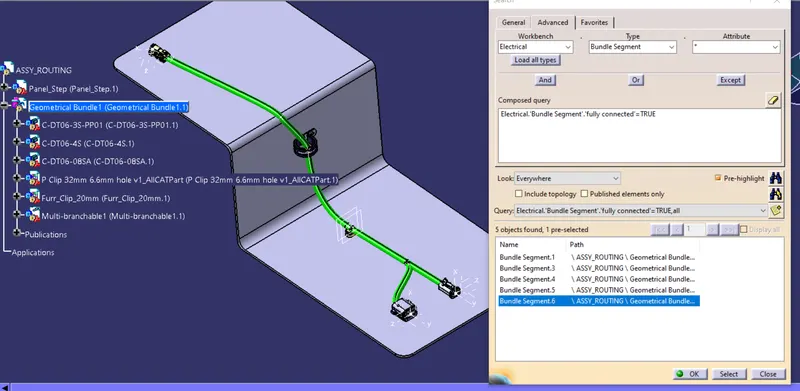
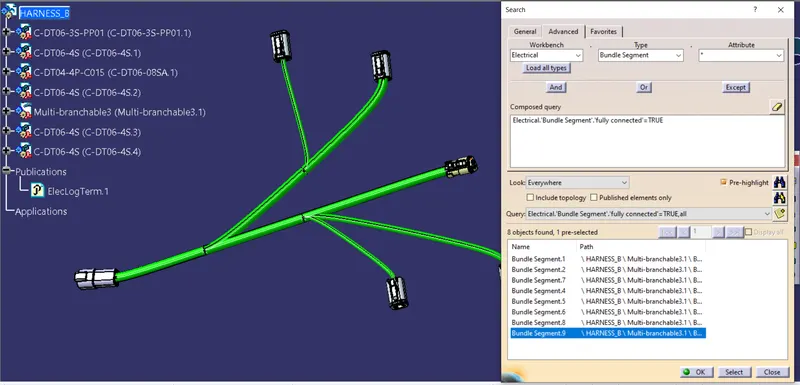
Bundle Connectivity Check:
For Harness A:
For Harness B
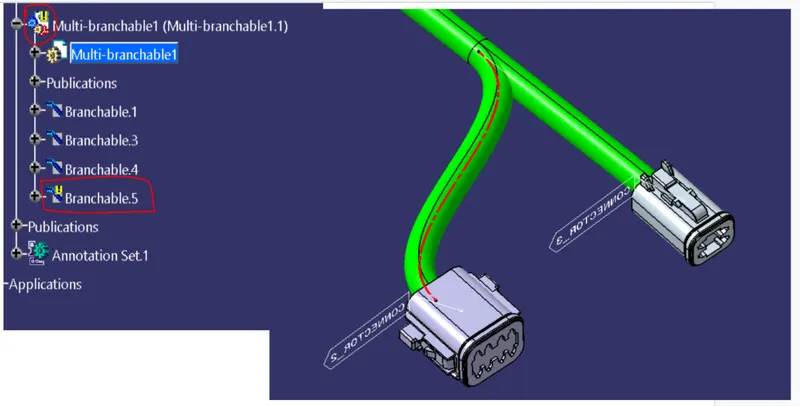
Bundle Warning:
Rectified:
To rectify the bundle harness warning, the definition of the bundle should be modified.
addition of slack is checked whether it satisfies or not.
The bend radius can be changed accordingly.
Warning_2: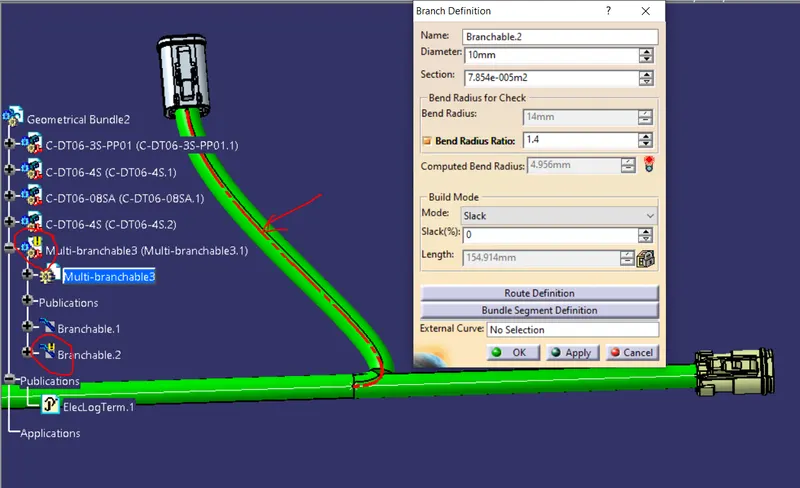
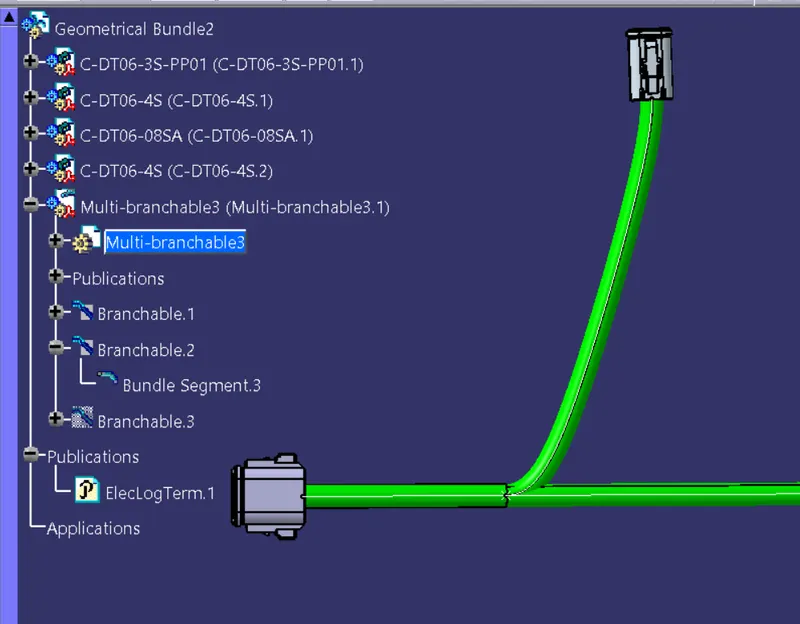
ELECTRICAL DEFINITION:
CONNECTOR CONNECTION PROCESS:
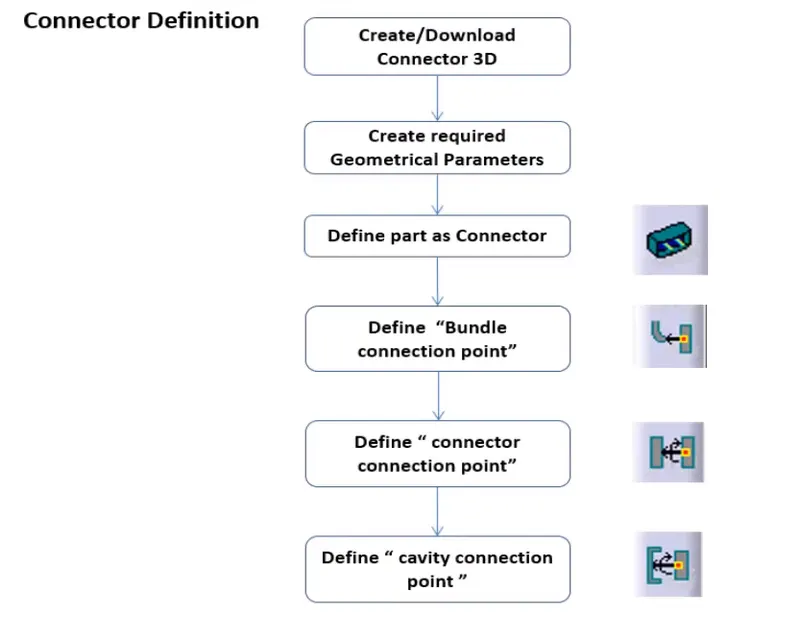
CONNECTOR CONNECTION POINT:
A connector connection point is used to specify how mating connectors are placed when making an electrical connection. Open any document containing a single insert connector where you want to place a connector connection point. Optionally, place a Contact constraint. for example, a surface or a point.
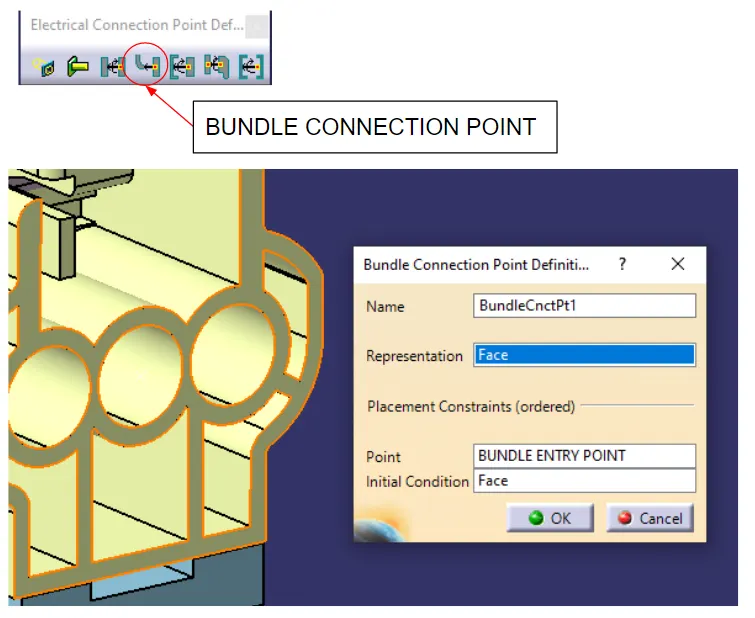
BUNDLE CONNECTION POINT:
To implement the transition of connections or cable connections from multi- to single-line representation, and vice-versa, so-called bundle connection points are used.
CONNECTOR CONNECTION POINT:
A connector connection point is used to specify how mating connectors are placed when making an electrical connection. Open any document containing a single insert connector where you want to place a connector connection point. Optionally, place a Contact constraint. for example, a surface or a point.
BUNDLE CONNECTION POINT:
To implement the transition of connections or cable connections from multi- to single-line representation, and vice-versa, so-called bundle connection points are used.
CAVITY CONNECTION POINT:
A cavity connection point is used to specify how a device is placed in a cavity when making an electrical connection.
STEP 1: CREATING REQUIRED GEOMETRICAL PARAMETERS:
1. POINTS: Connector Connection Point, Bundle Connection point, Cavity Connection Point.
2. Axis System: At Connector Connection Point, At Bundle Connection Point
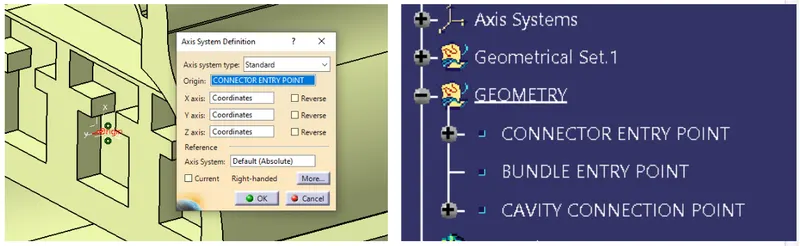
STEP:2 DEFINING ELECTRICAL DEVICE:
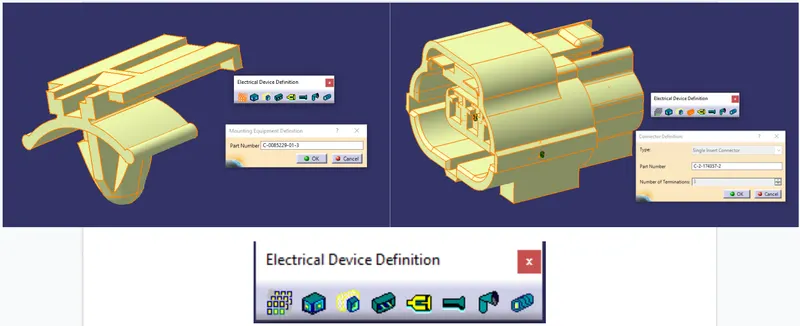
STEP:3 DEFINE CONNECTION POINTS
HARNESS-A:
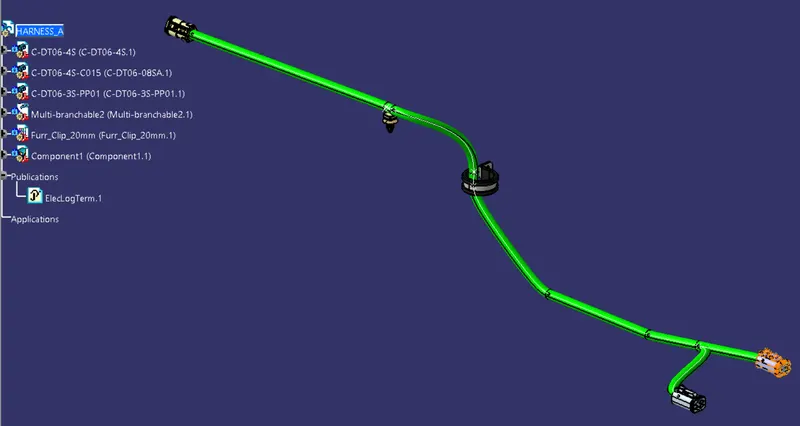
HARNESS: B
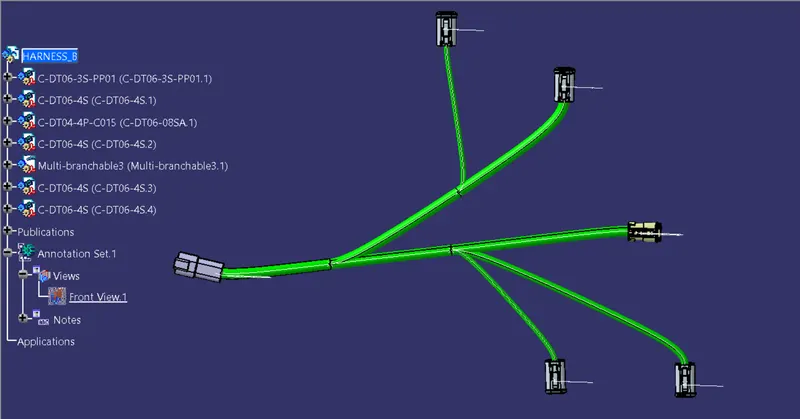
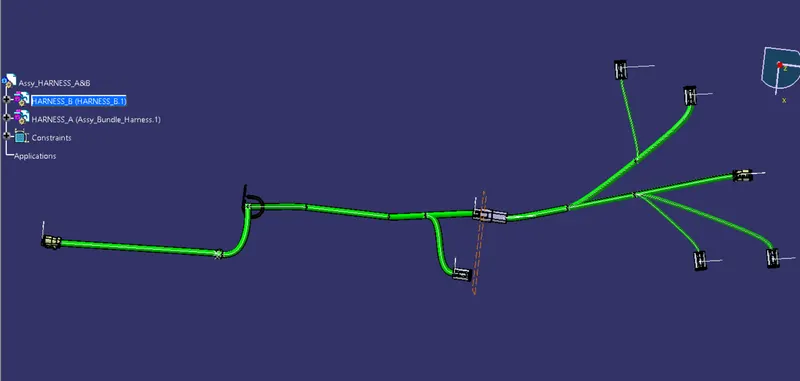
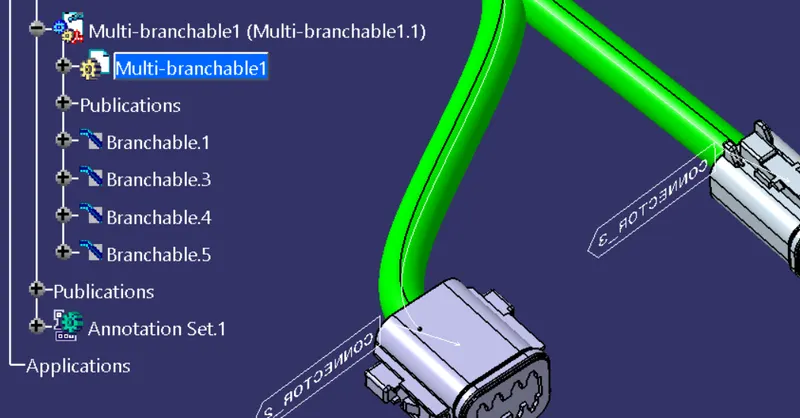
ANNOTATIONS:
Annotations can be made to a 3D part through, for example, the Text with Leader tool, within the Part Design workbench Annotations toolbar. Additionally, these can be viewed parallel to the screen by going to their Properties and Display tab, once an annotation has been placed into the model.
Finally, links can be attributed to them through the text box, by Right Clicking the text in it and selecting the option Attribute Link.