Week - 8 - Morphing
OBJECTIVE:
CASE 1:
Practice all the Morphing techniques that were shown in the video for Model-1.
PROCEDURE:
Import:
- The given file is imported using open>File location>File
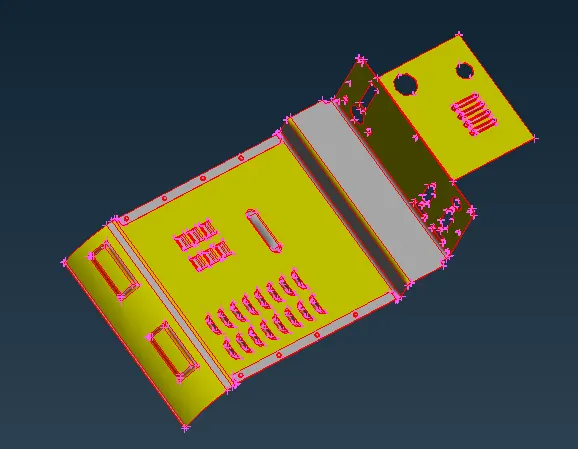
- Since the model once imported is having connectivity issues, the topo option is used to correct these.
- After topo action is performed, Morph voliume are created using new option under morph panel.
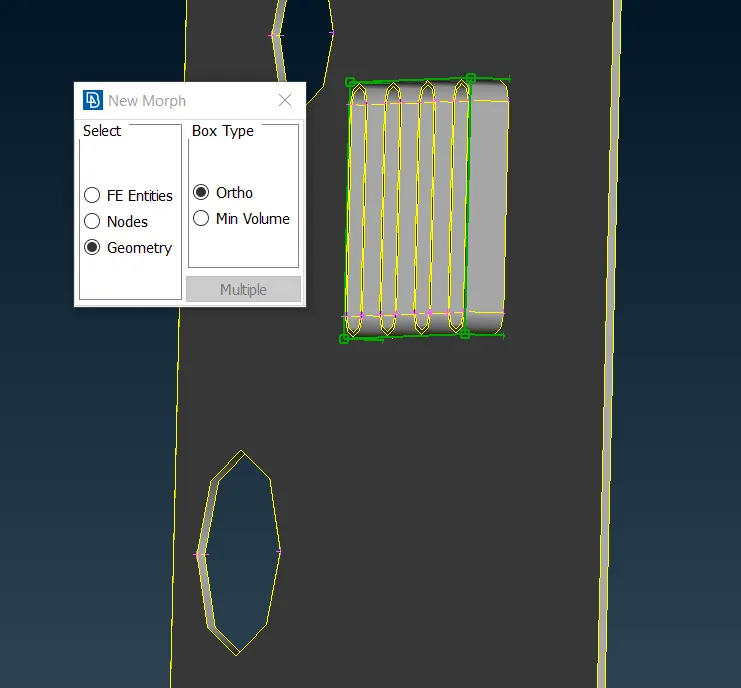
- Entities to be morphed are selceted and a new morph box is created.
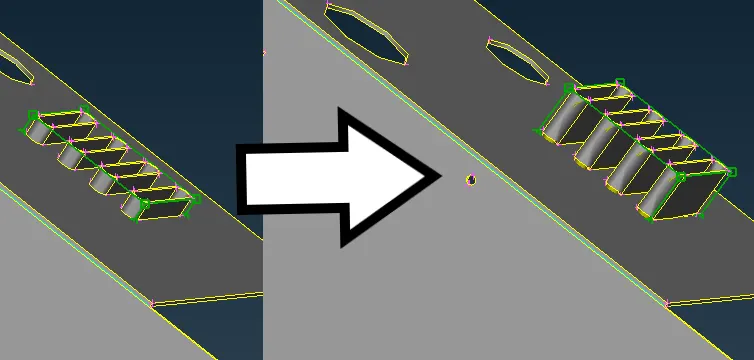
- After box is created, move option is selected and the box points to be moved are selected and moved in appropriate directions.
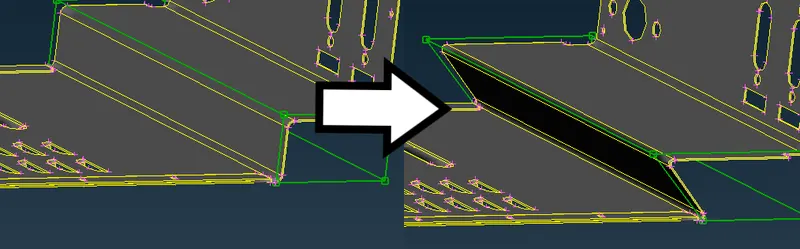
- Morph boxes are created wherever the geometry is to be altered and appropriate movements are made and the model is morphed.
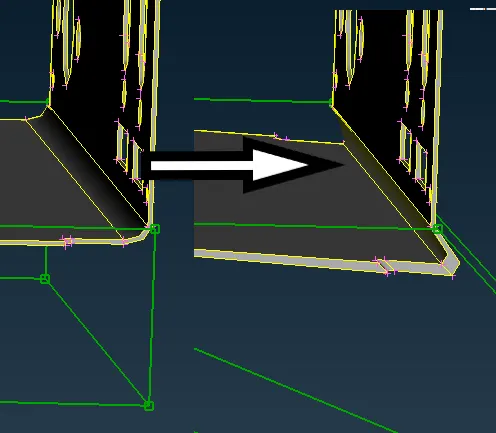
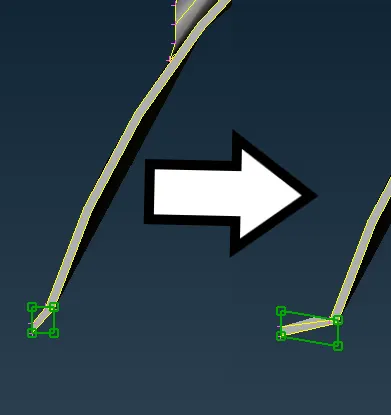
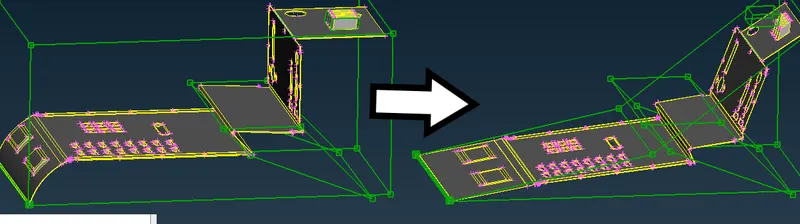
- After the morphing is finished, the created morph boxes are deleted using the delete option under morph panel.
- Above images shows various locations where morphing is performed.
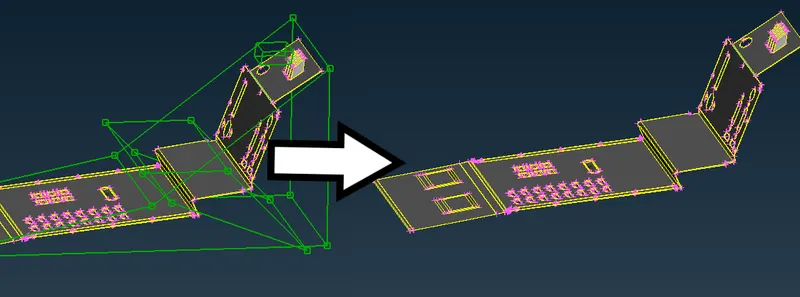
CONCLUSION:
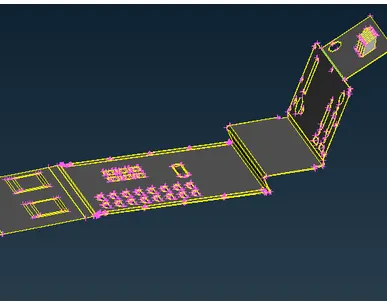
Above figure shows how the model is morphed from the original model.
Case 2:
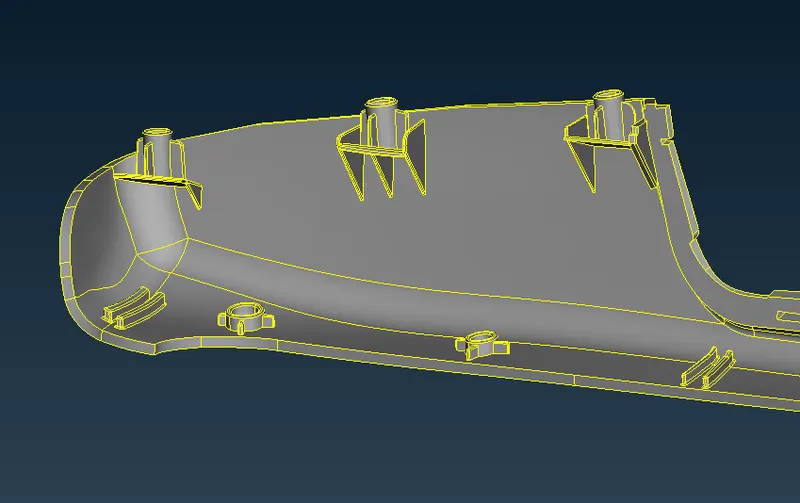
Perform morphing for the Model and Increase the Height of the Dog houses and Ribs.
IMPORT:
The given file is imported using open>File location>File
MORPH BOX & MOVE:
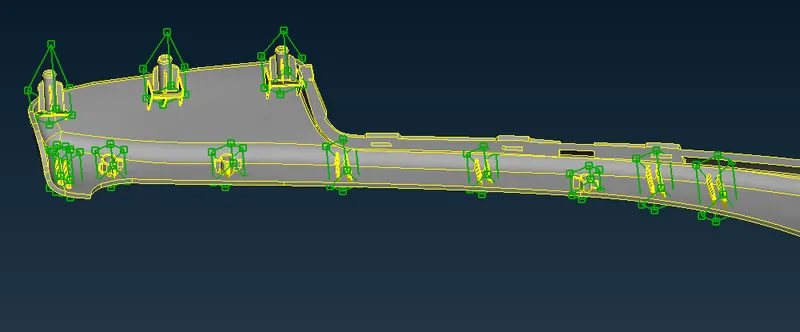
- After importing, Dog houses and ribs to be morphed are selected and Morph boxes are created.
- After boxes are created, Move option is used and moved in appropriate direction to increase the height of the ribs and dog houses.
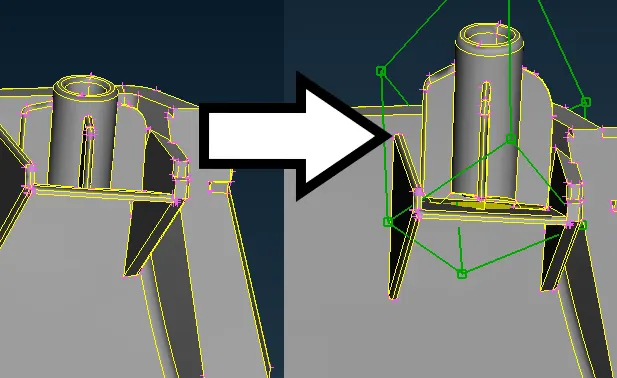
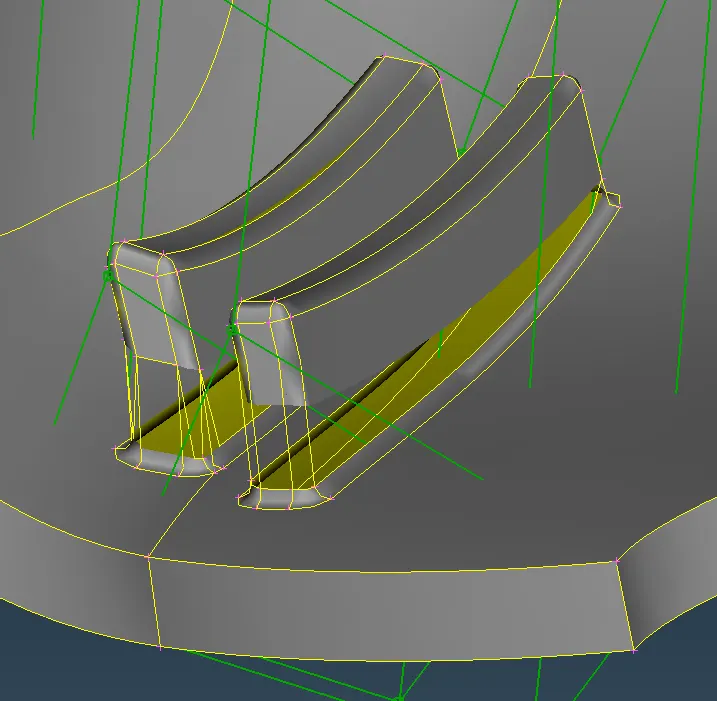
- Above image shows how the dog houses and ribs are morphed to increase the height.
CONCLUSION:
- Hence the given arm rest model is morphed to increase the height of the ribs and dog houses by creating Morph boxes and moving the same.