Week 8 - Challenge 2 - Base Bracket Design
Challenge 2 - Base Bracket Design
Draft:
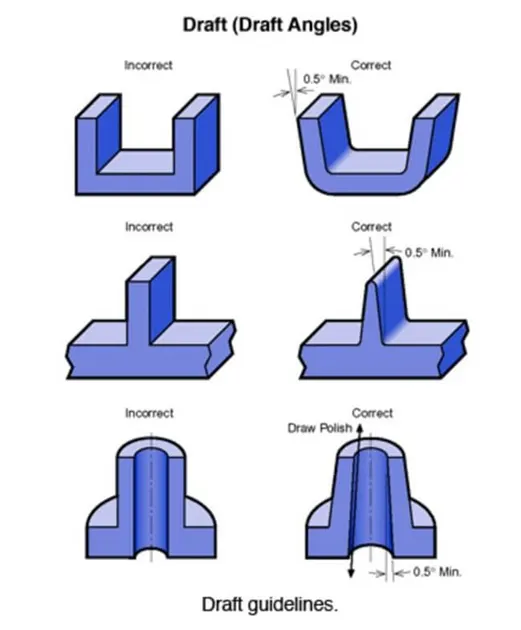
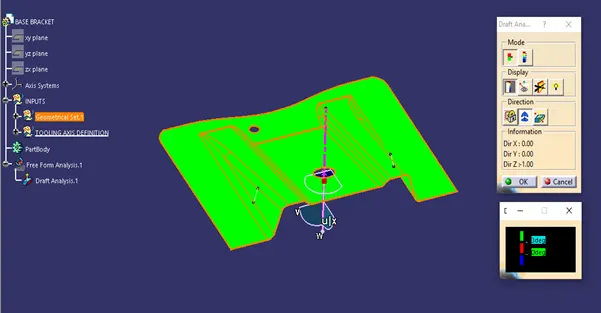
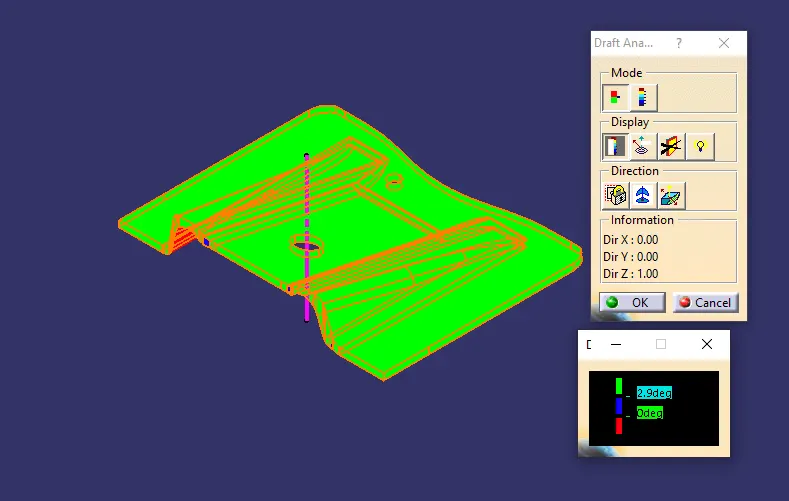
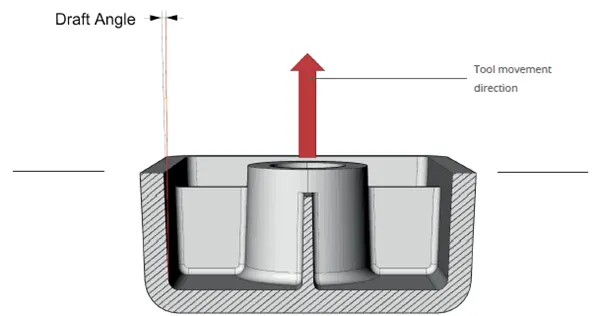
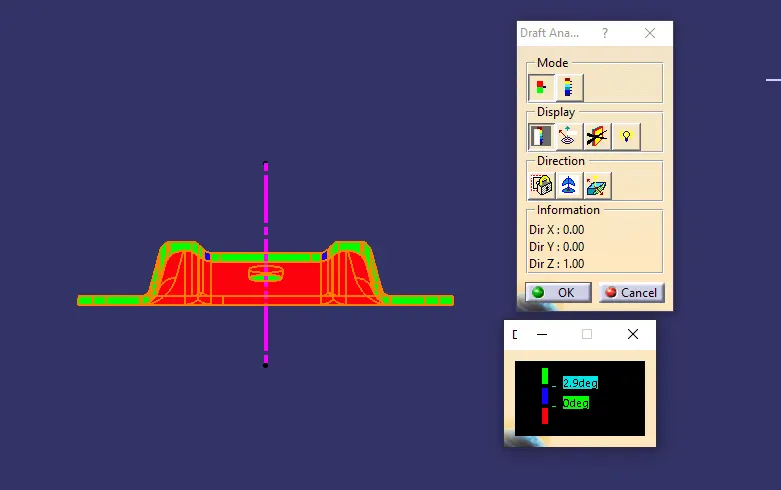
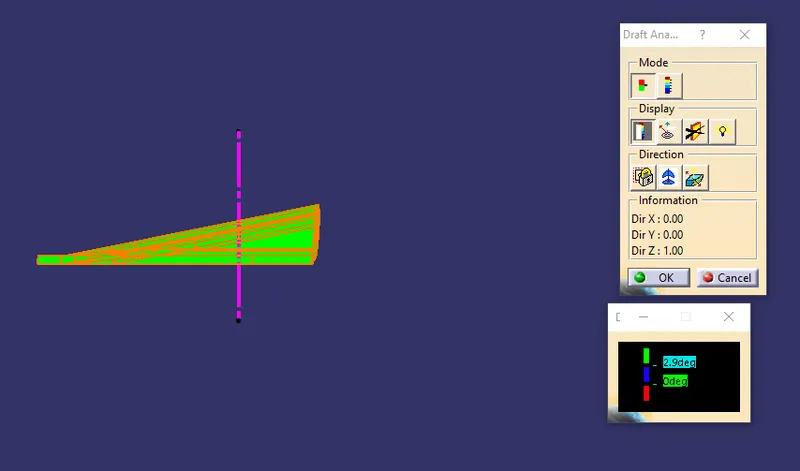
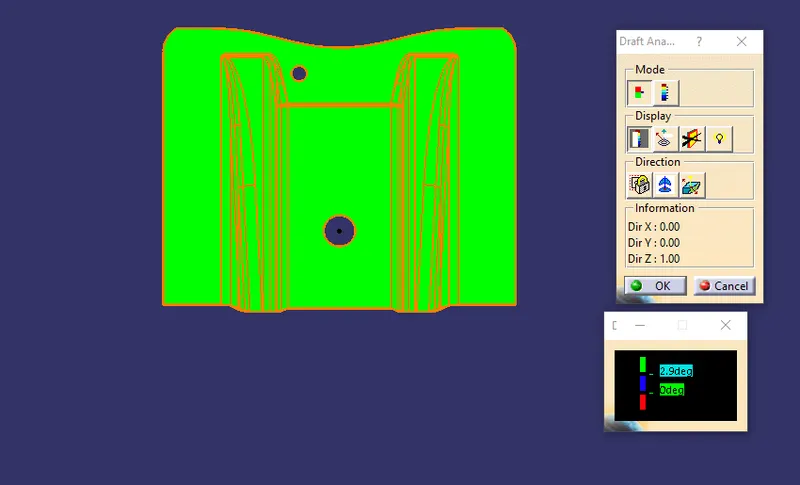
When the part is manufactured by any of the forming process the part should be able to come out of the tool in which it is manufactured without damaging the part and the tool. To facilitate it certain angle is provided on the part and the mould. The angle provided is called as Draft angle. To ensure the part designed has good draft on the part draft analysis is done on the 3D Modelling software. The draft analysis provides the output by using a colour scale. Software highlights the parts with various colours based on the draft angle of the localised area of the part.
Draft Analysis:
CLASS A SURFACE:
SOLID PART:
TOOLING AXIS:
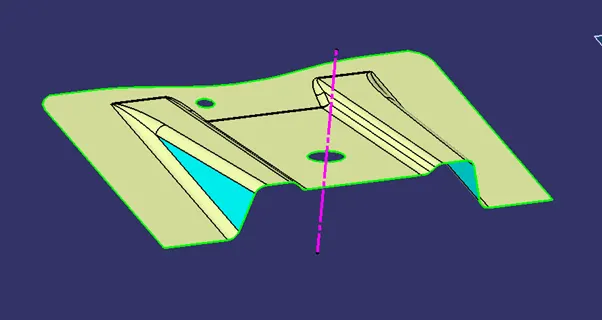
Tooling axis is defined as the direction in which the cavity moves during the formation process. It is decided in the design stage itself to ensure the part has a good draft in the tooling direction.
Tooling axis creation:
Step 1: Reference tooling axis is created in the direction along the direction normal to the flat surface of the model. In this case tooling direction is created along Z direction.
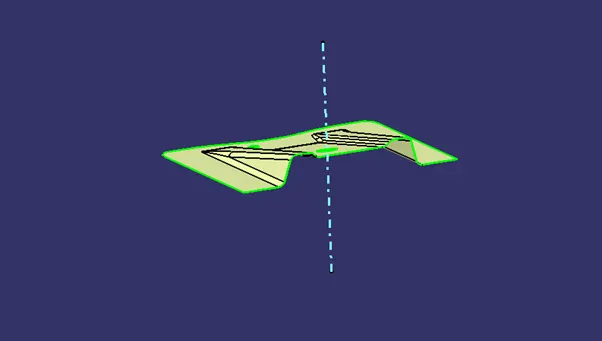
Step 2: The part is intersected in with ZY plane to get the lines to create a tooling axis. So that it will be easy to get the tooling axis by intersecting the lines.
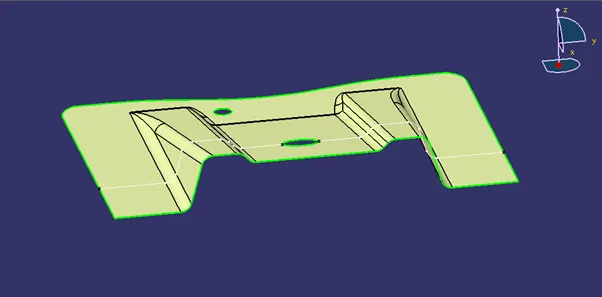
Step 3: Extract the lines which are nearly parallel to the reference tooling axis and the lines on the faces which one think that they might create a problem. In this model the highlighted were almost parallel to the tooling axis. So, we have extracted the intersecting lines of the highlighted face only.
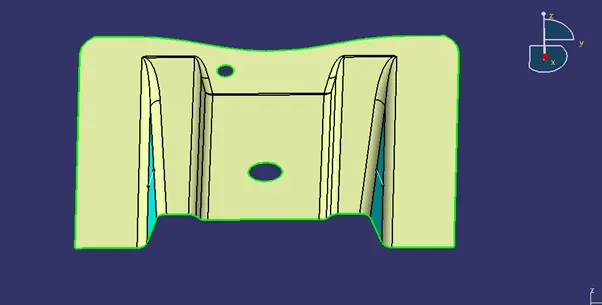
Step 4: Create a main tooling axis by intersecting the two lines which are extracted from the intersection of the highlighted face.
Views:
Front View:
Side View:
Top View:
Isometric View:
Conclusion:
Thus the model is created and draft analysis is carried out on Class A surface and 3D part created with CATIA.