DEPLOYING CONNECTION TO REAR DOOR BY USING NASTRAN DECK
AIM:- To give appropriate connections to the rear door by using NASTRAN deck in ANSA
PROCEDURE:-
- As of first, we need to be spilt the component to different PID and arrange it properly.
- Then after we need checks the FE-model correctly and we must give appropriate connections to every component
TYPES OF CONNECTORS:-
- Depending upon the model there different types of connection some of them are many node RBE2, Two node RBE2, cluster RBE2, Weld connection.
MANY NODE RBE2:
It is connection majorly used for rigidizing the sub-assemblies of the part which having nut and bolt representation
procedure for creating RBE2
- First, we need to go to the Nastran deck then after select RBE2 in elements.
- After that, it will ask to select the nodes/elements by highlighting the nodes or elements option
- Then after selecting nodes press enter after that set it into a group and press enter such that RBE2 connection is made
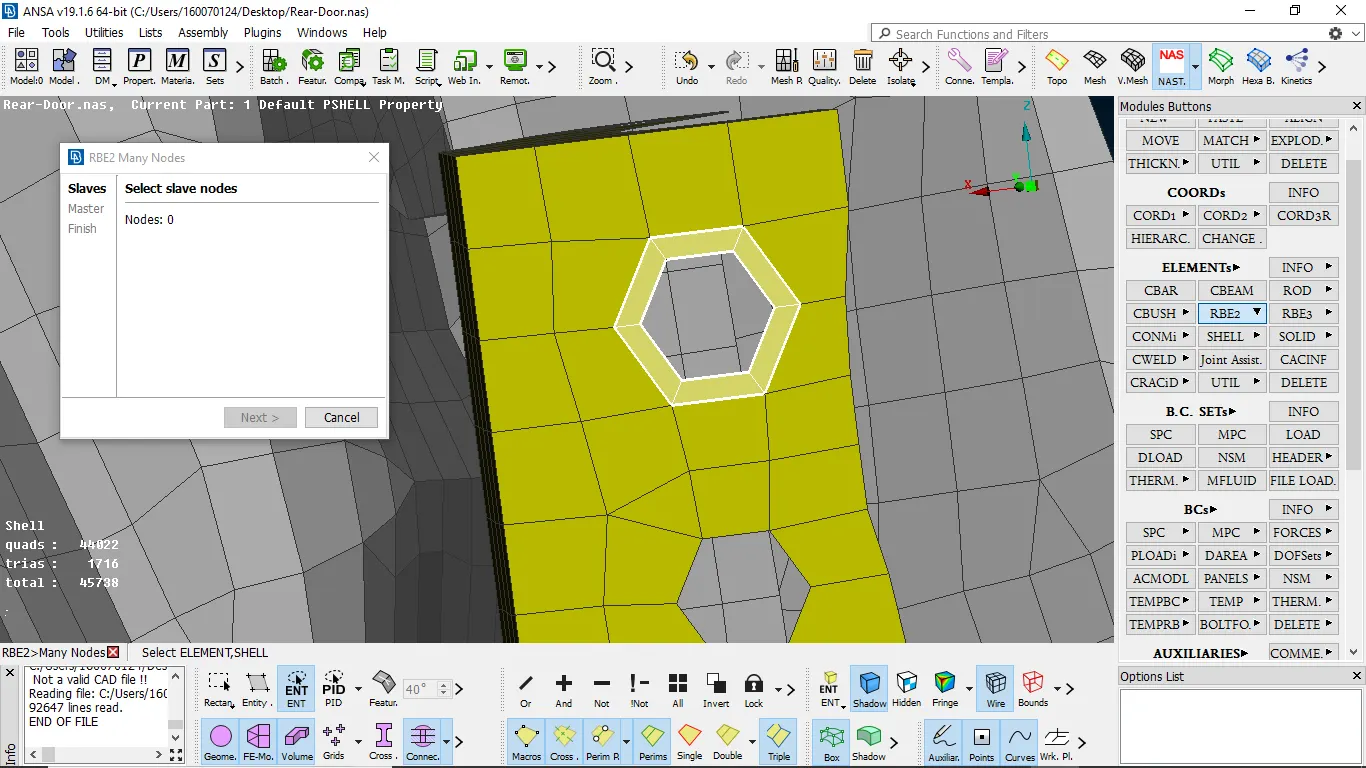
fig:-1 selecting elements
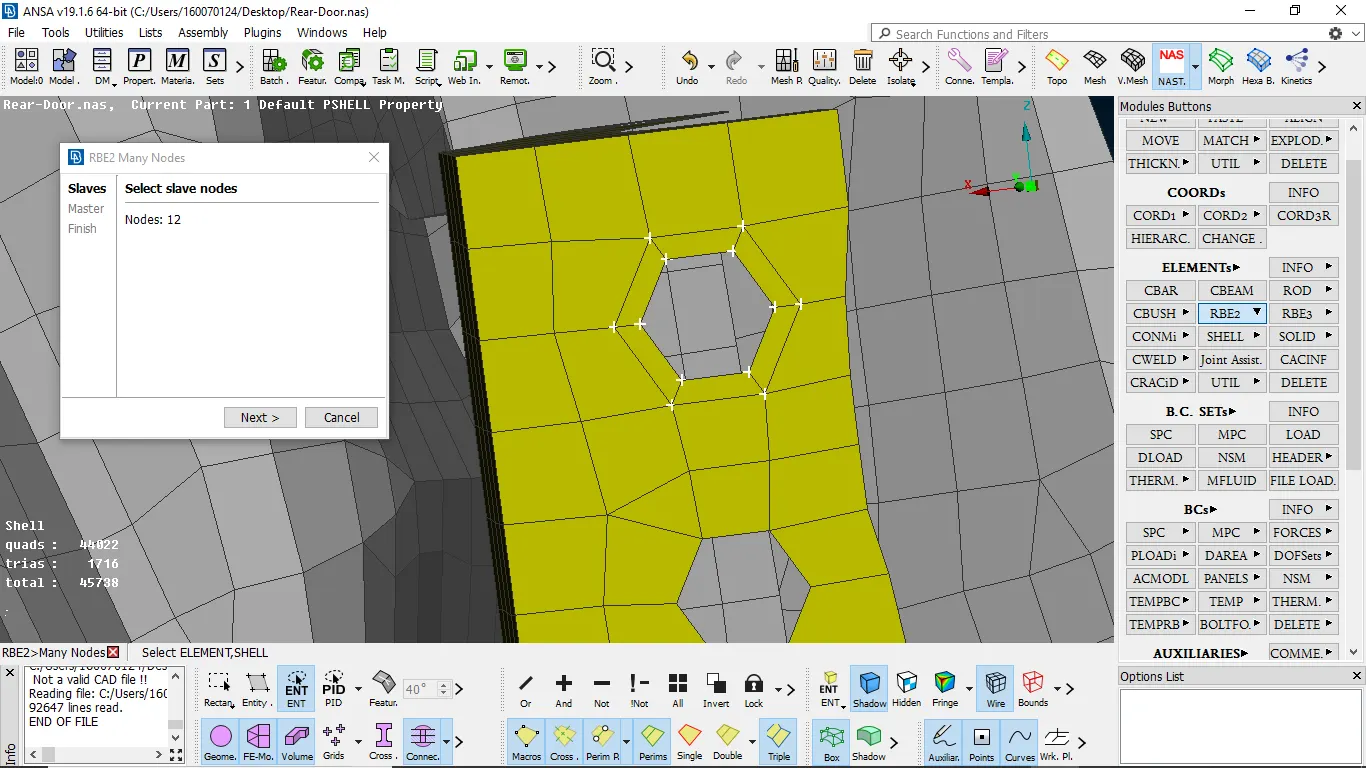
fig:-2 slave are selected
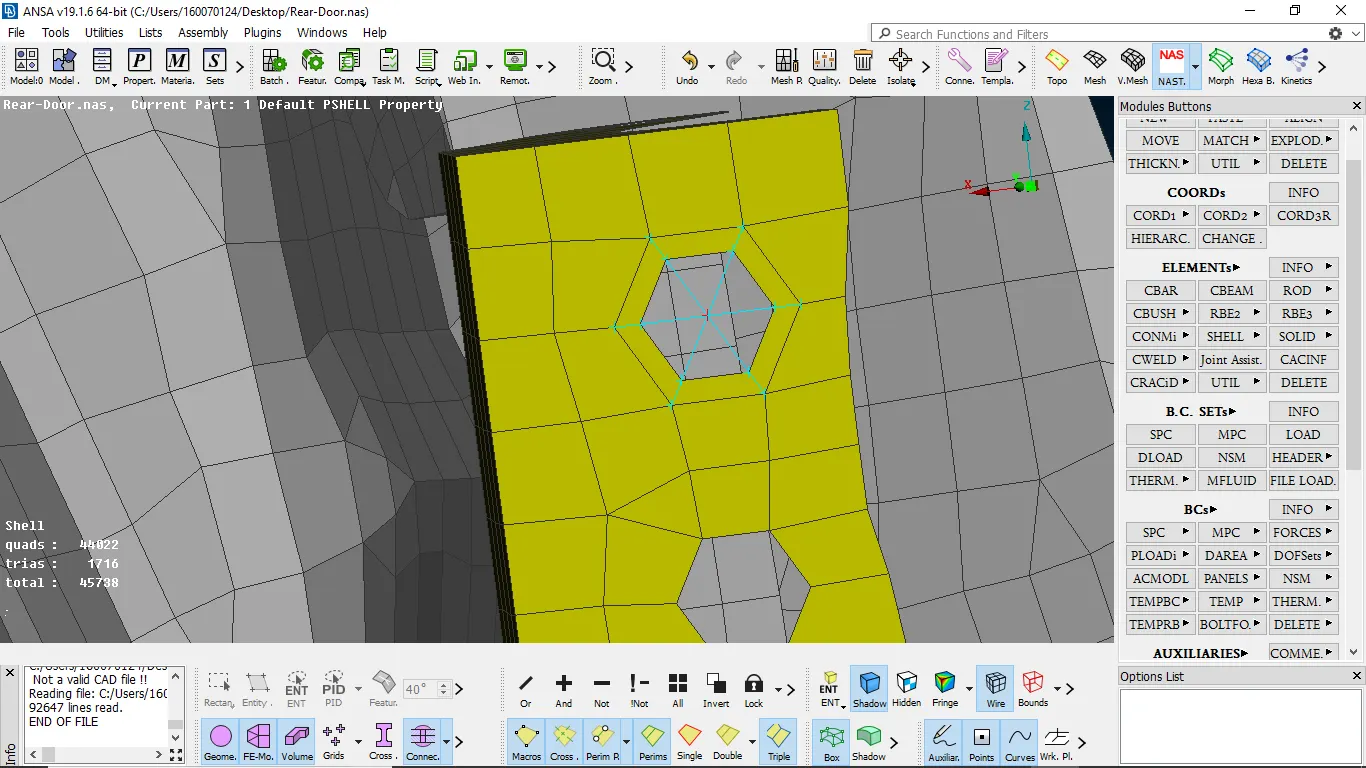
fig-3 RB2 connection obtained
TWO NODE RBE2:-
It is majorly is used to connect nut and bolt in assembly. It is going to connect two RBE2 connection by the stem, and also used to connect two subcomponent
procedure for creating two-node RBE2
- we make RBE2 Connection to the assembly that has nut and bolt contact
- Then we need to select RBE2 two-node and then we need to select the master node of both the top face and bottom face
- Press enter node is created, in this we constrain DOF
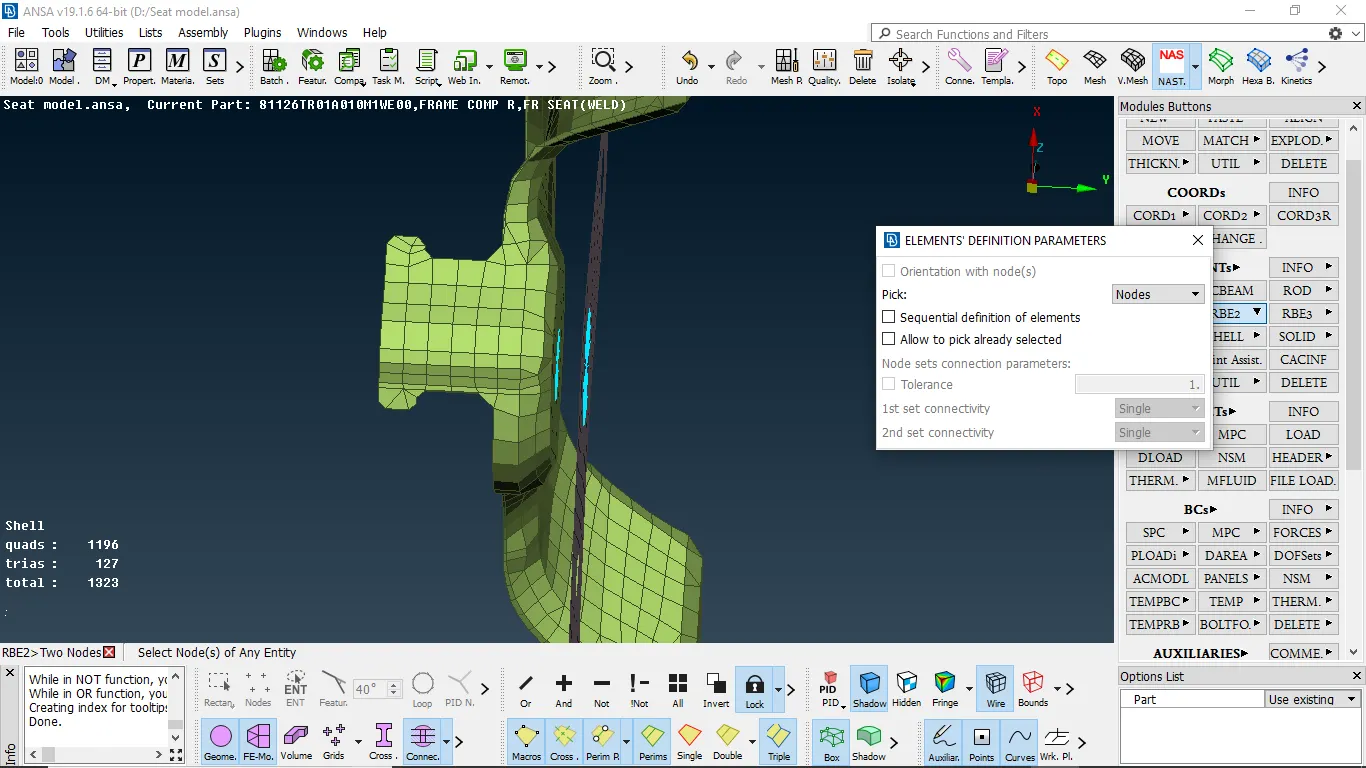
fig 1:- selecting components
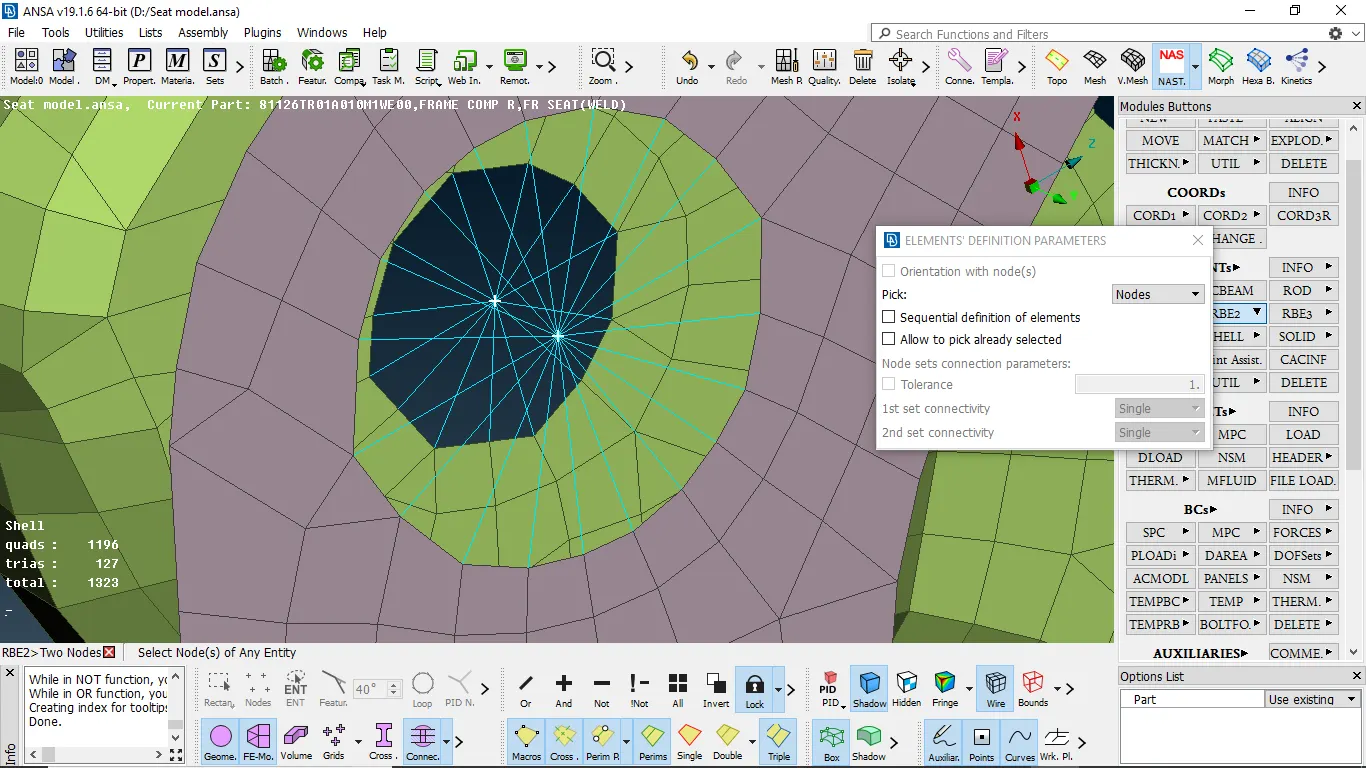
fig 2:-node are being selected
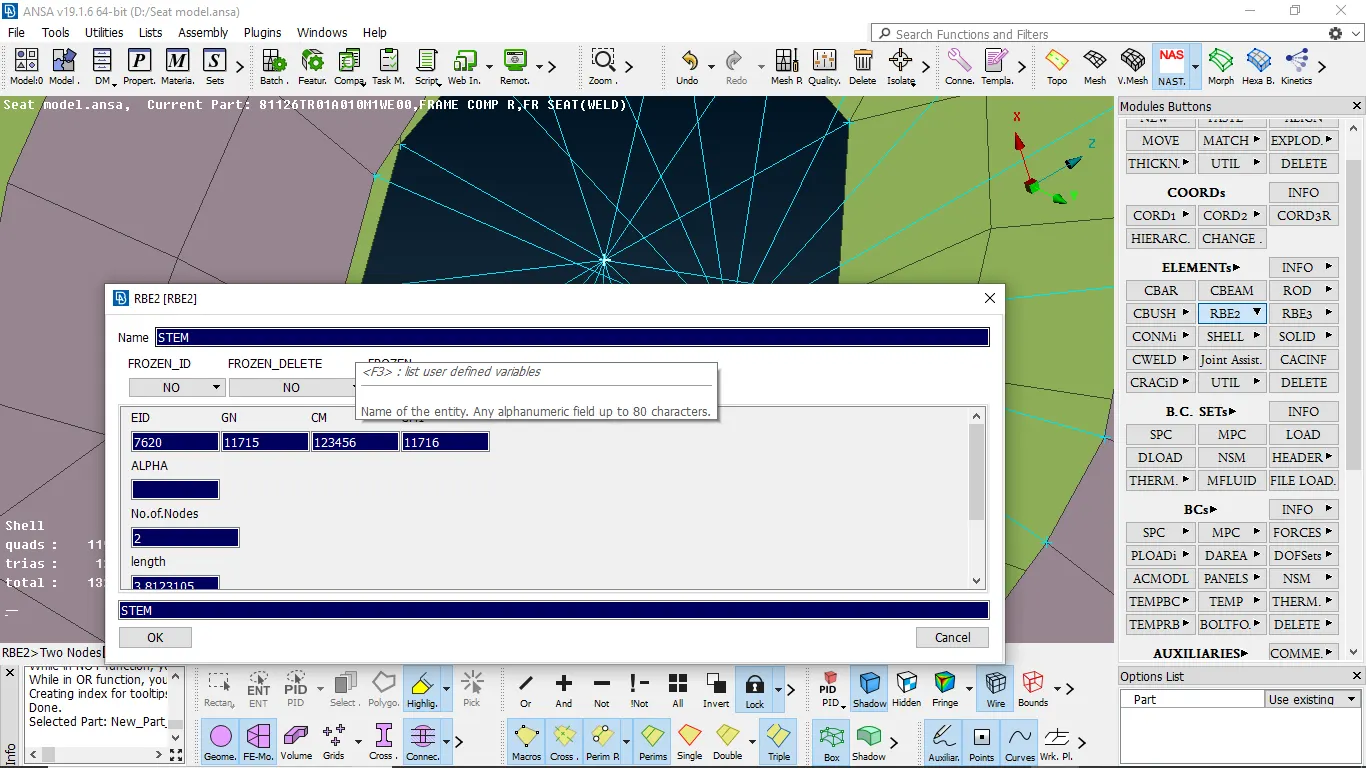
fig 3:- creating PID
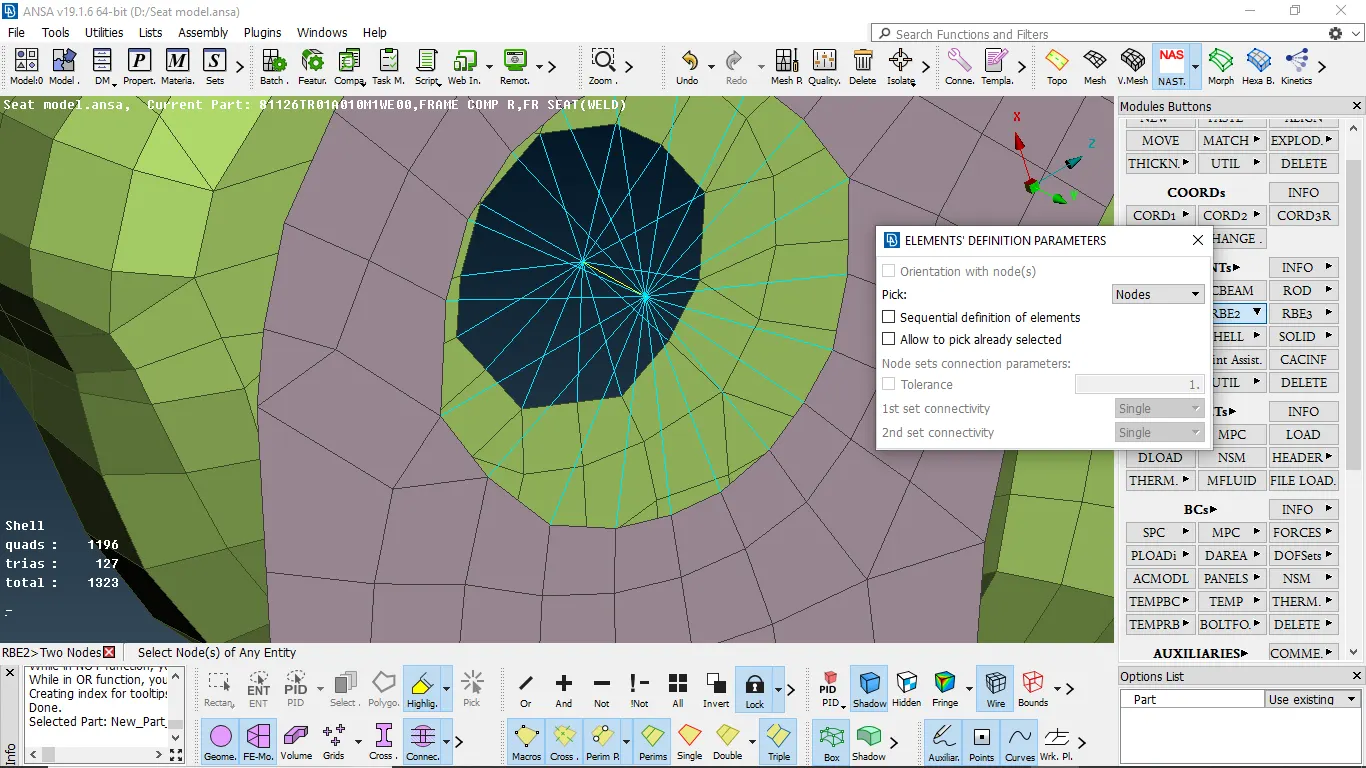
fig 4:-two-node rbe2 connection obtained
CLUSTER RBE2
It is used to connect two sub-assembly which has motion and make to be constrained
Procedure :
- select the two sub-assemblies by many node RBE2 and then select the node of the surface at a time and press enter
- such that cluster RBE2 is created
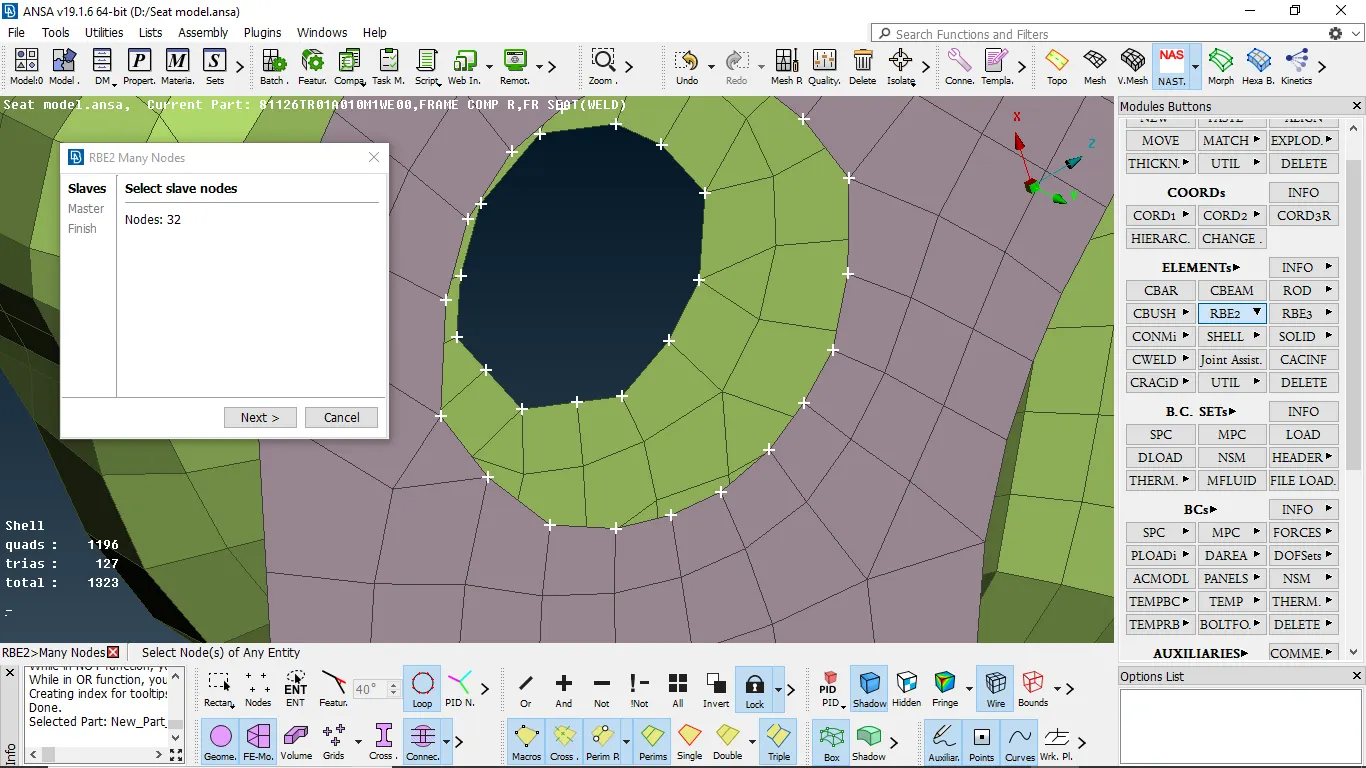
fig 1:- selecting nodes of two components
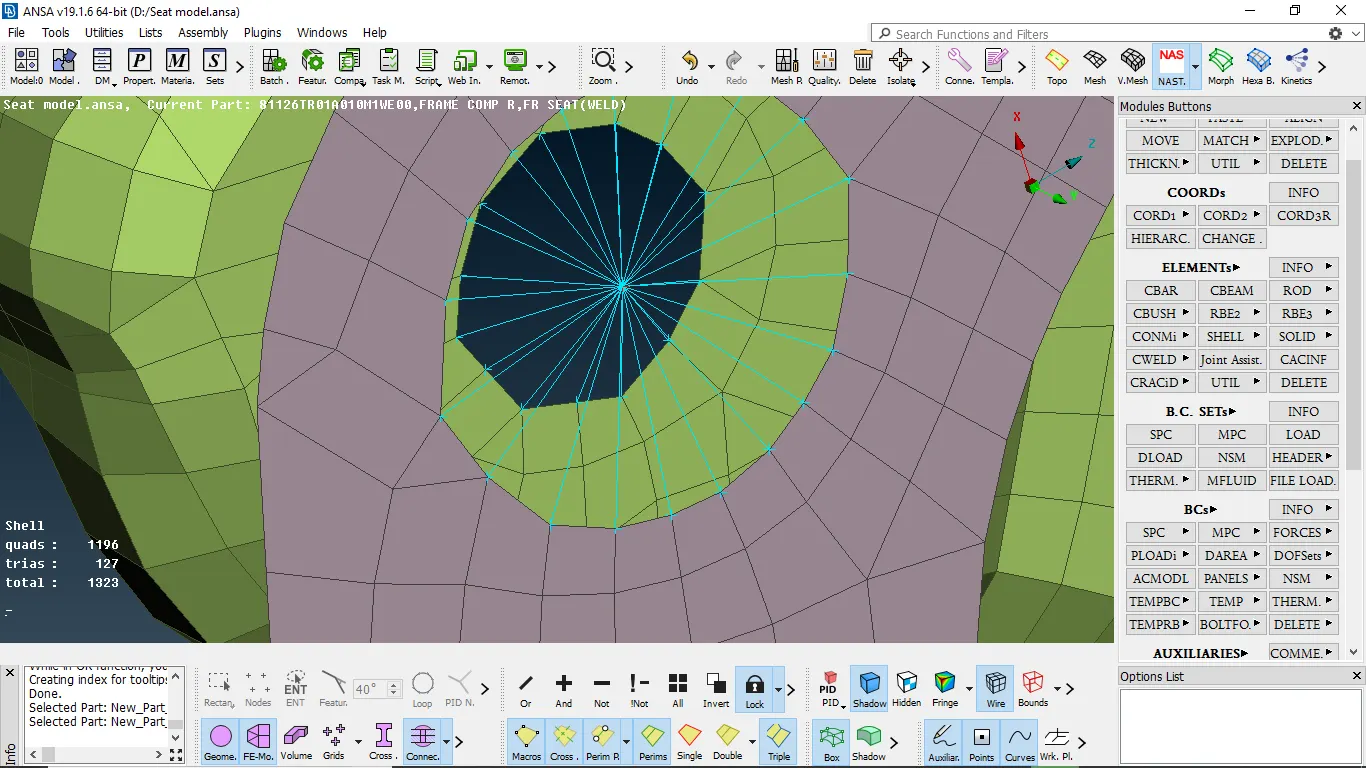
fig 2:- RBE2 cluster has been obtained
WELD CONNECTION:
we create a weld connection between two components to give o rigid connection where it is required
procedure:
- we need to create a curve by using a feature2 curve in the mesh module if is an FE element
- Then after we need to convert the curve into the seam line
- Then by using connection we should select the line and we need to select the components to be welded by pressing F1 and then select overlap shell/ y joint shell
- mention the search distance and we need to mention width and step length as target element length and create a weld PID by pressing shift+? and apply
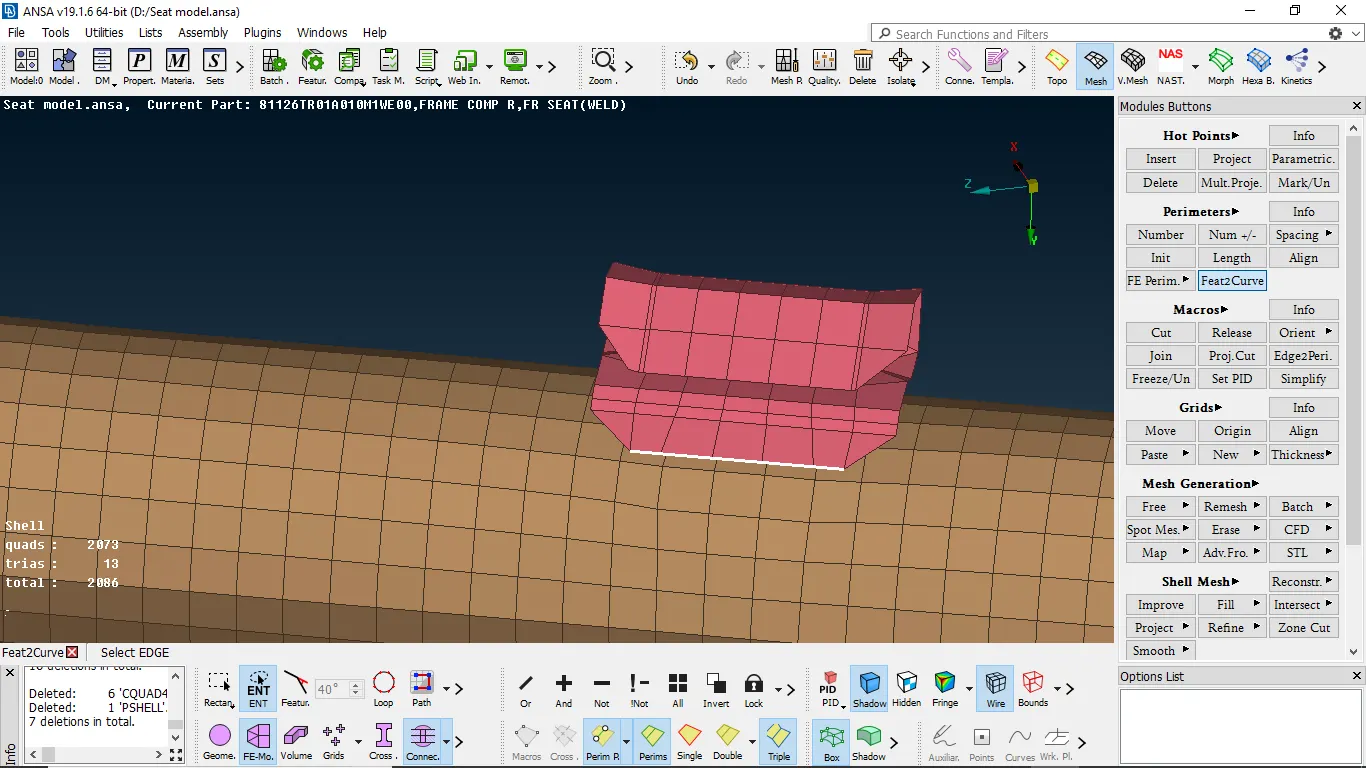
fig 1:- forming a curve to represent weld connections
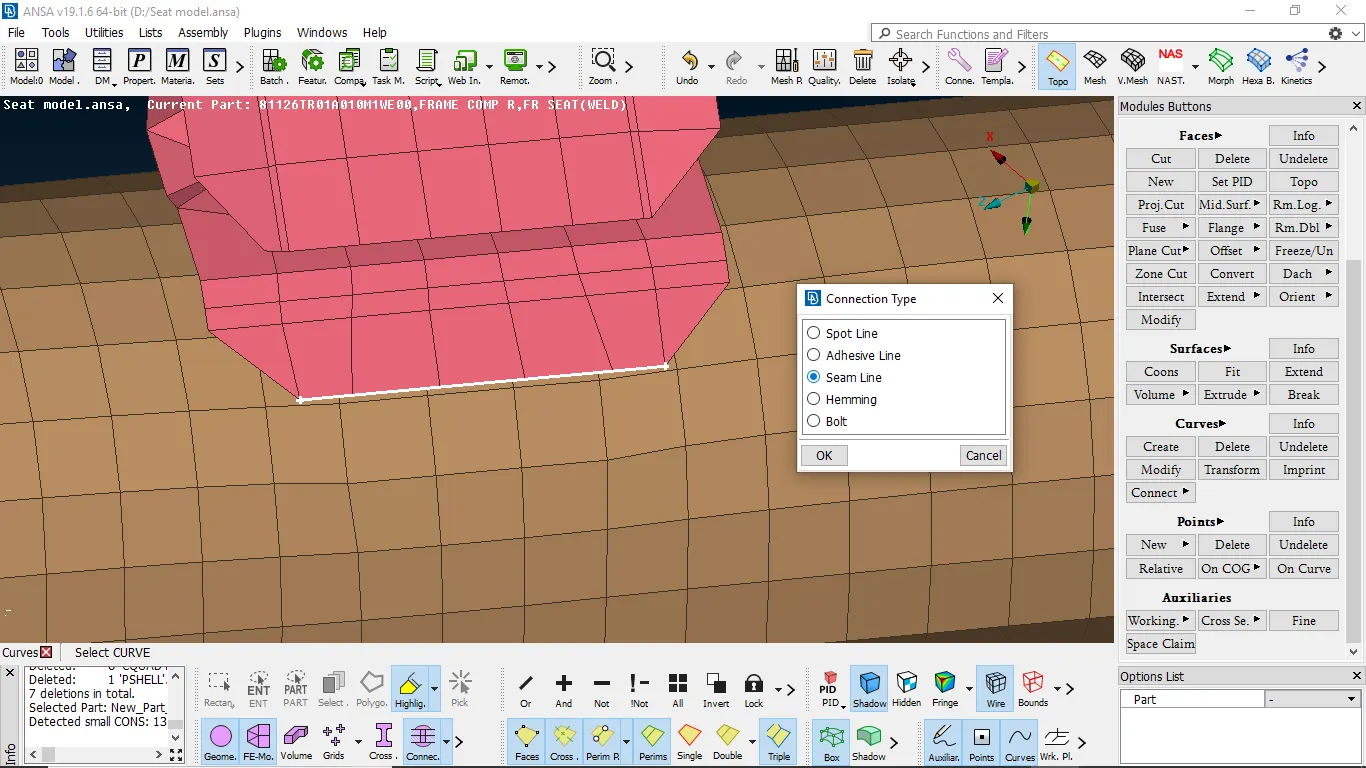
fig 2:- converting curve to connection
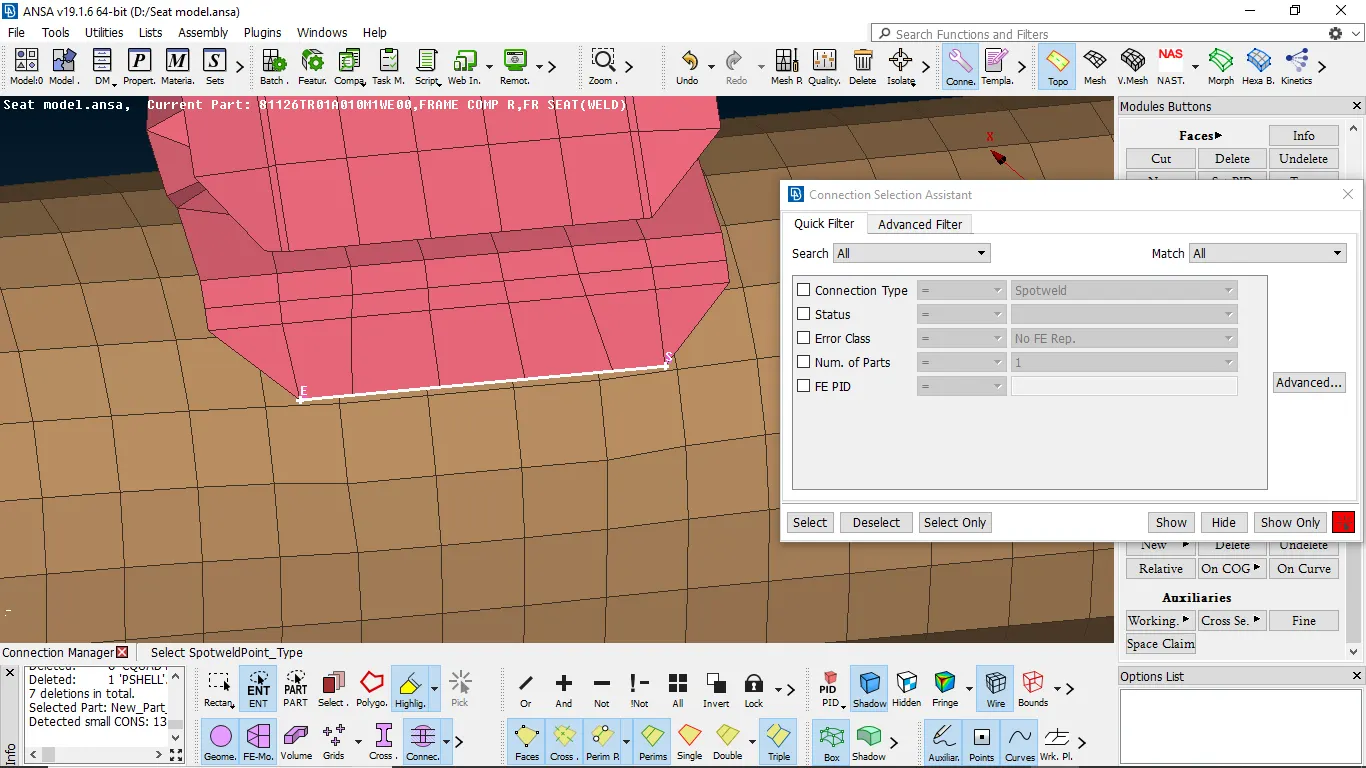
fig 3:- deploying property for weld
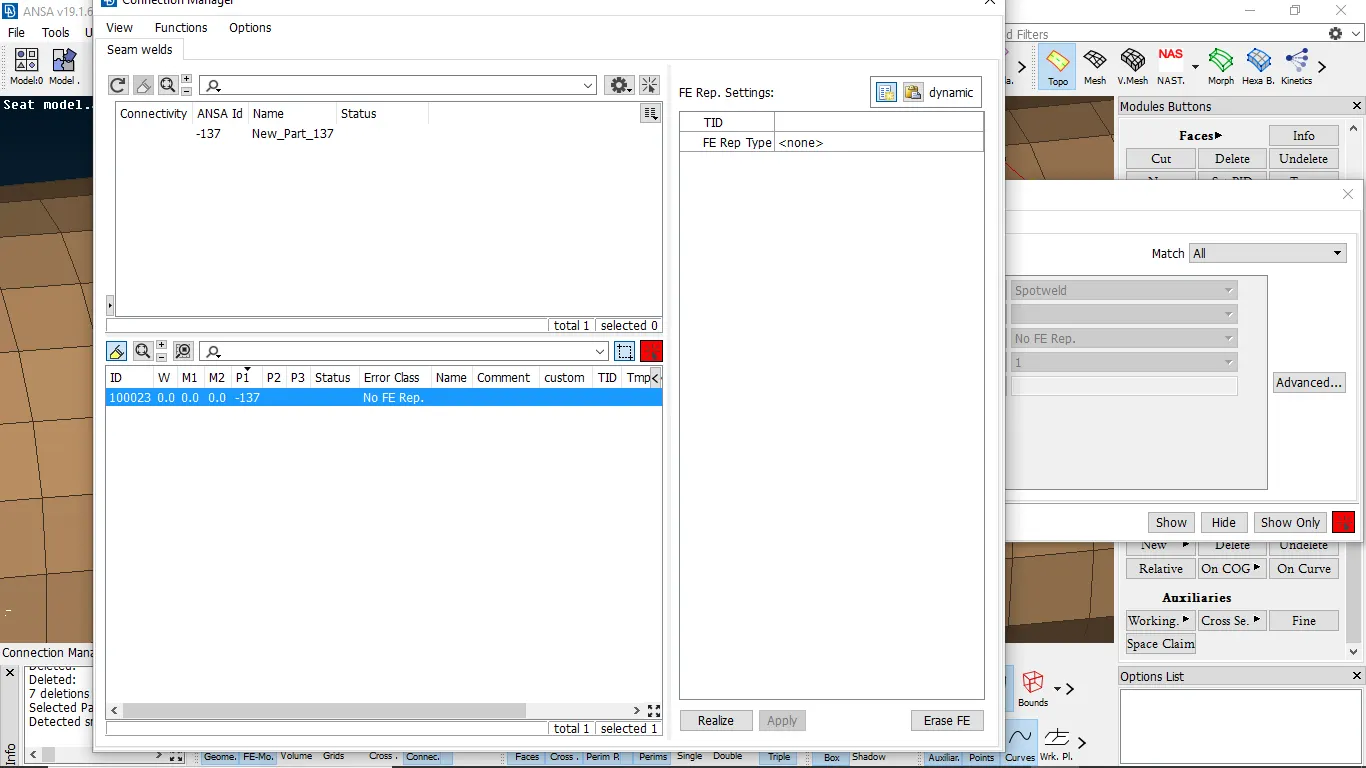
fig 4:- select weld type
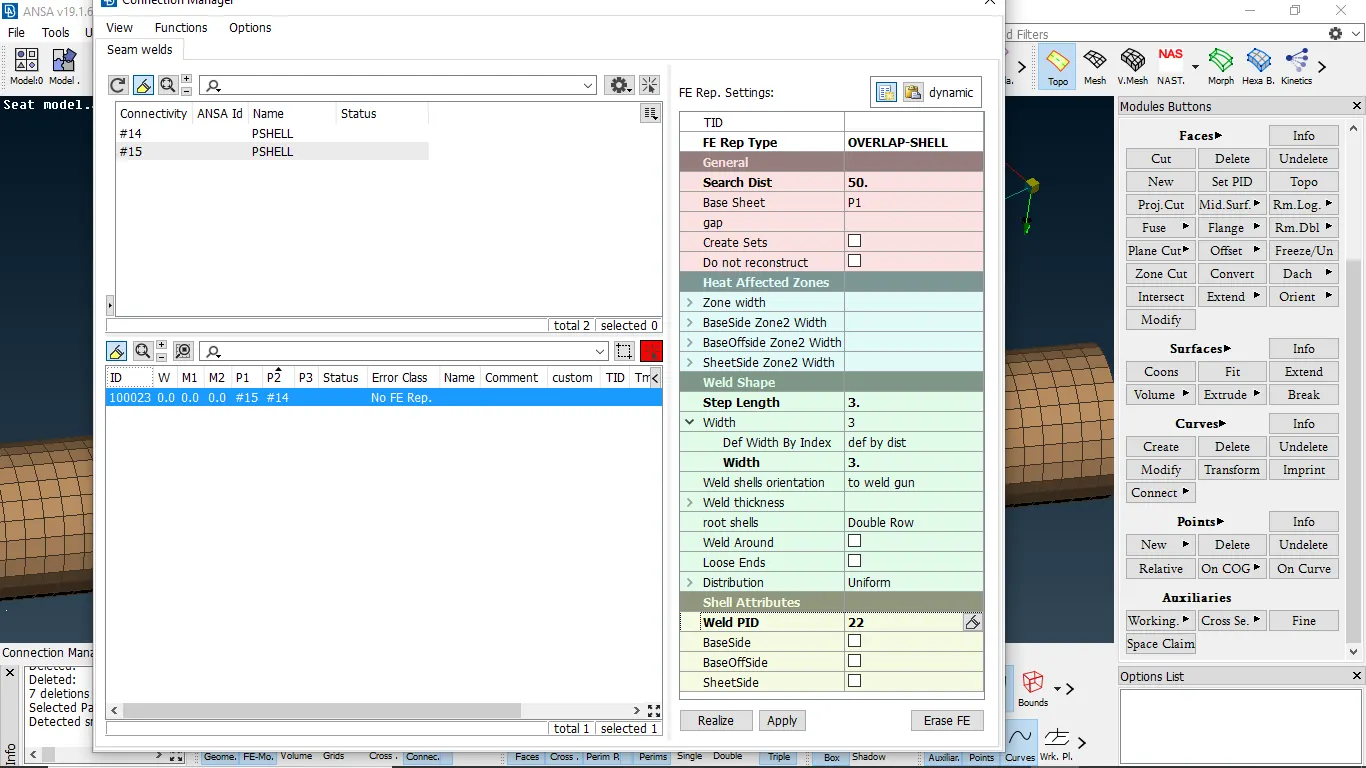
fig 5:- Assiging property for weld
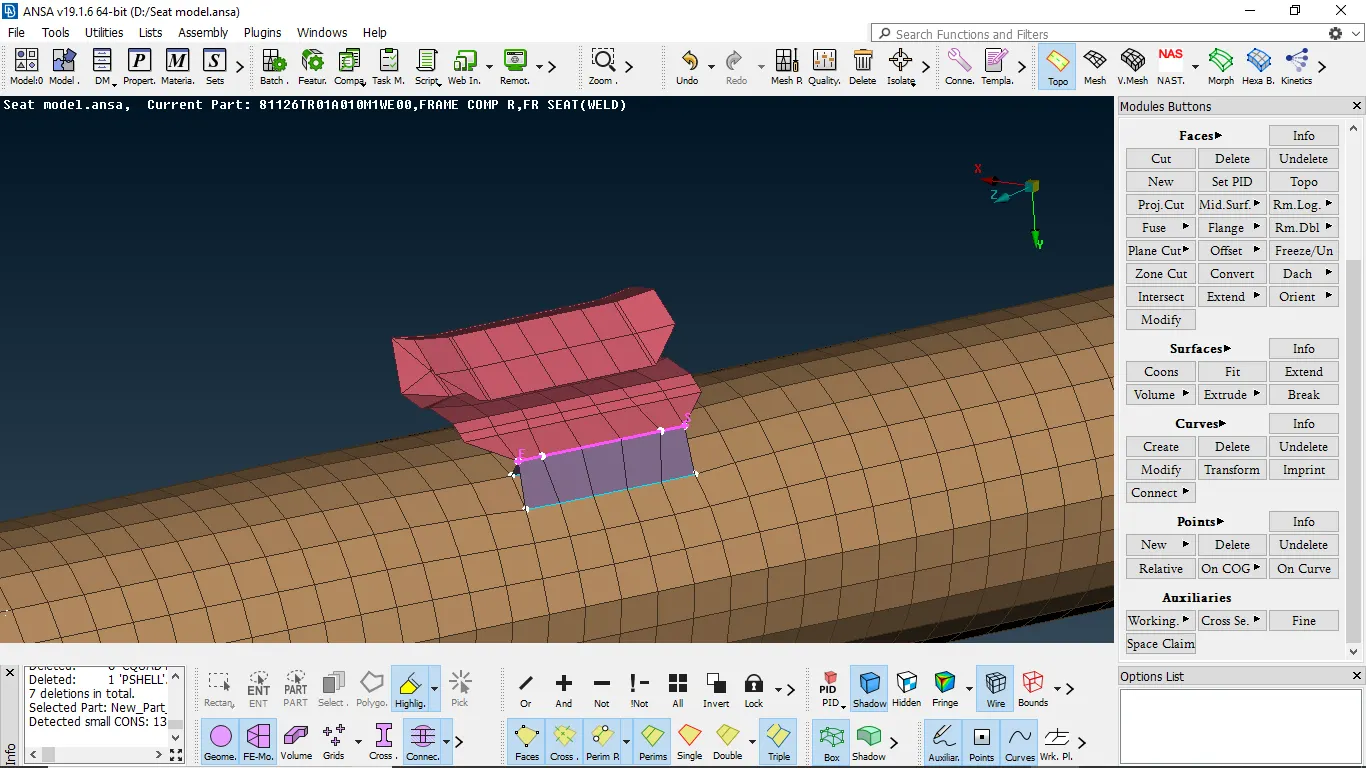
fig 6:- weld connection is created
DEPLOYING CONNECTIONS TO DOOR
- We need set component into different property id
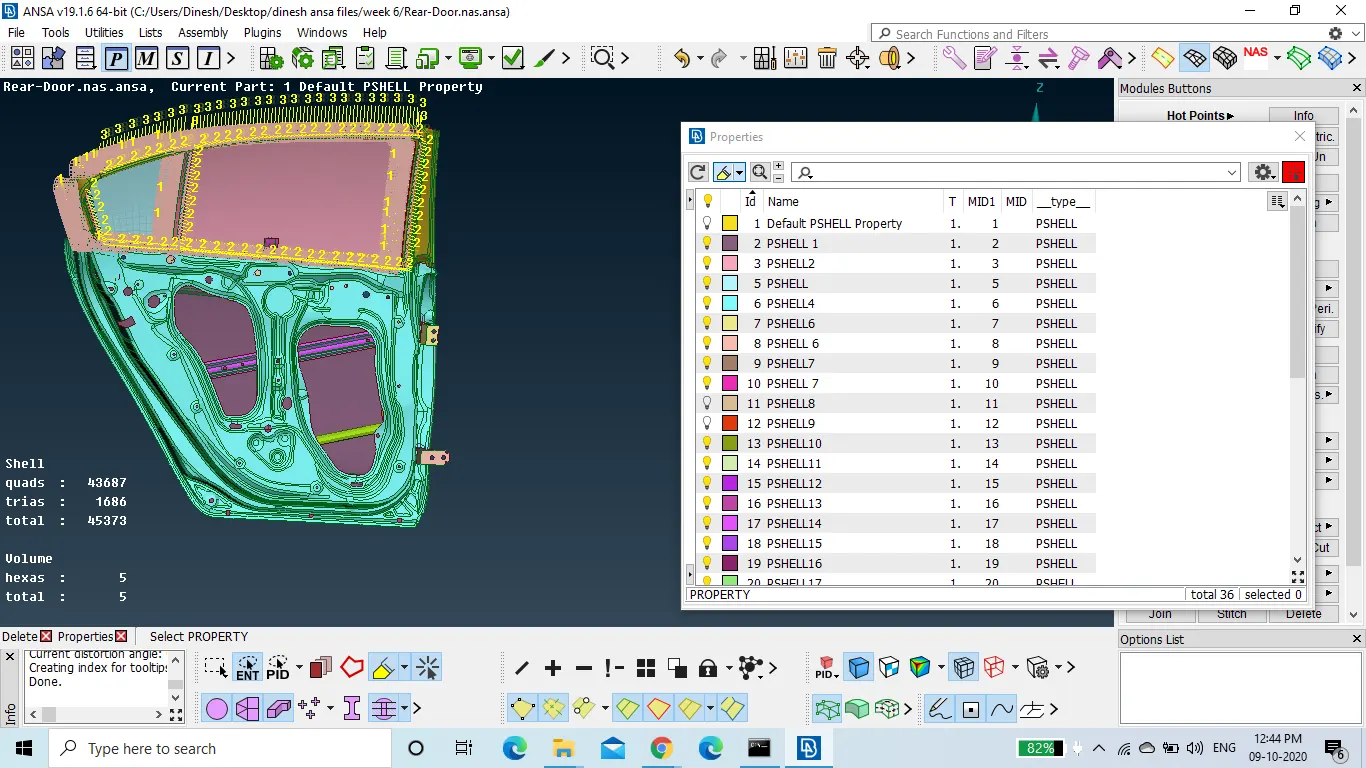
- Depolying weld connection wiith respectve to the connector
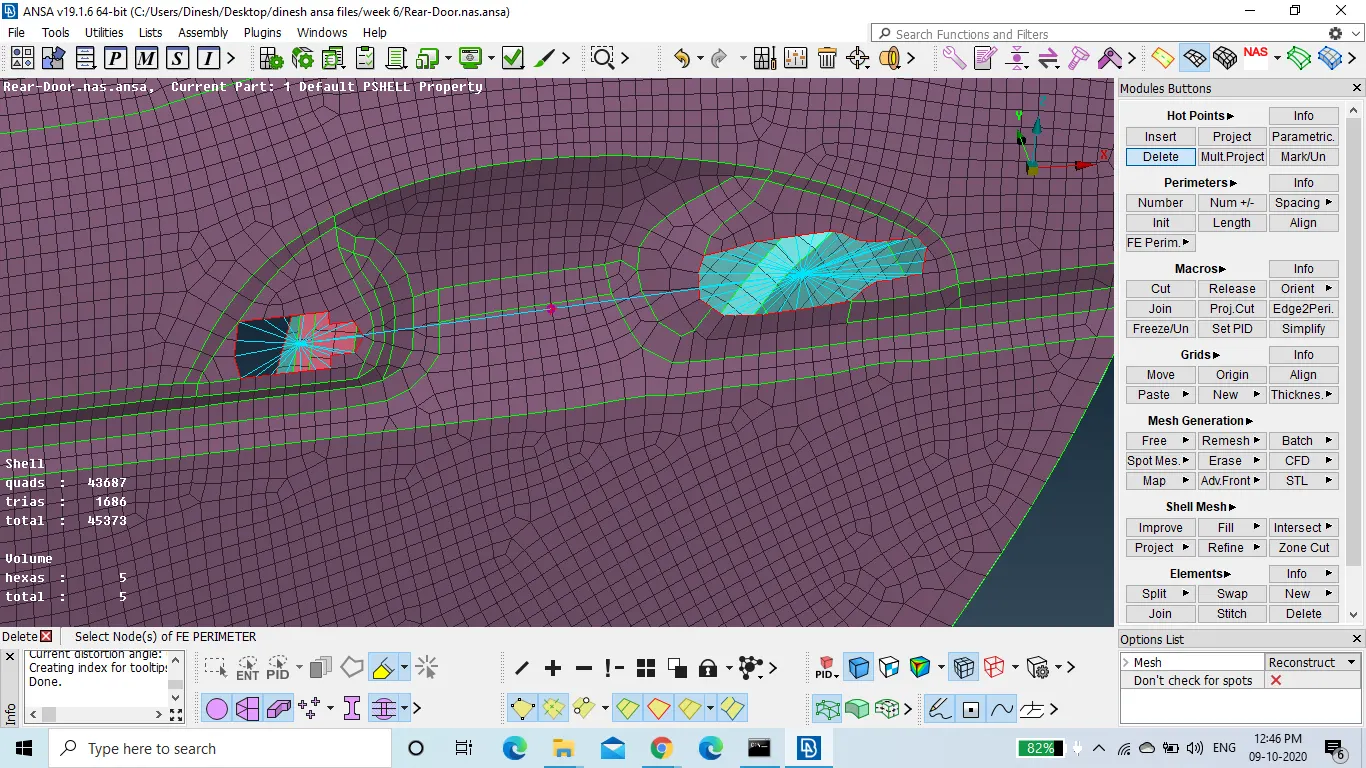
1. depolying handel connection by making many node RBE2 at hinges and also many connection by many node RBE2 taking hinges Rbe2 masternode as node and deployed handel connection
2. To give mass of the handel we need to go to CONMi and select CONM2 and then select nodes and select handel center node and assign mass
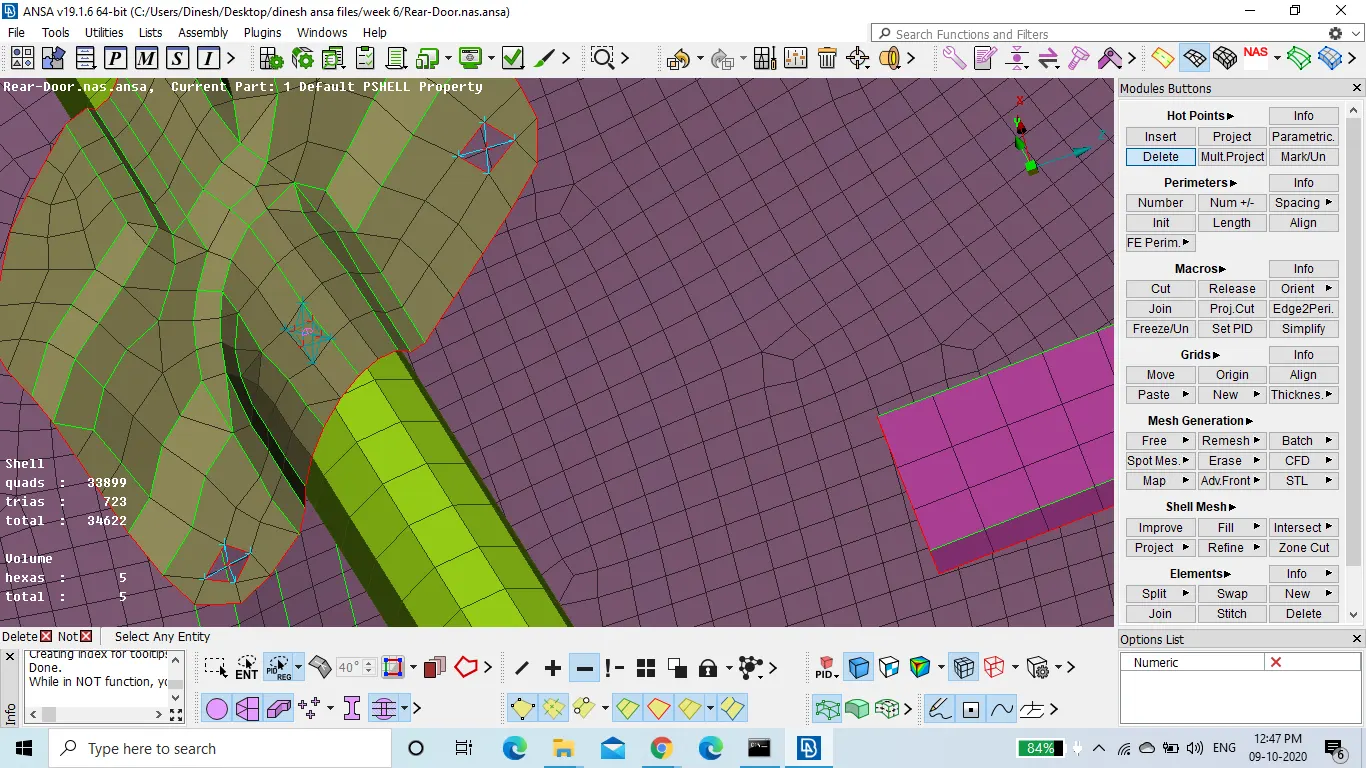
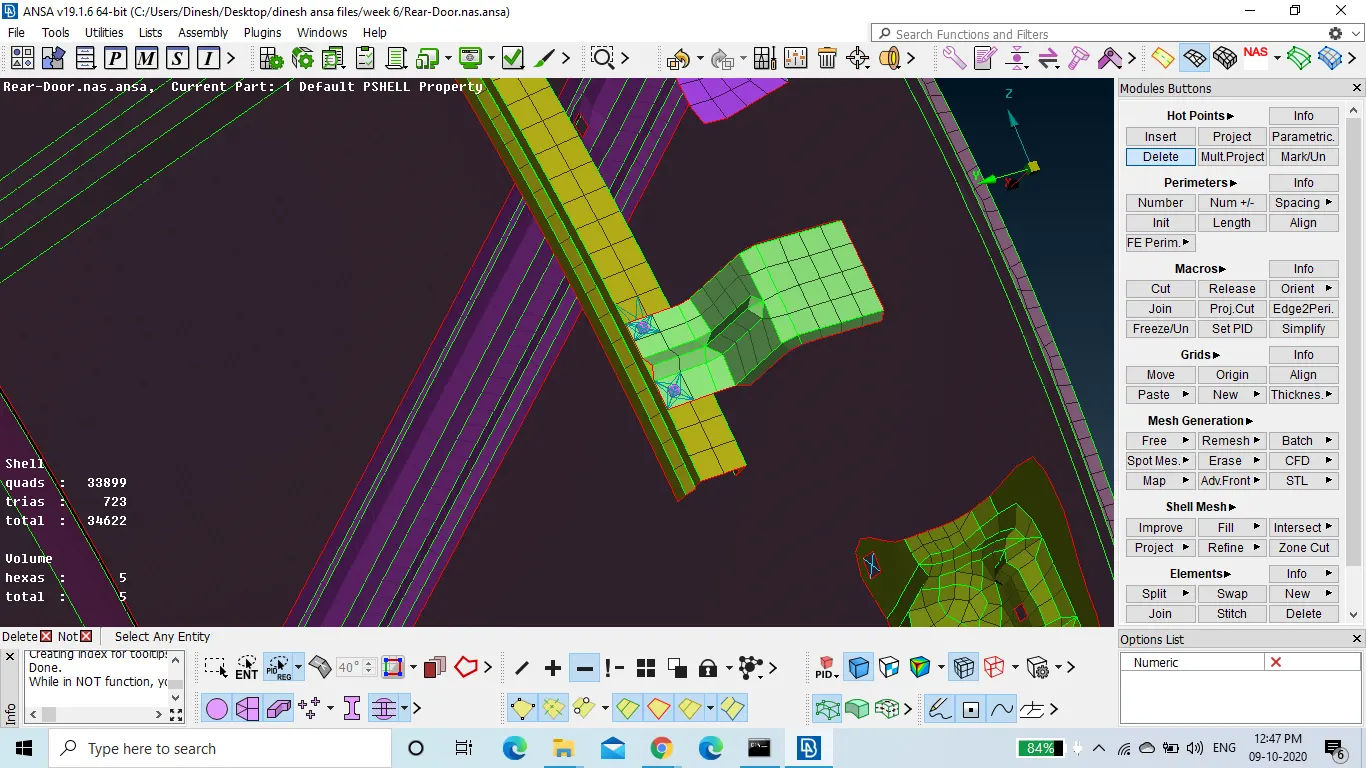
1. In we are going to deploy spot weld we use RBE3 HEXA RBE3 to pipe and clamp and we assigned RBE2 to clamp hole to make it rigid
NOTE:- To deploy spotweld elements my be flat
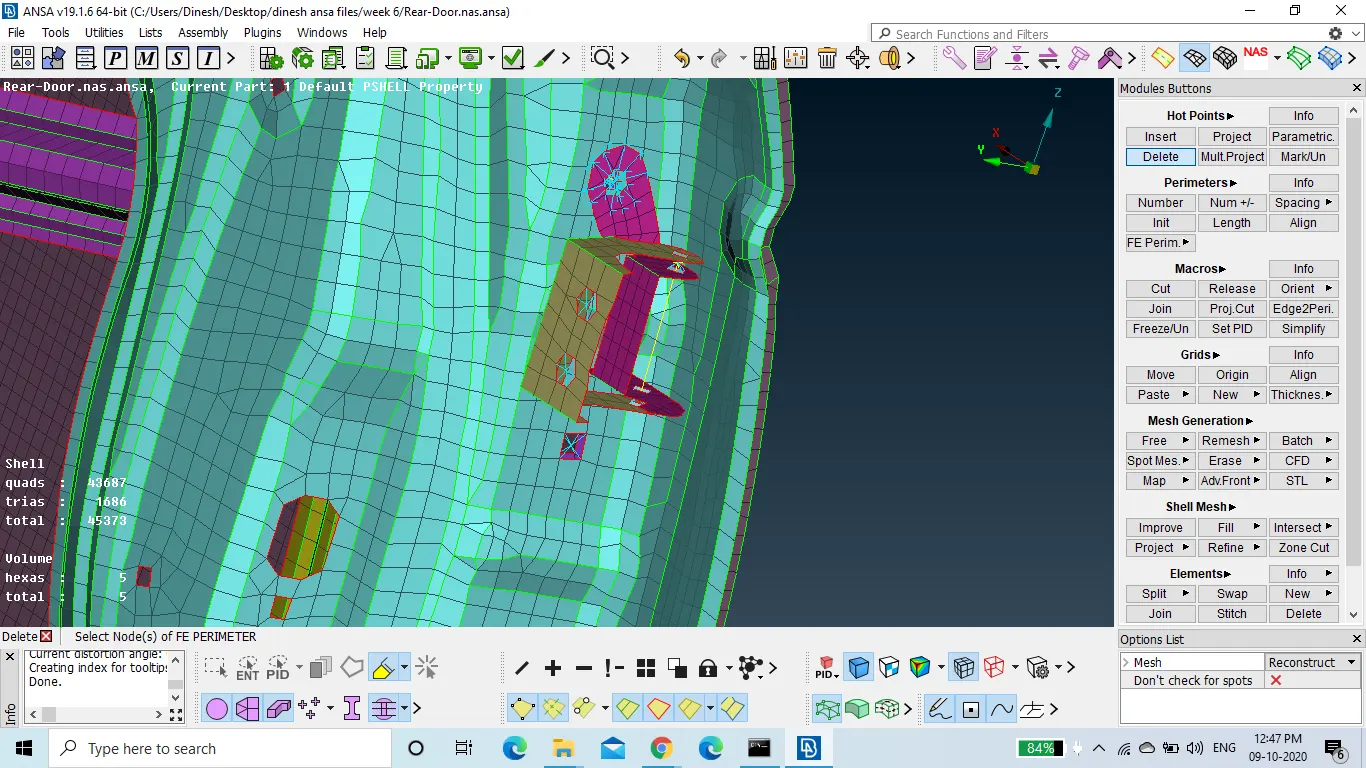
1. In the we made connection of nut and bolt to hinges which used to open the door and also we need to realease rotation motion while assinging DOF
2. For multiple hole subsystem we assigned cluter RBE2 connections
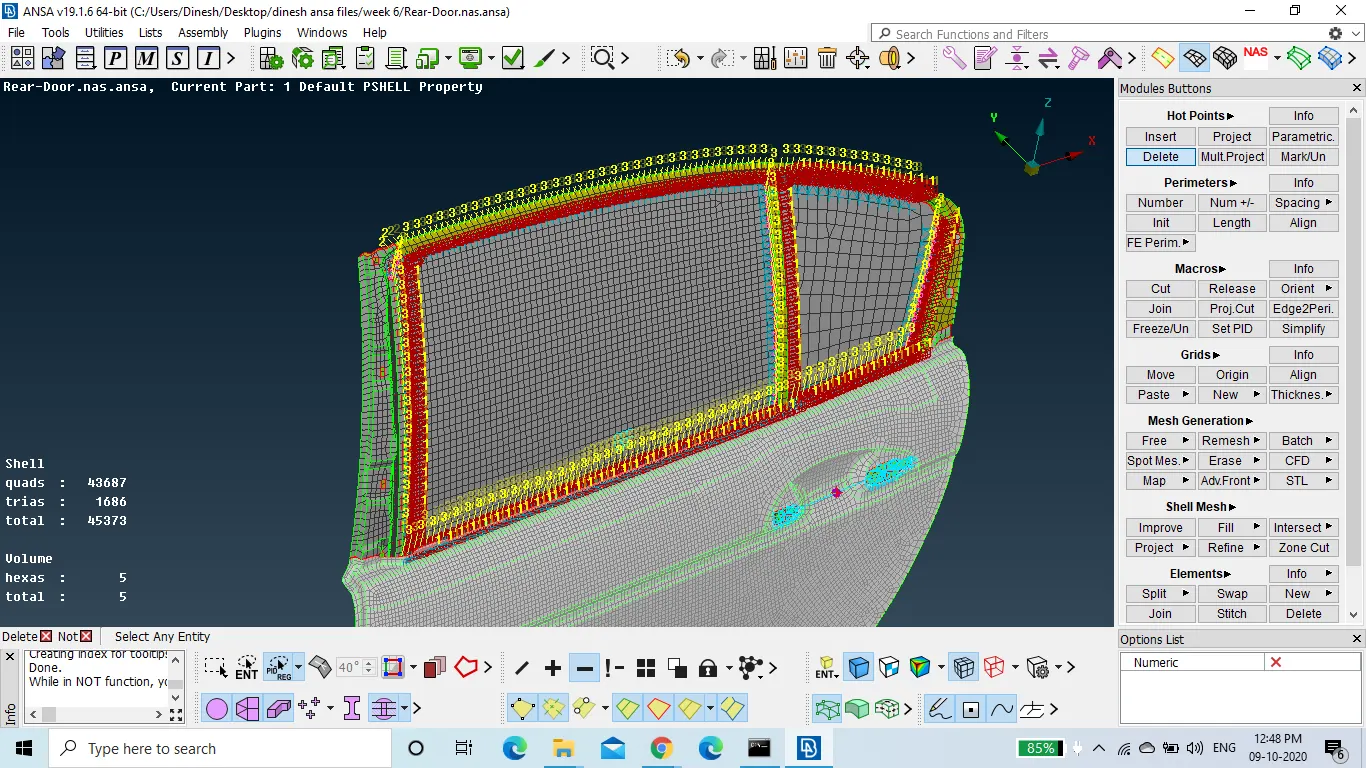
1. For glass there will be leather strip around to make glass motion free and reduce scracthes. In the glass is considered as fixed
2. For leather strips we need to make a curve for entrie outer edge of glass and convert it to spotline and then we need to deploy RBE3 CBUSH RBE3 connection
3. As after completing the connection we need to change CID as 0 and orentation as withcord to make the bush linear to golbal axis
CONCLUSIN:-
- I had learned to deploy connection to attach subsystem
- Gained knowledge to make connection with respective connectors
- Peformed leather strip connection to glass