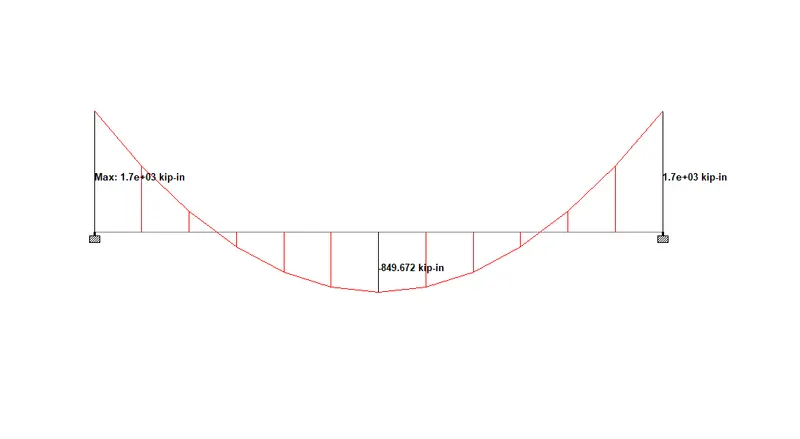
Week 2 Challenge
1. 1. How will you assign Circular section to column?
Answer:-
To define a section itself just go to properties⮕Define⮕circle ⮕define the diameter of column and the property for the column will be added into your model file database which can be used anytime to provide in the model.
1. 2. How will you assign Unit system to a .std model file?
To assign unit system to a .std model file one can follow the below stepsm,
- Go to file menu⮕click over settings⮕select display options under which choose Structure units, in the structure units itself units for different parameters are defined which can be changed as per your requirements.
1. 3. What are the parameters to be specified while using “Bay Frame” option?
The parameters to be specified while using “Bay Frame” option are as follows,
- Length
- width
- Height
- No. of bays along length
- No. of bays along height
- No. of bays along width
1. 4. Name few codal standards incorporated in STAAD Pro software.
The few codal standards thar are incorporated in STAAD Pro software may be as follows.
- IS 800-2007
- IS 456:2000
- BS 5400
- AISC 360-16
- AISI S100 2016
- ASCE 10 97
- ASME NF 3000 1974
- CAN/CSA S136 64
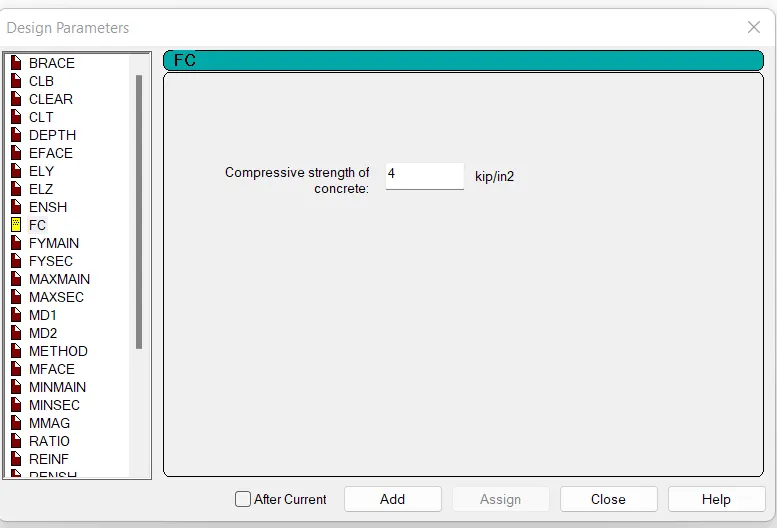
1. 5. How will you specify the design compressive strength for a RCC section?
Go to Design panel⮕Select your desired design commands and accordingly choose your Code, Now, check for define parameters ⮕In the define parameters search for FC⮕directly in the given section box you can introduce your yield strength value of cocrete for Rcc section.
2. 1. State the “Input” steps involved in RCC design.
The steps that may be involved in RCC design are as follows.
- Geometry- The first and foremost step could be geometry in which the nodal locations are defined that is a buillding structure has many joints and these joints are first defined in geometry then later on beam and columns are defined which connects from one joint to another.
- Properties- The second step shall be properties under which the sections of the members are defined that is its shape and size of the members.
- Materials- Different construction materials are defined here which is going to be used while carrying out the particular project.
- Specifications- This step is used when any special feautre shall be required to assign to the member or structural model.
- Supports- Supports at the base and for each joint is defined here.
- Loading-All the kinds of which are coming over the structure shall be assigned in this step.
- Analysis- Perform analysis shall be added in this and run analysis is done here to analyze the created model.
- Design -=After performing the analysis Design of the members shall be done and check for the area of reinforcement of the members which is the basic requirement of all the above steps.
2. 2. Explain the difference between Fixed and Enforced support condition in STAADPro.
The difference between Fixed and Enforced support condition is that fixed support defines the restraint for all the degree of freedom that is three translational degree of freedom and three rotational degree of freedom while enforced support defines the same but along with it also defines translational stiff springs for translational restraints, and rotational stiff springs for rotational restraints
3. 1. Explain the steps involved in analysis of a model using STAAD Pro sequentially.
After the modelling is completed and the assignment of load and load combinations are done, we can proceed towards the analysis part and follow the below steps,
- Go to analysis panel and click over define commands a new dialouge box will get open, in the perform analysis section click all to add.
- Perform analysis command will get added with all the requirements for analysis like codeal provisions and all.
- After, which we can directly go to run analysis for analyzing our model.
3. 2. Explain the two ways in which a structural framework/model can be created in STAAD Pro software.
The two ways in which a structural framework/model can be created in STAAD Pro software are as follows.
- Node by Node method- In this method nodes are being created by giving input in the form of coorduinates by generating the coordinates fro the typical drawing of the model.After creating all the joints as nodes, the joints are added with the beams and column and slabs arev provided and a frame model is being created.
- Structure wizard method- In this method some predefined geometry values shall be given and automatically it will generate a model, The geometrical configuration needs to be provided are like length ,width and height of model,no of bays , lengths between them and all such needs to be predefined by extracting the data from the architectural drawings.
3. 3. Elaborate the different support conditions in STAAD Pro.
The different support conditions in STAAD Pro may be as follows,
- Fixed support -In fixed support condition all the six degree of freedom are restrained and it is also predefined by software also so, it can be directly assigned wherever required.
- Pinned support-In this support condition all the three translational degree of freedom is restrained while all the three rotational degree of freedom is released and this is also predefined in the software settings so, it can also be directly assigned as per requirement.
- Roller support- This is a support condition in which only vertical movement is restrained while horizontal and other degree of freedom is released, But, this support condition is not predefined in the Staad.pro software so this has to be defined by using Fixed but available in the support creation panel.
- There are another kind of supports also defined here in the software like enforced but,which is customiseable support and can be customised as per our requirement.
3. 4. How will you extract the stress distribution for a staircase slab?
After the completion of the Analysis part go to the post processing mode and click on the view results option. then ,go the plate results option, click on the dropdown list and from the same list choose stress distribution result,then the staad pro will depict the result for the same.
3. 5. Explain the different ways to view SFD & BMD in STAAD Pro.
After completing the analysis part go to post processing mode then click over the beam results then and from the view results panel choose FY for shear force diagram and Mz for Bending moment diagram. One another way could be that after clicking over beam results Double click on the model, a new dialouge box will get open with lots of features in which there ia an option for viewing shear force and bending moment.
Practical
1. Analyze the following structural elements and validate the results
A. Simply Supported Beam
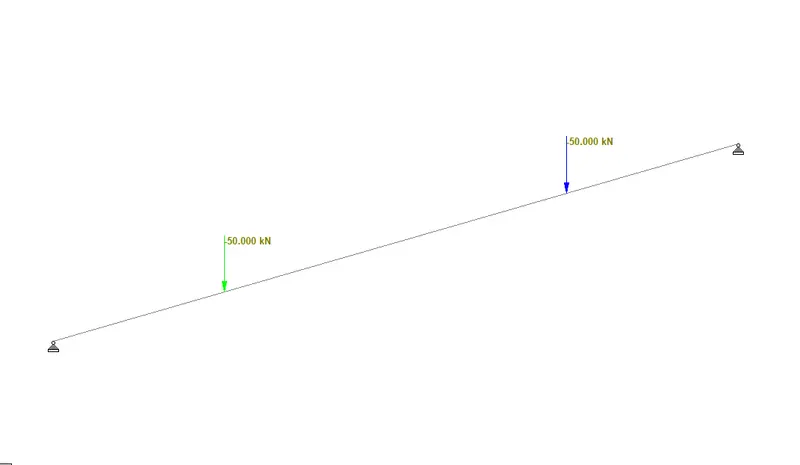
a. A Simply supported beam with two point loads symmetrically placed
b. Span L = 20m
c. Load P = 50kN each
d. Both P located at 5m from each support
To analyze and modeling of the given beam can be carried by following the below steps.
- Start up with the staad.pro software and create a file for creating an analytical model.
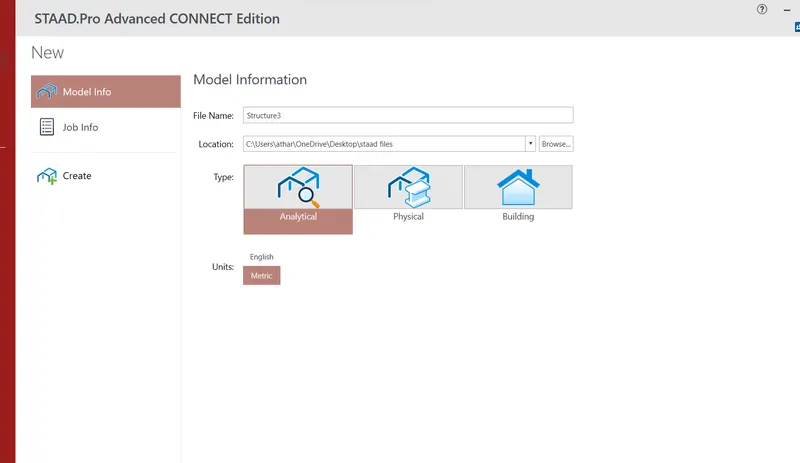
- Then, After getting into the project modelling window, give the coordinate node points and join them by using Add beam option.
- After creating a model of beam, Go to properties and define the section for beam and use assign to view option to assign the section to the beam model.
- Now, provide the type of material to the section for that, Go to material panel and select concrete and use assign to view option to assign the concrete material to the beam model.
- Now, Go to supports and define pinned support and provide them at both the ends.
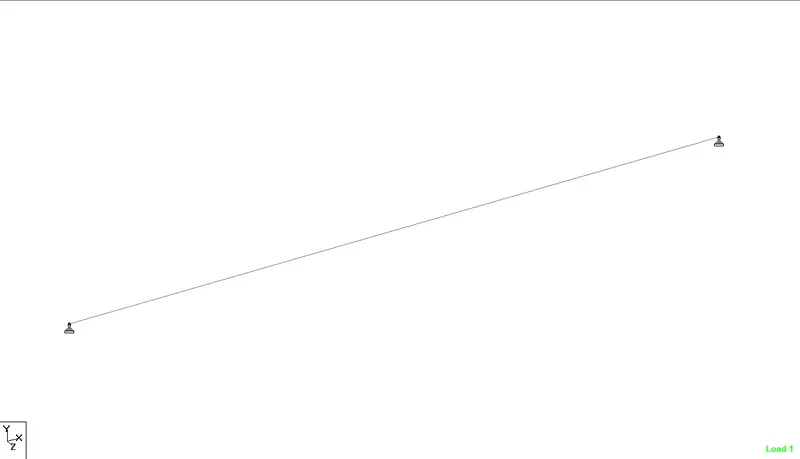
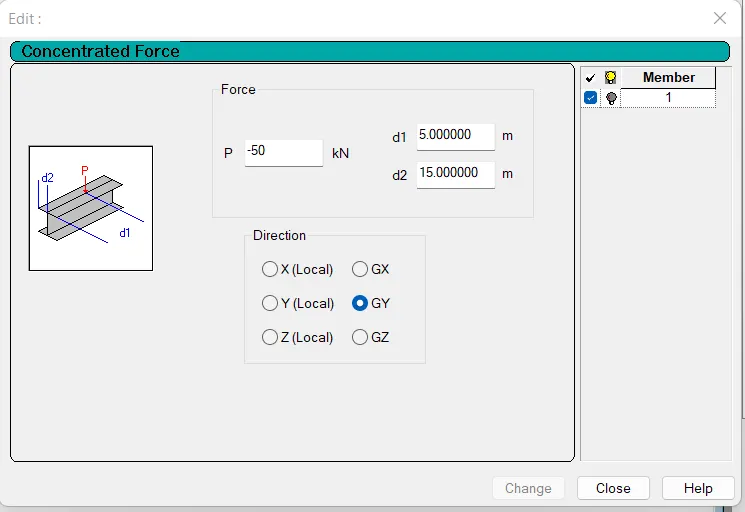
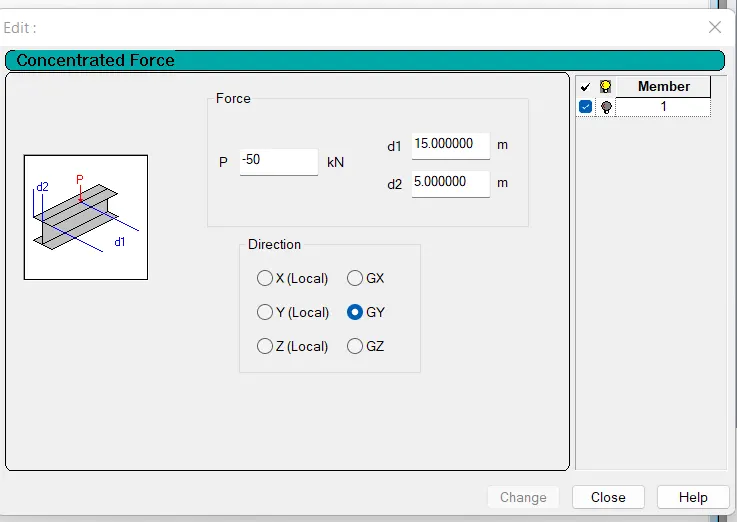
- Now, the next step could be assigning of supports,So,as asked in the question to assign loads of 50 kn at a distance of 5m from each end.
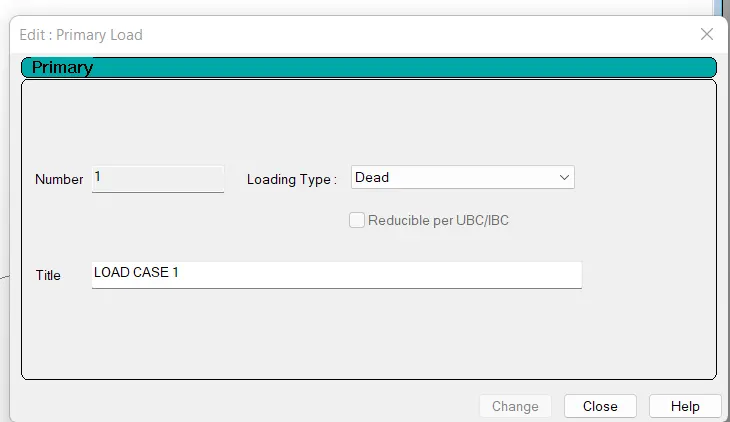
- Go to loading and add load case as dead load type then add a concentrated load condition for 50 kn and at a distance of 5 m from one end and a distance of 15m from the other end.
- Now, After completing all the above steps the analysis part comes into the picture.
Go to analysis panel and click over define commands then press add and the perform analysis will be added then simply click over run analysis tab and if the model is fine then it will get analyzed within seconds without errors or warning messages.
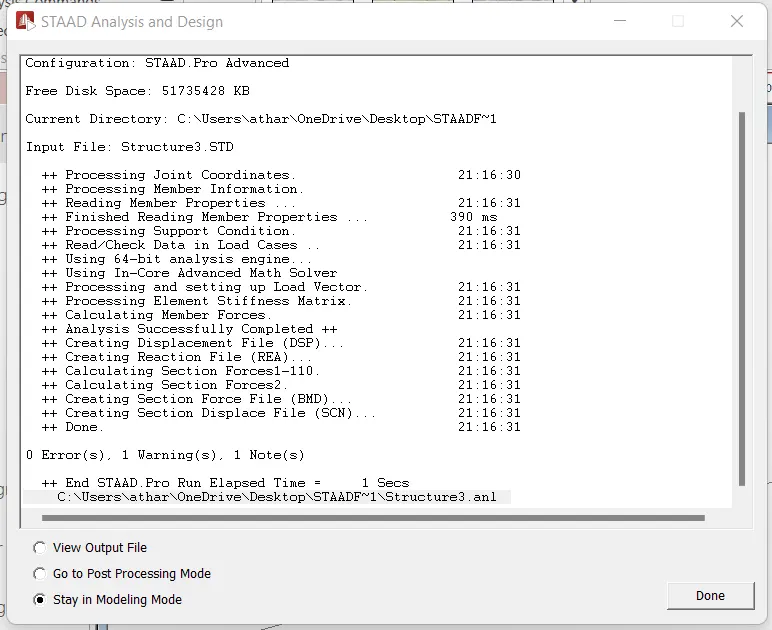
- Now, Go to post processing mode and extract the required results which are as follows.
- Shear Force Diagram-
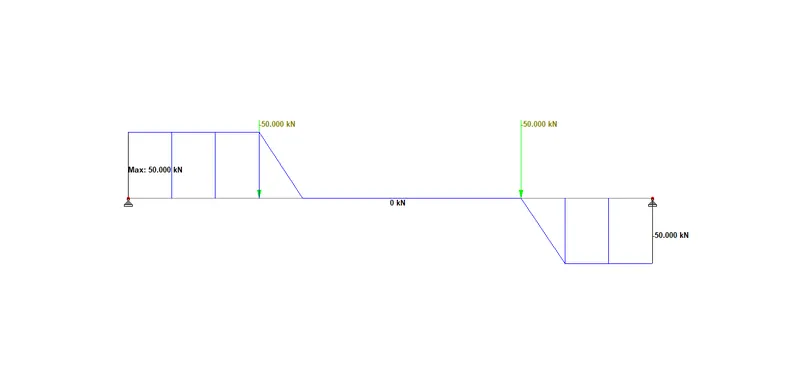
- Bending Moment Diagram-
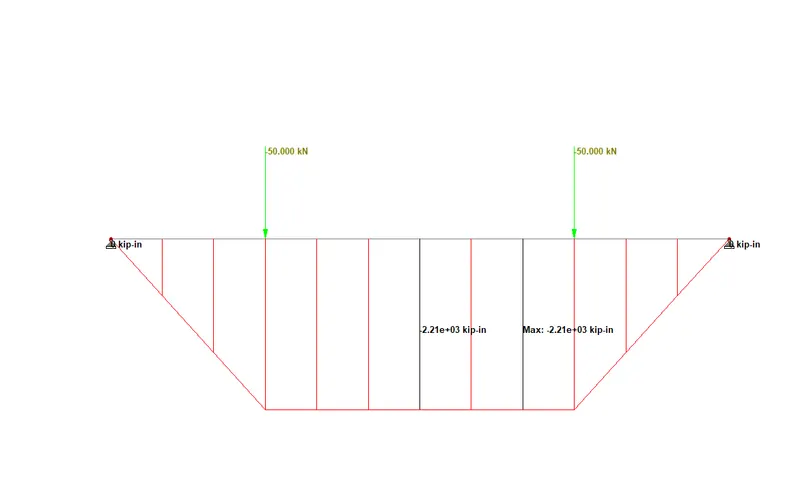
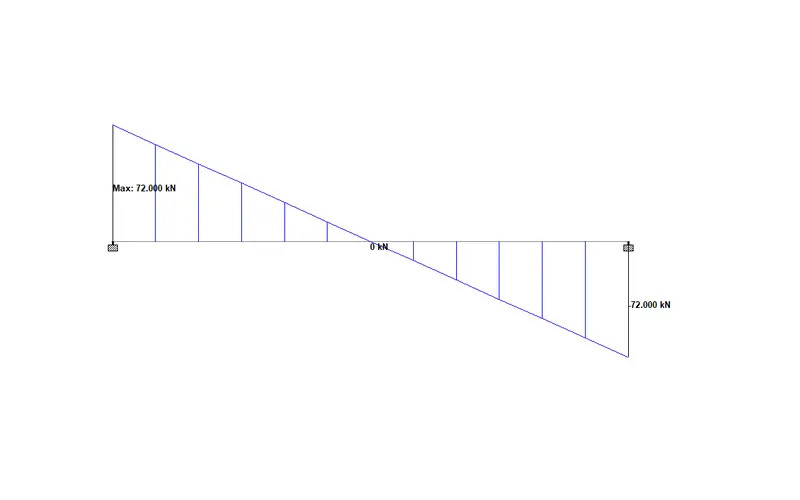
B.Fixed Beam
a. Span L = 16m
b. Uniformly Distributed Load w=9kN/m
To analyze and modeling of the given beam can be carried out by following the below steps.
- Start up with the staad.pro software and create a file for creating an analytical model.
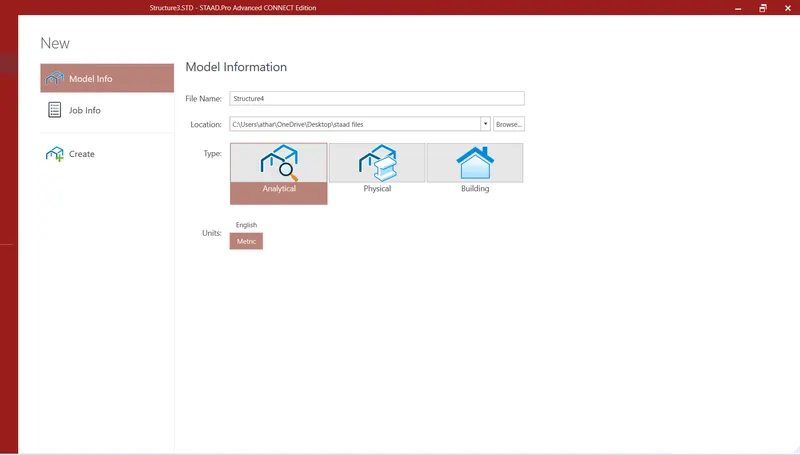
- Then, After getting into the project modelling window, give the coordinate node points and join them by using Add beam option.
- After creating a model of beam, Go to properties and define the section for beam and use assign to view option to assign the section to the beam model.
- Now, provide the type of material to the section for that, Go to material panel and select concrete and use assign to view option to assign the concrete material to the beam model.
- Now, Go to supports and define fixed support as directed in the given question and provide them at both the ends.
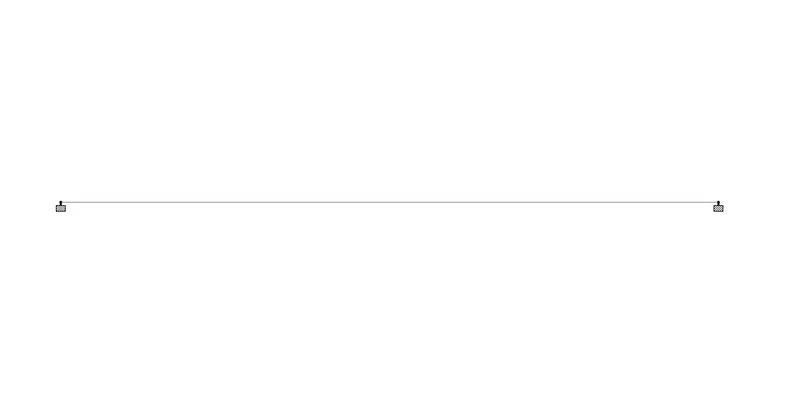
- Now, the next step could be assigning of loads,So,as directed in the question to assign a uniformly distributed load of 9 kn/m on the beam.
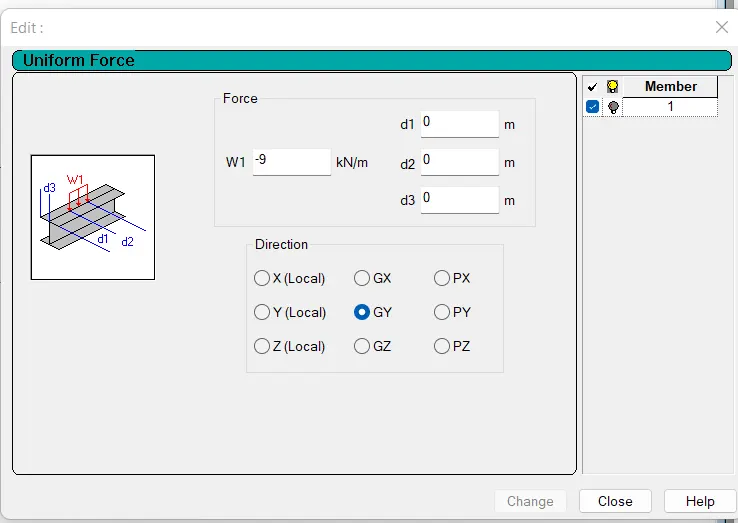
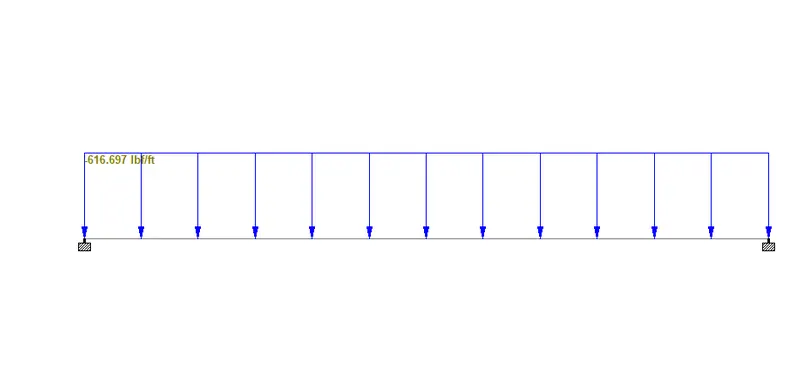
- Now, After completing all the above steps the analysis part comes into the picture.
Go to analysis panel and click over define commands then press add and the perform analysis will be added then simply click over run analysis tab and if the model is fine then it will get analyzed within seconds without errors or warning messages.
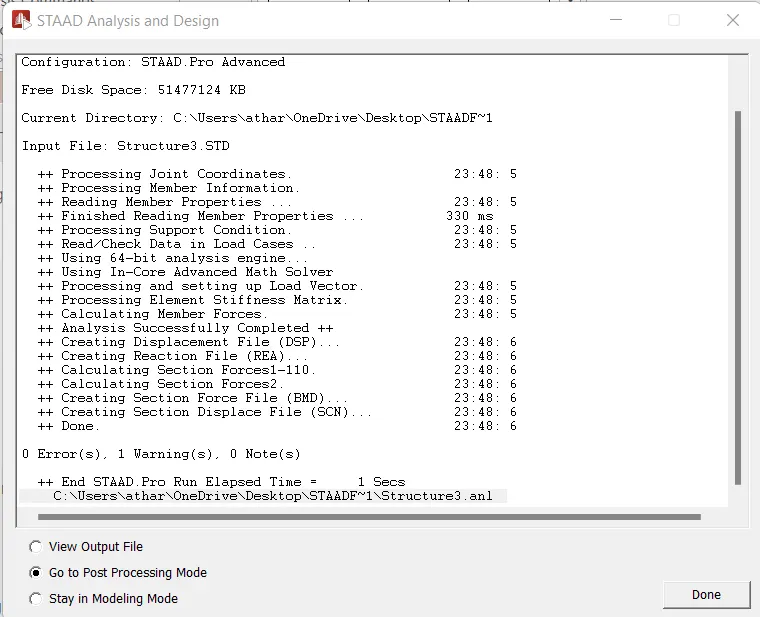
- Now, Go to post processing mode and extract the required results which are as follows.
- Shear Force Diagram-
- Bending Moment Diagram-