BIW HOOD DESIGN
Objective
The objective of this project is to design a Hood BIW of a passenger car based on engineering inputs that satisfy the manufacturing requirements, functional requirements, and Euro NCAP standards.
Introduction
The Hood or the Bonnet of a car is considered as the frontal BIW enclosure component. Hoods are designed to reduce air resistance as the air flows around the car. The design of the hood is vital since it affects the aerodynamic flow around the car. Apart from this, hoods are also designed to meet several other requirements. They help in protecting the passengers inside the car and pedestrians in the event of an accident. It also acts as an engine cover.
Components of Hood
1. Hood Outer Panel
2. Hood Inner Panel
3. Latch & Striker with Reinforcement
4. Hinge with Reinforcement
5. Gas stay with Reinforcement
6. Ball Stud
7. Stiffener Pad
Design Inputs for Designing of Hood
Hood Thickness Information
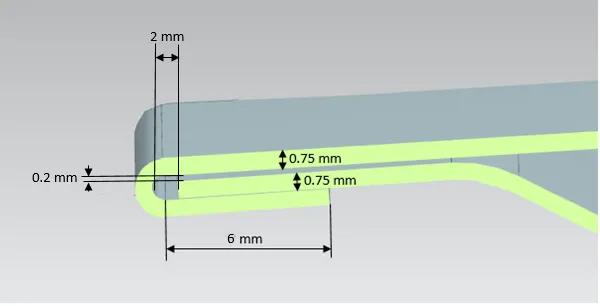
Outer Panel Thickness = 0.75mm
Inner Panel Thickness = 0.75mm
Reinforcement Thickness = 1.5mm
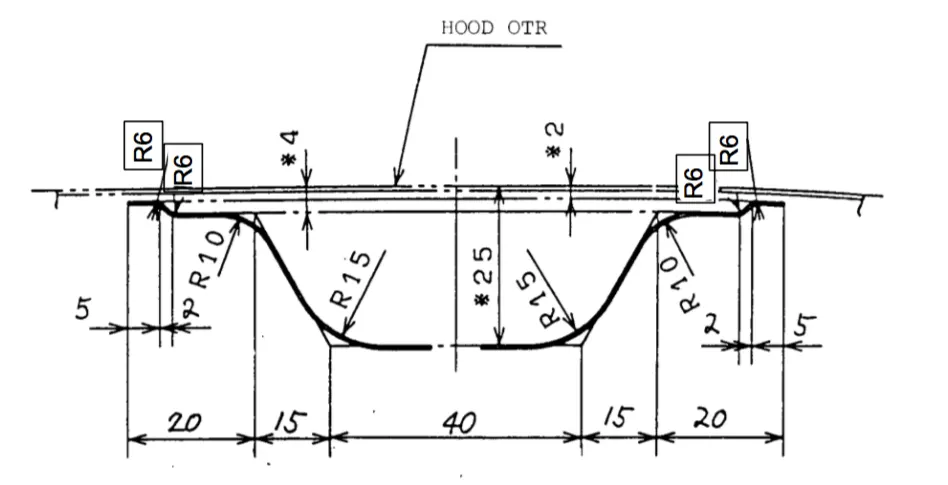
Master Section
The Master section is created based on the requirements received from the Styling team, Marketing team, and the Manufacturing feasibilities. Below is the sketch of the master section used for the design.
Hemming Data
Hood Outer Panel
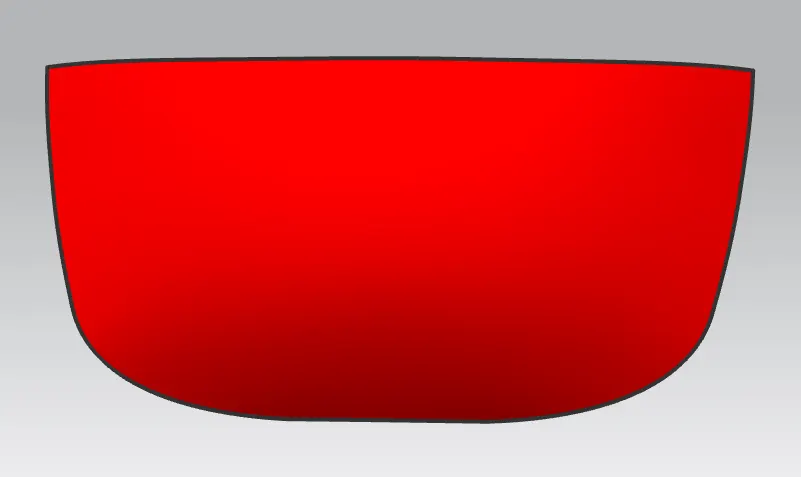
The Hood outer panel is a styling surface or skin panel which acts as a metal cover for the inner panel. The outer panel of the hood gives aesthetics to all over the car and helps in reducing the air resistance as the air flows around the car.
Hood Inner Panel
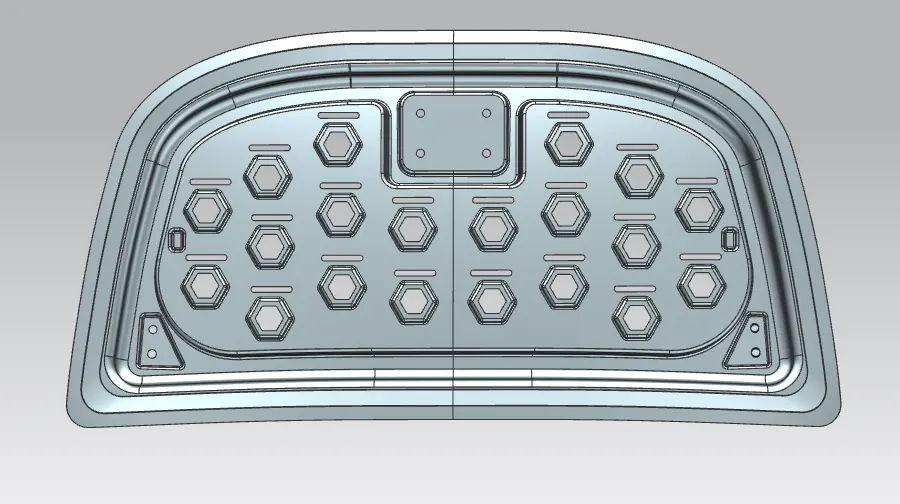
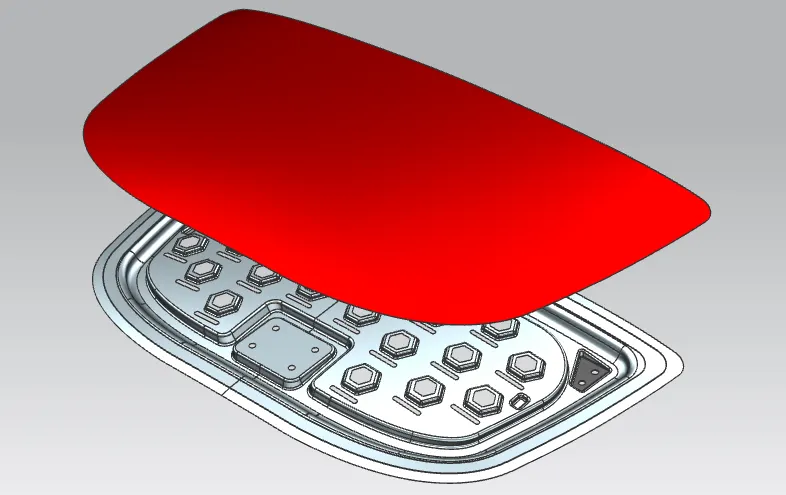
Hood Inner Panel acts as a reinforcement for the outer panel which strengthens the overall hood of the car. Embosses are also added to the inner panel to increase the stiffness of the hood.
Reinforcement: Reinforcement is the one which is additionally placed to the components to compensate the loss by increasing the strength of the area locally.
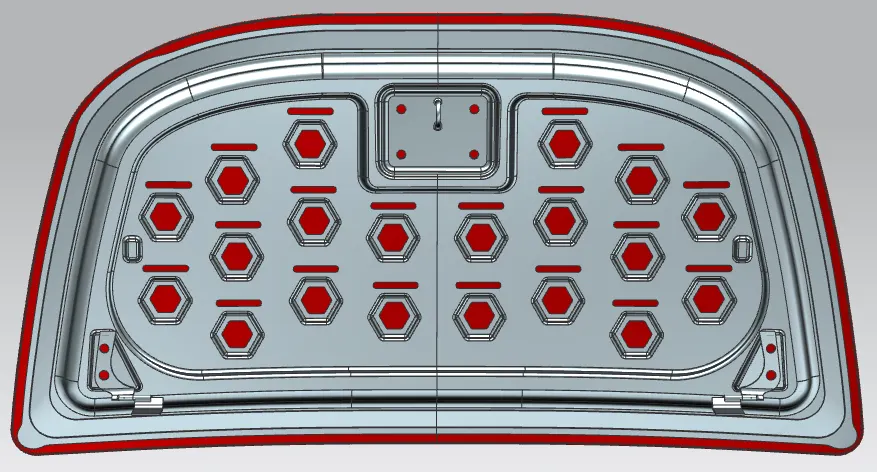
Embossing: It is the stamping process for producing raised or sunken designs or relief in sheet metal. So whenever a Collison happens, the force goes straight from the hood to the passengers and we as a design engineer have to dissipate the forces outside the car as early as possible. In order to dissipate the forces, we create embosses in such a way that force direction changes and goes towards the hinge. After using embosses during Collison, the force passenger will experience will reduce drastically.
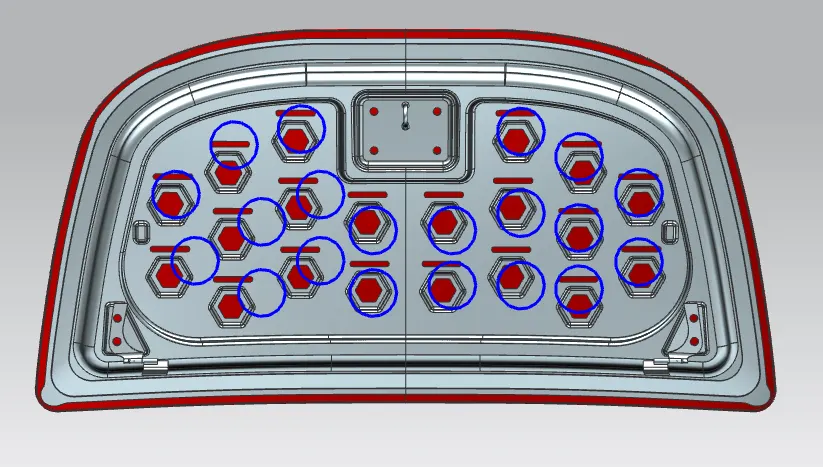
As you can see in the image given below, the embosses that I have created are hexagonal in shape. Tesla used this hexagonal emboss in Model 3 on the inner panel of the hood. The reason behind this hexagonal emboss is to increase pedestrian safety during collison.
Manufacturing Requirements for Designing of Hood Inner Panel
Hood is commonly manufactured using Stainless steel of various grades. Luxury cars use aluminum for creating hoods which significantly reduces the weight of the car and increases the efficiency of the car but aluminum is expensive as compared to the steel. Deep drawing process is used to manufacture the hood from stainless steel material whereas Casting process is used to manufacture the hood from aluminum material.
In this project, we are going to design a hood that will be manufactured using stainless steel material and deep drawing process and the minimum requirements we need to fulfill:
1. Minimum Fillet radius = 3mm+Thickness.
2. No sharp corners inside the component.
3. No curvatures lesser than 5mm.
4. Small embosses should not exceed the maximum depth of 6mm.
5. Mounting areas and welding areas need to be flat.
6. Provide appropriate corner relief on the area of curvature.
Functional Requirements
1. Opening Angle
The first important functional requirement is the opening angle of the hood. In India the average height of a person is 5.5 feet, so a particular angle will be given to the hood to open considering the Indian market but in Europe, the average height of a person is 6 feet. So, the opening angle will be given more as compared to India. If the opening angle is less then there are high chances of human to get hit by striker.
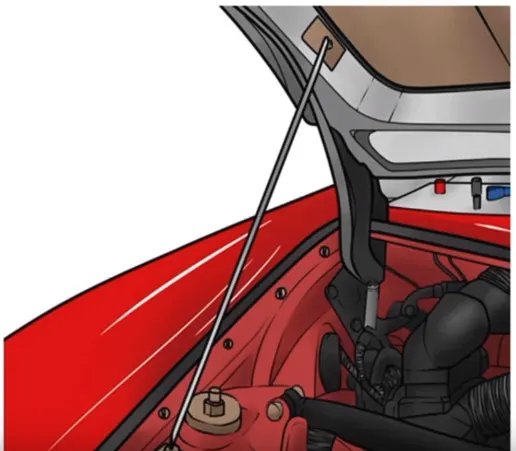
The opening angle is controlled by Gas Stay or Support Rod.
Support Rod: Support rod is used to hold the hood of the car when the hood is in the open state. It generally weighs around 150-200gm. It is simple and cost-effective but it is too hot to grip by hand when one opens the hood just after the car is stopped.
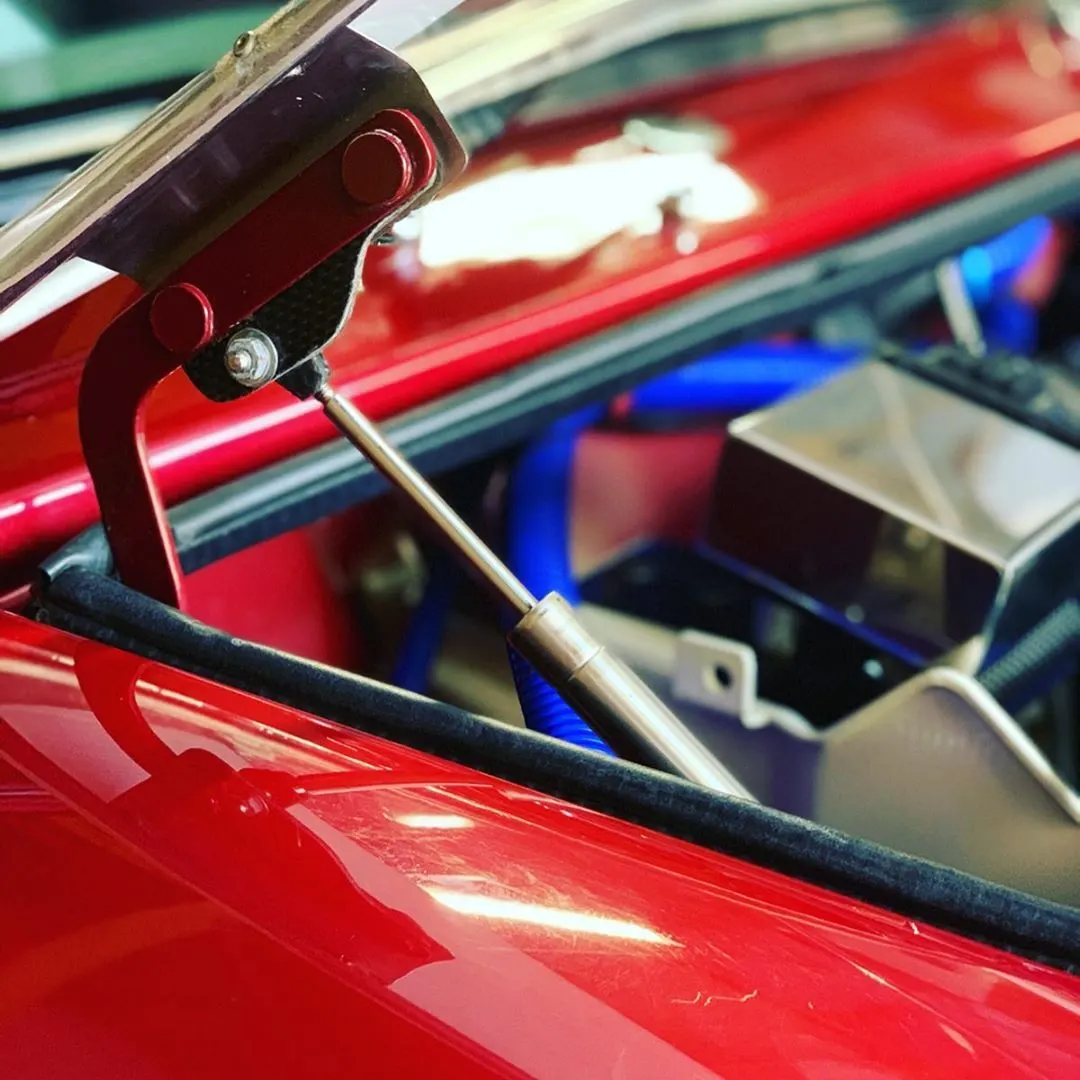
Gas Stay: The function of Gas stay is also the same as supporting rod but in gas stay, no manpower is required to open a hood, all you need is to apply little effort to push the hood upwards and it will automatically open up the hood. Gas stay is generally used when the size of the hood is bigger and causes difficulty in opening the hood for an individual.
2. Placement of Latch & Striker
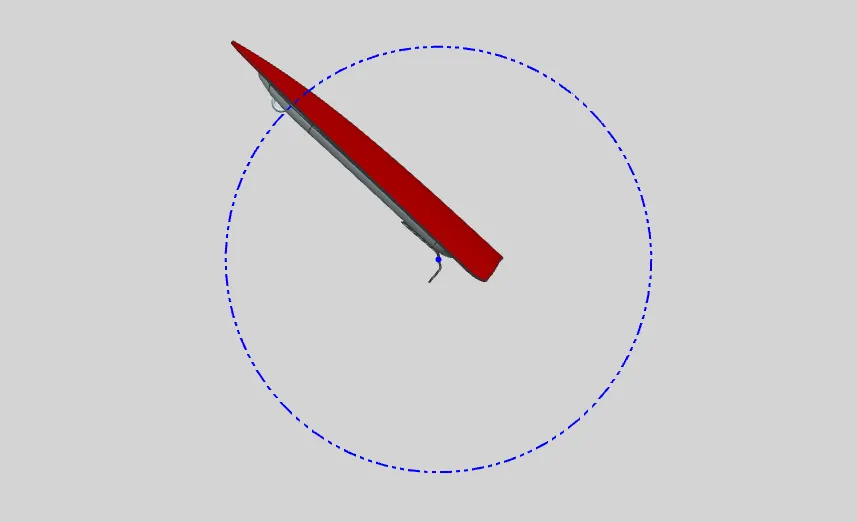
Placement of Latch & Striker plays an important role in the opening and closing of the hood. In order to position the latch and striker perfectly, we position the hinges which are placed at the corner of each side of the hood, and from those hinges, we draw a hinge axis. The Centre point of this axis is known as the center hinge axis point, from where we draw a circle to position where we need the latch to be placed. If the striker is placed tangential to the circle and it follows the trajectory of the circle then the hinge position is correct and the hood will open and close perfectly.
Safety Requirements - Euro NCAP Standards
Euro NCAP is the European New Car Assessment Programme which is a voluntary vehicle safety rating system created by the Swedish Road Administration. They publish safety reports on new cars, and awards 'star ratings' based on the performance of the vehicles in a variety of crash tests, including front, side, and pole impacts, and impacts with pedestrians.
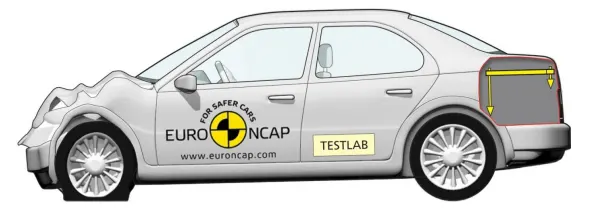
The most important safety requirement to be considered while designing the hood is the front Collison. According to front Collison requirement is that the hood crushes and dissipates the force in the upward direction to the hardpoints on the hood and do not let the force to go into the passenger compartment.
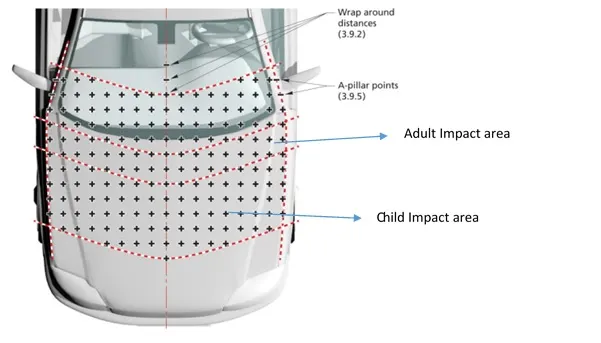
For pedestrian safety, Euro NCAP marked the area of impact of a child and an adult and there should not be any reinforcement on the areas prone to head impact zone because that will cause a major injury to the child or to the adult. The child impact area is designed with lesser thickness than the adult impact area so whenever front Collison happens the hood crumbles and protects the child's head from absorbing the force.
Latch & Striker with Reinforcement
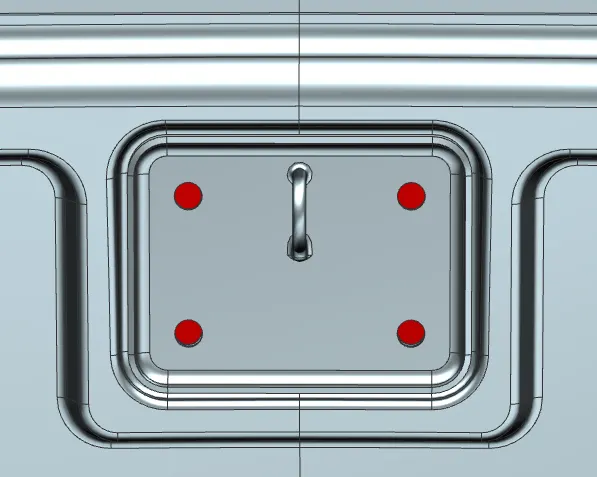
Latch & Striker is the locking mechanism of the hood. In the latch, there will be a hole for the clearance of the striker where the striker comes out, and when the hood is closed the striker goes into the hole provided near the engine compartment and it locks the hood.
When you add latch & striker to the inner panel, we lose strength in that area, and in order to compensate the strength, we provide additional reinforcement which is known as reinforcement latch and striker.
Hinge with Reinforcement
Hinges are placed at both the corner of the hood for the motion of the hood. without the hinges, there won't be opening and closing motion of the hood.
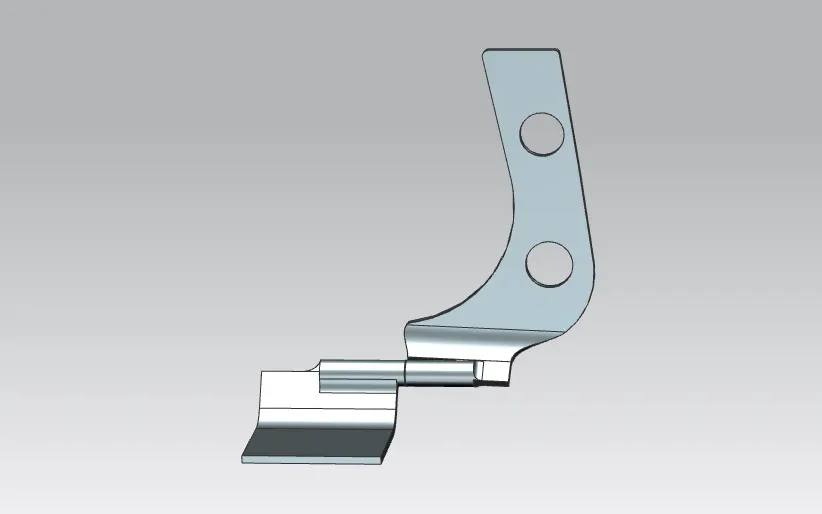
Hinge Reinforcement: When we add hinges at corners we lose the strength in that area so in order to compensate that we add reinforcement which is known as hinge reinforcement.
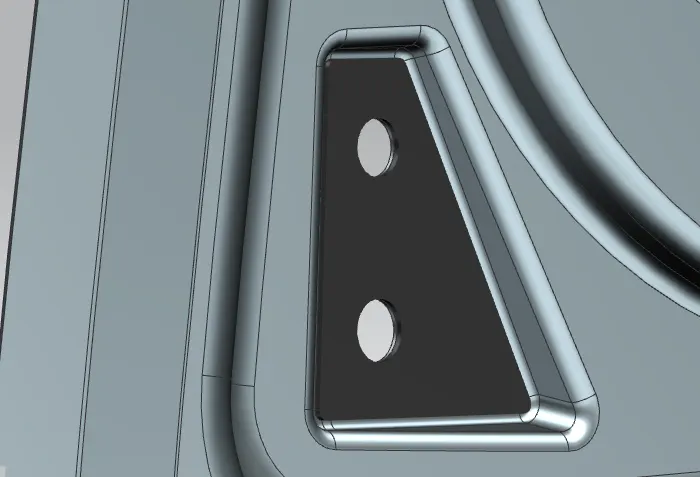
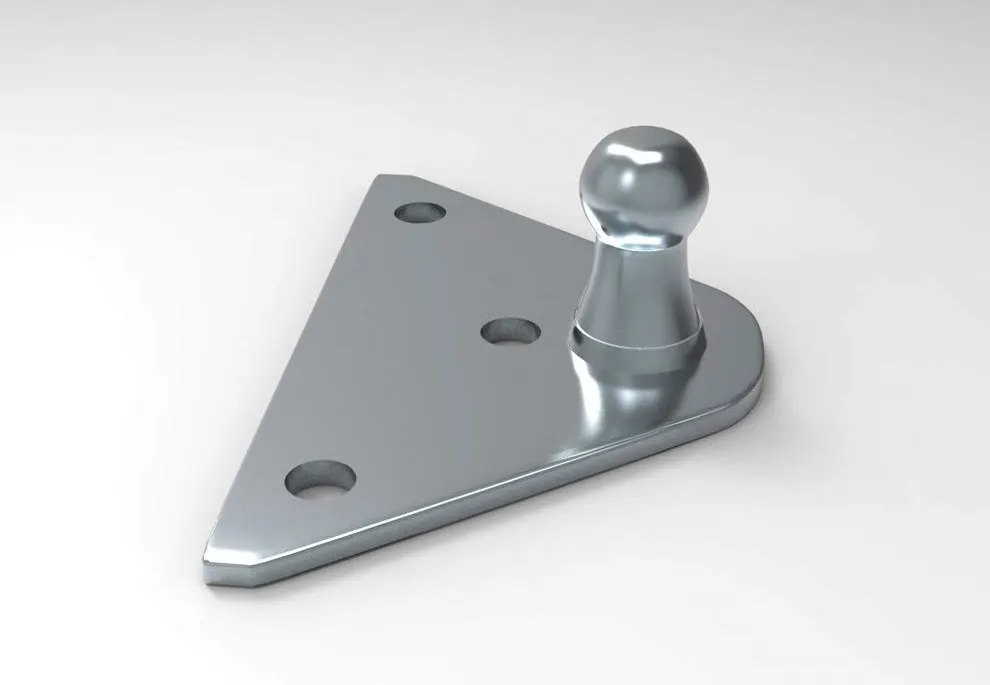
Ball Stud
Ball stud is used in both the corners of the hood to fixed the gas stay. Ball stud usually comes with an attached bracket which is mounted on the hood.
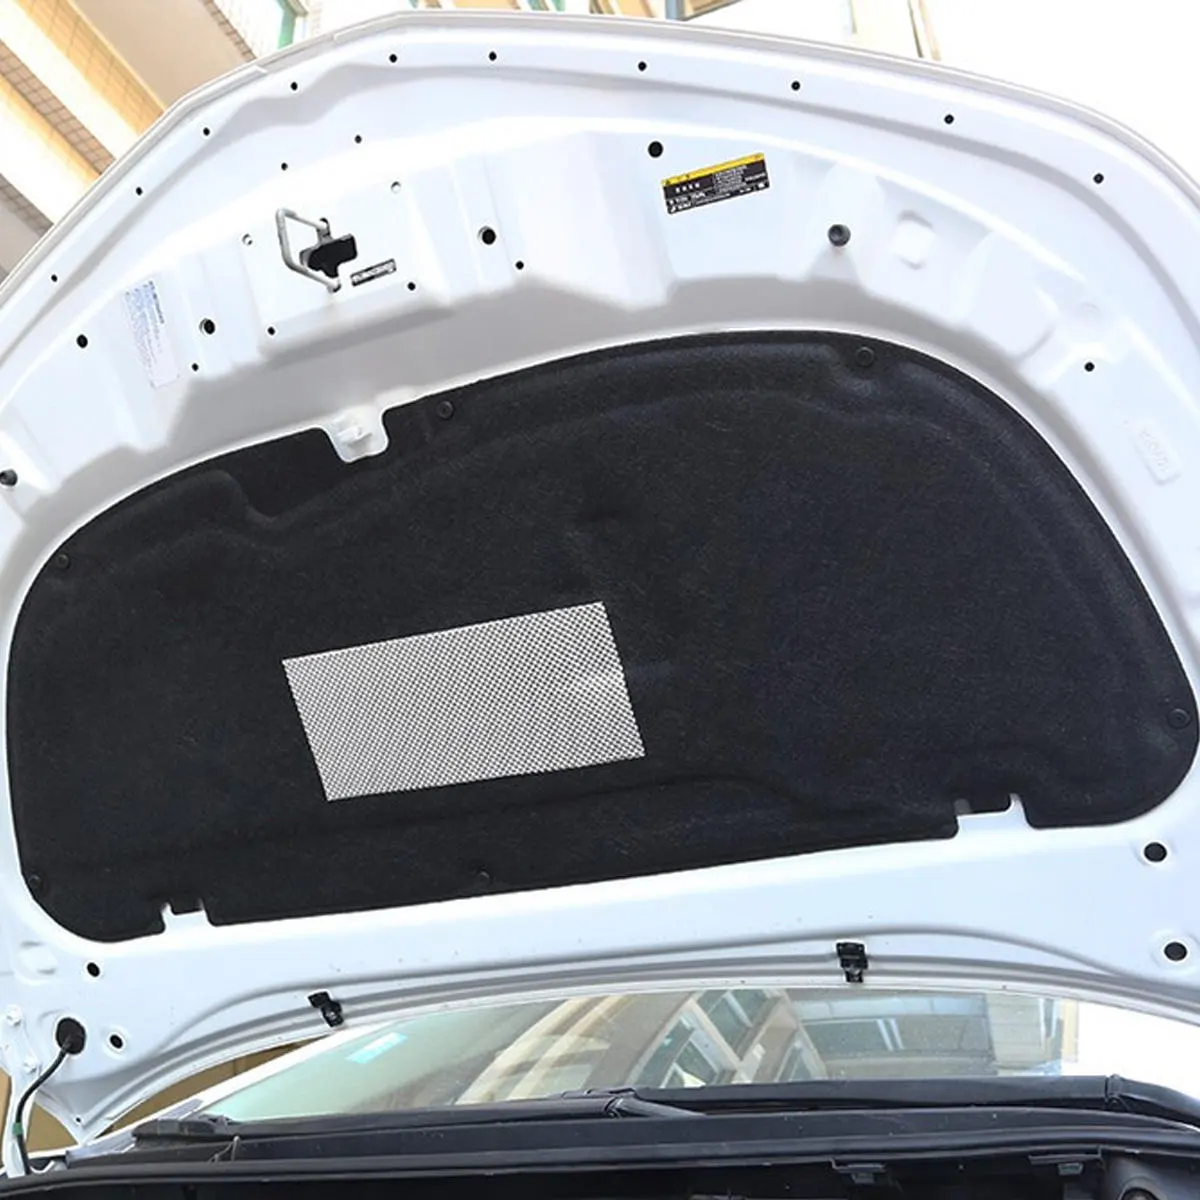
Stiffener Pad
Stiffener Pad is a kind of a sponge that does not have any predefined shape. It is a similar material to sponge but a bit harder. It is placed between the outer panel and the inner panel of the hood to improve the strength locally and to avoid the vibrations in the hood during motion we used a stiffener pad. In most of the time, we consider stiffener pad in the initial stages of the project but sometimes later it is removed as a cost reduction item.
Joining of Outer Panel & Inner Panel of the Hood
Hemming
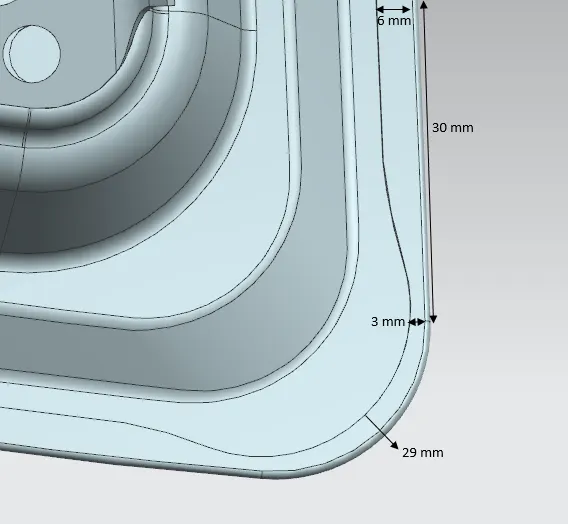
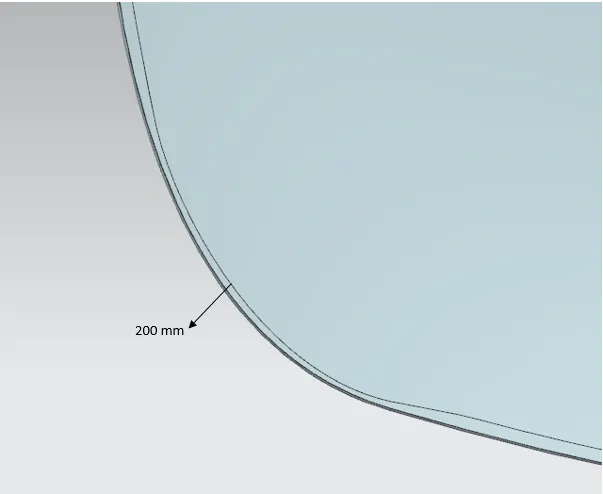
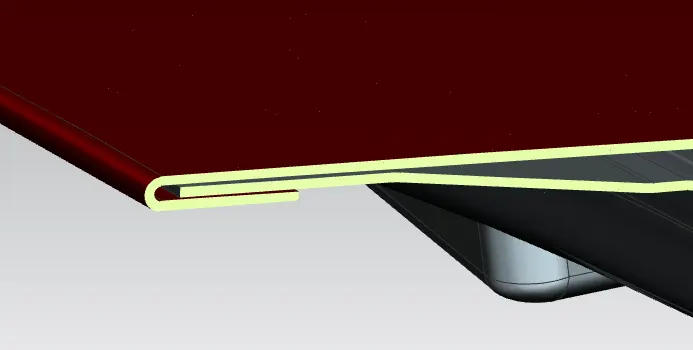
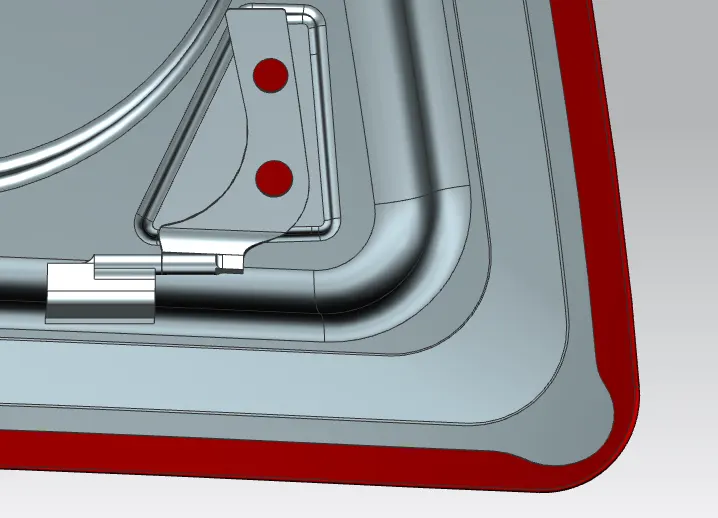
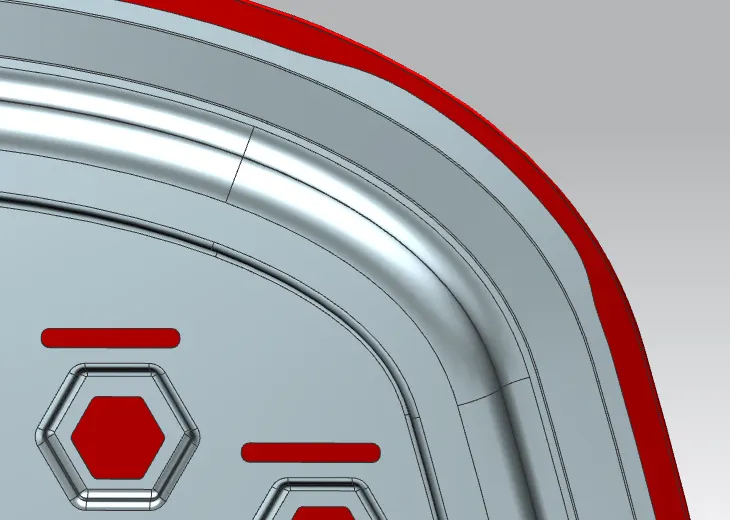
The Hemming process is used to join the outer panel and the inner panel of the hood together. The hemming process roles and wraps the hood outer panel around the inner panel and holds it tightly together. The Hood outer panel is a styling surface so we cannot use spot welding or riveting on the outer panel because it will reduce the aesthetics of the car. So that's why we use new joining techniques like hemming, gluing, mastic, etc. Front and corner reliefs are provided at the corners of the hood so that part gets easily manufactured.
Corner Relief
Front Relief
Mastic Sealants
Mastic Sealant is used between the outer panel and the inner panel of the hood to join together. Every mastic sealant has the tendency to improve the strength locally around at 80mm diameter. It is a type of rubber that is in the form of a paste.
Final Assembly
Conclusion
Successfully designed a Hood BIW of a passenger car based on engineering inputs that satisfy the Industry's manufacturing requirements, functional requirements, and Euro NCAP standards.