BIW FENDER DESIGN
Objective
The objective of this project is to design the Front Fender of a car with a Drip Area, A-Pillar Mounting, Bumper Mounting, Body Mounting & Sill Mouting.
Introduction
1. The front fender is the side closing component for the engine compartment and the major role of the front fender is to avoid chipping inside the engine compartment.
2. When the vehicle is moving, wheels try to pick up some stone, sand, and mud particles and throw it into the air and inside the engine compartment and the fender prevents it from it.
3. Fenders are basically present to prevent any injuries to pedestrians and contain the motion of these particles.
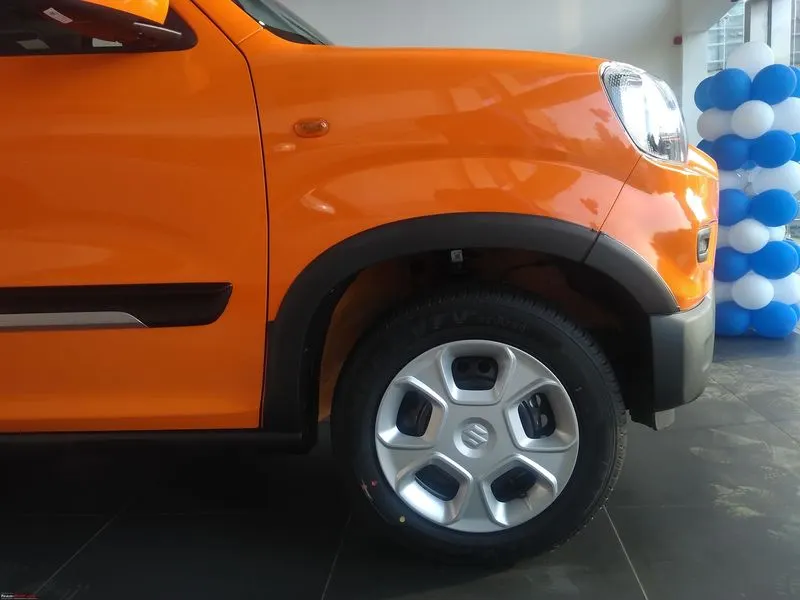
Image Source: Google
Types of Fender
There are two types of fender:
1. Full Bumper Type
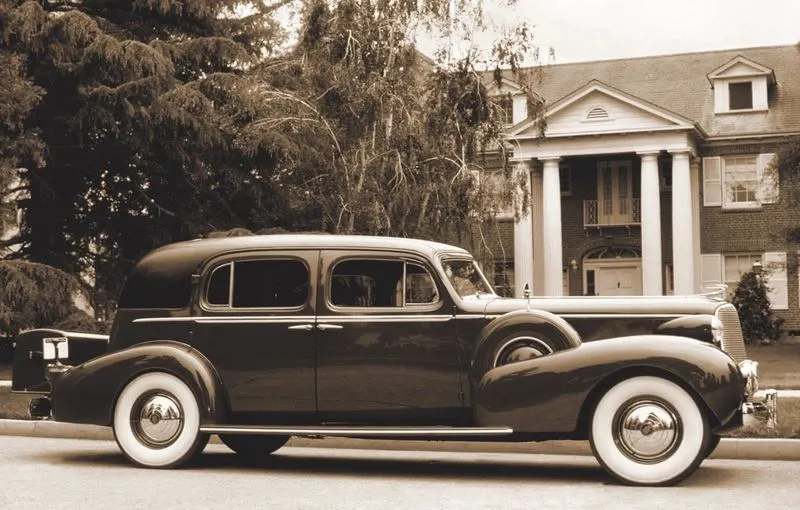
Image Source: Google
2. Half Bumper Type

Image Source: Google
(i) Currently in the industry we are using Half bumper type fender rather than full bumper type because whenever we use half bumper type fender, the blank we used to create full fender is really big and we have a lot of wastage of material.
(ii) But in the case of Half bumper type fender, there is a high possibility of reducing the scrap. By slightly increasing the blank size, we can produce two half bumper-type fenders at the same time. This will reduce the blank cost drastically so that you can provide a better fender at a cheaper price. This is called scrap management.
(iii) Half bumper type fender will allow you to use a lot of plastic on the bumper that means you are reducing some particular proportions of steel weight. When you reduce the steel weight that means you are also increasing the performance of the car. That is why we started using the half-bumper type fender.
Mountings
Fender is mounted on 7 important regions which are as follows:
1. Body
2. A-Pillar
3. Sill
4. Drip Area
5. Bumper mounting
6. Baffle mounting
7. Cowl
We use fasteners to mount the fender to all these regions. These fasteners are not visible outside so there is no worry to use fasteners in these regions because this is not going to impact the aesthetics of the car.
Above the above mounting points, the Drip area is the major mounting region in the fender which connects with the engine compartment.
Design Consideration & Functional Requirement
Master Section
The Master section is created based on the requirements received from the Styling team, Marketing team, and the Manufacturing feasibilities. Below is the sketch of the master section used for designing the drip area.
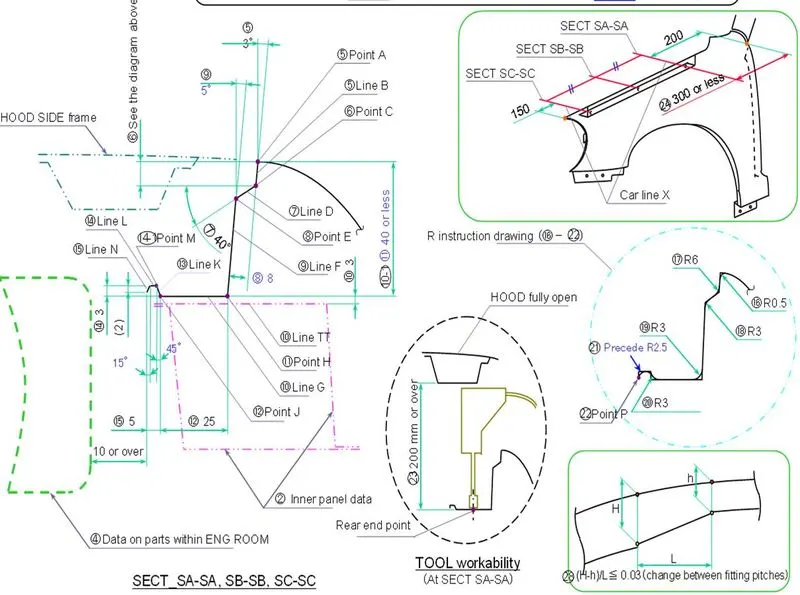
1. The styling surface of the fender is given by the styling team as input. The first design consideration in the fender design is the Drip area where we have to give clearance at the front and rear end of the fender.
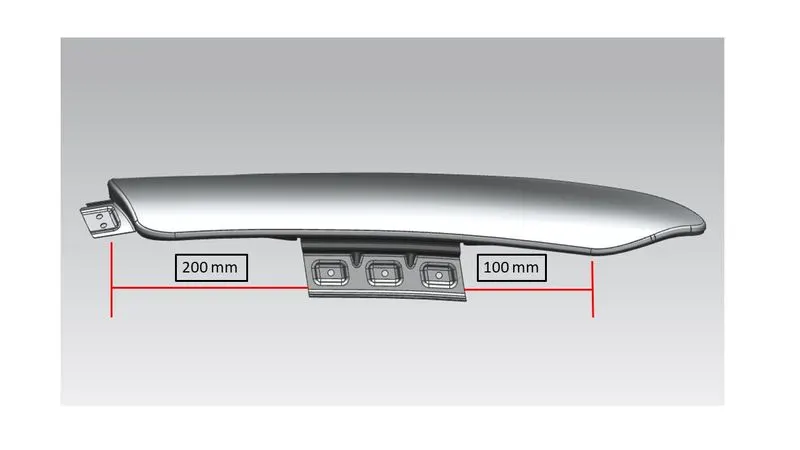
2. Headlamp is going to be placed at the front end of the fender, to mount the headlamp and its housing unit we need a minimum 150mm clearance from the front end of the fender.
3. Cowl top part is going to be placed at the rear end of the fender which will be carrying the wiper motor, so for mounting the cowl top part we need a minimum clearance of 200mm from the rear end of the fender.
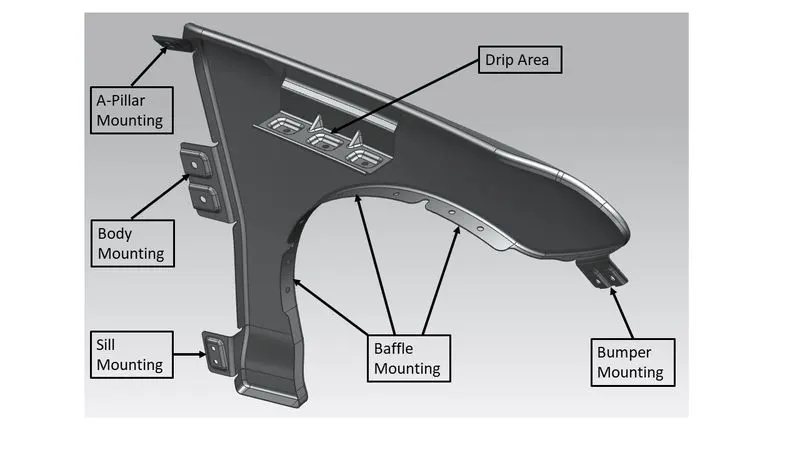
Drip Area
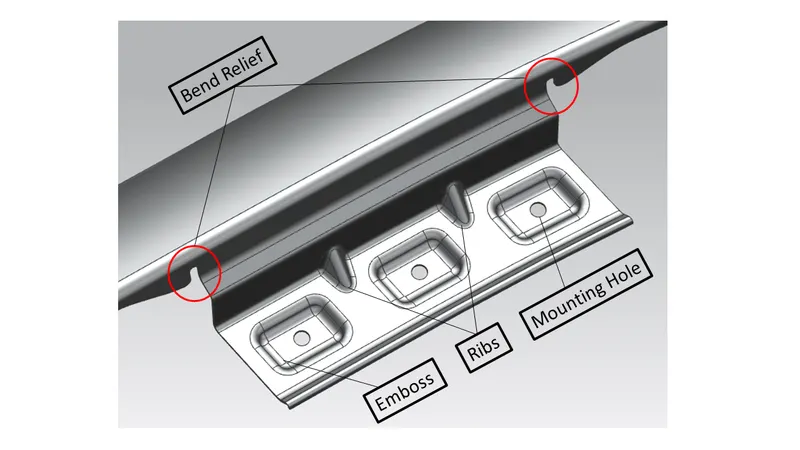
This is the Drip Area of the fender which will connect with the engine compartment. The Drip area is designed based on the master section with functional and manufacturability consideration. Bend reliefs are provided at every corner of the mounting regions for a smooth transition of tool and easy manufacturability. Ribs are provided to increase the strength of the drip area.
A-Pillar Mounting
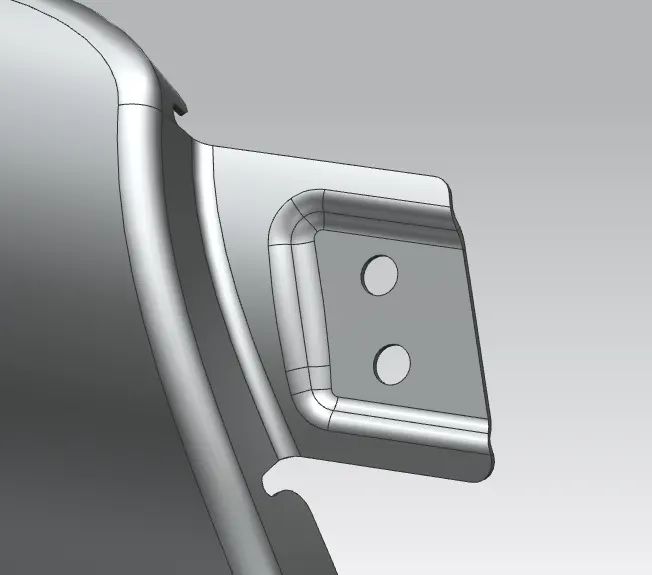
This is the region that will connect with the A-pillar of the vehicle.
Body Mounting
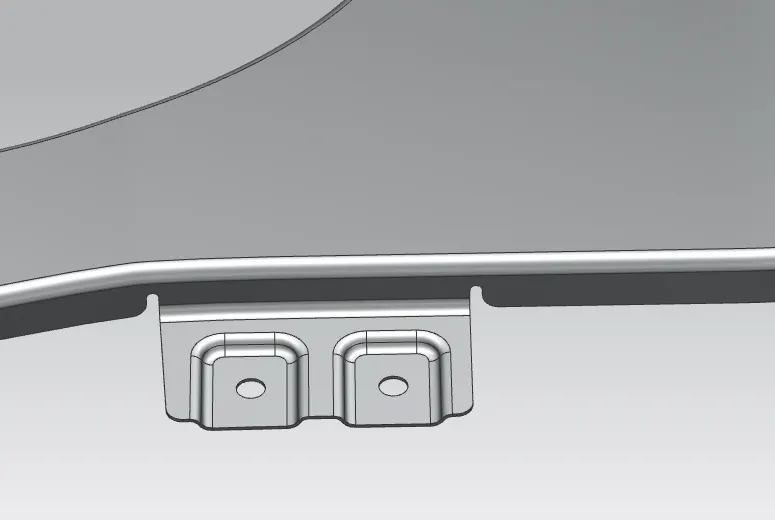
The body mounting region is the area that will connect with the body of the vehicle.
Sill Mounting
The sill mounting region is the mounting area that will connect with the sill of the side doors. Spoiler skirts or sill outer will be connected over this so you cannot able to see the fasteners from the outside.
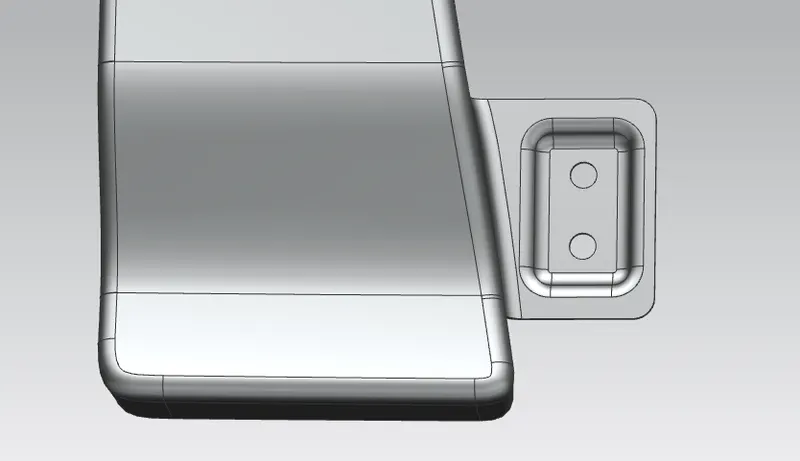
Bumper Mounting
Bumper mounting is the mounting region on the fender where the bumper will get attached to it.
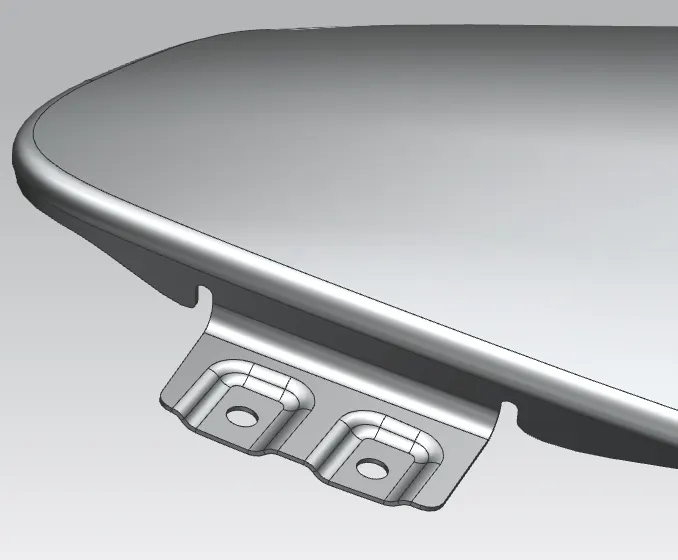
Baffle Mounting
This is the Wheel arc area where a plastic part known as a baffle or fender liner will be mounted on it.
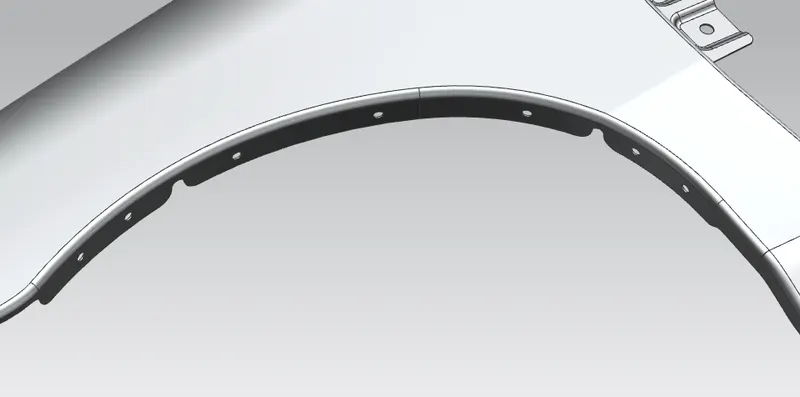
Conclusion
Successfully learned to design a Front fender of car using NX CAD that satisfies the manufacturing and functional requirements.