Wiring harness design in CATIA V5 - 3D modeling Week 2 Challlenge
AIM:
Defining the connector & connector clip as a electrical component using electrical design workbench.Interpret necessary properties to Connectors & Clip.
Connector:
connector are responsible to make contact between wiring harness and components or between two different wiring harness assemblies by offering mechanical locking and sealing to the joints.
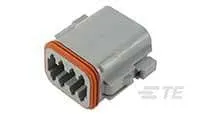
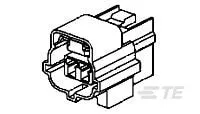
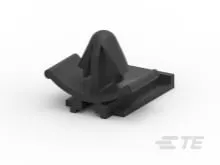
Connector clip:
It's retention device which is plastic molded parts to mount connector and other harness components.(connector mount, connector backshell and secondary locks are the other components of retention device.)
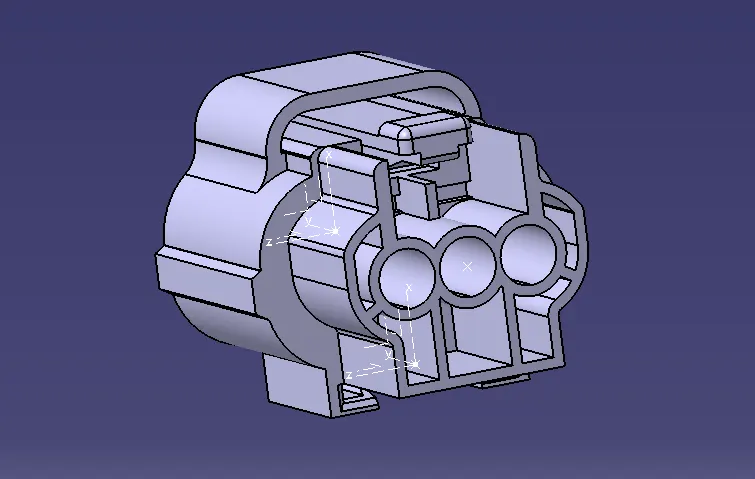
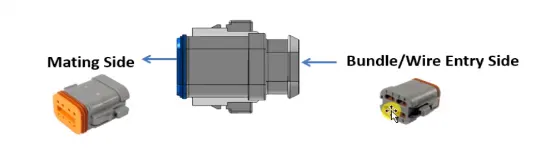
Connector has two sides bundle entry side and mating side. In bundle entry side the wire bundle is inserted into the terminal.the terminals are presented in bundle entry side
This is the bundle entry side terminal of the connector.
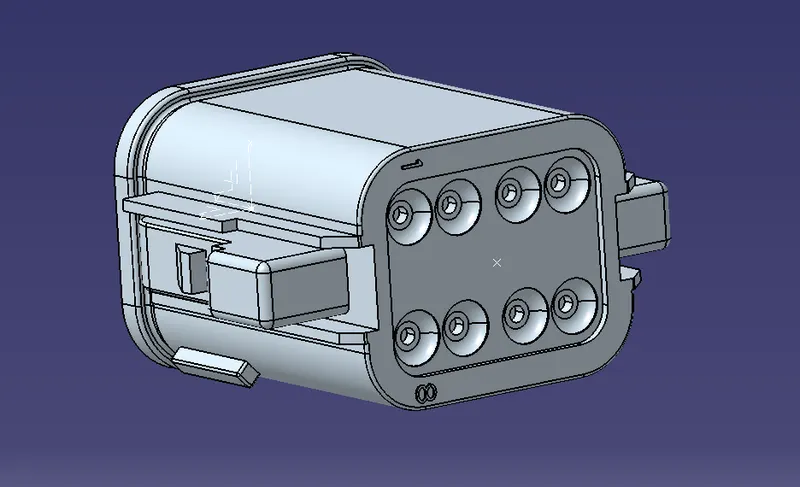
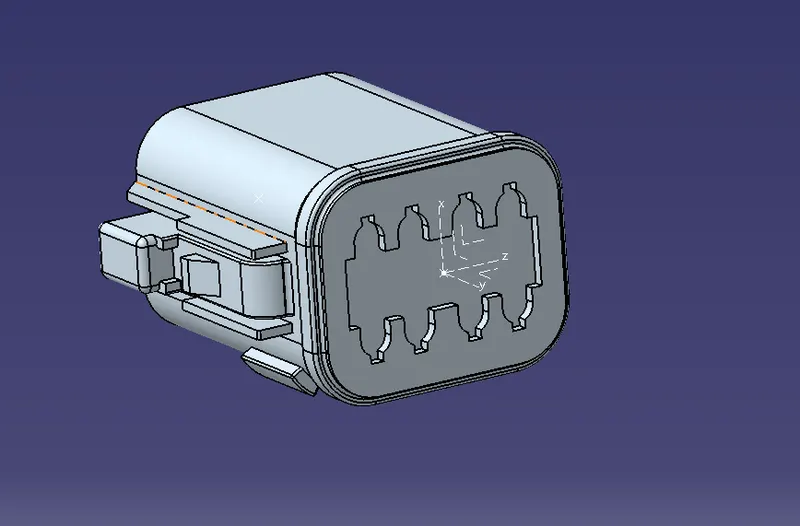
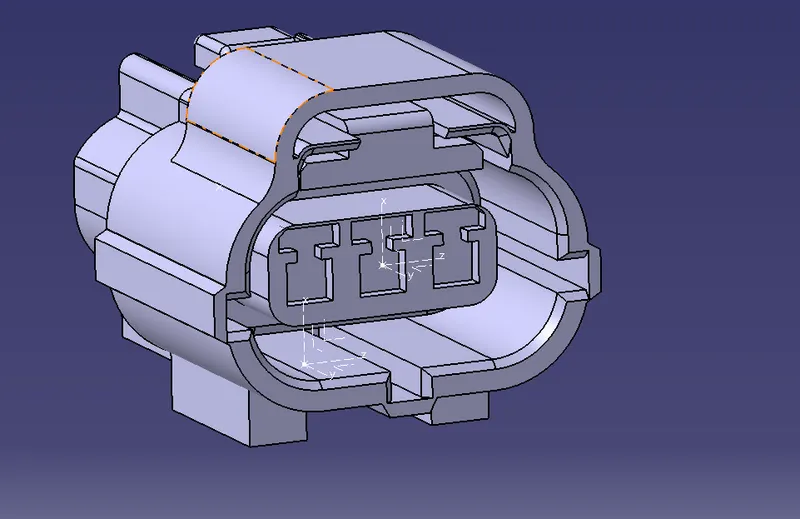
In mating side cavity is provided to contact surfaces to mechanical lock and join the side by sealing the components between two different wiring harness assemblies
Define connector:
STEP 1: Download the required connector & connector clip components from the industry website. for this challenge TE Connectivity components are downloaded.
STEP 2: extract downloaded file from download and open the file in part design.
Connector 1:
For defining the connector. the mechanical part should be converted into electrical part. for converting we need bundle entry point at the bundle entry side.
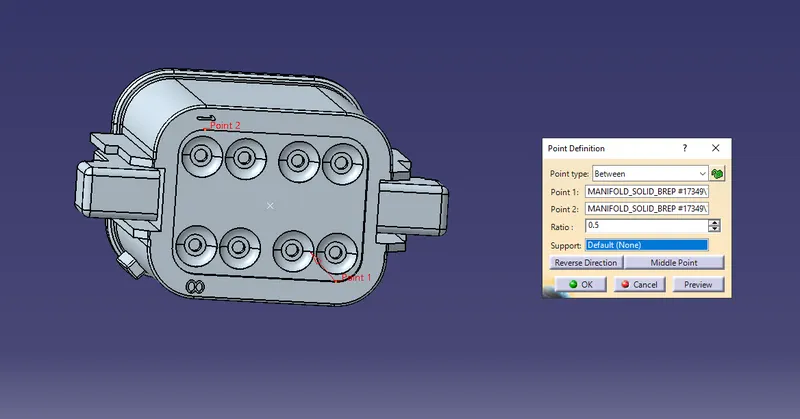
So bundle entry point is created at the terminal side. At the middle to define a point.
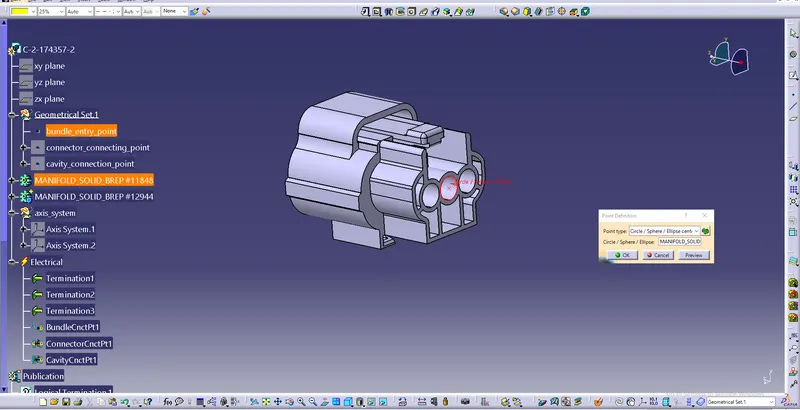
After that we have to create mating side connector_connecting_point. using between option diagonally.
So point is created using between option diagonally.
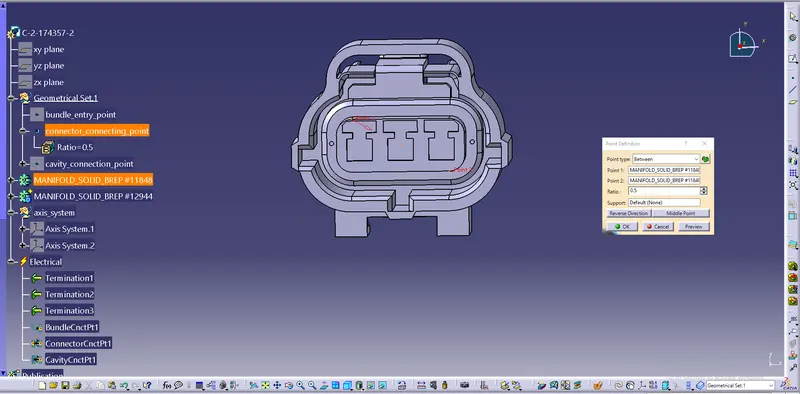
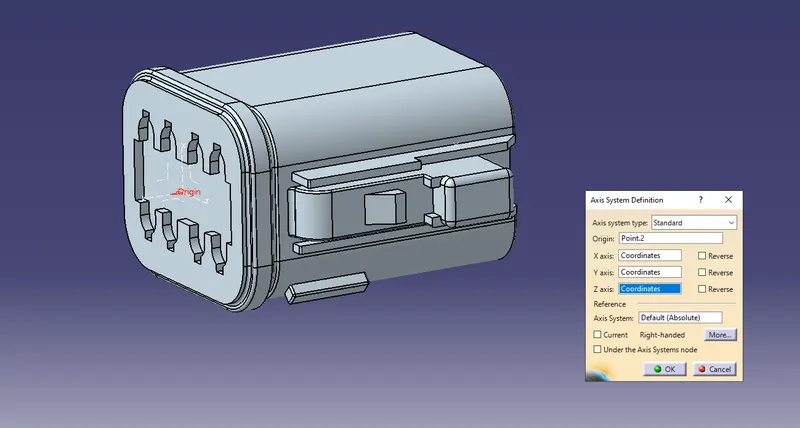
After providing connector_connecting point. axis system is inserted into it.
In Axis system, Z-axis should be pointing across the connector from left to right ,y-axis should be pointing towards the front face of the connector , x-axis should be pointing in the direction towards the locking mechanism of the clip.
This system could be changed according to the industrial manufacturing instructions.
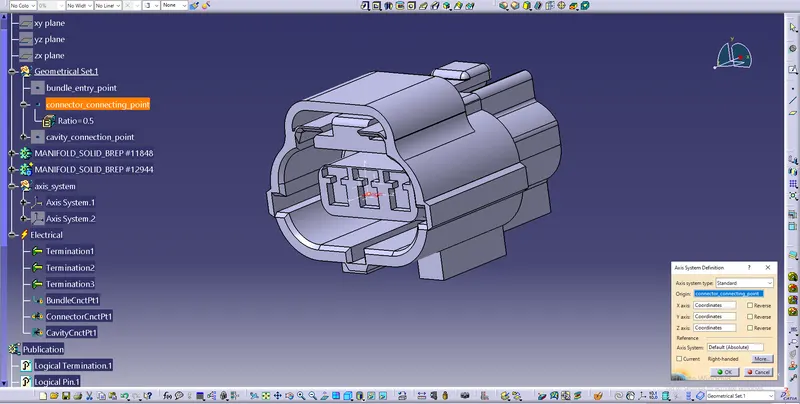
Then the machinical part design is converted into electrical part design by using electrical part design workbench.
STEP 3: open the part in electrical part design workbench.
connector:
use define the part as connector.
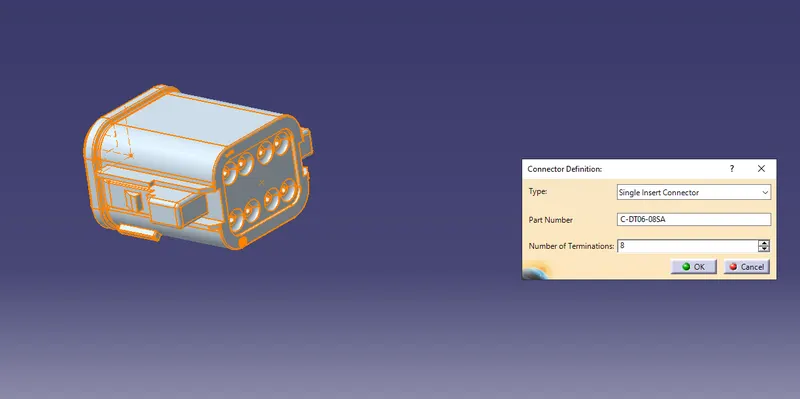
define connector:
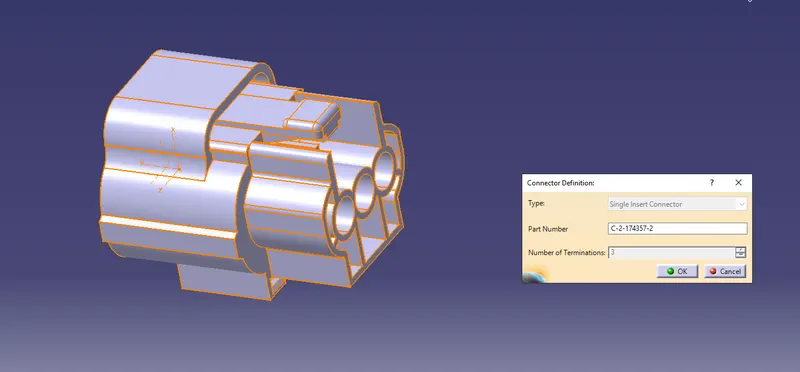
number of terminals are 3
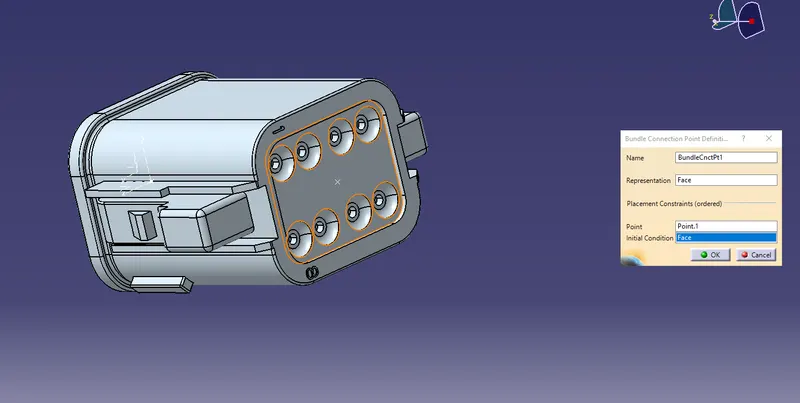
define bundle connection point definition:
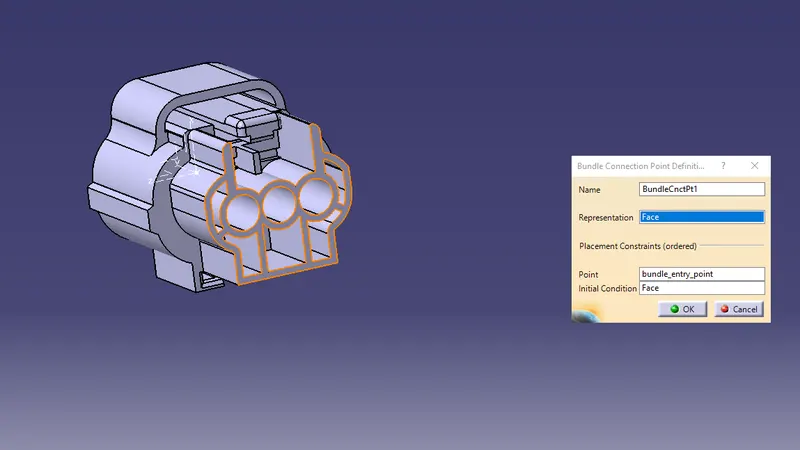
representation is always the surface which will be normal to the bundle entry point. Initial condition is the face and point is bundle_entry_point.
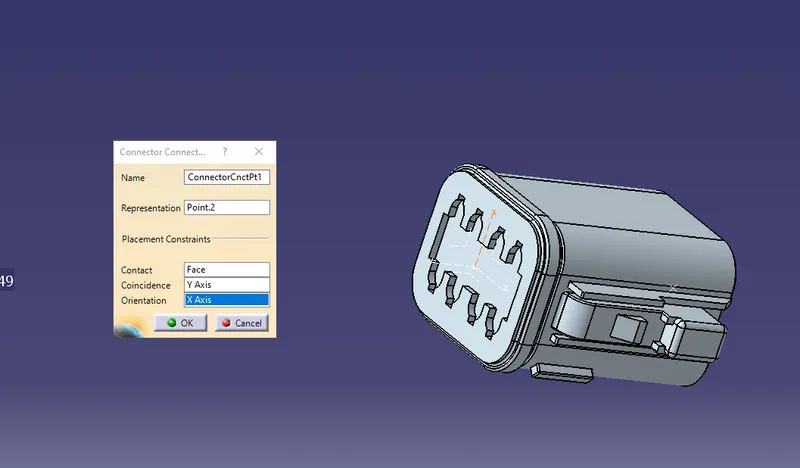
define connector_connecting_point:
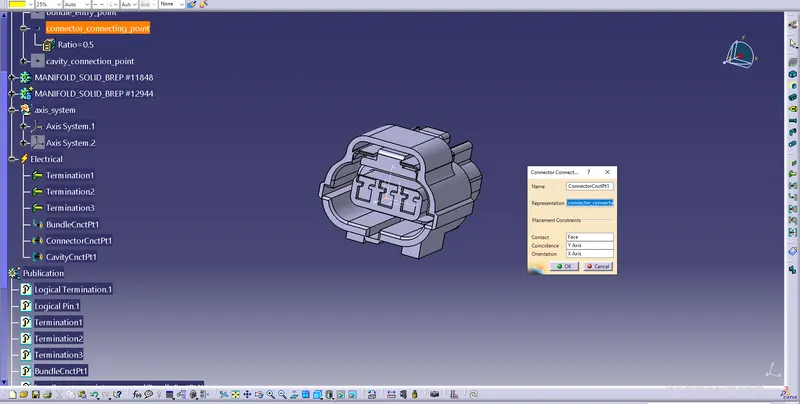
represent in mating area point which is connector connection point.
contact is the surface normal to connector connection point.
define cavity_connection_point:
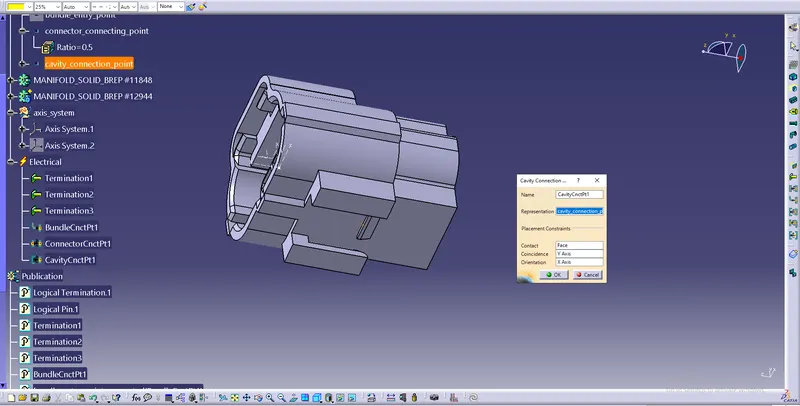
contact is the surface that is going to attch.
point is the midpoint of the cavity surface.
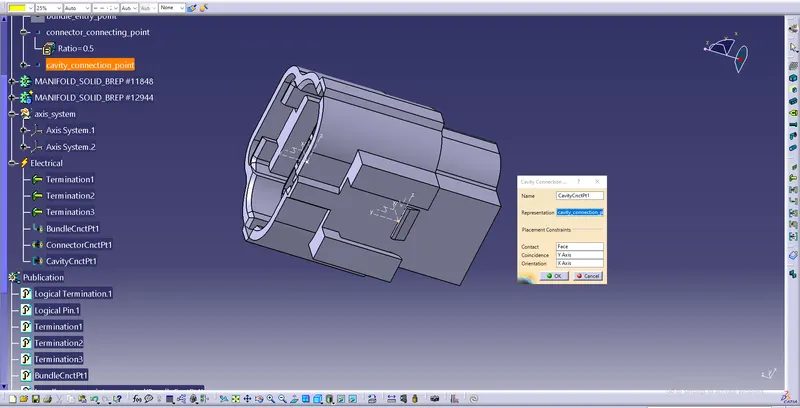
In Axis system, Z-axis should be pointing across the connector from left to right ,y-axis should be pointing towards the front face of the connector , x-axis should be pointing in the direction towards the locking mechanism of the clip.
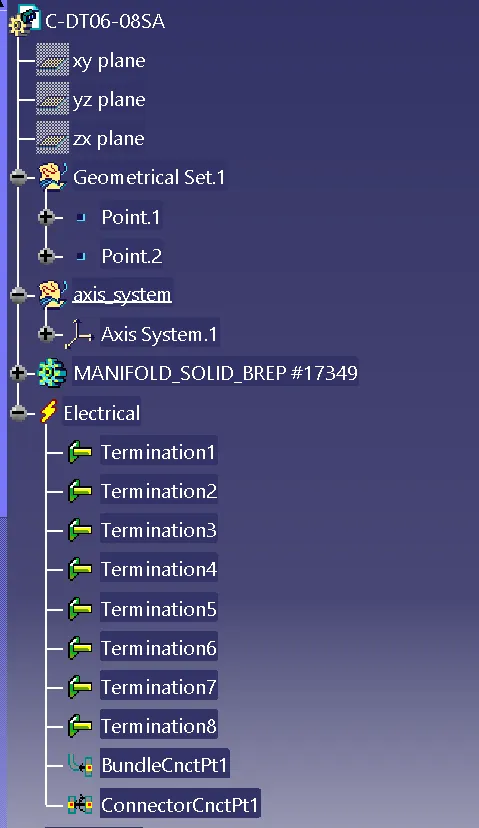
This system could be changed according to the industrial manufacturing instructions. then it is defined in tree structure.
feature tree:
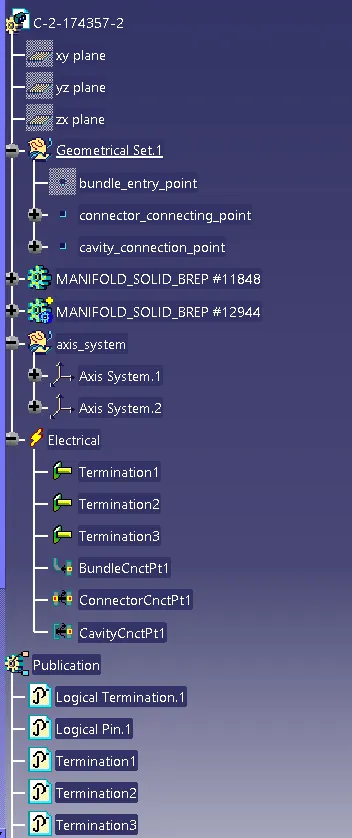
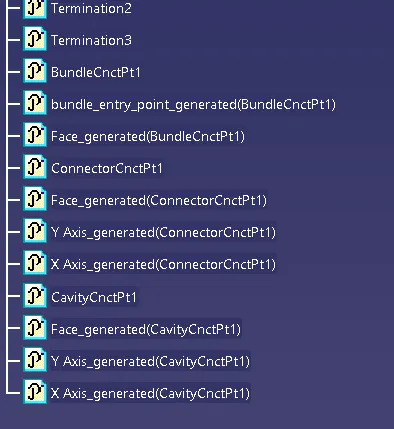
same procedure is followed to convert the other connector.
feature tree :
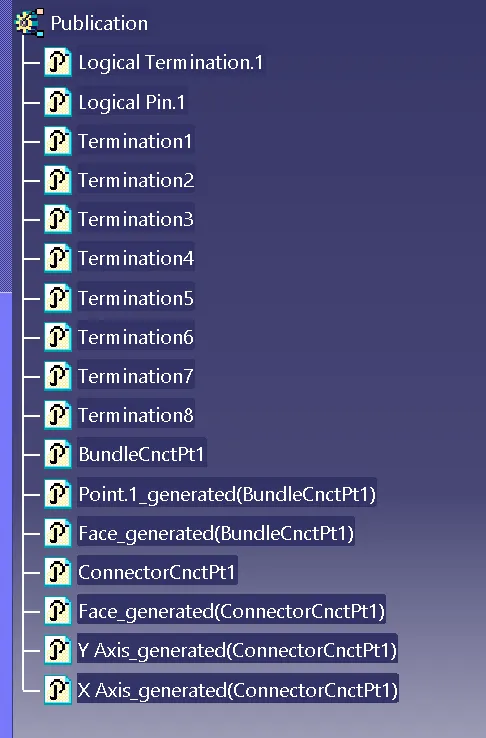
Connector clip:
To define the connector clip we require cavity surface midpoint which is also the contact surface of cavity_connector_point and connector cavity clip.
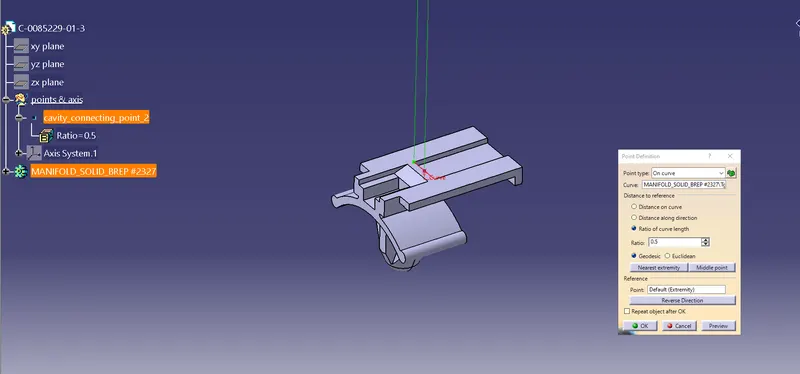
after creating cavity connection point on the clip create a axis system on it.
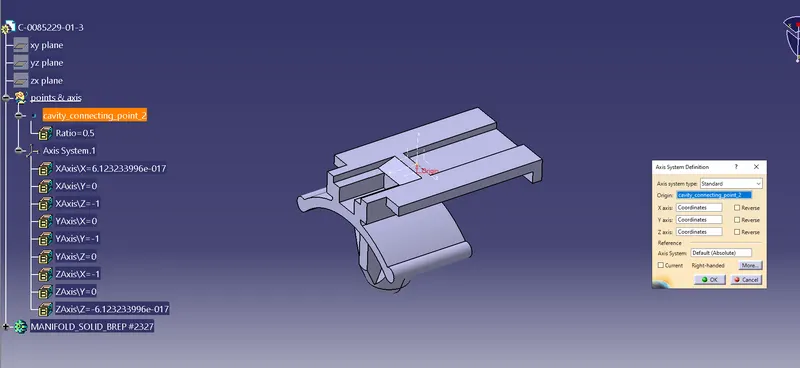
In Axis system, Z-axis should be pointing across the connector from left to right ,y-axis should be pointing towards the front face of the connector , x-axis should be pointing in the direction towards the locking mechanism of the clip.
This system could be changed according to the industrial manufacturing instructions. then it is defined in tree structure.
after defining the mounting clip using define mounting option then store the part as electrical component using points and axis system.
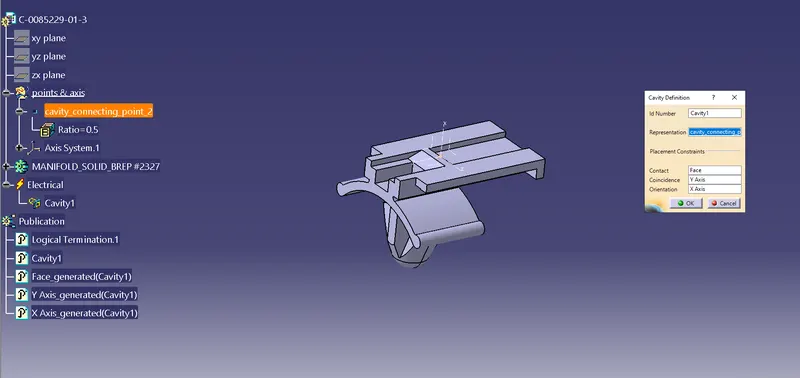
STEP 3: Save the component as elctrical part and save it in catalogue for future use.