Week- 5 - Solid meshing
SOLID MESHING OF AUTOMOTIVE REAR MIRROR
AIM:
To do geometrical cleanup of the given component and mesh with given element quality criteria. use tria elements to create surface mesh and generate tetra volume mesh (unstructured volume mesh ).
OBJECTIVE :
The Main objective of the project is to learn tetra meshing with tetra elements.
SOFTWARE USED:
Preprocessing software : ANSA-V22.1.1
GIVEN DATA :
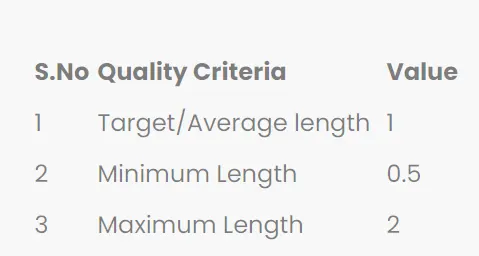
2D meshing Quality criteria
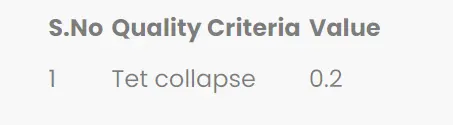
3D meshing Quality criteria
PROCEDURAL STEPS:
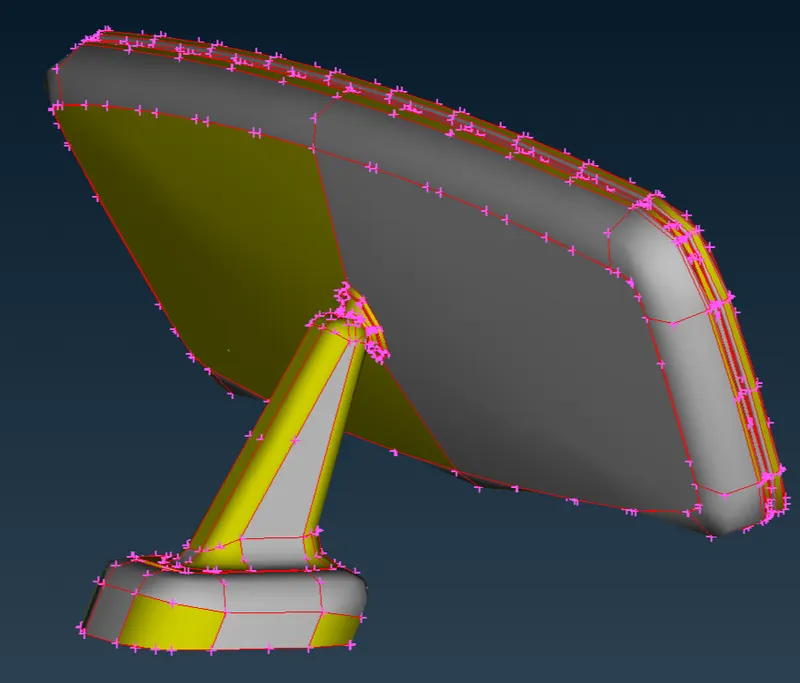
STEP 1 : Imported the cad model of the IGS file of automotive rear mirror.
STEP 2 : Take ball joint in mirror to increase the cons resolution by length option in mesh module.
MESH MODULE > PERIMETER > LENGTH = 1 mm
Before Topo of the ball joint
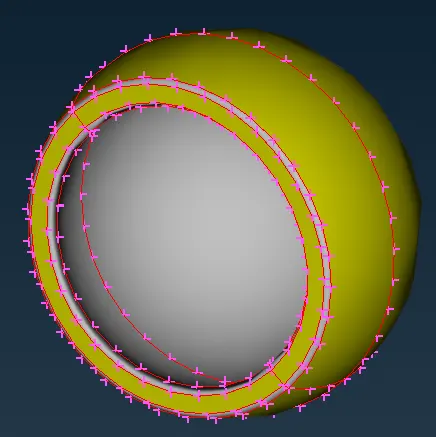
STEP 2A : Checked single cons by hiding double cons and triple cons options.
Get the connectivity between the surfaces we have to use the TOPO option
TOPO MODULE > FACES > TOPO
After topo of the ball joint
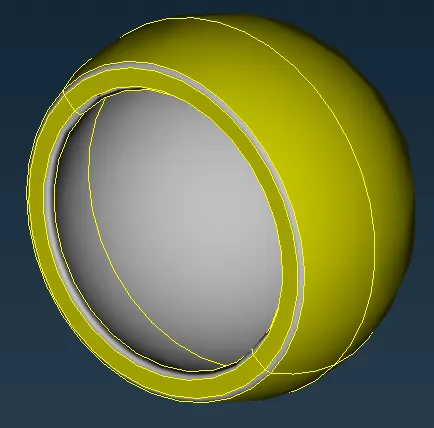
STEP 2B: Oriented the surfaces to make sure all surfaces are in one normal direction.
TOPO MODULE > FACES > ORIENT
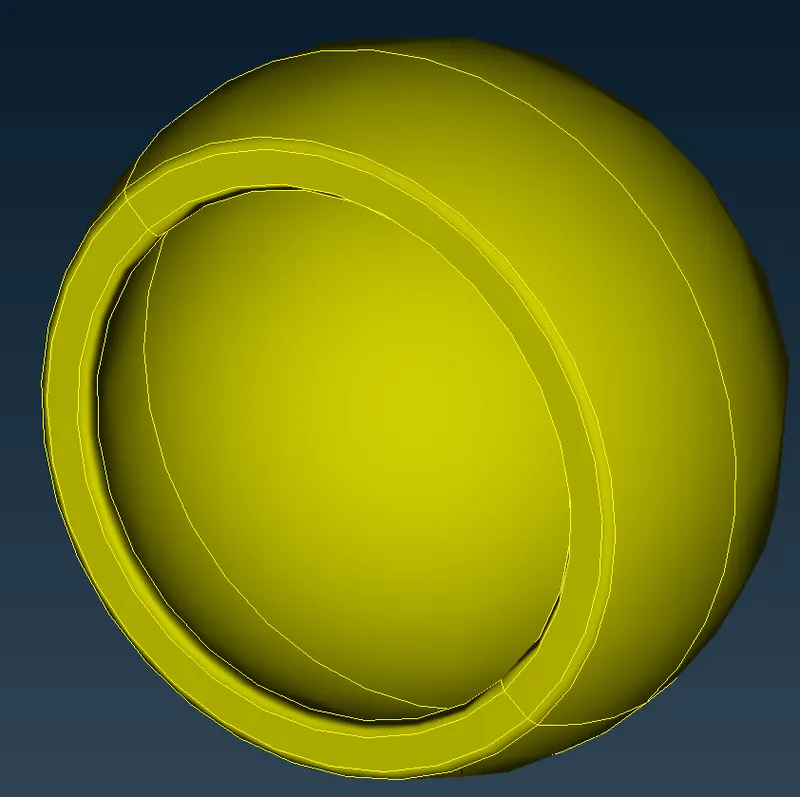
STEP 2C : Checked the geometrical errors and clearing the geometrical errors.
MATERIALS > Click the undefined materials
CHECKS > CHECKS MANAGER
CHECKS > CHECKS GEOMETRY
STEP 2D : Provided the target element length by using length option in mesh module
MESH MODULE > PERIMETER > LENGTH = 1 mm
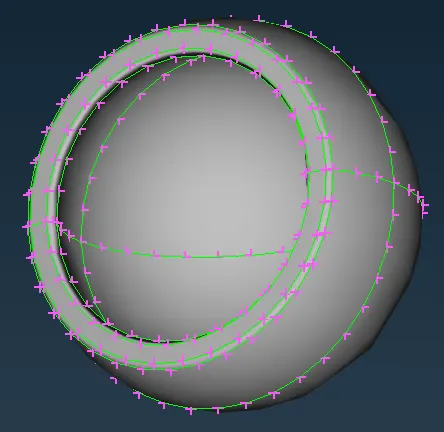
STEP 2E : Set up the mesh parameter and quality crieteria as per given data.
STEP 2F : Geomtrical clean up by checking distance between the cons.
If distance between the cons is below the min length, one of the cons should be suppressed.
STEP 2G: Performed 2D meshing of the ball joint.
Before meshing selected the flat area element type is TRIA and curved area element type is ORTHO TRIA
After meshing checked there is single cons and doble cons are not available.
2D mesh (surface ) of ball joint
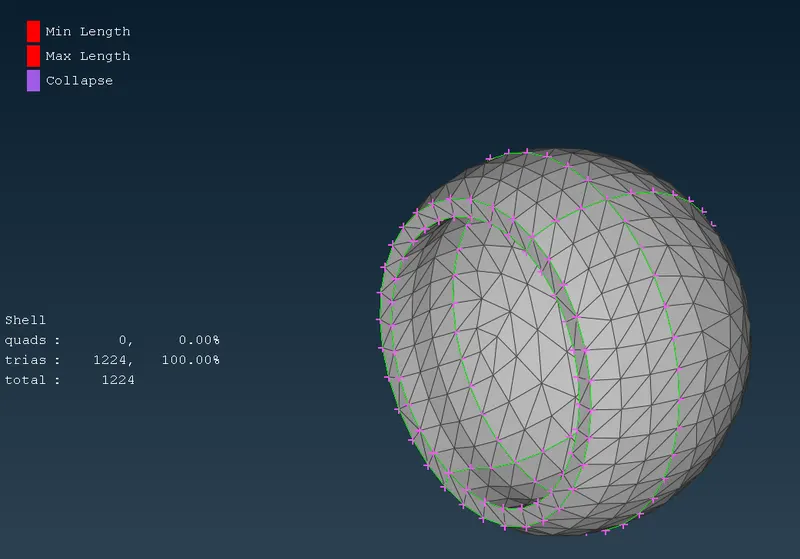
STEP 2E : Convertion of 2D elements into 3D elements by switch to the VOLUME MESH module
VOLUME MESH > VOLUMES > DEFINE the selected ball joints
VOLUME MESH > LIST > autodetected volume edited to set the element type TETRA RAPID
Then remesh the autodetected volume option in LIST.
checked the TETRA COLLAPSE and its fixed.
3D mesh (volume ) of ball joint
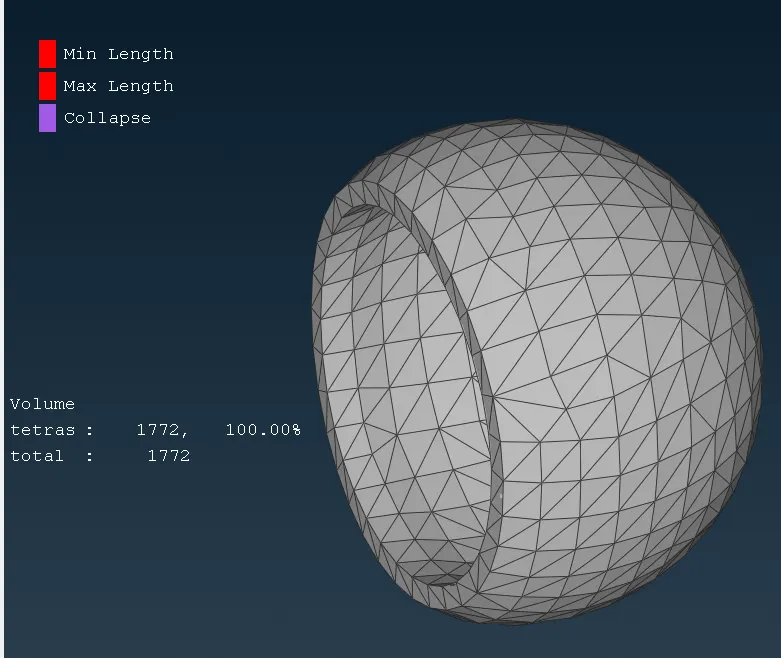
STEP 3 : Switch of the ball joint and switch on the mirrror.
In the mirror war performed by the cons resolution, Topo, Orientation and provided the target element length.
Checked the mesh parameter and quality crieteria as per given data.
Performed 2D meshing of the mirror.
Before meshing selected the flat area element type is TRIA and curved area element type is ORTHO TRIA.
After meshing checked there is single cons and doble cons are not available.
2D mesh (surface ) of mirror
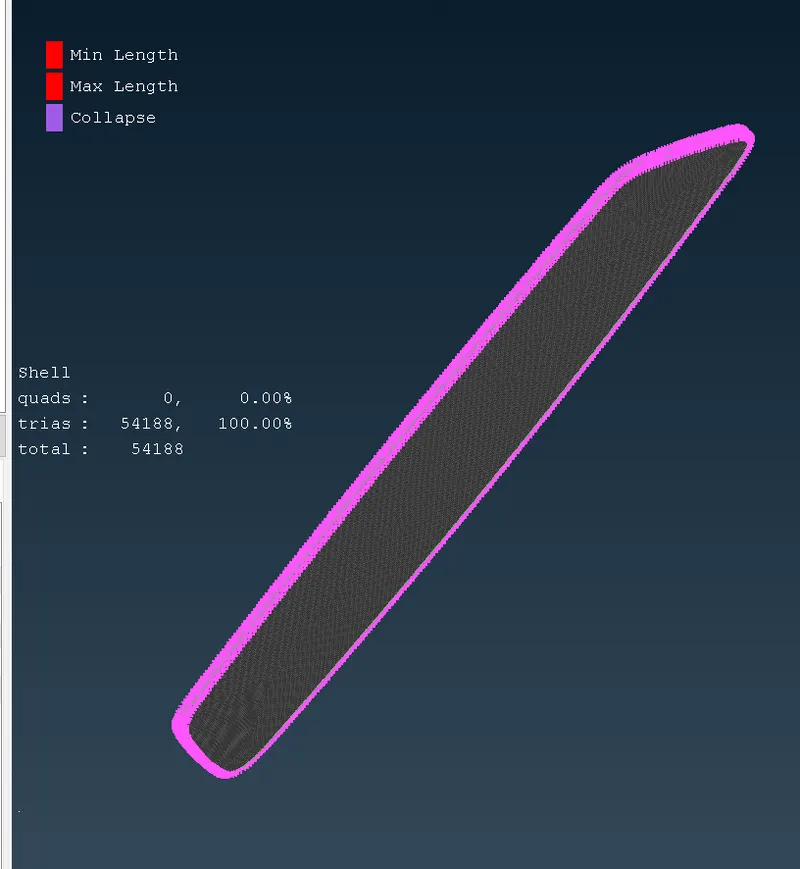
STEP 3A : Convertion of 2D elements into 3D elements by switch to the VOLUME MESH module
VOLUME MESH > VOLUMES > DEFINE the selected mirror
VOLUME MESH > LIST > autodetected volume edited to set the element type TETRA RAPID
Then remesh the autodetected volume option in LIST.
checked the TETRA COLLAPSE and its fixed.
3D mesh (volume ) of mirror
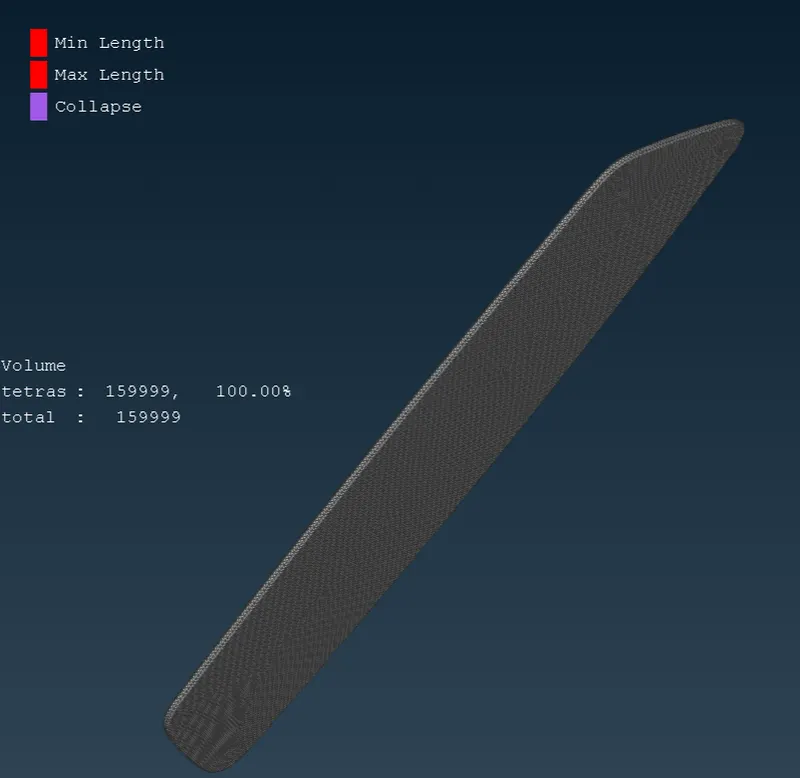
STEP 4 : Switch of the ball joint and mirrror then switch on the mirror holder.
In the mirror cover war performed by the cons resolution, Topo, Orientation and provided the target element length.
Checked the mesh parameter and quality crieteria as per given data.
Performed 2D meshing of the mirror holder.
Before meshing selected the flat area element type is TRIA and curved area element type is ORTHO TRIA.
After meshing checked there is single cons and double cons are not available.
2D mesh (surface ) of mirror holder
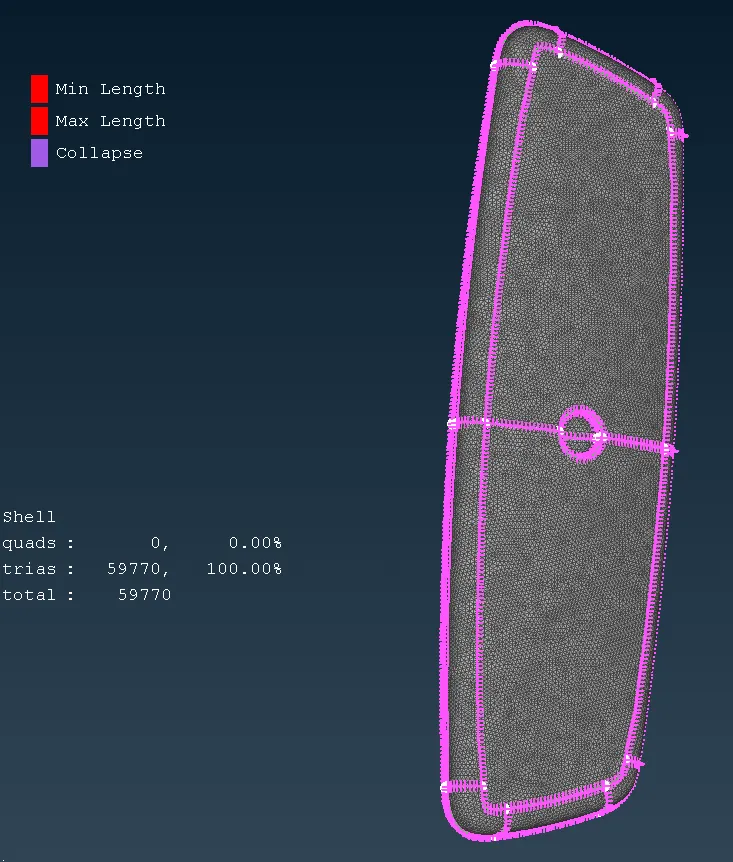
STEP 4A : Convertion of 2D elements into 3D elements by switch to the VOLUME MESH module
VOLUME MESH > VOLUMES > DEFINE the selected mirror holder.
VOLUME MESH > LIST > autodetected volume edited to set the element type TETRA RAPID
Then remesh the autodetected volume option in LIST.
checked the TETRA COLLAPSE and its fixed.
3D mesh (volume ) of mirror holder
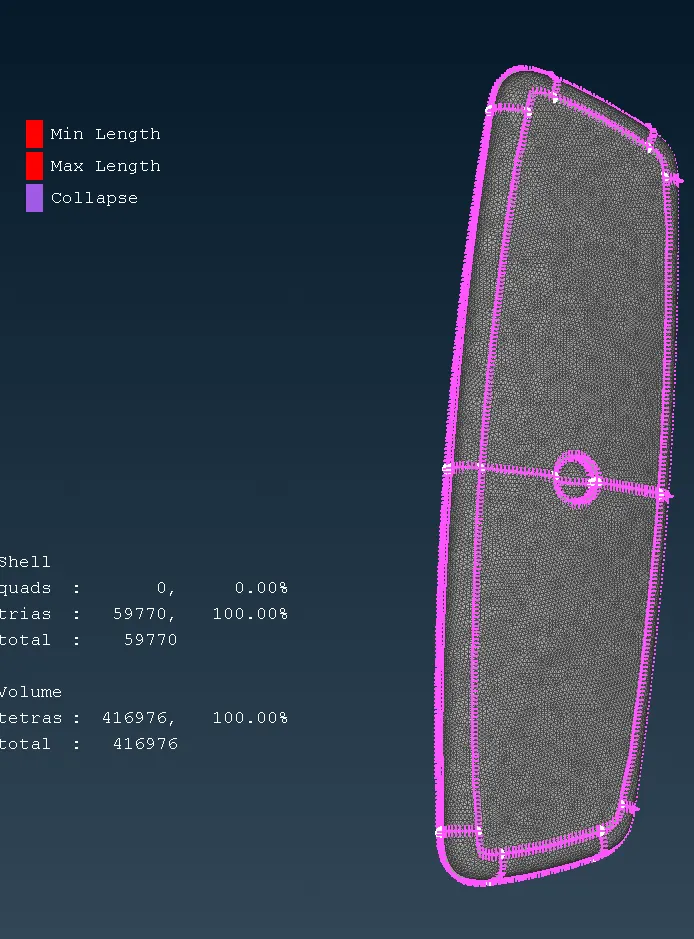
STEP 5 : Switch on to the stem.
In the mirror holder was performed by the cons resolution, Topo, Orientation and provided the target element length.
Checked the mesh parameter and quality crieteria as per given data.
Performed 2D meshing of the stem.
Before meshing selected the flat area element type is TRIA and curved area element type is ORTHO TRIA.
After meshing checked there is single cons and doble cons are not available.
2D mesh (surface ) of stem
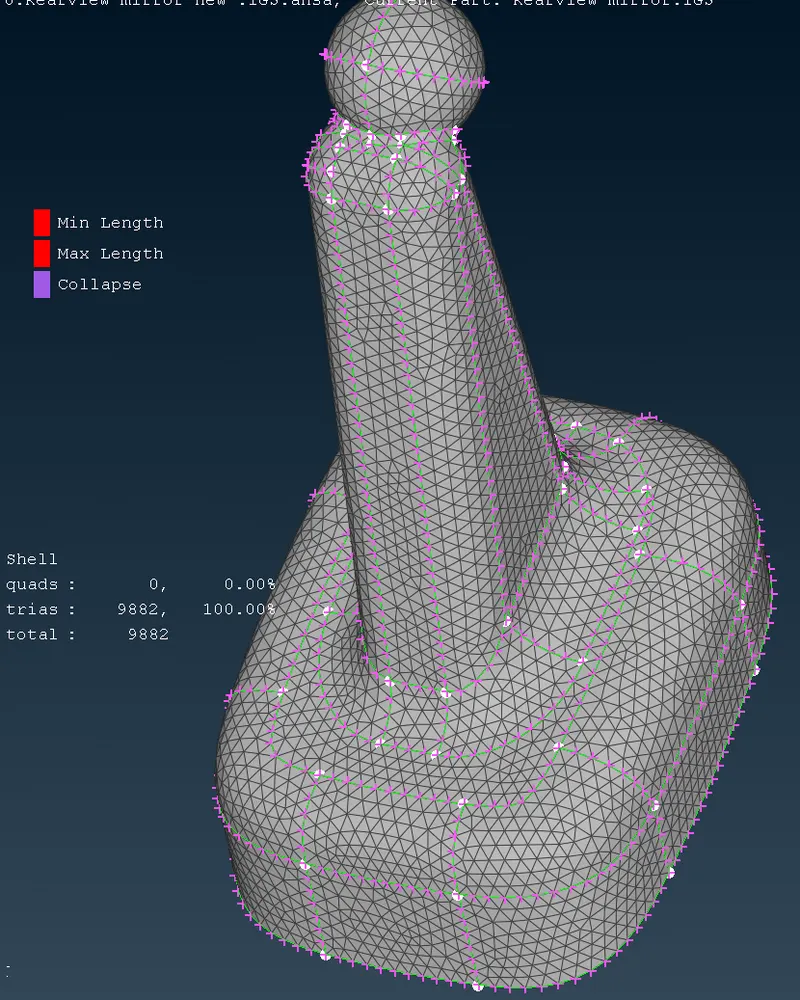
STEP 5A : Convertion of 2D elements into 3D elements by switch to the VOLUME MESH module
VOLUME MESH > VOLUMES > DEFINE the selected stem.
VOLUME MESH > LIST > autodetected volume edited to set the element type TETRA RAPID
Then remesh the autodetected volume option in LIST.
checked the TETRA COLLAPSE and its fixed.
3D mesh (volume ) of stem
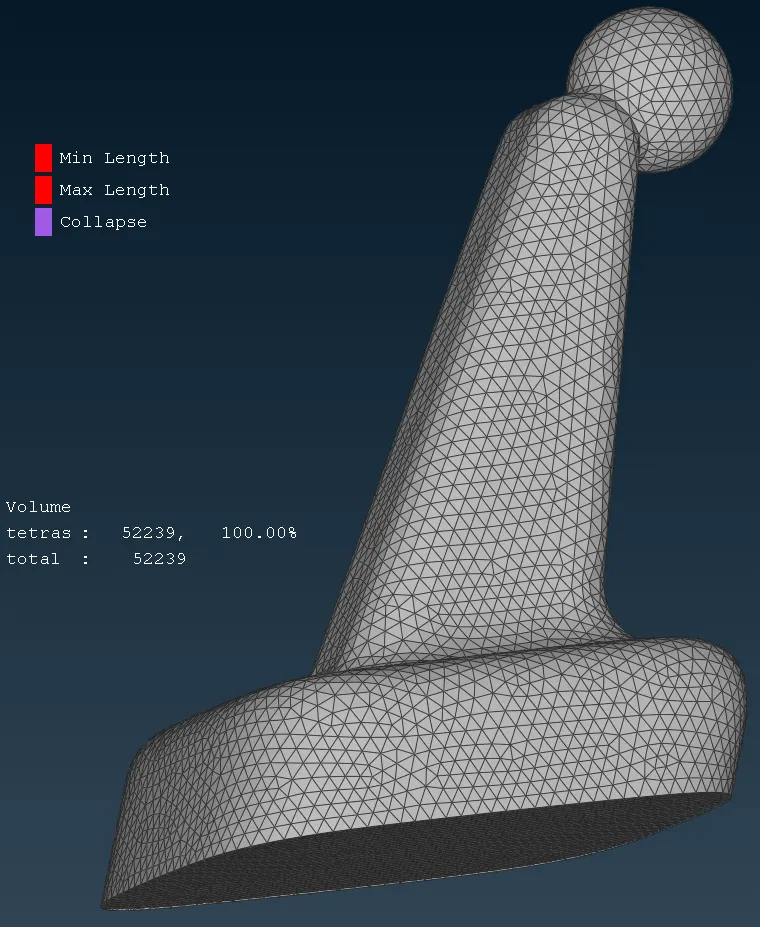
STEP 6 : Switch on to the all components of rear mirror.
2D mesh (surface ) of rear mirror assembly
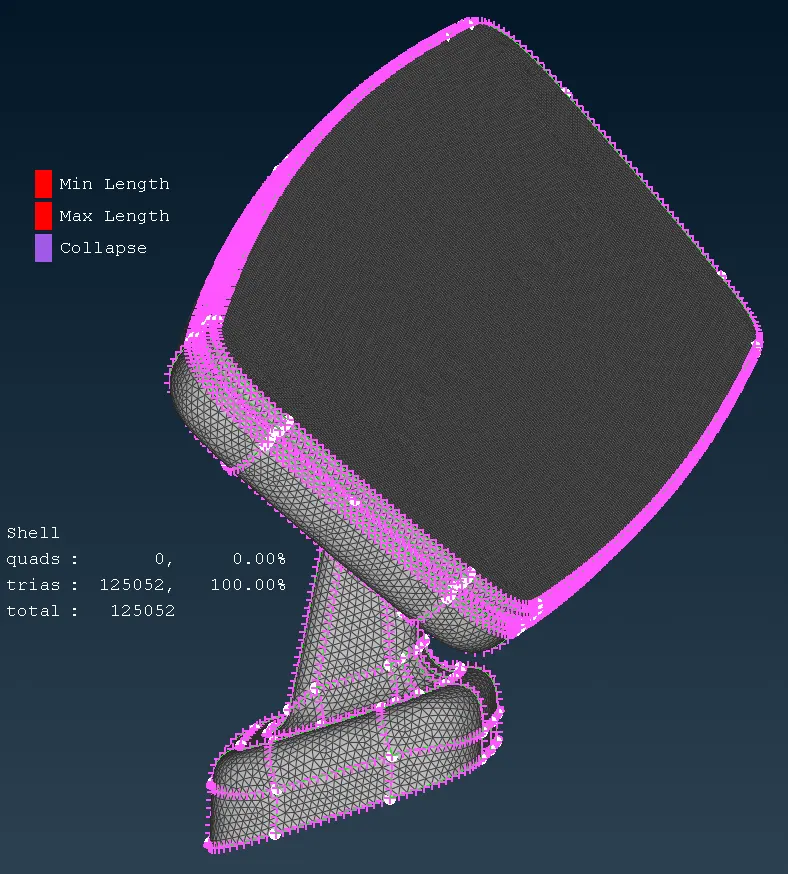
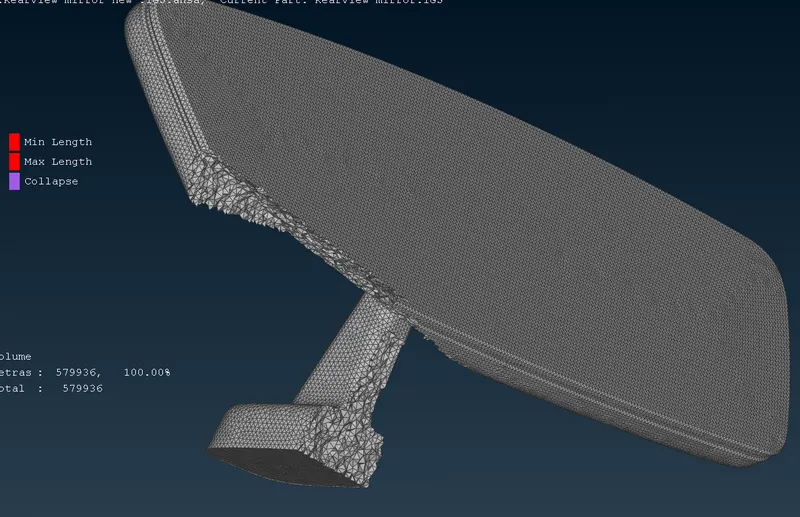
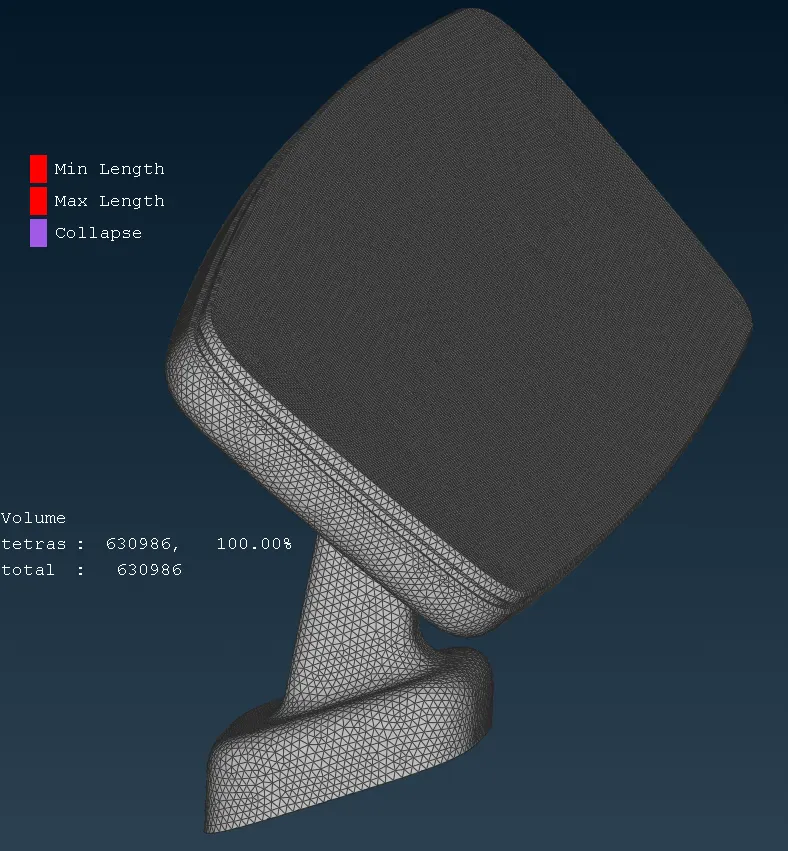
3D mesh (surface ) of rear mirror assembly
RESULT:
- Hence tetra generation method 2D to 3D conversion of rear view mirror components with the following following quality criteria has been done
- .Hence there are no surface deformation in this geometry.
- A well connectivity established between the surfaces.
- The features have been captured properly.
- A good mesh flow have been achieved with the zero elements failing for the quality.
LEARNING OUTCOME:
- In this week 5 rear view mirror model challenge , i came to know
- How to 3D mesh a component properly without dents kinks and raised edges.
- How to create volume tetra mesh for the components.
- How to generate a proper mesh flow without kinks and dips.
- How to fix the element failing for the ete collapse.