Week 5 Challenge : Surface wrap on Automotive Assembly
Surface wrap on Automotive Assembly
Aim: To merge the different models and perform surface wrap on the models.
Procedure :
Model :
- Engine :
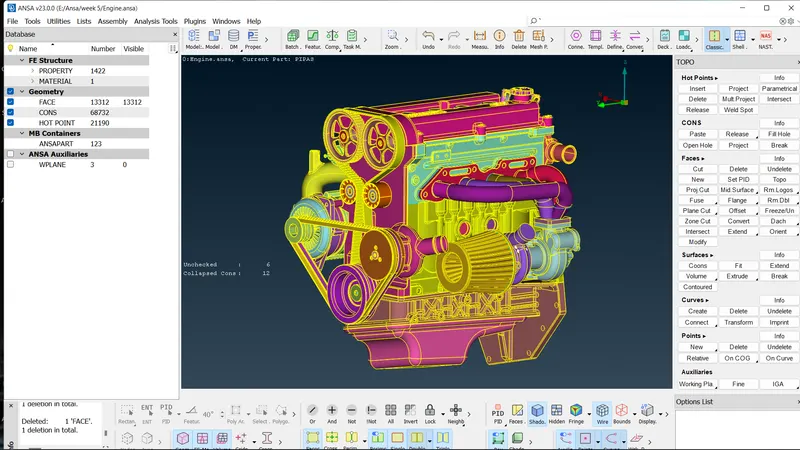
- Gear box :
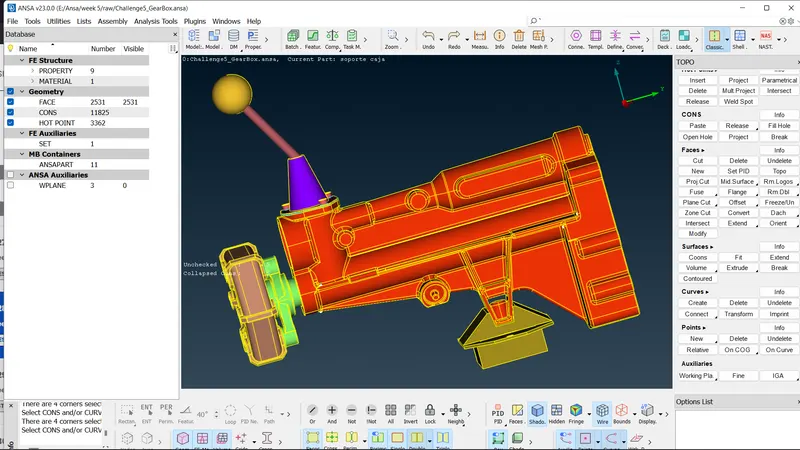
- Transmission :
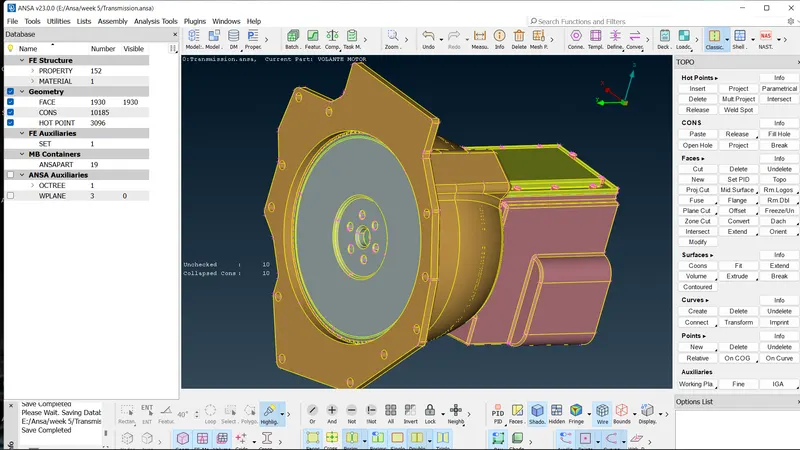
Geometrical Clean-Up:
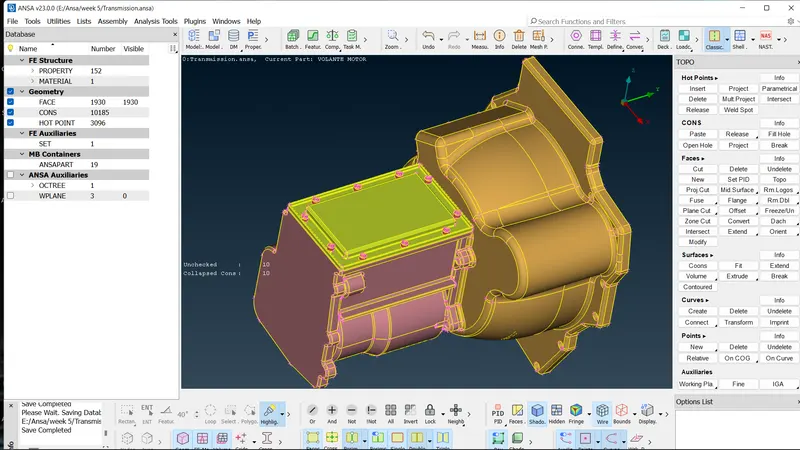
Open the geometrical model in ANSA. There are three models. Let’s start with Engine Model.
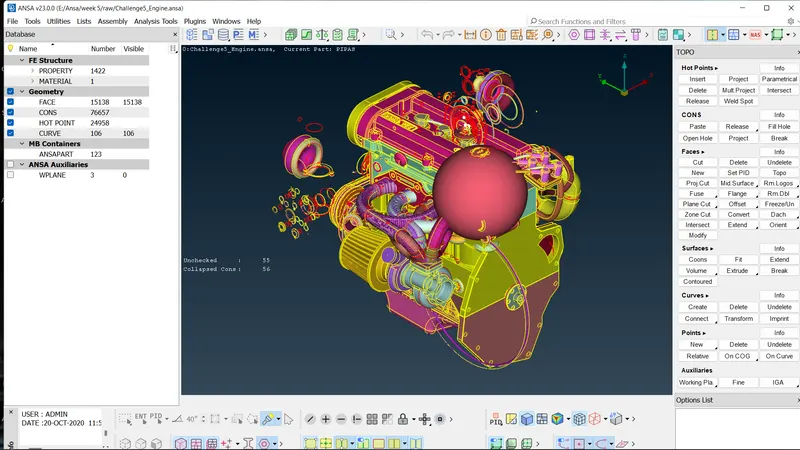
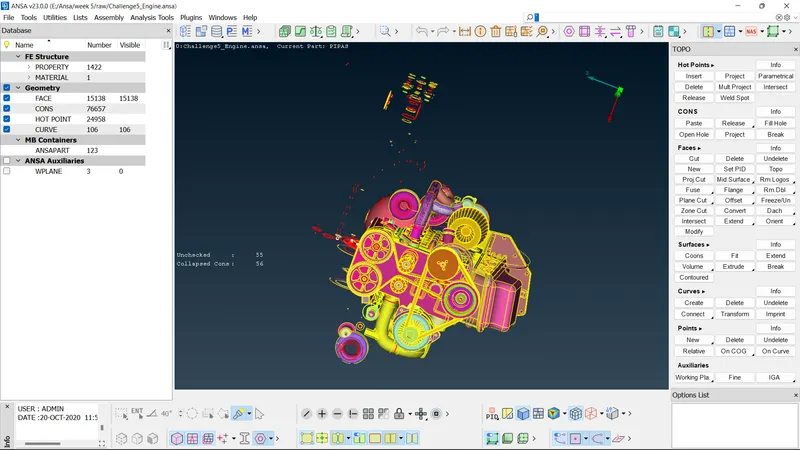
Delete the unnecessary surfaces in the exterior using the Delete option. We can observe rings which have no significance. The designer might have used rings to create fillets in the model.
There are still rings inside the model, but we are not concerned about those interior rings as we are going for surface wrapping.
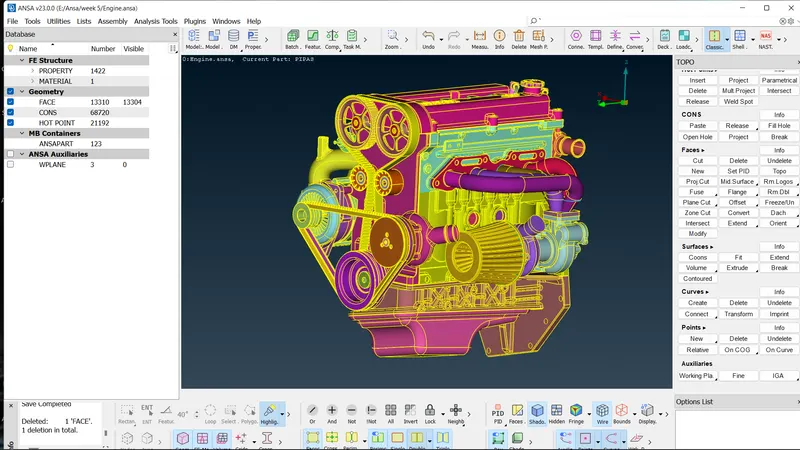
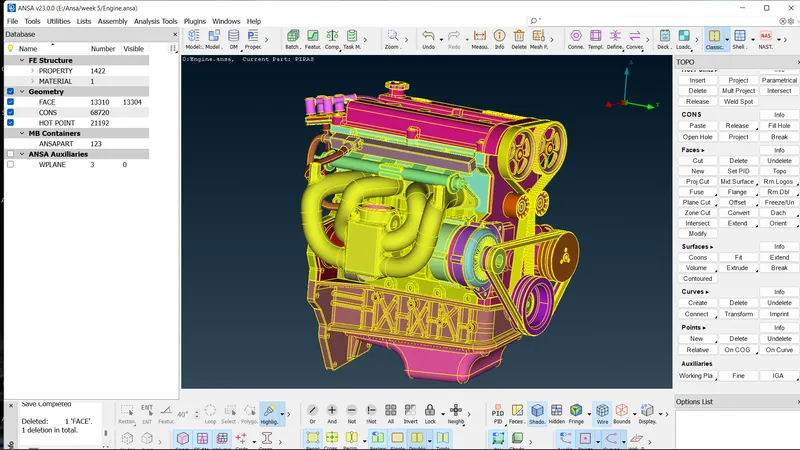
Make sure to delete all the rings present on the exterior of the model. Also, delete the belts and the inlet manifolds. Those surfaces will create distortion in wrapped surfaces.
Similarly, perform this operation of geometrical clean-up for other models i.e. Transmission and Gearbox
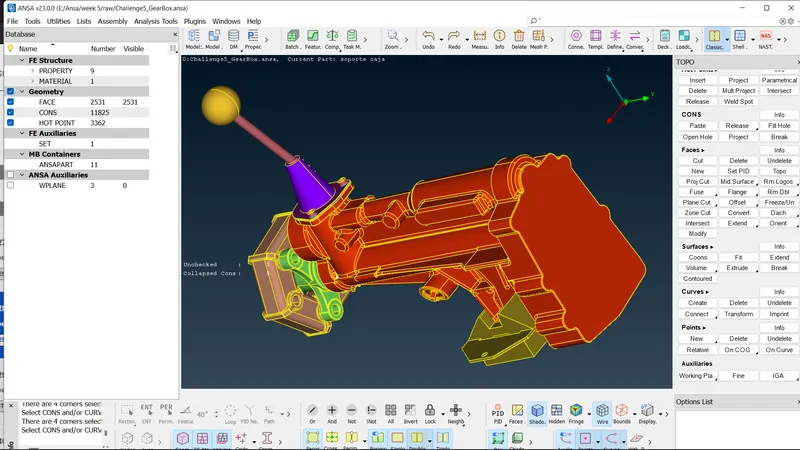
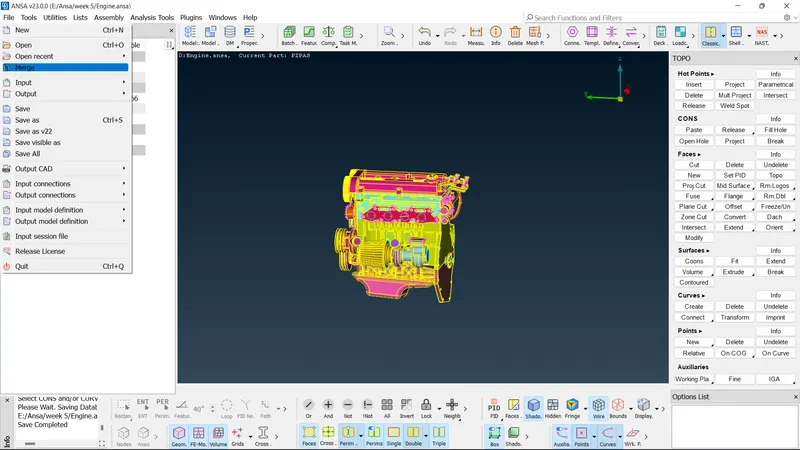
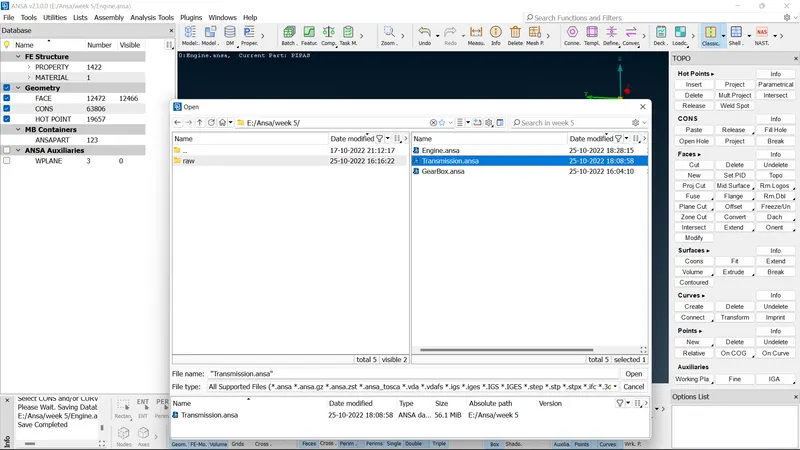
After geometric clean-up, merge the different models into one model. Click on the File and click on the Merge option. Select the model file that is to be merged. Click on Open to complete the process.
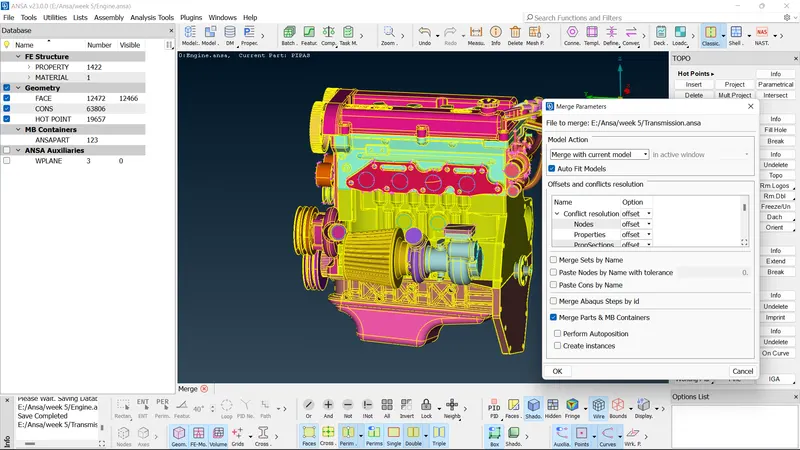
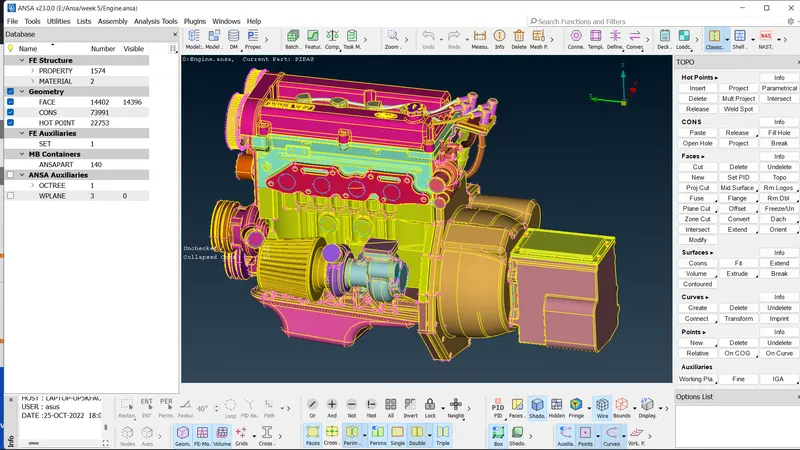
merged the three models into one model as show in below
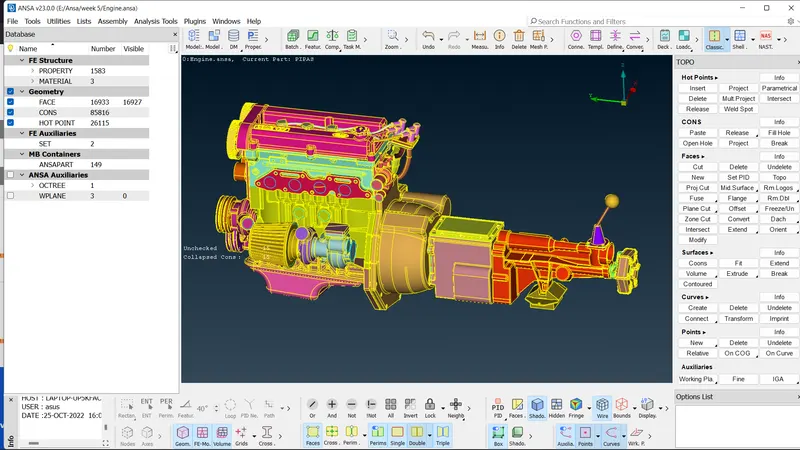
Cover all the holes or opens to avoid distortion in meshing. Use the New option in the File module to cover the holes or openings. Such surfaces may create mesh elements with high skewness.
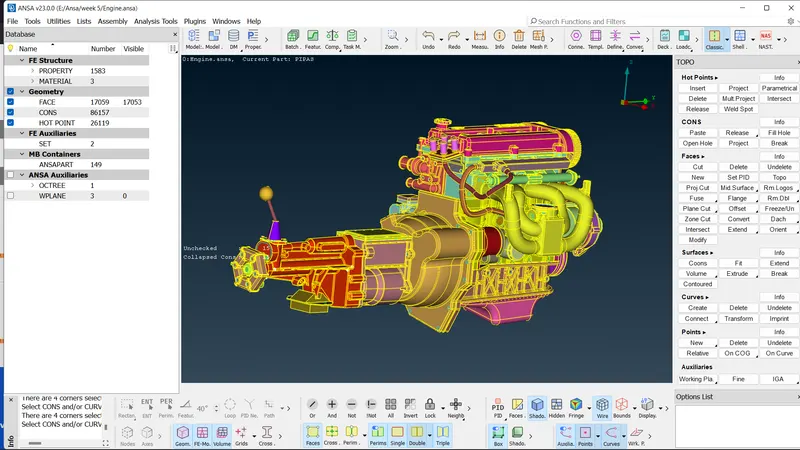
There are many non-existing PIDs in the model. To delete those, click on the Compress option its delete the PIDs.
Surface Wrap:
For the Surface Wrap, after the geometrical clean-up, click on the Wrap option in the Element module in the Mesh deck. opt for the Constant Length option.
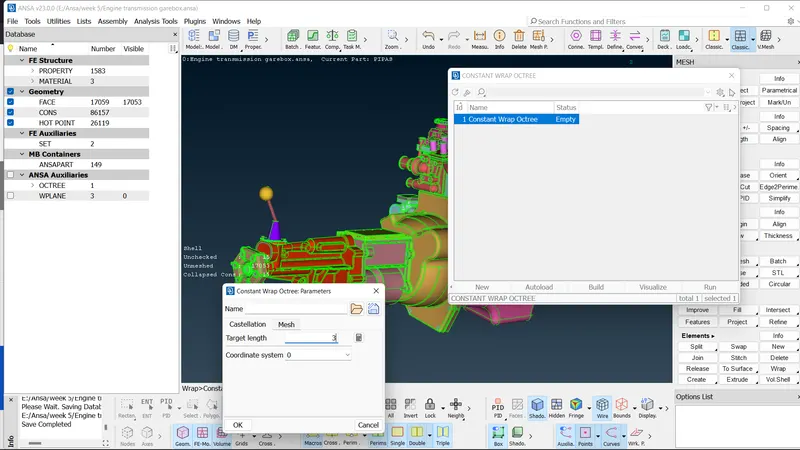
Double-click on the Constant Wrap Octree to edit it. Double-click on Untitled (Parameters) to edit the mesh parameters of this Octree.
Name the parameter as ‘Surface_Wrap’. Specify the Target Length as 3mm under the Castellation tab. Click on Ok.
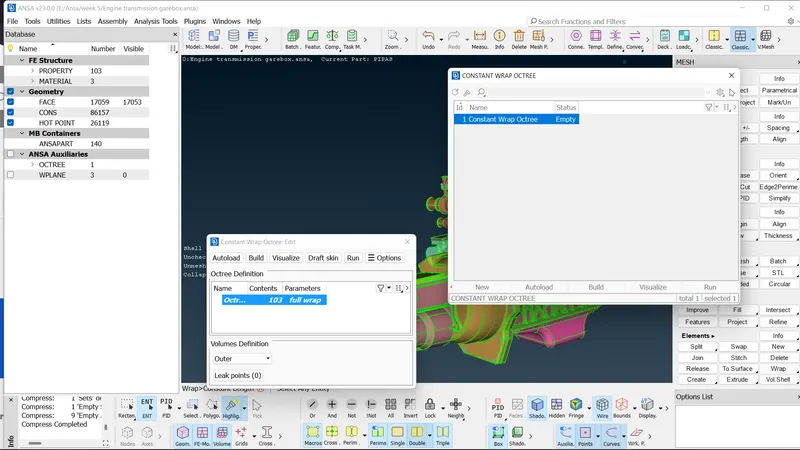
Double-click on the 0 (Content) for the selection of PIDs to mesh under the Constant Wrap Octree. Select all the PIDs and click on the Move option (green arrow) to move the PIDs into the Octree Scenario List. Click on Ok.
Click on the Run option under the Constant Wrap Octree: Edit tab to generate the mesh.
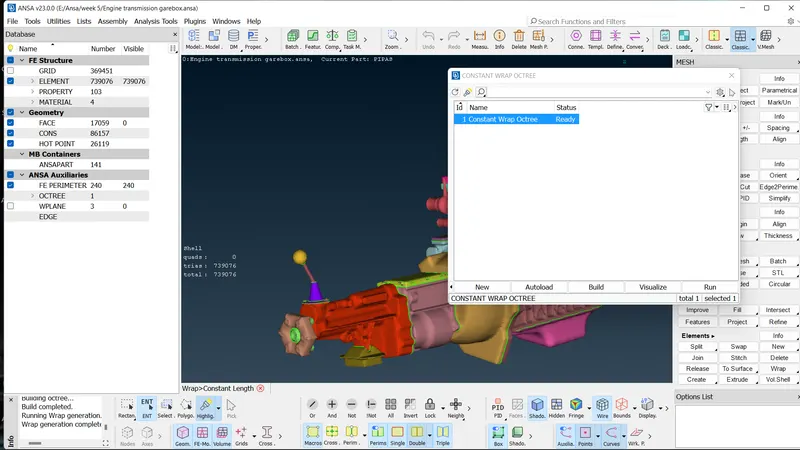
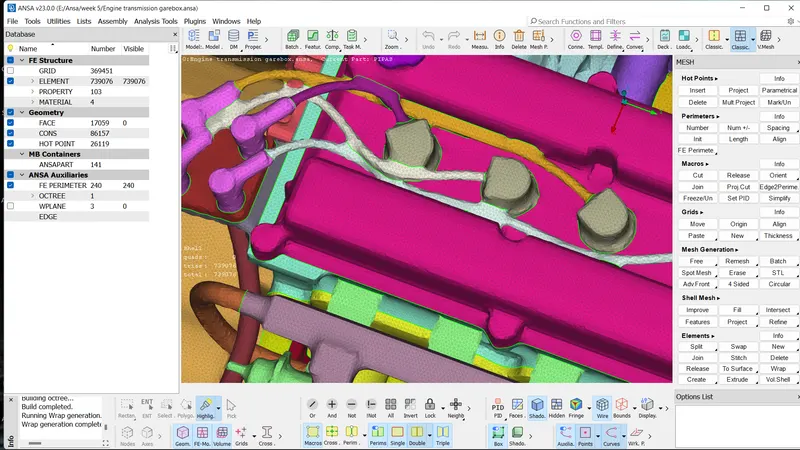
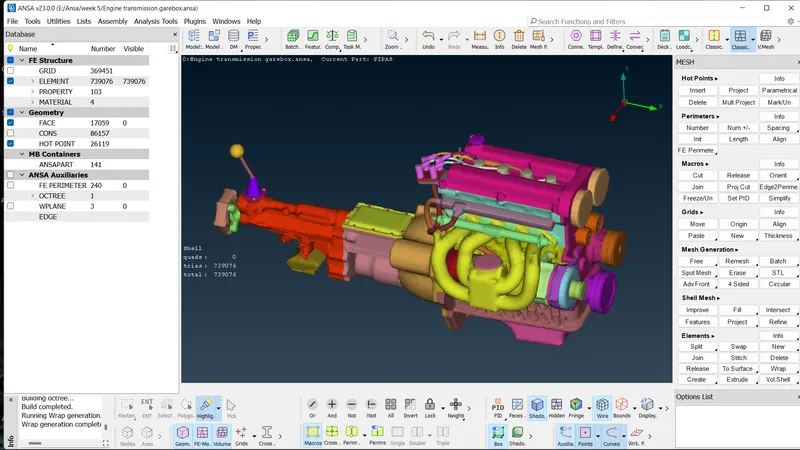
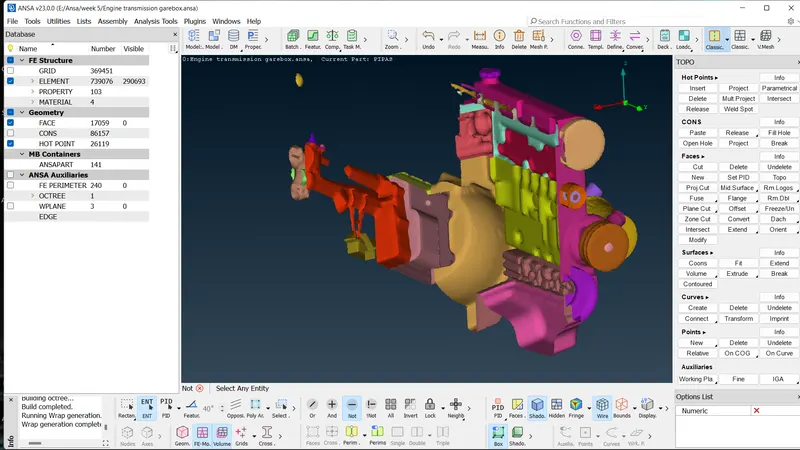
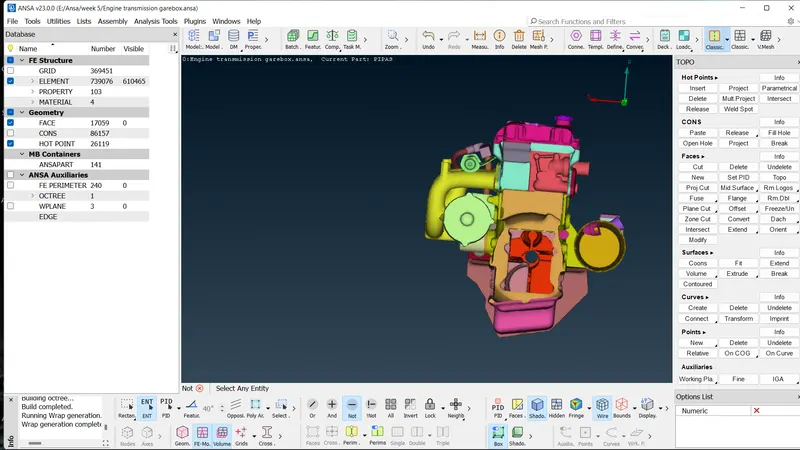
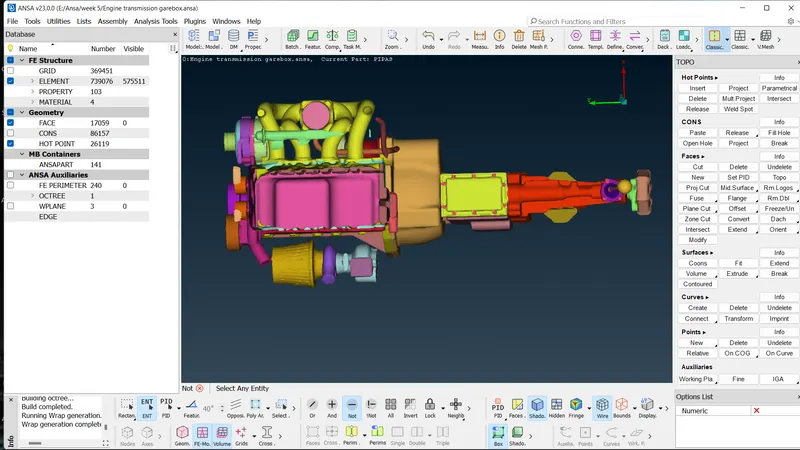
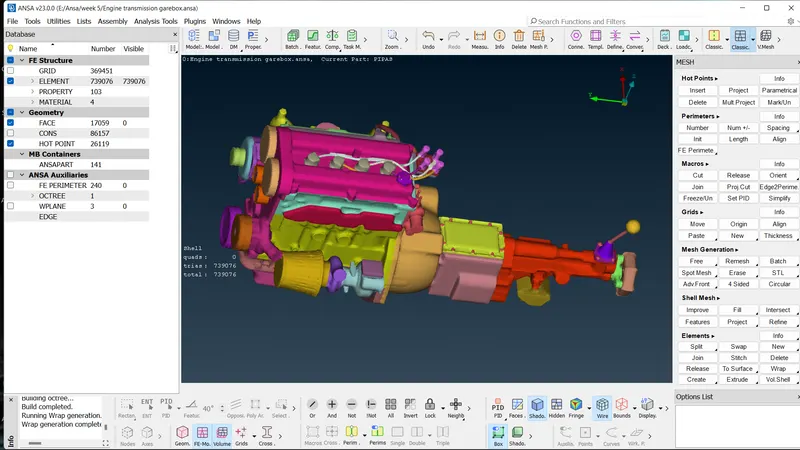
The below figure is the surface wrap of the merged model. And as mentioned, it created a hollow shell as result.
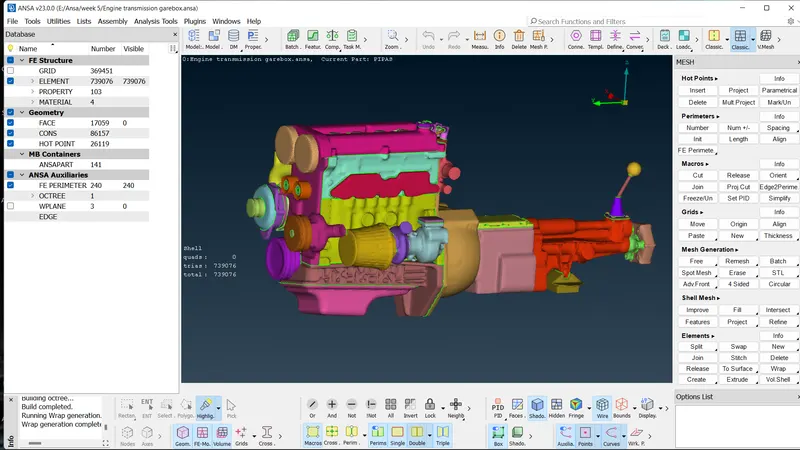
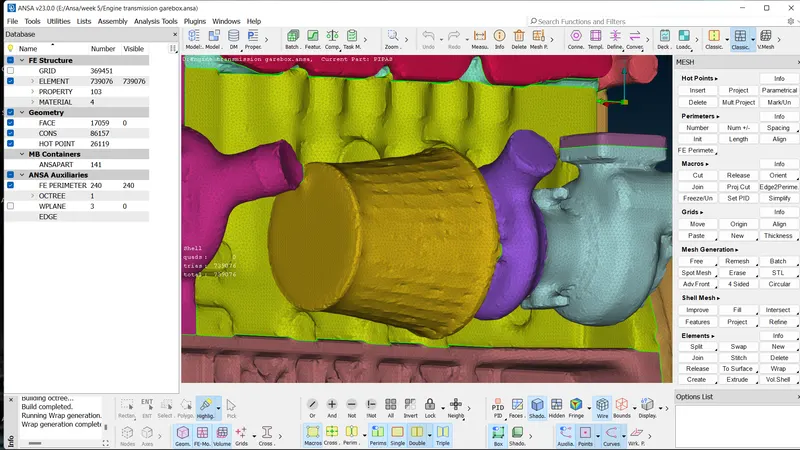
OUTPUT
Hollow shell
Learning Outcomes
Geometry cleanup
Geometry merging
Surface wrapping
Conclusion
- Surface wrapping was run successfully on the given parts.
- Surface wrap is effective for outside flow simulations where the volume between the body and wind tunnel is required for flow over the body simulations.
- Surface is easier to perform since it does not depend on the quality of the wrap on each material as we are not interested in physics in the body.
- Effective surface wrap is achieved on the given body for a given mesh length of 3 mm (about 0.003m).
Surface wrap on Automotive Assembly
https://drive.google.com/file/d/1EVCS54lv6fseJrH1oxyZrlVv49ZU-6mi/view?usp=sharing