Week 12:Project 2-Meshing of Rear Wheel Holder challenge
Aim:- mesh the component with the following criteria given below and assign thickness.
| S.N | Quality Criteria | Value |
| 1 | Aspect Ratio | 5 |
| 2 | Skewness | 45 |
| 3 | Warping | 15 |
| 4 | Taper | 0.5 |
| 5 | Min. Length | 2 Units |
| 6 | Max. Length | 8 Units |
| 7 | Min angle Quad | 45 |
| 8 | Max angle Quad | 135 |
| 9 | Min angle Tria | 20 |
| 10 | Max angle Tria | 120 |
| 10 | Tria % | 10 |
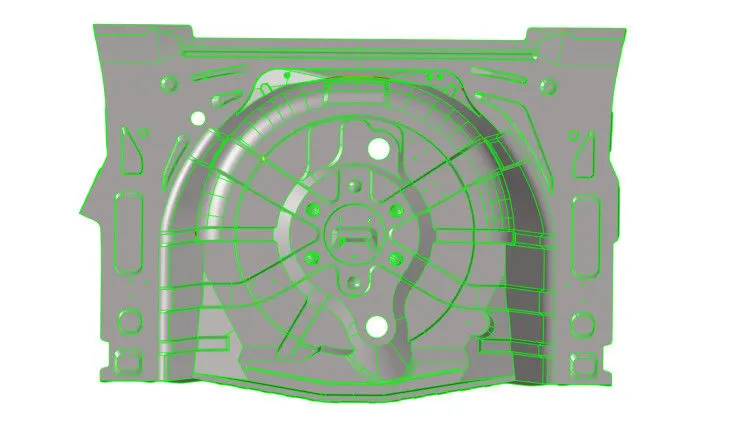
Plan of action:-
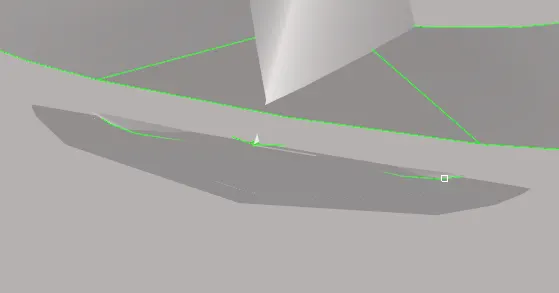 (2)
(2) 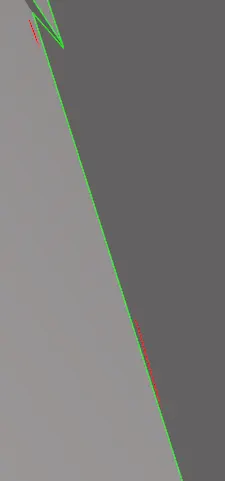 Intersecting surfaces
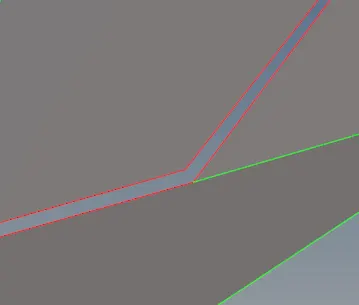 unjoined surfaces
Quick edit{F11}>Toogle lines>Set tolerance>select line.

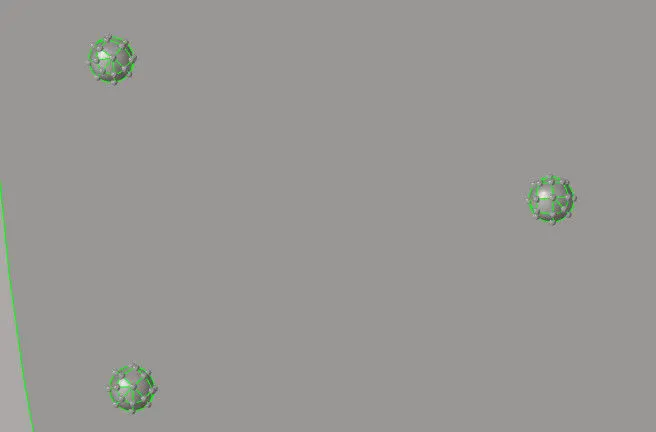 The need to remove beads is necessary for smooth mesh flow and density.

(Delete the beads and then we need to fill those gaps.)
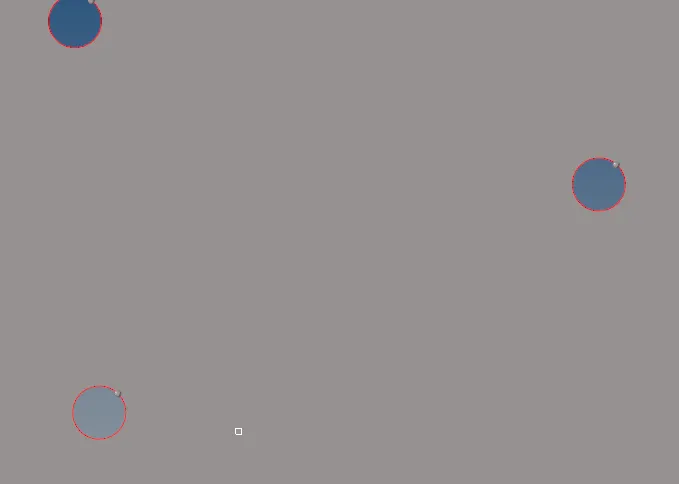
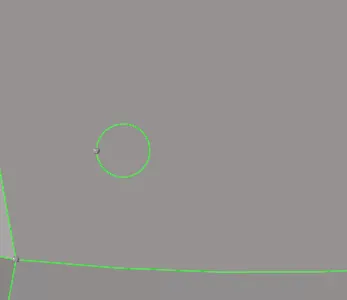 (The surfaces gets filled)
Quick edit{F11}>Filler surf>select line.

(NOTE:- Distance is the same throughout the compound. Mid surface extraction is possible since no varying thickness.)
(Proceeding-4) Extract mid surface
Geom>midsurface>auto midsurface>surfs>displayed>extract


(Post mid surface is extraction manual geometric clean-up is proceeded with.)
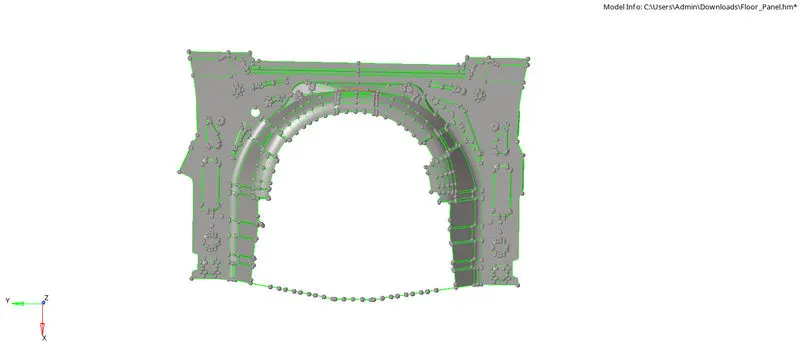
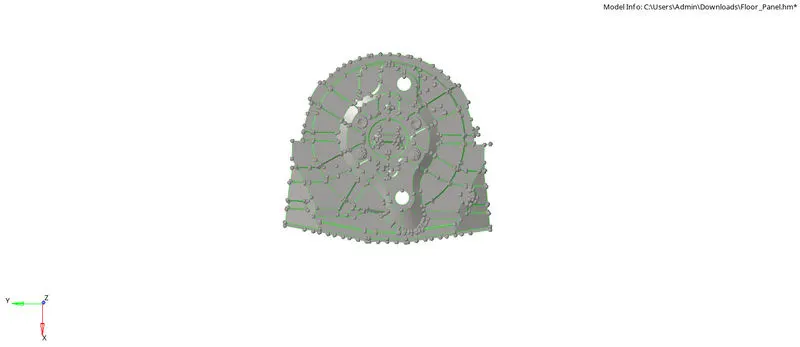 {#1 - 70% of the model is symmetric, reflection of the element is possible.}
Masking the symmetric surfaces is a good way to clean up the GUI and also helps us to get an idea of which elements to project.
(Proceeding-5) 2D meshing
{a}Playing with rotate command
(Proceeding-6) Criteria check 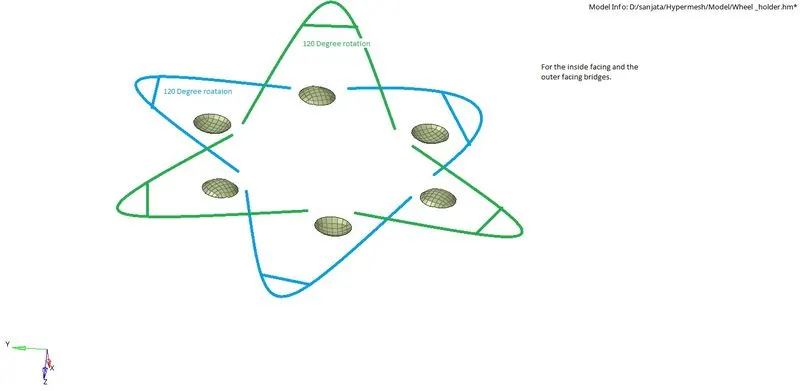
{b} After completely meshing the element quality is checked.
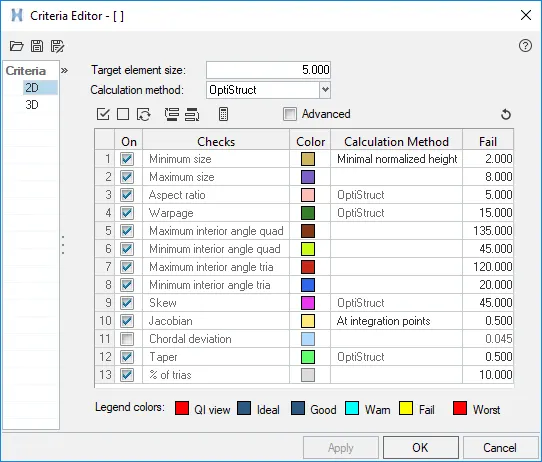
The Criteria are checked using the Check Features subpanel.

Maximum element fails are resolved using the quality index and 2D re-meshing.
(Note:- It's best to resolve warpage by translate or giving the distance manually.)
{c} Free edges check

To ensure the connectivity of elements even after equivalence fails has to be done manually.
F3(Replace nodes)>select the nodes>click replace

The equivalence and the mid-note checkboxes are to be used based on the count of the discontinuous elements.
(Proceeding-7) Assigning Thickness
Defining the thickness of the compound can be done in many ways. I prefer using the point-to-point distance measure.
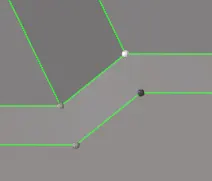 The point-to-point measure.

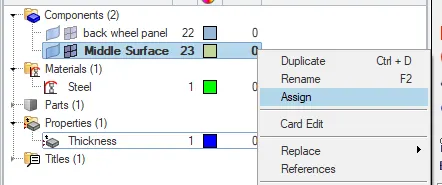
Create a property tree model. Assign the thickness manually.
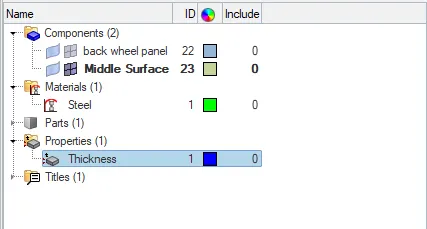
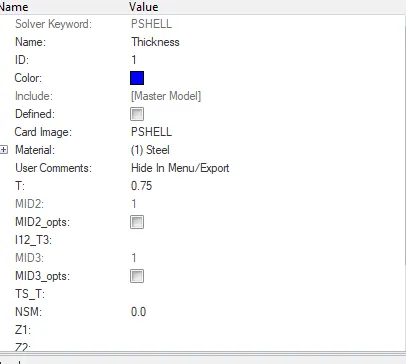
Assigning the thickness to the mid surface
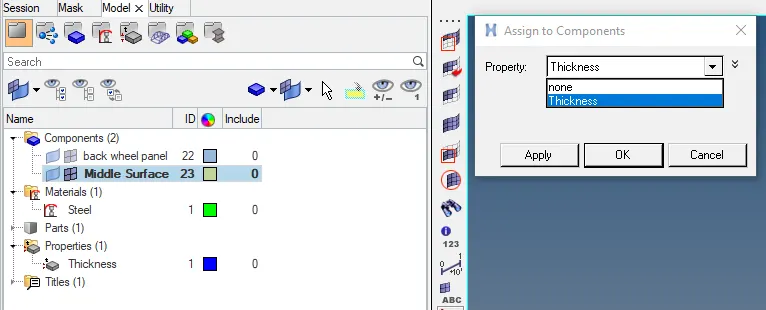
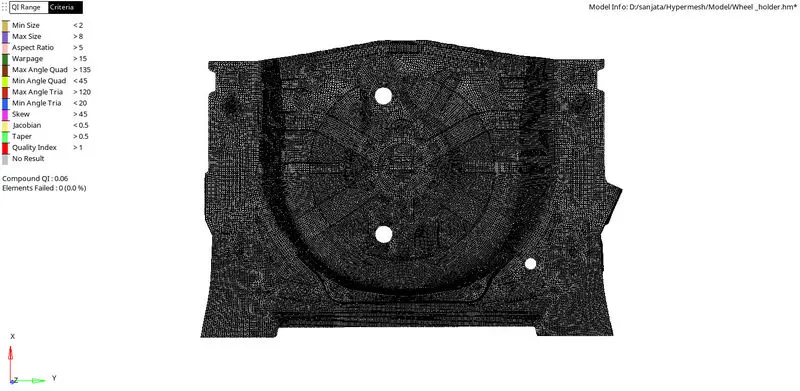
(Proceeding-8) Checking the thickness and Final element quality check.
#Toolbar>Element color (by property)
#Toolbar>2D Detailed view.
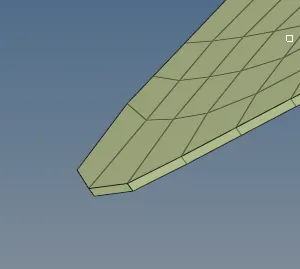
Assigned Element thickness
Final Element Check
Insights gained:- a) Edit the elements.
b) organizing the nodes in a better position
c) projecting the nodes to capture feature surfaces
d)Working on asymmetric surfaces after reflecting the symmetrical part.