Week 12:Project-1-Meshing of Door Inner Panel Challenge
Objective:- To create the shell (2-D) meshing for the Car Side Door Panel by eliminating geometrical errors and considering the given element quality criteria using Hypermesh.
- To import the model into the Hypermesh module and check for geometrical errors and clear them so that we can extract a Mid-surface manually.
- To set the quality criteria and mesh the parts using 2-D Shell mesh.
- Make sure that the flow of mesh is maintained and avoid rotating quads, pattern trias, and opposite.
Procedure:-
First, we will have to import the model into the Hypermesh module. We can do that using File Import Model/Geometry
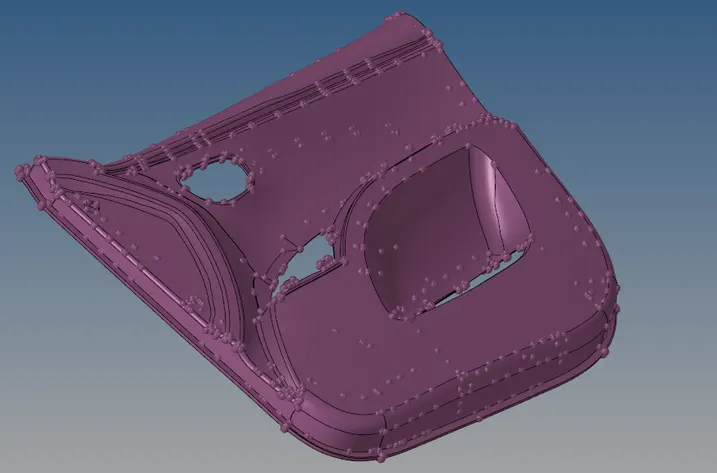
CAD Geometry clean up and topology:
From the imported file we can see so many features such as Ribs, Locators etc. So that this component has different thickness on each feature. CAD Geometry clean up and topology: In this step the given model undergoes geometry check. Where all the defects such as collapsed faces, cracks, free edges, T-edges are clear.
Once the model is imported this is how it will look. Also, change the view to wireframe so that we can check the model is fully closed or not. As if the model is not fully closed taking the Automatic mid will be difficult. Since we are gonna extract a Manual surface you can also manage with open surfaces but it is not recommended.
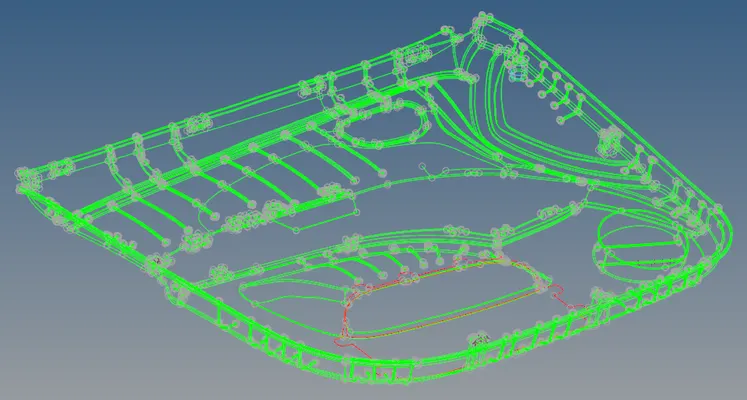
Since this is a complex geometry manual surfacing is the best option so we can start with the Manual mid From the above image, you can see that there are red lines showing open surfaces but correcting this open surface will take time to correct but we can just use the opposite surface to take the mid and continue with the mid-surfacing without closing the surface.
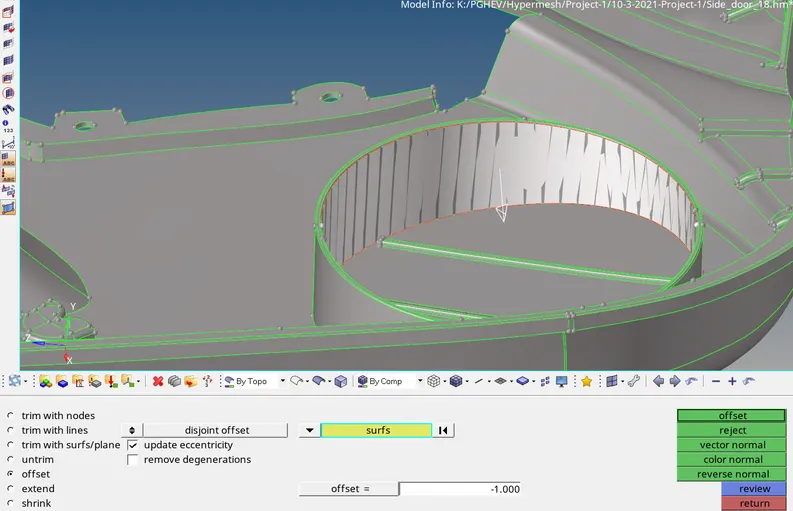
Using Geometry Surface Edit Offset. We can select the surfaces we want to offset make sure the vector normal is checked and give the offset value. Also, you will have to create a Duplicate before offsetting. Then all the individual surfaces will be switched together using stitch.
- Equivalence (multiple edges at a time) Search surfaces for pairs of free edges and combine into shared edges
- Toggle (edge pair at a time) Select an edge; equivalences with other free edges found within a user specified tolerance
- Replace (1 edge pair at a time) Select 2 edges to equivalence together. Control which edge to retain and which to move.
- Geom>Surfaces>Ruled or Geom> Quick edit > filler surface or 2d> spline> surfaces only (to create missing surfaces).
Defeature all small fillets by using steps
- Geom>Defeature>surface fillets.
- Use the Surf Fillets subpanel to identify and remove surface fillets (curved surfaces that create a smooth transition between relatively perpendicular geometric entities). You can identify fillets based on radius, because fillets are always uniform arcs. You can also select a fillet by picking one of the edges that it connects. Once found, fillets can be removed using tools that display automatically after the find process. By clicking on remove all selected fillets will be removed.
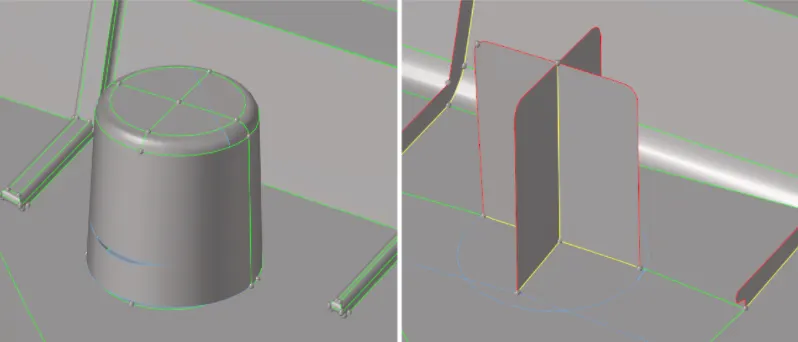
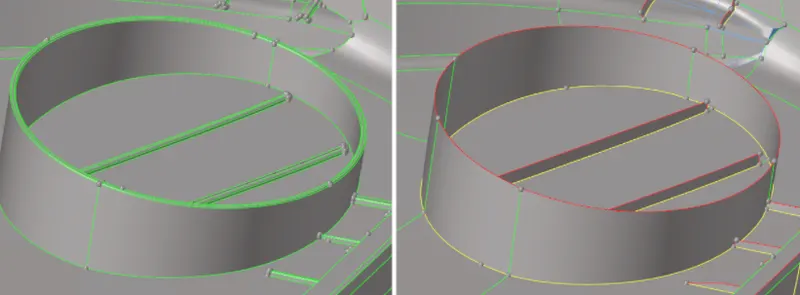
The given model is a side door panel and before going to the Mid surface extraction check for thickness of entities and measure (Geom>distance). We found different thickness on each feature. For the parent we have T 2.8 units. To simply extraction of mid surface.
- Select offset
- Offset moves the selected surfaces without retaining their connections to surrounding geometry.
- Select the surface and make a duplicate of same surface
- Input the value which is half of the thickness
- To check the direction click on vector normal so that we can see the offset direction, also one can change the direction by reverse normal side
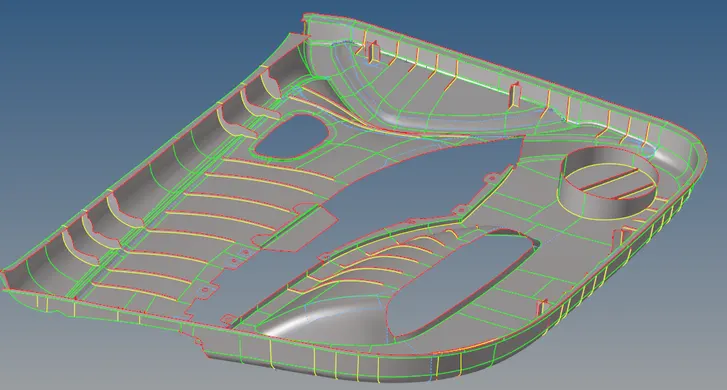
- Select a surface that represents one side of the solid.
- Select a surface that represents the second side of the solid.
- Select extraction options accordingly to define which surfaces to take into account when constructing midsurface.
- By default, only two surfaces that are selected with the side1 and side2 surf selectors are considered.
- To take into account offsset directions of the adjacent pre-existing midsurfaces, select the use adjacent midsurfaces checkbox.
- To allow modifying pre-existing adjacent midsurfaces, select the combine with adjacent midsurfaces checkbox.
- Extend all the ribs to the base surface using Extend.
- Select the line of Extend a surface over edges to another surface.
- Select the target surface.
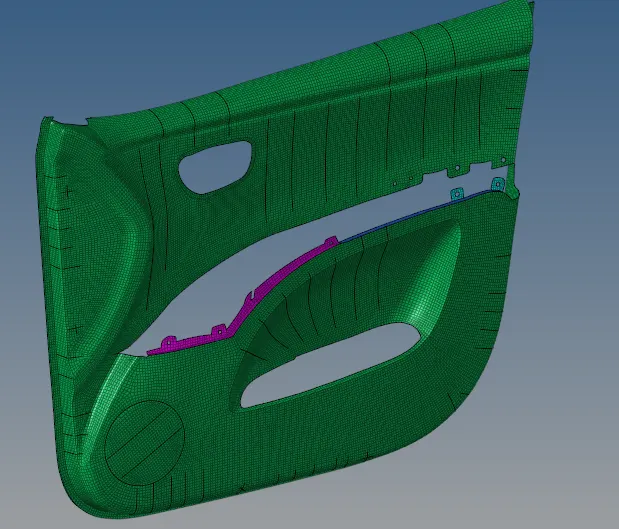
Start meshing Process by Automesh (2D>Automesh )
- Select surfaces for initial mesh and for remesh select elements.
- Select size and bias abd select mesh size which is Target/Average length 5. Use the Size and Bias subpanel to perform size and bias meshing, a flexible and powerful meshing method. A minimum of inputs are required for the element criteria settings. The algorithm options set preferences on how to handle certain situations when encountered in the geometry. When using existing finite elements as the basis for mesh generation, feature recognition settings allow the mesher to break up the areas defined by the selected elements into logical groupings with mesh controls set for each group boundary.
- Select the type of mesh as mixed (Quad, Tria, mixed, R tria etc) and clock on alin and size in order to get proper mesh near features
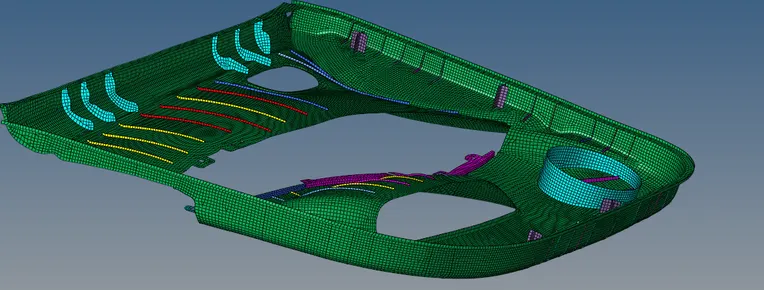
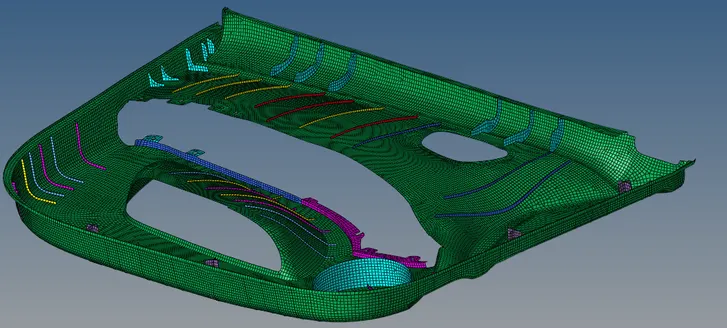
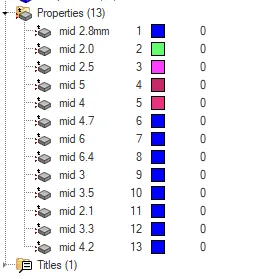
Create property as per the components thickness. To create right click on the Tab area and select property to create properties.
- Select property, we can see the properties in the tab area.
- Click on the property and rename, change the thickness, select material, card image and etc.
- Assign properties to each component by right click on comp> assign> select property