Week 11 - Final project
Design of Side door Trim
Aim: Creating a CAD model of a side door trim panel from a given class A surface.
Introduction:
The product life cycle in the automotive industry is roughly categorized into the following steps:
- Concept sketch
- Styling class A
- Feasibility check
- Concept validation
- New product design
- Product development
- Prototyping
- Design validation
- Pilot production
- Mass production
The given project will fall into the category of Product Development - when the engineer creates solid bodies from the designed surfaces.
The goal is to design class B and class C surfaces from a given class A surface and generate a solid body from it using software such as CATIA V5, Solidworks, or UG NX while taking draught analysis into account, making the component acceptable for production using the injection moulding technique or any other desired manufacturing process.
The overall design methodology follows a similar pattern to the steps given below:
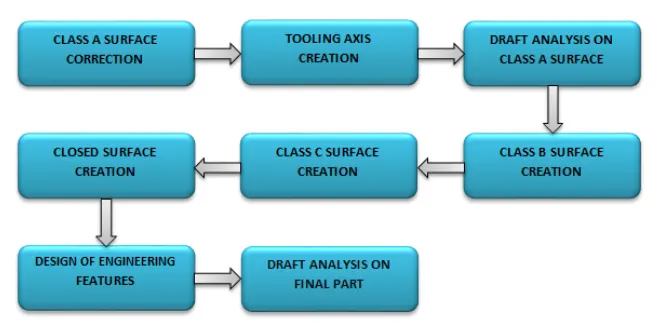
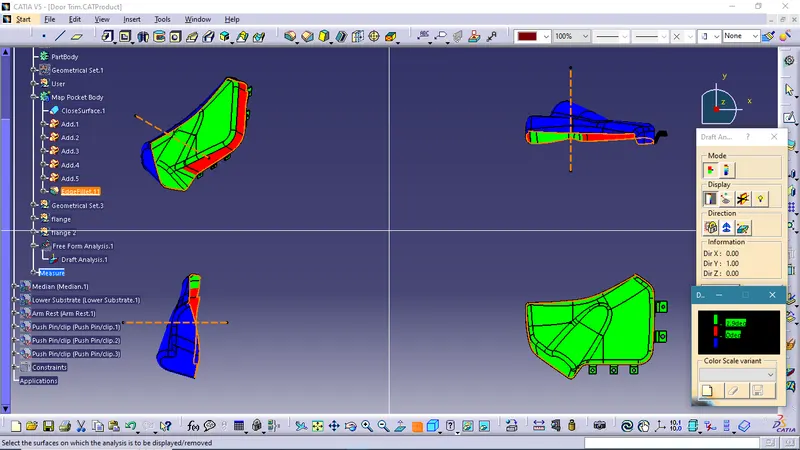
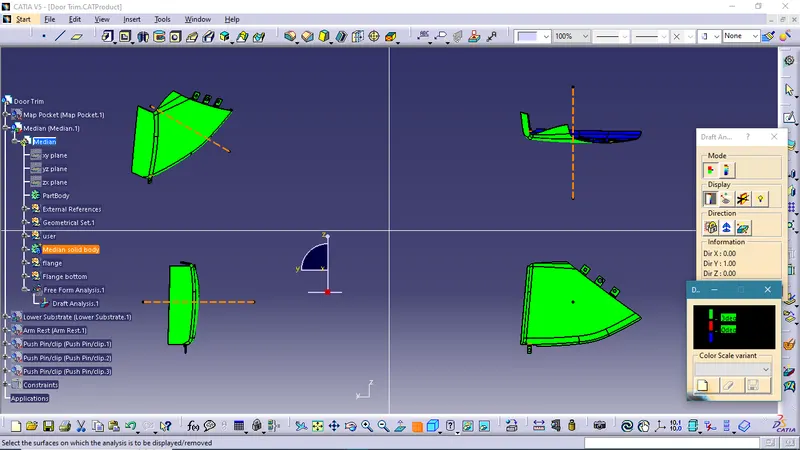
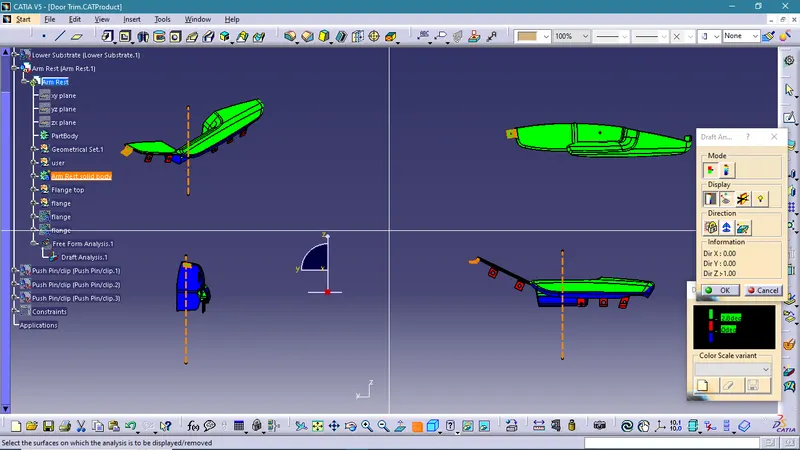
The Draft Analysis allows the user to easily analyze a part for a proper draft angle. A Draft Angle describes the amount of taper for molded or cast parts perpendicular to the parting line. The draft angle is measured relative to a tooling axis, i.e., the axis along which the core and cavity move. A draft angle of 3 degrees is the industry standard for plastic design/manufacturing particularly for injection moulding. A 0.5 degree angle is standard when the side core tooling axis is concerned.
Input:
The designed class A surfaces:
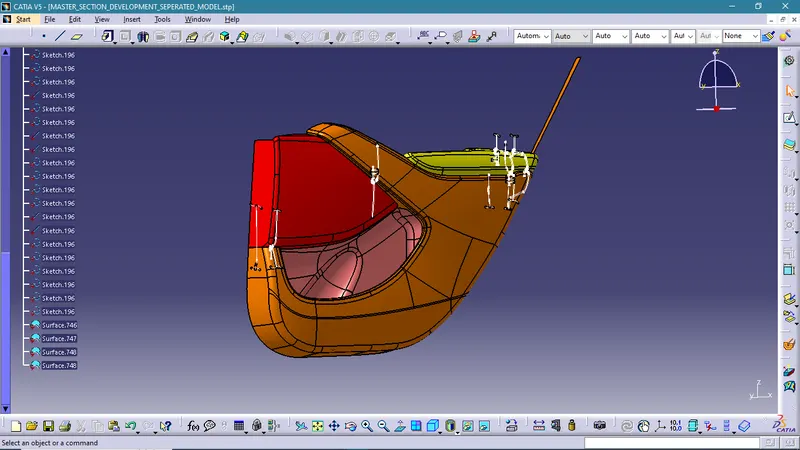
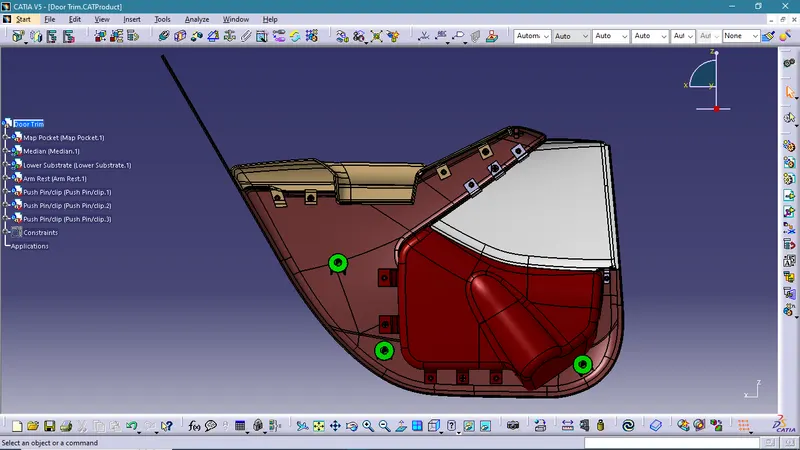
The given door trim is divided into four components which are :
- Lower Substrate (orange)
- Map Pocket (pink)
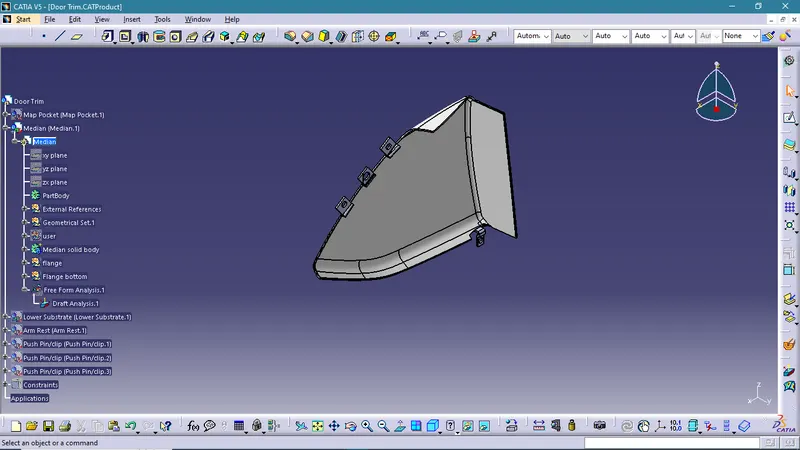
- Median (red)
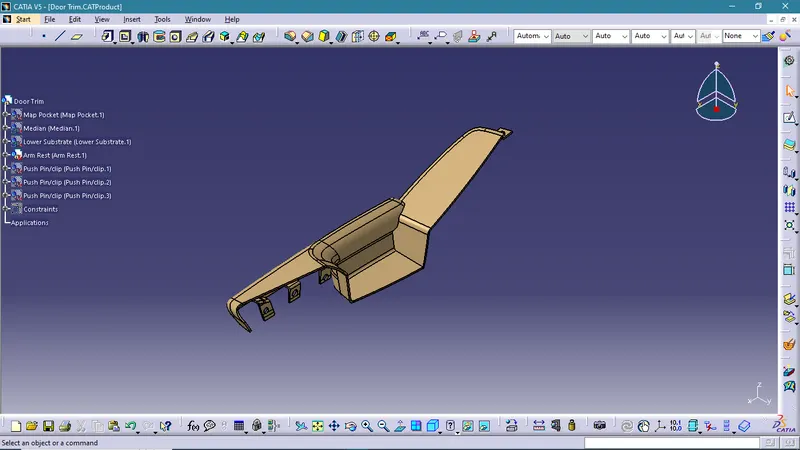
- Arm Rest (yellow)
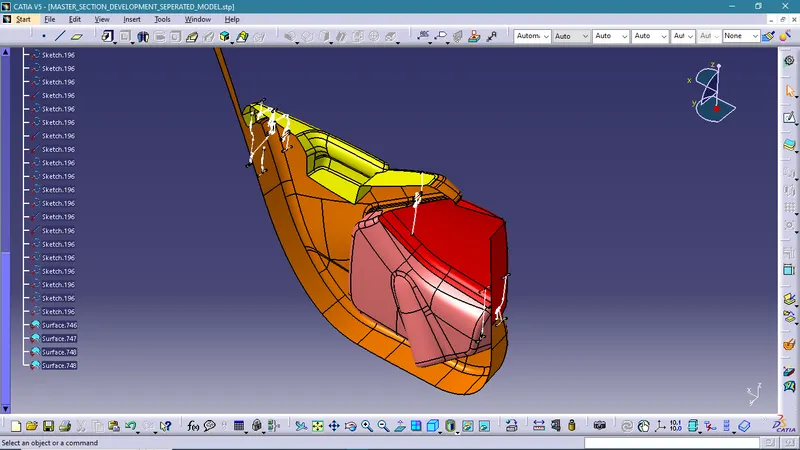
The given master sections will be used to derive the following:
- the desired thickness of each component
- the attachment strategy
- the attachment features
The attachment strategy is the use of flanges and heat-stakes to fuse two components. Locators were added to arrest movement and make the part sturdier. As per requirement a Dog-house was designed and assembled along with a push-pin in order for the trim to be attached to the rest of the door.
Heat Staking:
Heat staking also known as thermoplastic staking is the process of joining two dissimilar materials together. In heat staking, we use local heating and cooling to raise the temperature of plastic components and allow plastic reforming to be carried out.
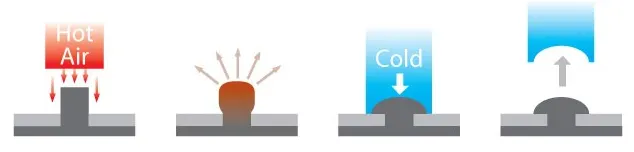
The end product is like a rivet that holds two components together.
Locator:
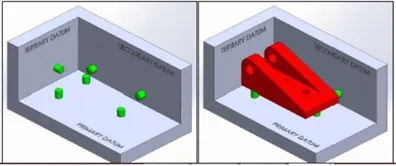
A locator is a part responsible for arresting the movement of a component with respect to their degrees of freedom. the locator utilizes the 3-2-1 principle to restrict translatory and rotative motion.
Dog House:
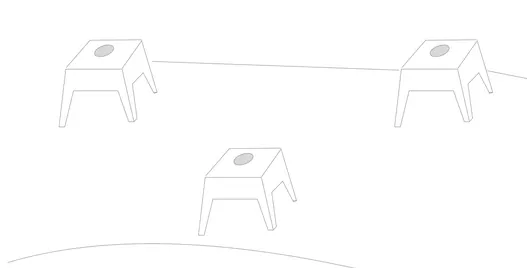
A dog house is a 4 sided box attached to a flat surface which usually requires a riser/slide to mold. In other words, it has 3 sides and a “roof”, where the roof usually has a hole for attachment purposes. It is used as a supporting feature to house other components like clips and pins for interconnectivity.
The final designs of each component:
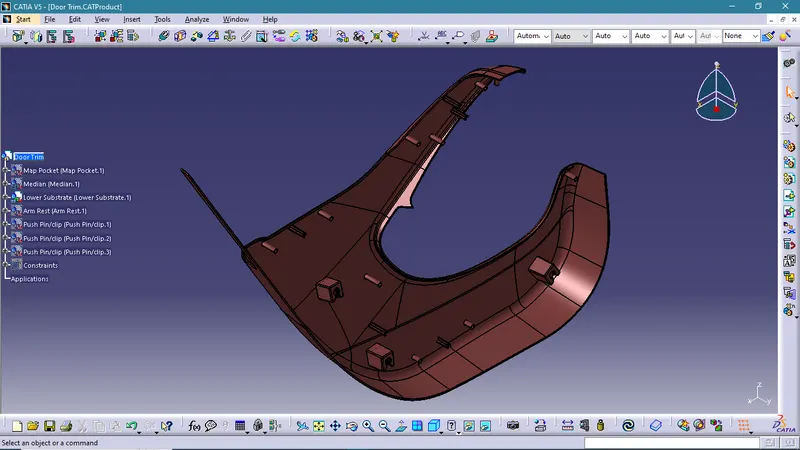
Lower substrate:
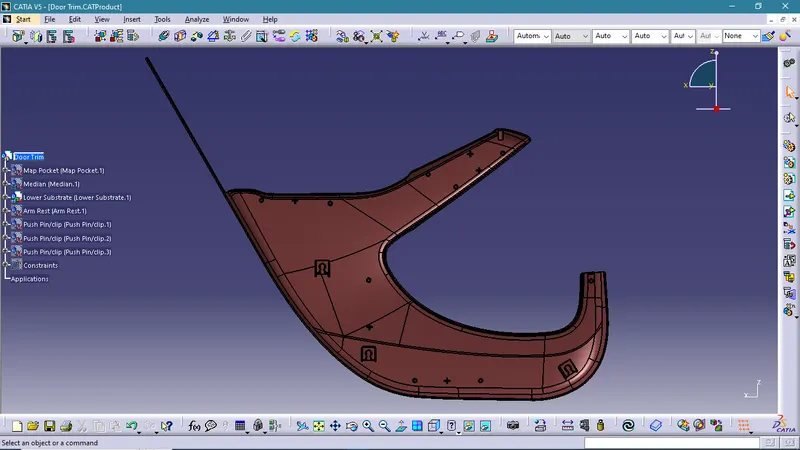
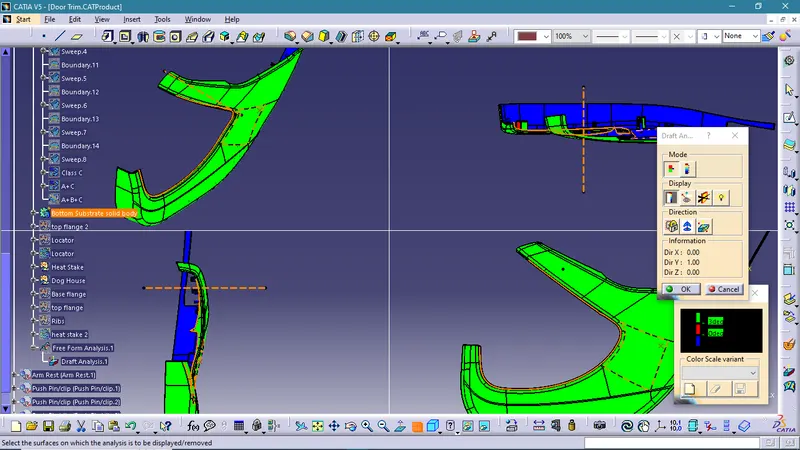
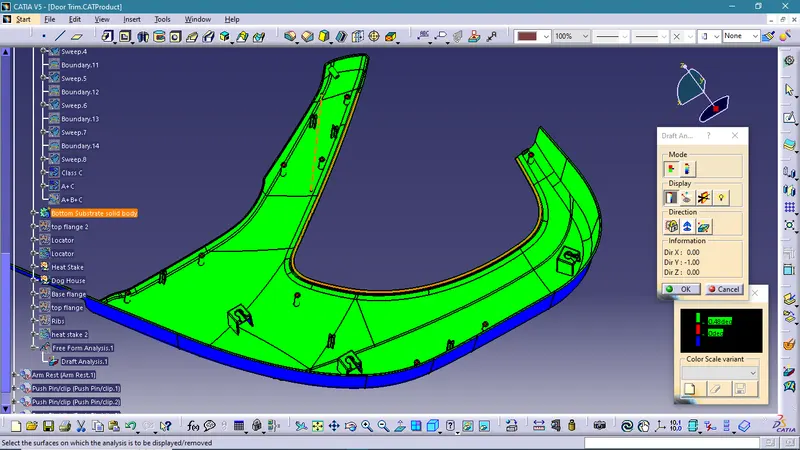
Map Pocket:
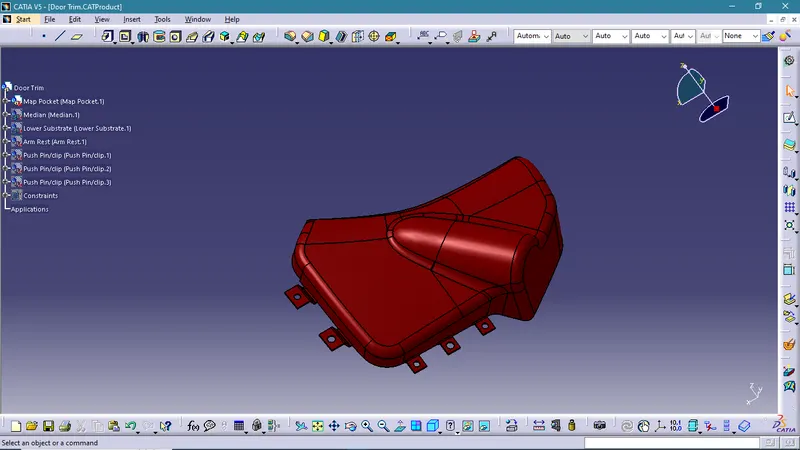
Median:
Arm Rest:
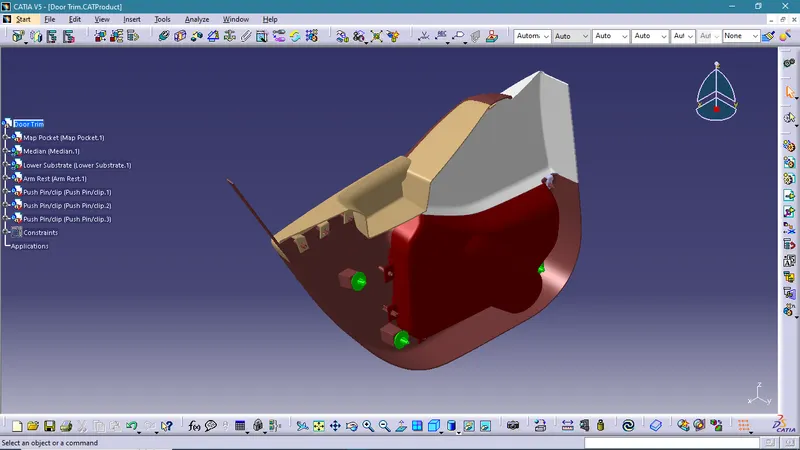
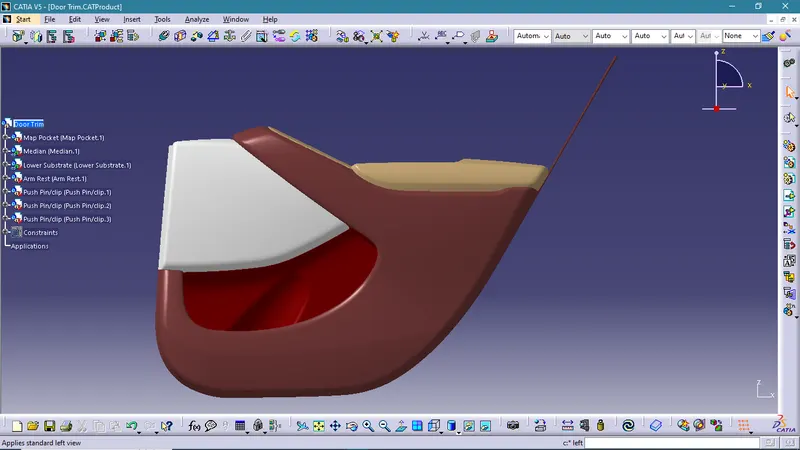
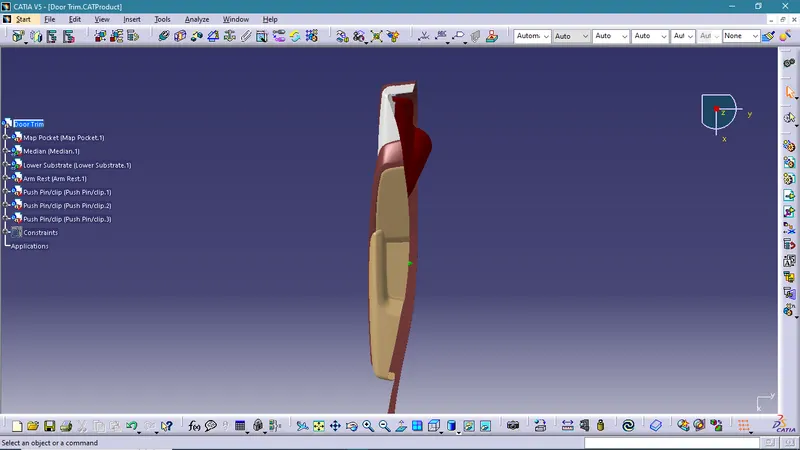
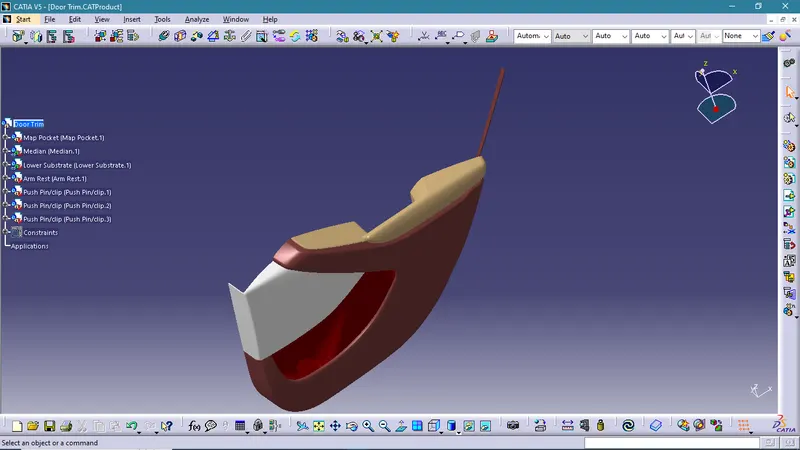
Final Assembled Part:
Push-pins were assembled to be on top of each dog house as the final attachment stratey.