Usage of Navigation tool , Timeliner and Clash Detection test using Naviswork
1.
AIM:
To expert the revit architecture and structure model created in week 6 challenge to naviswork cache files following the export settings
PROCEDURE:
initally open the autodesk account and download thw naviswork manage software
now open the architectural mode created in week 6 challenge in the revit software
then go to files export NWC files
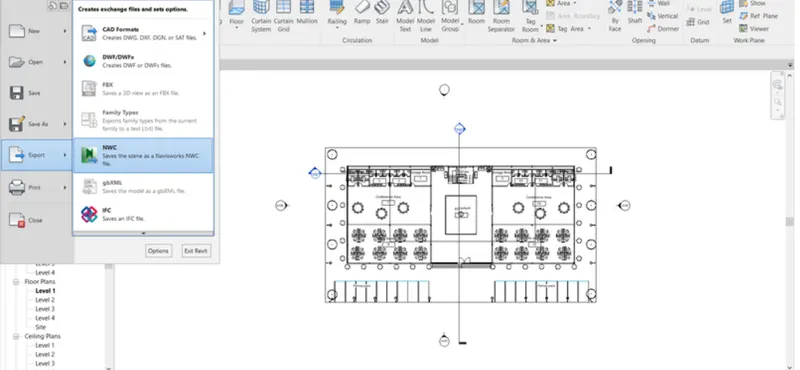
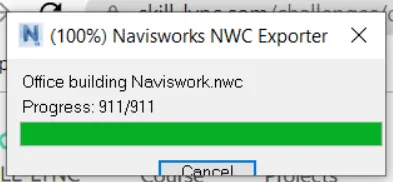
now save the files
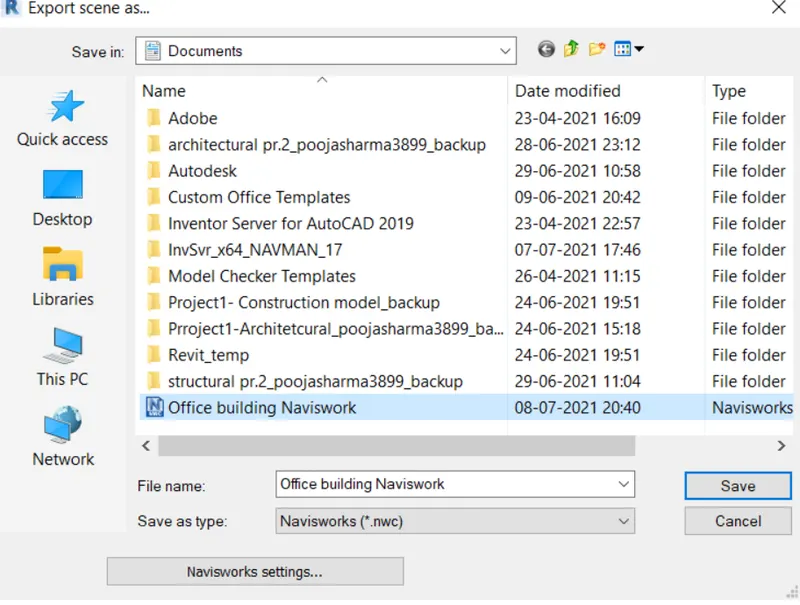
hence the files is exported
RESULT:
initally open the architectural files in the naviswork
2)
AIM:
To use navigate tools walk around model walk through the rooms created and record your moving as animation in your naviswork files
PROCEDURE:
initally open the architecture files naviwork
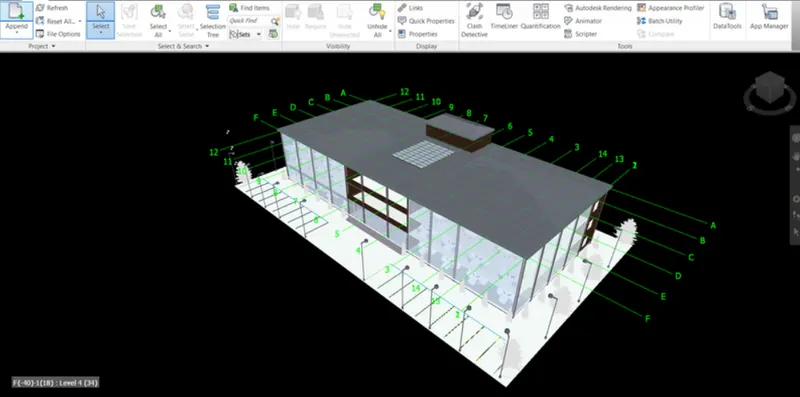
now go to walk option in the viewport tab of the naviswork software
use the record option in the save viewport option to record animated view of each and every room
entrance area:
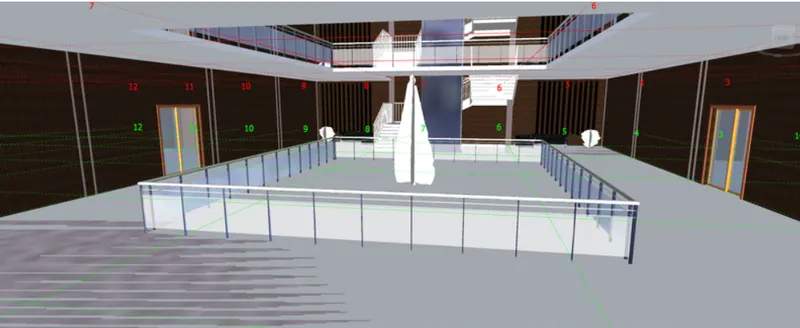
managing room:
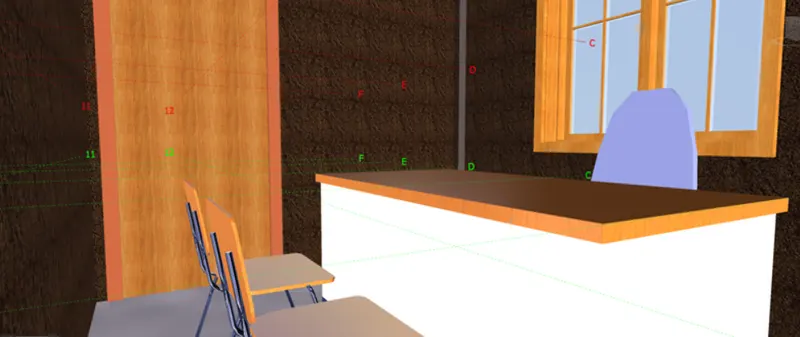
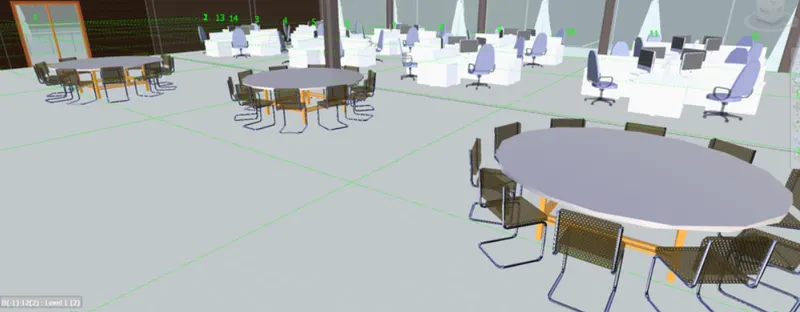
work station
wash room
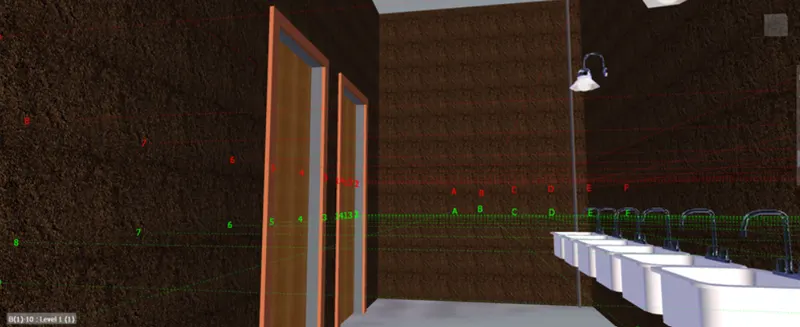
hence the walk around is completed
RESULT:
walk around model is completed
3)
AIM:
To use realism feature to walk through the model and record moving as animation in naviswork files
PROCEDURE:
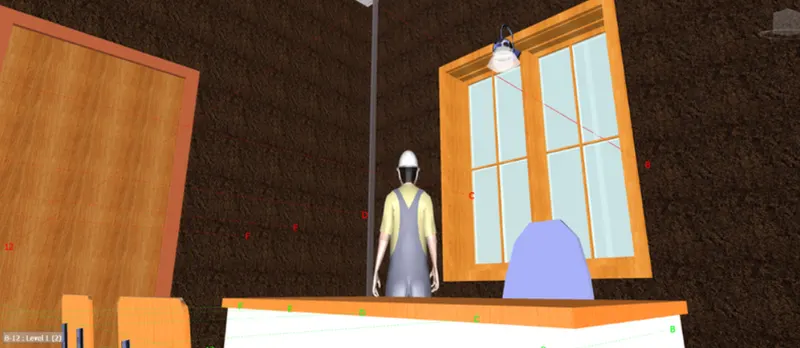
in the naviswork software underview port tab and go to realism and realism choose third person
now again record the moving from save port position
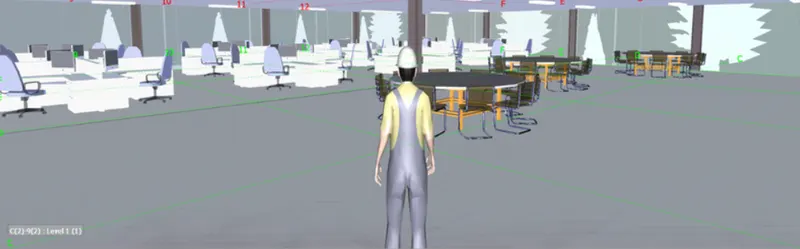
entrance area:
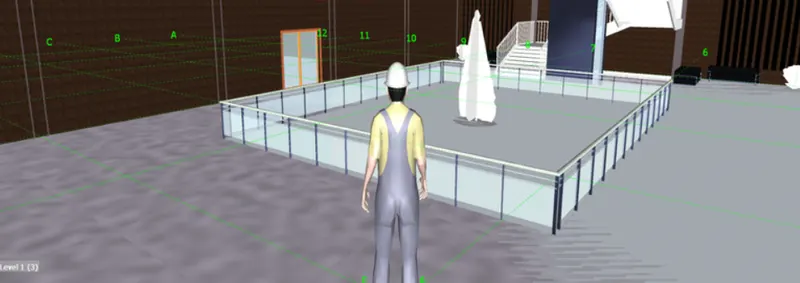
work station:
manager room
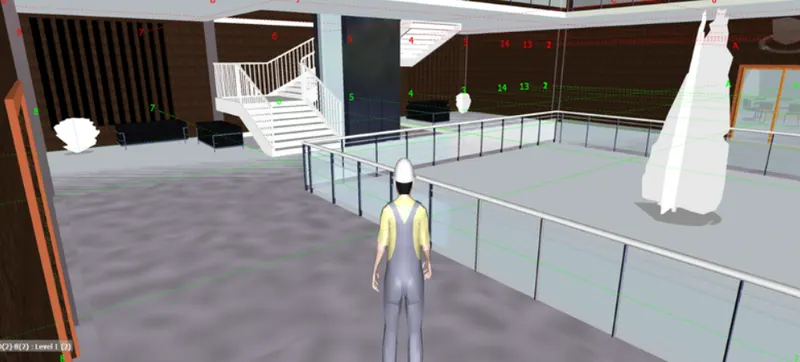
courtyard:
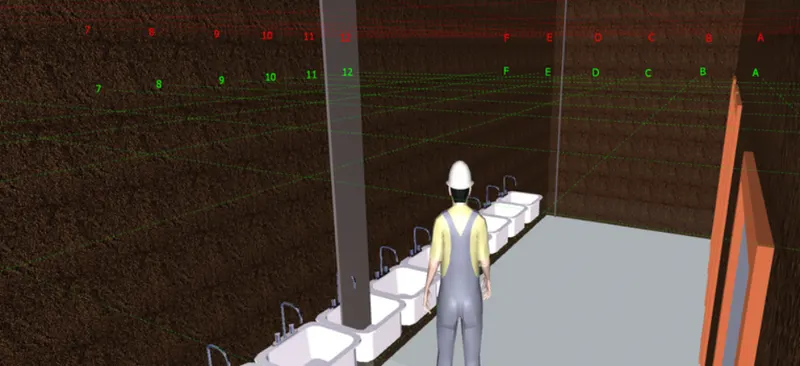
Washroom:
RESULT:
Walk through the model using realism is completedly sucessfully.
4.
AIM:
to create the clash detection test between the two models
PROCEDURE:
initally append the structural model to this architetural model
study the clashes between two models
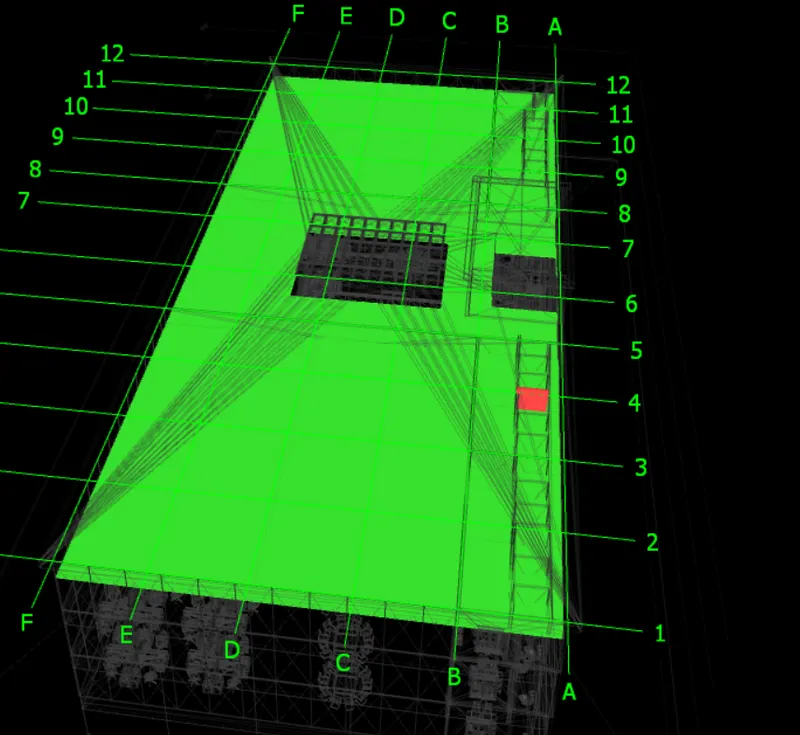
list which of the clashes could be approved
list which of the clashes could be neglected
list which of the clashes can be resolved
save the result after colour coding the clashes the naviswork files
RESULT:
The naviswork clash analysis have been sucessfully carried out
5.
AIM:
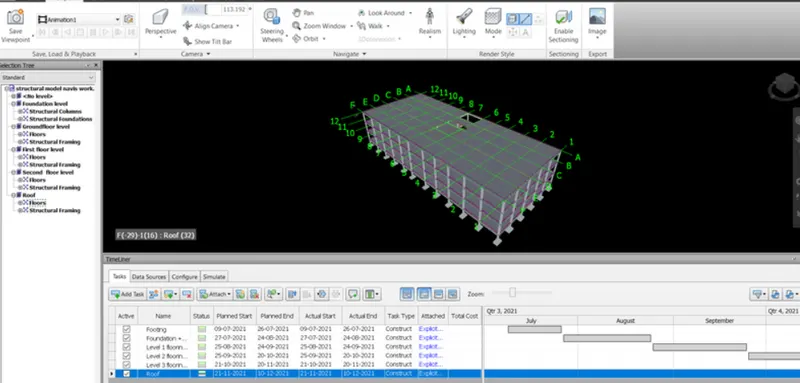
Using the Timeliner feature in Navisworks prepare a schedule for the project developed in week 6 to 8 by adding reasonable assumptions for task start date and end date and simulate the task completion as a visual simulation. Record it and save the timeline simulation to Navisworks file
PROCEDURE:
Initally open the structural model in the revit
then go to menu export NWCfiles
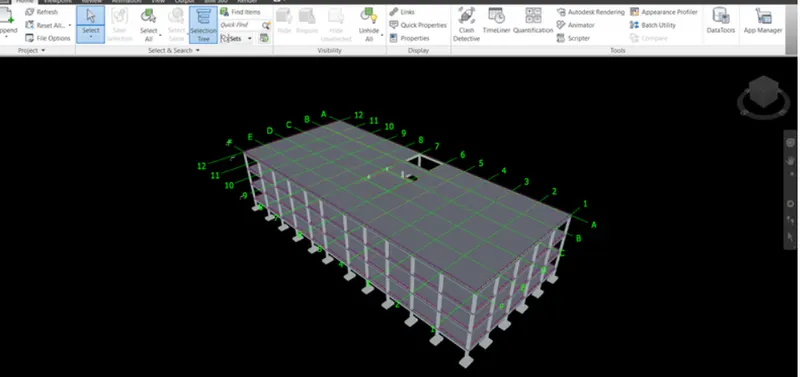
now go to timeline in the home tab
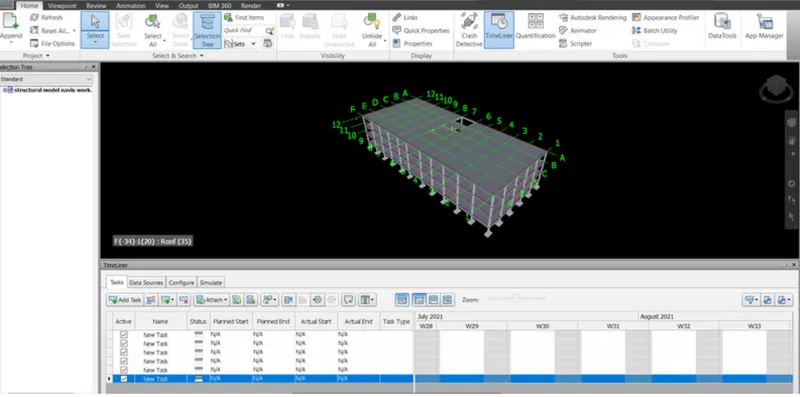
click add task option available in the timeliner to add new tasks
next we have to update the planned and actual dates and provide type
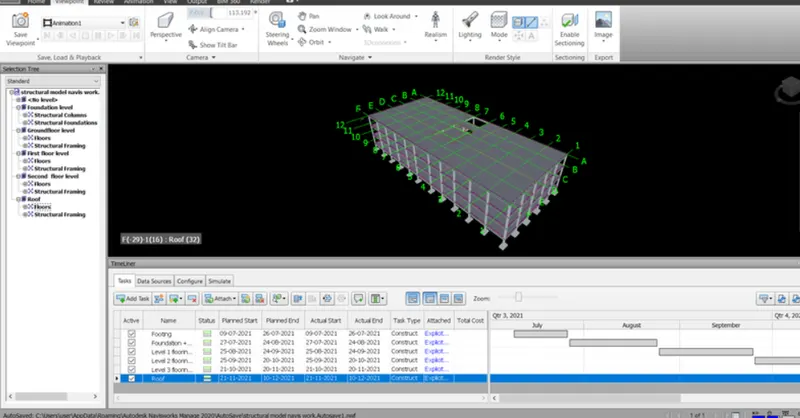
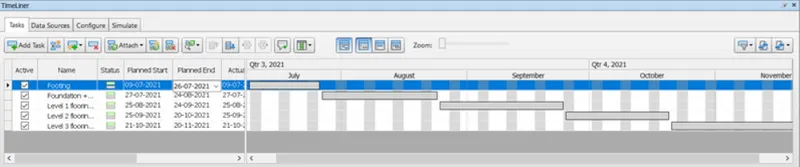
click ok simluate and record it and save the work
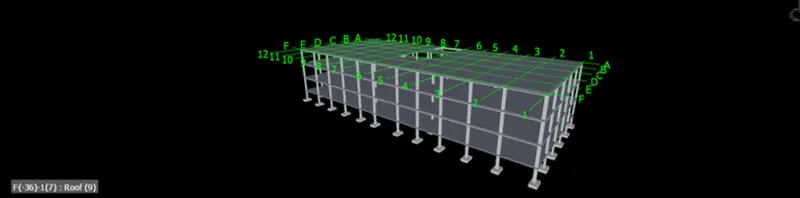
hence the timeliner simulation is completed
RESULT:
Timeliner feature in the naviswork has been successfully completed and result given below