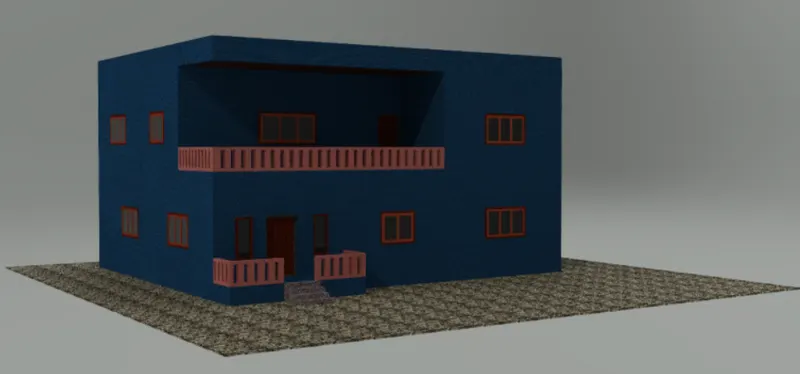
Project 2_Creating a 3D rendered model for a Residential Building in AutoCad
AIM:Create a 3 dimensional model of the residential building with a rendered view.
PROCEDURE:
1. Open the autocad and go to 3d modeling
2.initially set the unit drawing as decimal
3.now set the limit of drawing
4.now create a 2d plan for residential building with the help of cmt like,line,offset,trim etc
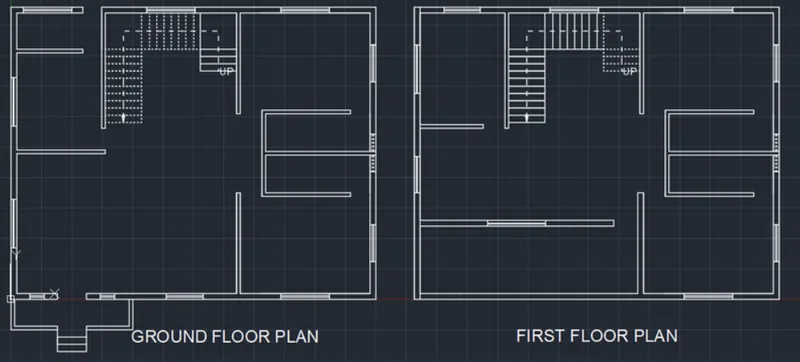
5.now create the elevation of the same by using line offset trim and other necessary cmt tools
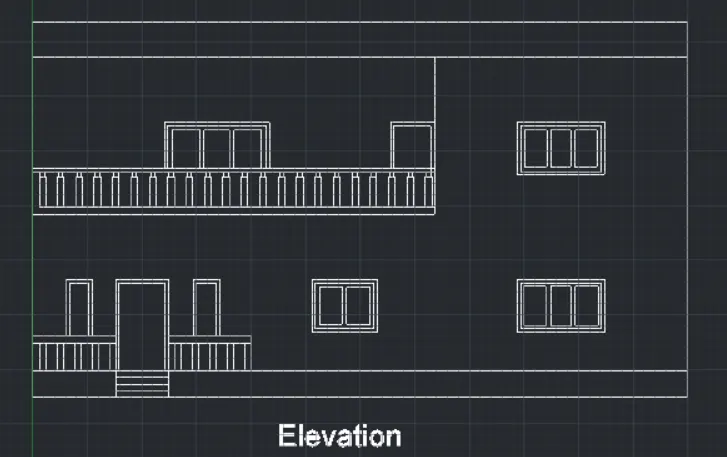
6. now we created the 3d model of the same
7.for this move to 3d modeling workspace in the settings
8.now copy the plan separately
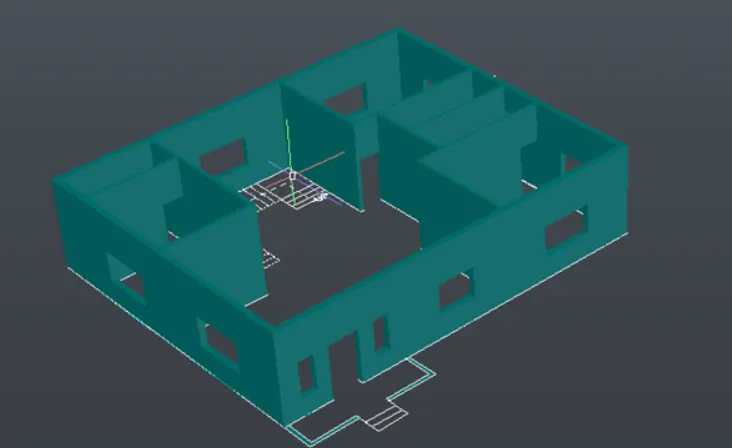
9.now copy the first floor plan and create the boundary region
10.then extrude the 3d wall leaving the space for the windows
11. create the floor plan for ground floor by drawing a rectangle and then create a region and extrude its downwards at depth 600mm
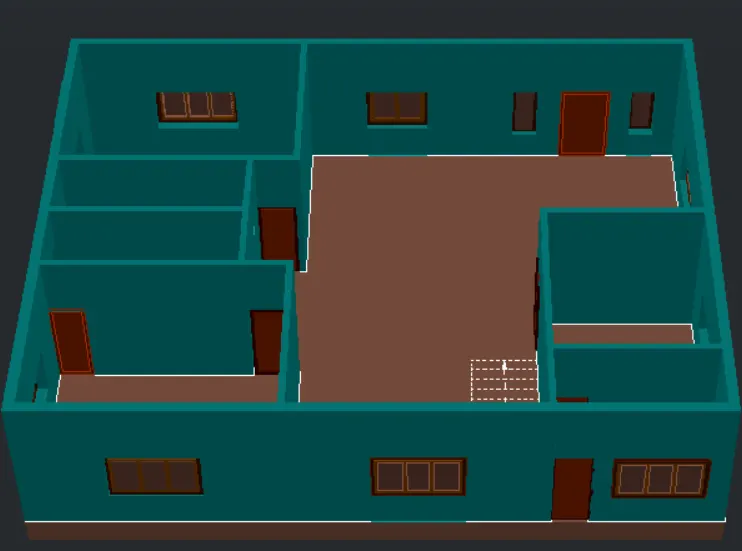
12. now create the windows and door
13. for that go to elevation and copy the entire elevation beside it
14. then it copied elevation retain the doors and windows
15.then change the layer to window frame and create a boundary region for the windows frame
16.then substract the inner portion of the window
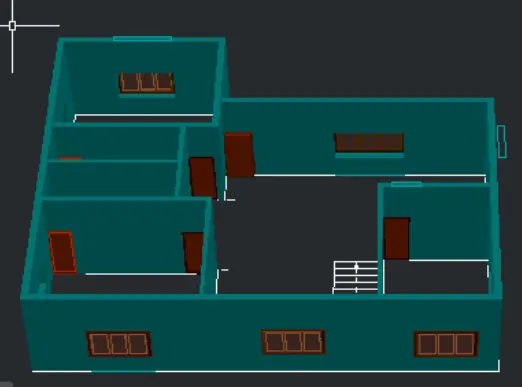
17. now we have to develope the staircase
18.this can be created from the plan of steps
19.so far this first choose the boundary cmt and create a region of each and every step and extrude it as per the height of the riser
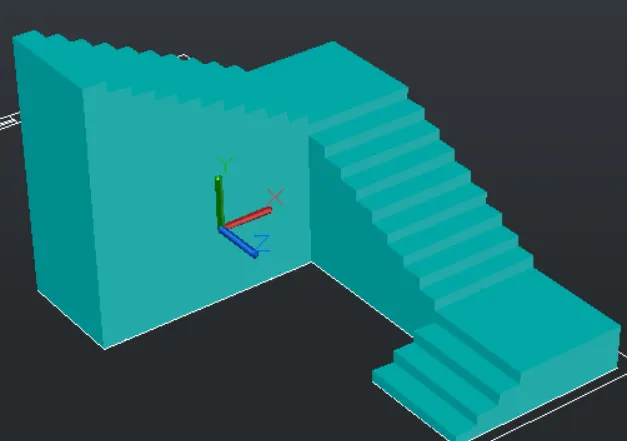
20.now the stair case is moved to 3d building created
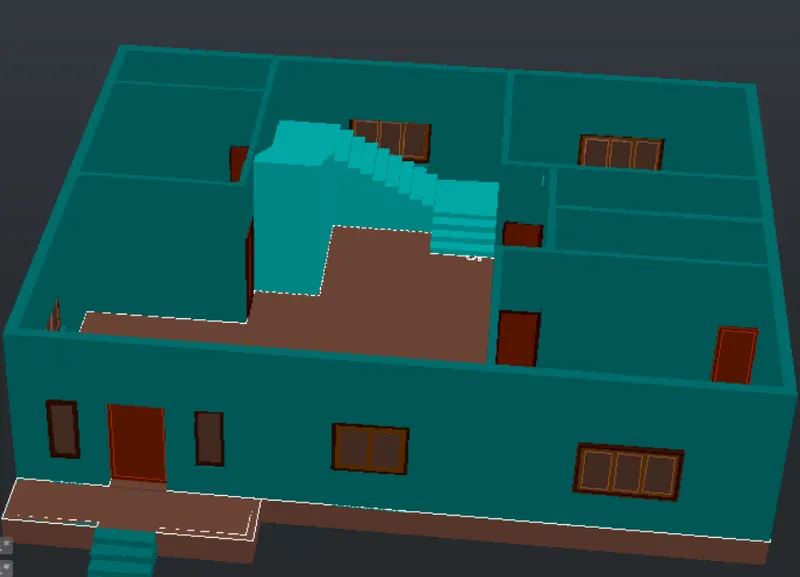
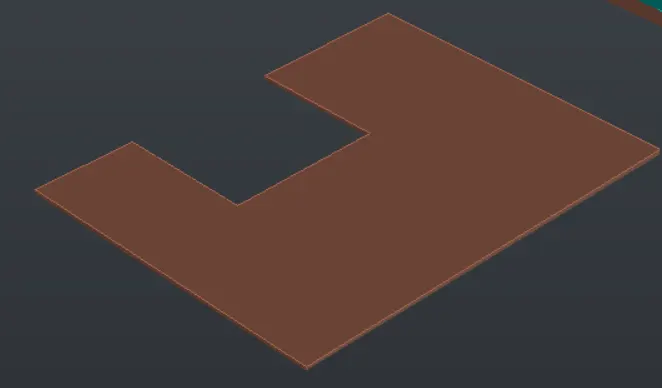
21. now we have created the floor for the first floor i.e the roof for the ground floor
22. for this go to plan and choose the 3d floor layer and created a rectangle as per the inner dimenssion of the wall
23.then cut remaning portion is converted to region and its extruded
24. this then placed over the ground floor developed
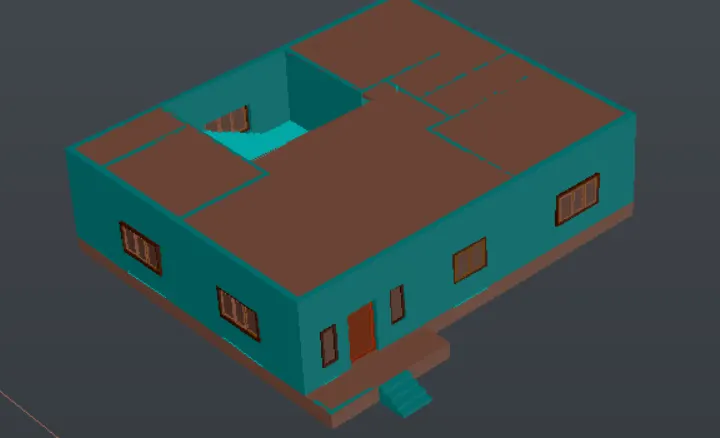
25.now place the first floor above this
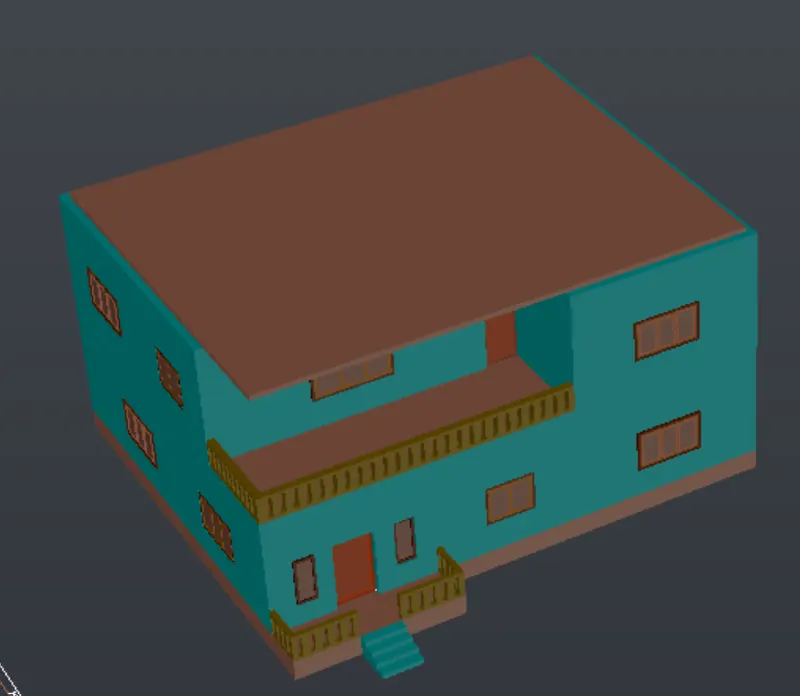
26. now place the roof above the first floor
27. this is done in the same way as the one created for ground floor from the plan
28. the next we have to create the parapet above the roof
29.this also create from the plan
30.the next apply materials. this done through materials browser in the visualise pannel of the ribbon
31. then provide sky background
32. sunlight is kept on
33. full shadow is choosen
34.distant light is also provide
35.then inorder begin the rendering process we have first set the enviroment and exposue settings
36. finnally we have to set the render preset
RESULT: