Introduction to REVIT concepts
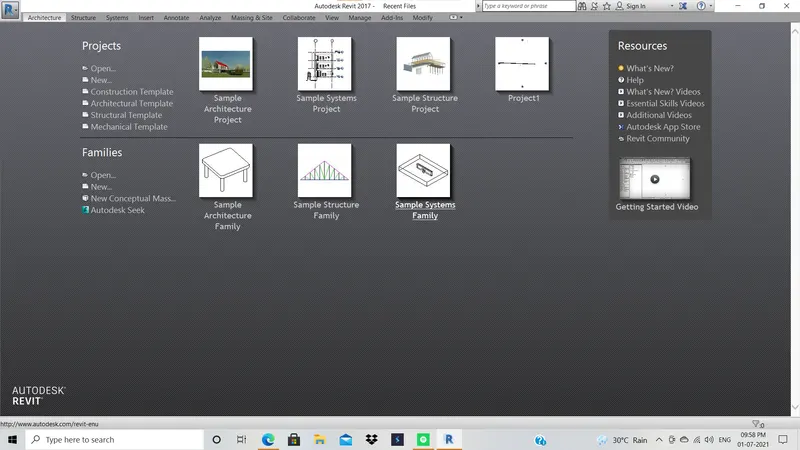
1.AIM:From the file menu, create a new project (Structural / Architectural / Construction template ) and name the project appropriately
PROCEDURE:
STEP1: open the revit software
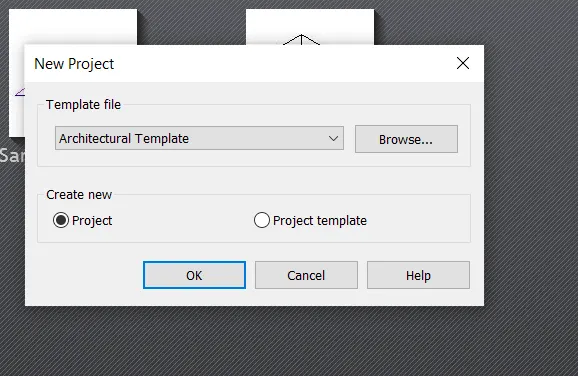
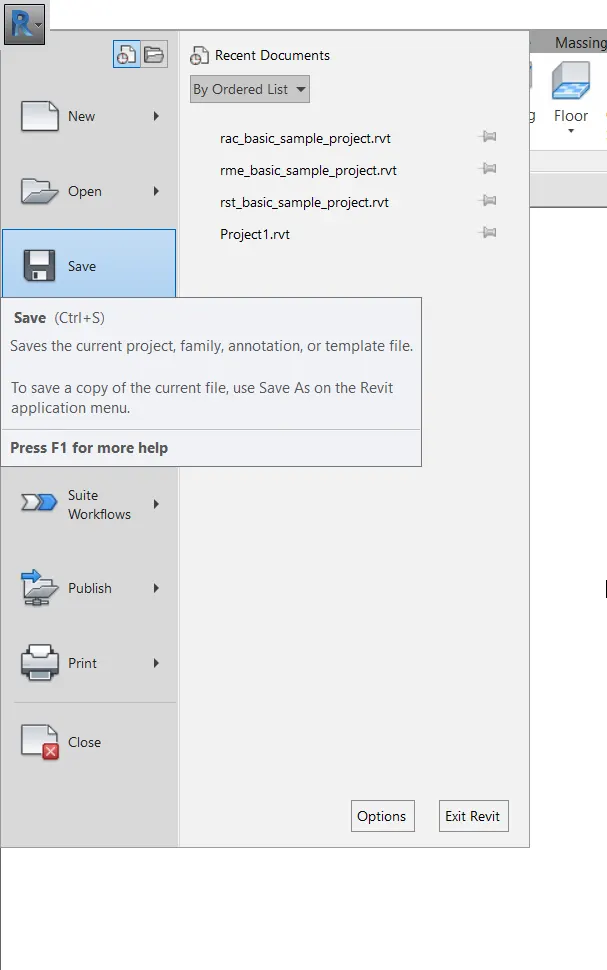
2.AIM:Save the new project file. Close and open using icons from file toolbar
PROCEDURE:
STEP1:
using of pointer click the save icon
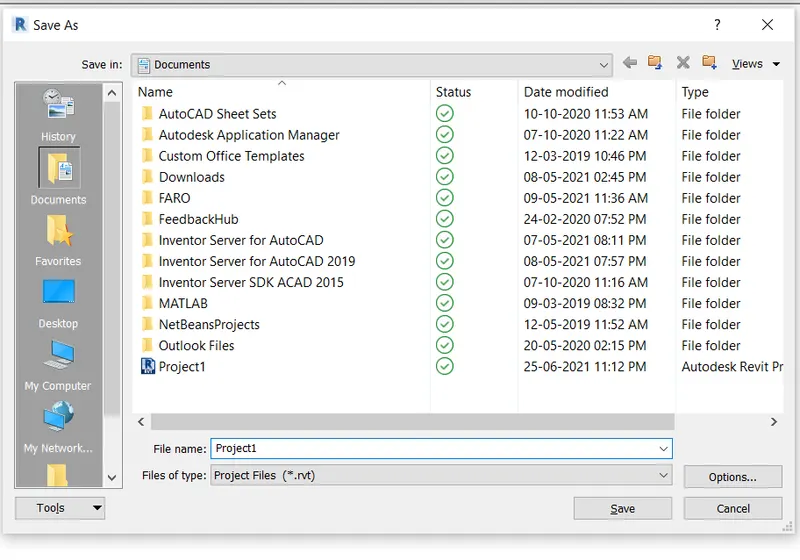
STEP2: name the project title and save the project
3.
AIM:
From the architecture/ structure toolbar familiarize with options to draw a wall. Create a rectangular layout of walls of about 40’-0” X 35’-0”
PROCEDURE:
STEP1: Open the revit file
2) choose the imperial template
3) then go to the architectural pannel where you have variety of option to develope the stracture
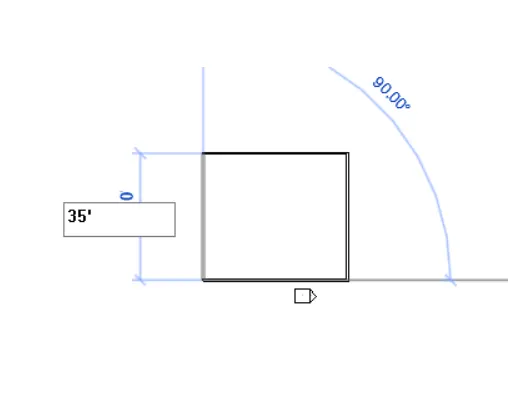
STEP2:
4) choose the wall option in the architecture panel
5) create the rectangluar wall for 40'x35'
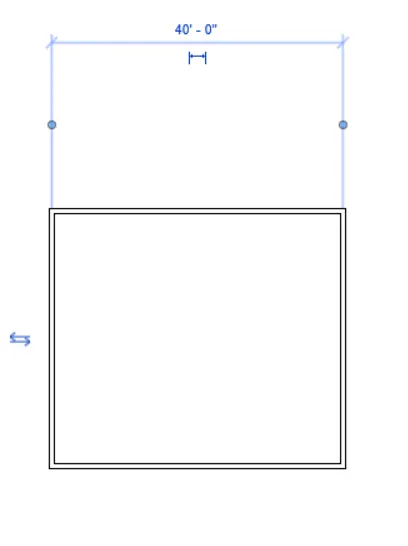
4
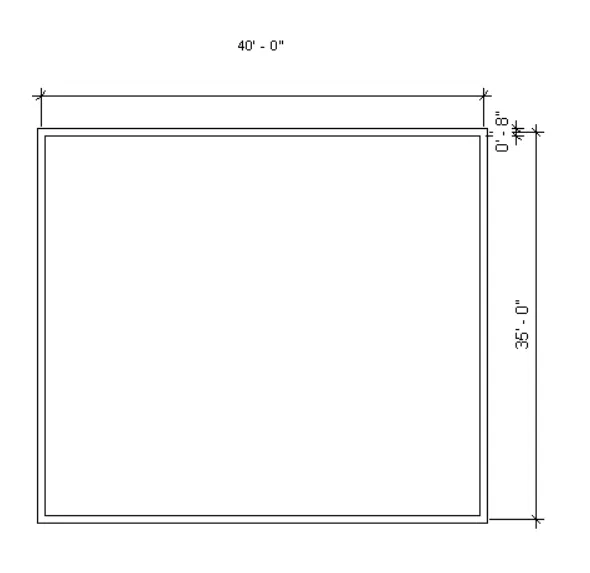
AIM:From the Annotate toolbar use the aligned option to add dimensions to the layout
PROCEDURE:
STEP1:open the revit software
2) create a wall in the imperical template as given below
3) now go to annotate tab choose aligned dimension
STEP2:
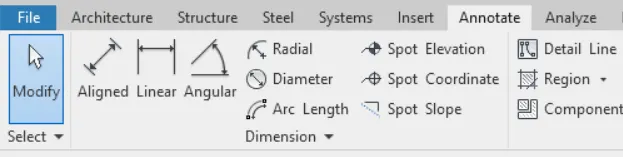
4) then provide the dimension to the wall thu created
STEP3:
5.
AIM:Use the properties browser to switch to different wall types
PROCEDURE:
STEP1:
1)open the revit software
2) create a wall in the imperical templete as given below
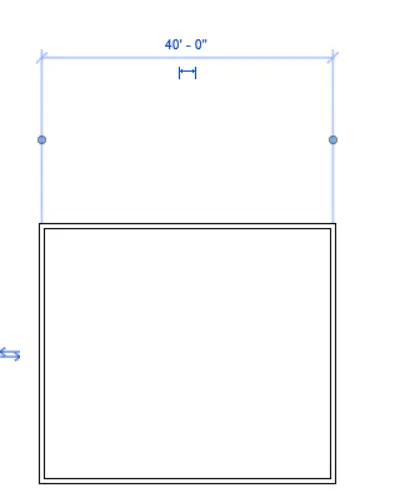
3) now select the wall created then go to properties panel in the left side of your drawing area
4) go to the edit type option where you can change the wall types
5) here the wall type is changed to generic 8" masonry
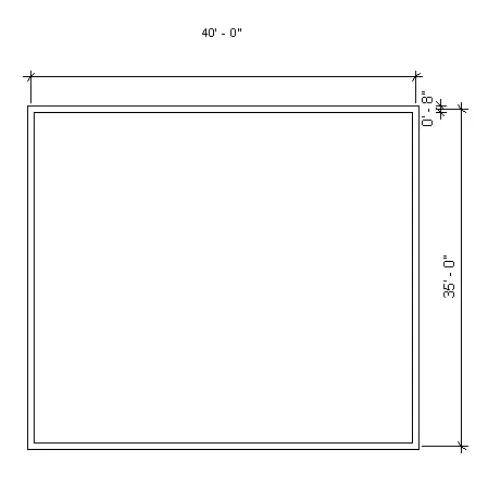
5) similarly different wall types can be chosen
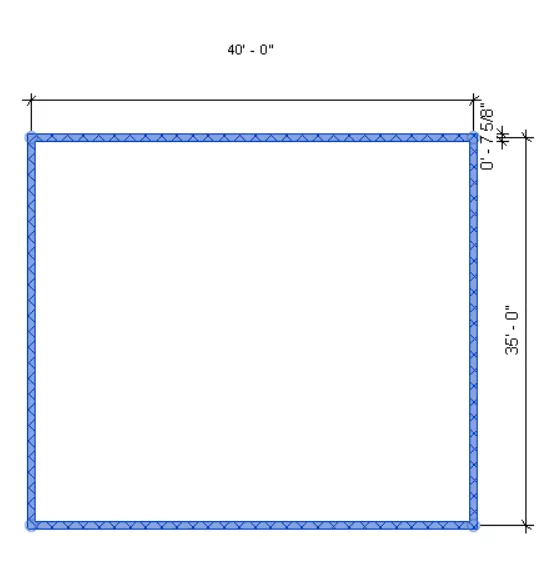
6.AIM:
Create a 3D view from the view toolbar and save the view with the appropriate name
PROCEDURE:
STEP1:
1)open the revit software
2) create a wall in the imperical templete as given below
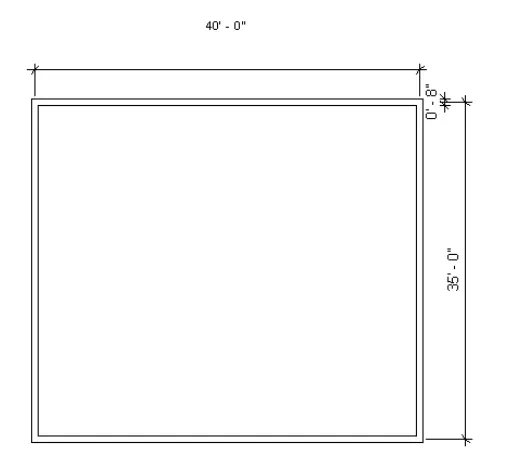
3) now we have to create the 3d view of this wall
4) for this go to view tab and choose 3d option view
5) hence 3d wall is developed as given below
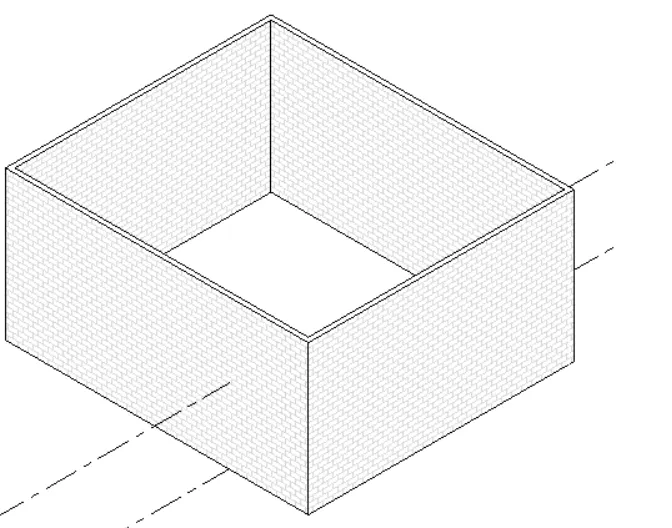
6) now we have to save the view for this click the full nagivation wheelon the nagivation bar
7) then right click the streeing wheel and click save view
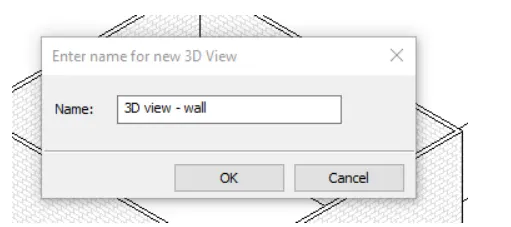
8) how enter a name for new 3d view and then click ok
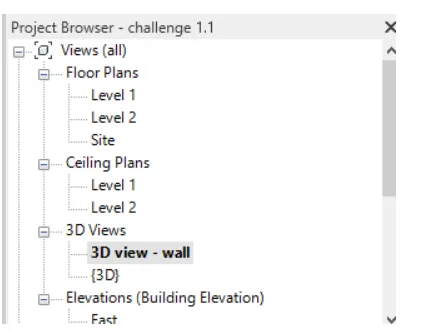
9) hence the view is saved
7.AIM:
Navigate through the 3D model using the view cube. Orbit/pan through the model layout created
PROCEDURE:
To orbit/pan we have to click on the view cube and change the orientation to view different views
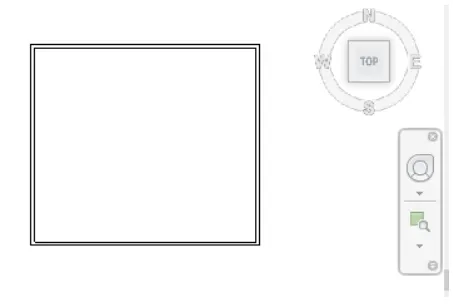
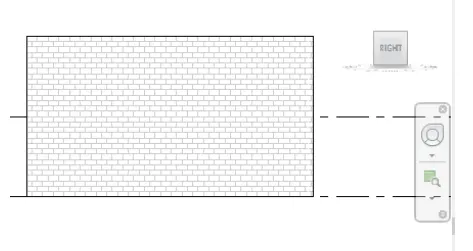
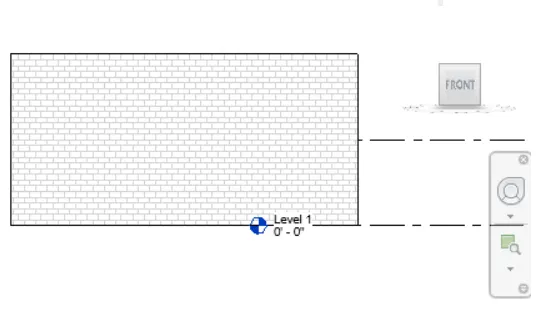
2) different views can be obtained by simply obiting through the view cube
8.
AIM: Use the visibility settings option below to switch model to shaded, realistic, hidden lines options
PROCEDURE:
1) take the 3d view of the wall
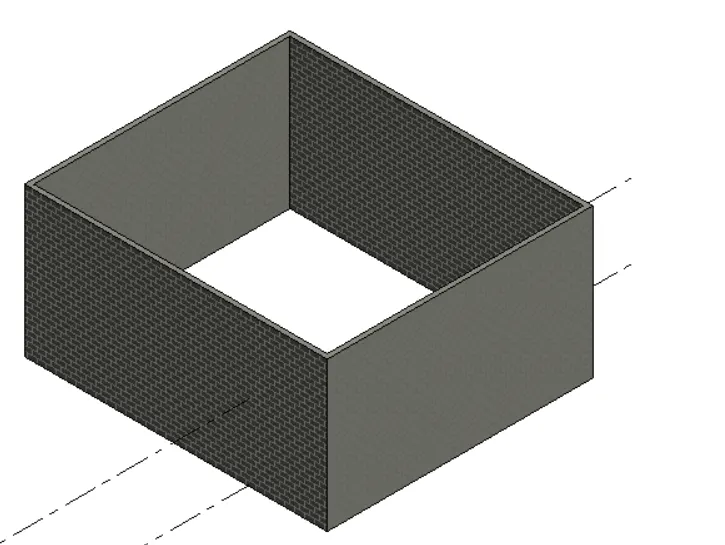
2) go to visible section can be accessed from the below the pannel
3) presently the visible is hidden now we can change visible to shade
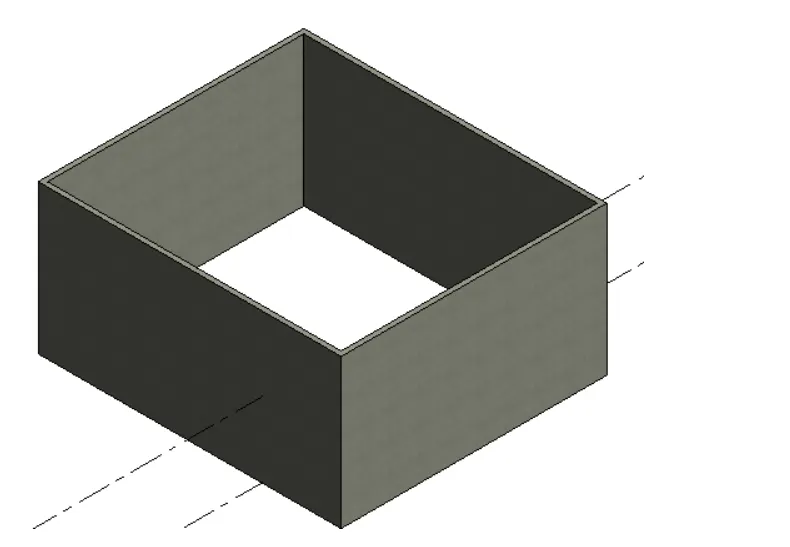
4) again change visible to realistic
9)
AIM:Turn the sun path on and off to view shadings in the layout created
PROCEDURE:
1) Create the relistic view of 3d wall
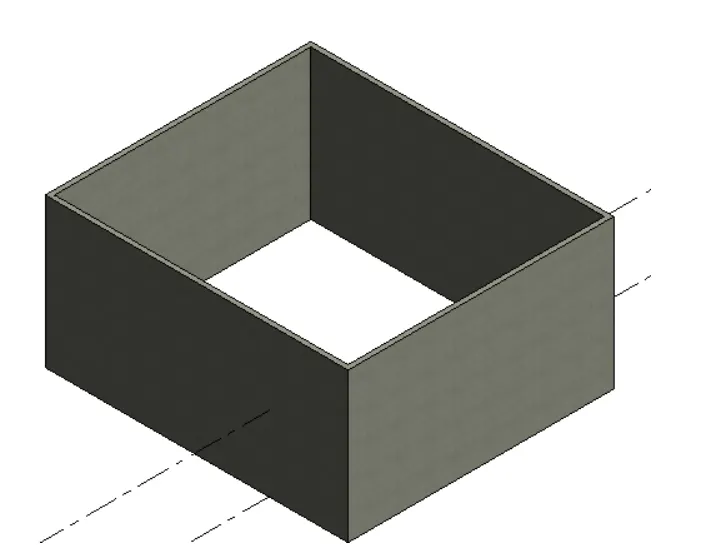
2) now make the sun on and off to view shadings
3) sun path off view
4) sun path view is on
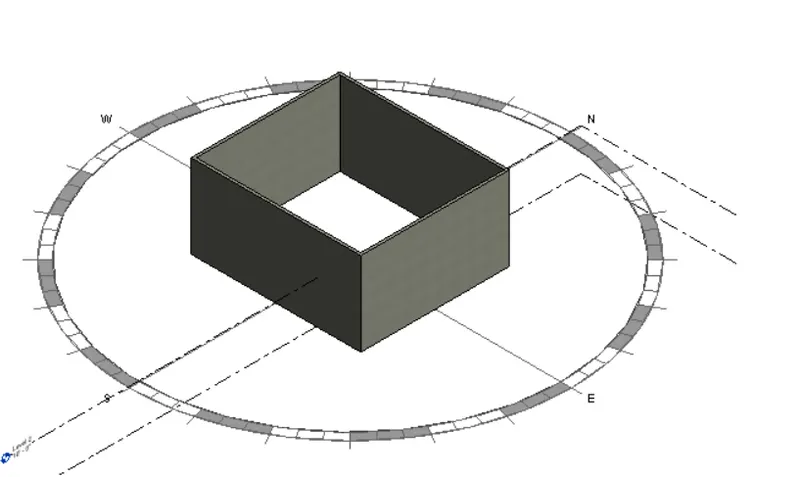
10.
AIM:Use the Manage toolbar to enter project settings, project name, and project issue date (choose according to your convenience).
PROCEDURE:
1) Go to manage toll bar
2)in this choose the project information
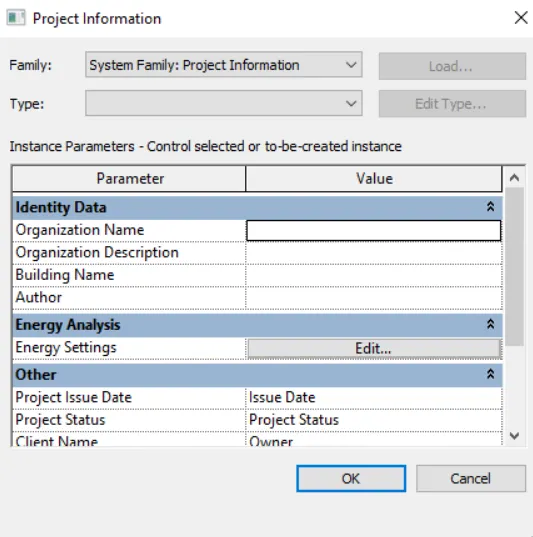
3) now fill the necessary data
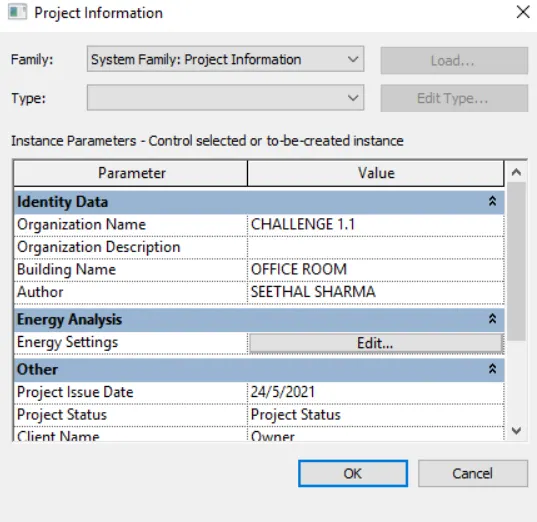
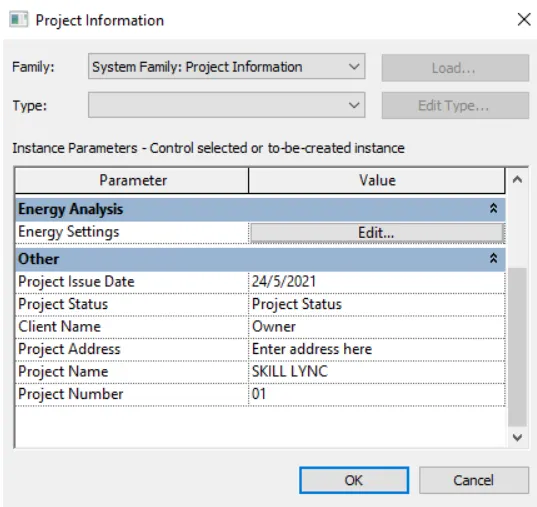
5) now click ok hence compeleted
11.
AIM:What is the Analyze toolbar used in Revit? How it is beneficial for design and modeling
Analyze toolbar is help to create revit models this tool bar consists of many other option which help in load combination boundary conditions load case adjustment and support systems are one amoung to tool under this analyze tool bar where we got to adjustment the model is added support to present models it also verifies the analytical and physical model for consistency
space sepration space naming space tagging also option availble assinging the names and number the architectural rooms colour fills energy optimization are the tools which helps to know how far the present model of eco friendly and economical
12.
AIM: What are the links that Revit supports to be linked to the model
1) link revit: link one revit model to other or the current revit project
2) link cad: link cad files to present revit project
3) link ifc: link an ifc files to curent project for the imformation that is required for additonal design work
4) link topography: it link the existing topography to present revit model
5)link image: it allows us to link an image for progressing revit model
6) manage link: it manage the link such as cad mark up the DWF files and the all the bim work is related to present file
7) coordintion model: it link up nwd or nwc file to extract content for revit model
8) dwf markup: it links the markes up dwf files into the present revit project so that we can see markup in the corresponding sheets
9) point cloud: it link a point cloud files to current revit project
13.
AIM: Why do you need the Collaborate tab in Revit? How it supports modeling and its efficiency
1) Multiply revit models can be linked together allowing to work in context
2) when there is a need for collaboration to occur among users who are not in the same geographic location use revit server or revit cloud worksharing
3) enabling worksharing involves creating a master protect model know as central model from an exsting model
4) all user should have their own copy of the central model edit locally in the workspace and synchronize with central to publish changes to the central model so that other user can see their work
REVIT IS REALLY USEFUL FOR MEP ENGINEERS WHO NEED TO COLLBORATE WITH OTHER DISCIPLINES IT SUPPORT THE MODELLING AS:
1) it keeps all parties updated with current project via worksharing backed by revit cloud service
2) it allows key design featuresnto be communicated effectively via visual templates and colour fills
3) it allows the user to divide model into worksets which can be editable or not editable by current user avoid confusions and lesson computing load
4) it allows user define parameters as design progresses to make model wide changes quick and easy