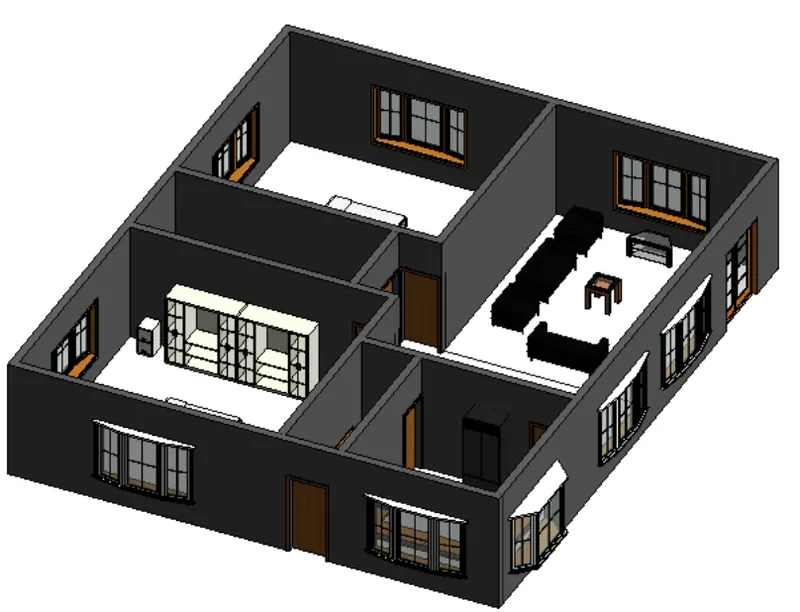
Creating Levels, Grids, Layout and model elements for a residential unit using REVIT
1.AIM:What is BIM? Summarize the features of BIM and benefits of using BIM over 2D CAD tools.
Building information modelling(BIM) is the holstic process of creating and managing information for a built asset.Based on an intelligent model and enabled bya cloud platform,BIM integrates structured, multidisciplinary data to produce a digital representation of an asset acroos its lifecycle , fro planning and design to construction and operations.
BIM is a virtual represetation of the physical and functional characteristics of a faciliy frominception onwards. As such it serves as a share information respository for collaboration throughout a facility's lifecycle.
BIM consists mainly of 3D modeling concepts in addiotion to information database techonology and interoperable software in a desktop computer environment that architects enginees and constractors can use to design a facility and simulate construction.This technology allows members of the project team the generate a virtual model of the structure and all of its systems in 3D and to be able to share that information with each other.It typically uses three-dimensional,dynamic bulding modelling software to manage and increase productivity in building design and construction.
Benefits of using BIM over the 2D CAD tools:
*BIM offers a more complete representation of a buildings design.it takes more that the building's core componnets into account.for example,BIM alllows you to design electrical and HVAC systems ,as well as the buildingitself.This means the project team can be take full advantage of teh space and resource available.
*BIM pulls your documents to a single database.Several people can work on the same model and save it to cloud.
This allows for instant updates,so you won't waste time searching for documents when you need to make changes.
*A BIM model will allow you to prefabricate important components ahead of time.you won't have to adjust them based on the building design.Instead such components are part of the initial design.
*You can provide much more to the clients using BIM than you could with CAD.The models you give to your clients update constantly as you work on your projects.Your clients can check in any time ,which leads to quicker approval for milestone and more effiicient project development.
*Resource tracking is a key components of BIM models.You will be able to figure out how much of each resources you need to during the design stage.This improves the flow and efficiency of construction.
2.AIM:
Understand the concept of Categories, Families, Elements, Instances in Revit. Go to Insert Tab, choose a category. Pick a family and element. Understand the instances and insert it to Revit model
STEP1:
1.Open the revit and create an architectural template and save the files
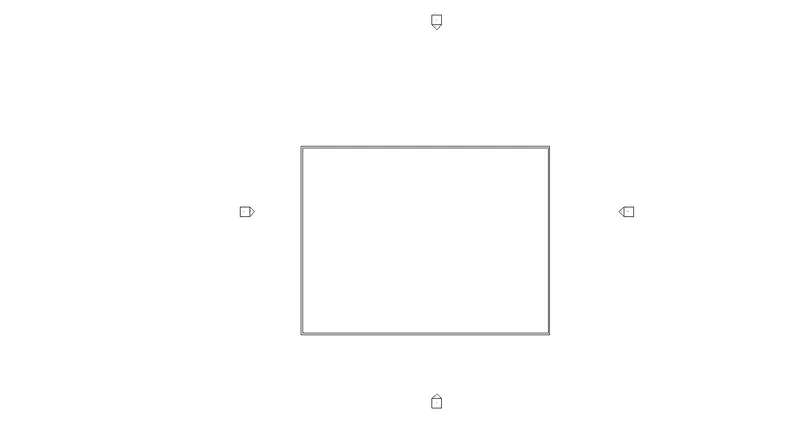
STEP2:
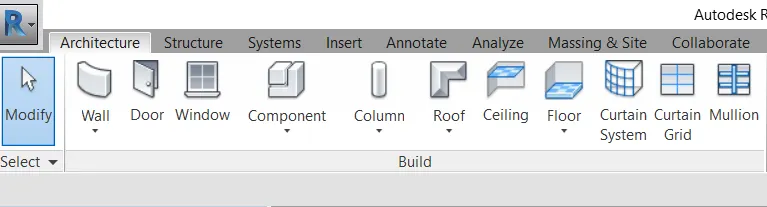
2.now go to the architecture tab of the ribbon and choose the wall
3. then create a room using the wall option as shown below
STEP3:
4. now the next step is to insert a door which will explain different hierachy in revit
5. so far this go to door option of the architecture tab
6. here the door in this category
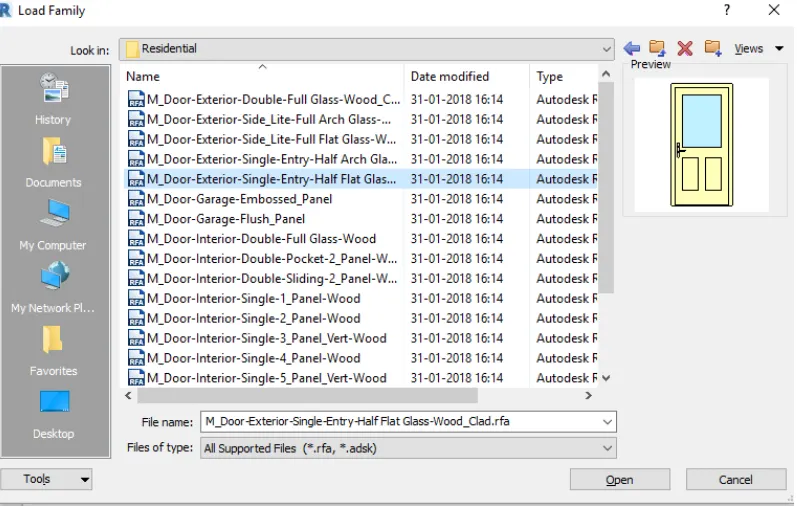
7.then go to load family
STEP4:
8.in that select the door category
9. choose the family of your choice
10. then choose the family of your choice
RESULT:
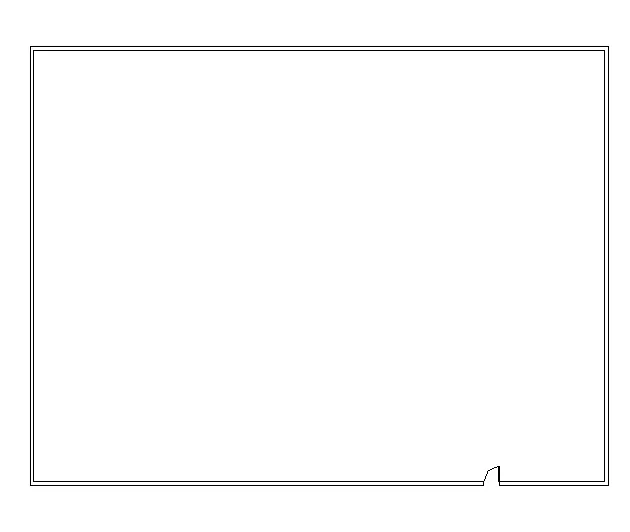
3.AIM:
To set up a project
PROCEDURE:
1. open the revit
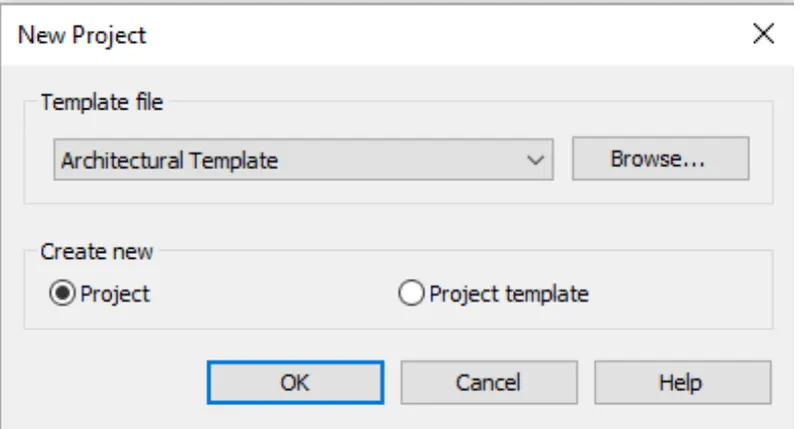
2. take new archiectural template
3. now save the files with appropriate name
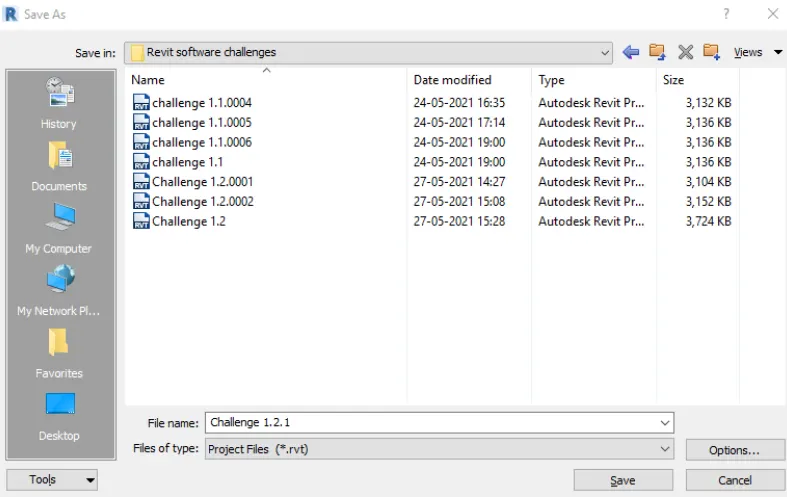
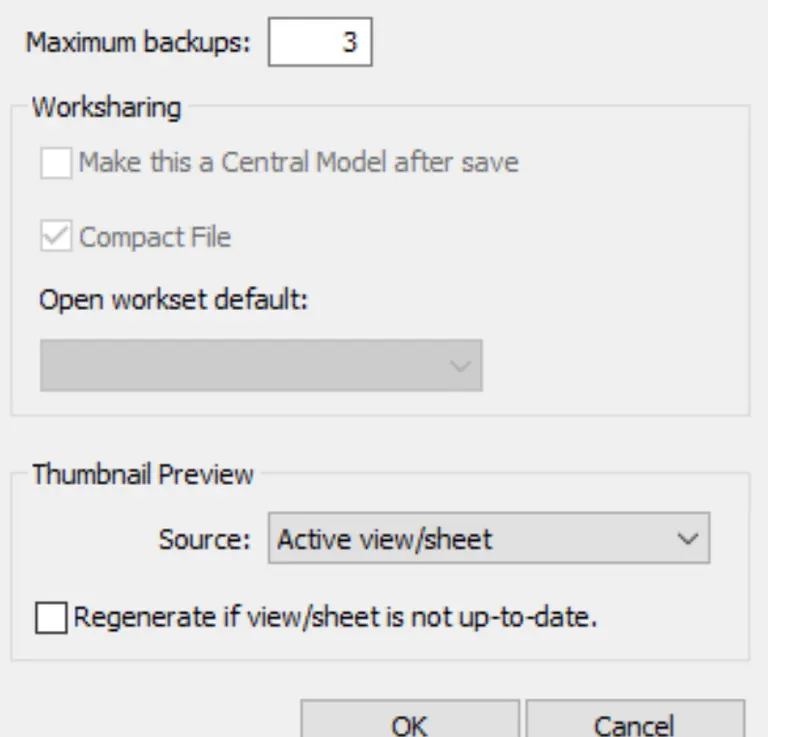
4. now go the option in the above shown in the windows to set the backup and set it to 3
5. now we have to set up the project units
6. so far this type un change the units to meters
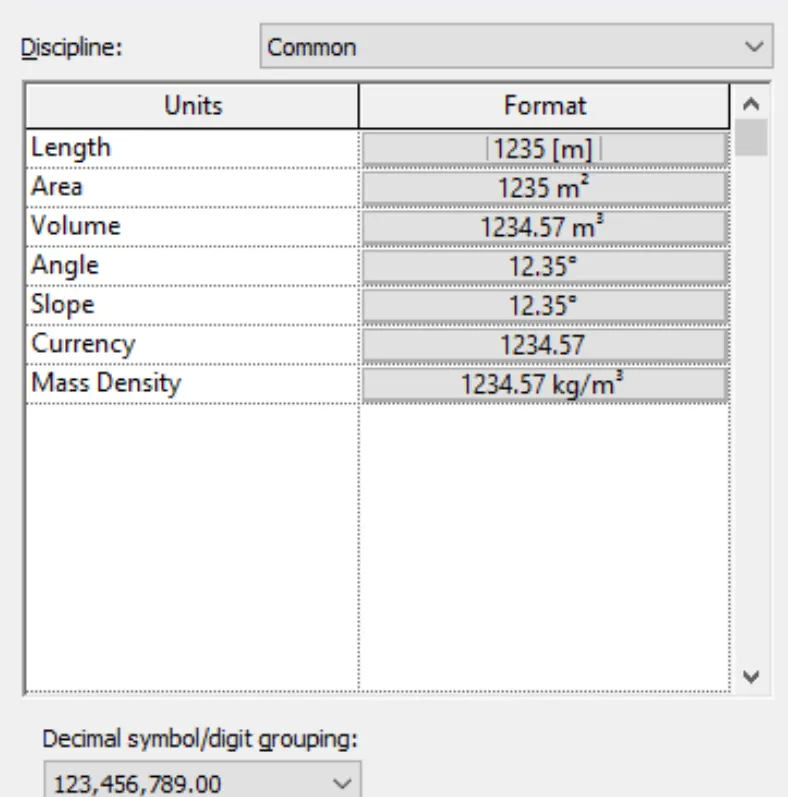
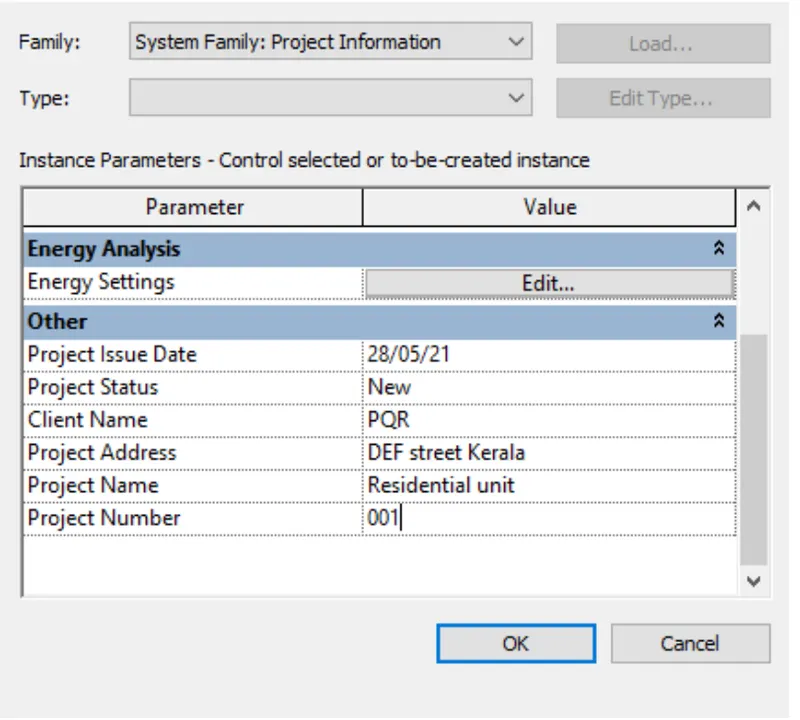
6. now the next things to be done to set the project information
7.for this go to the manage tab and ribbon and in that select project information
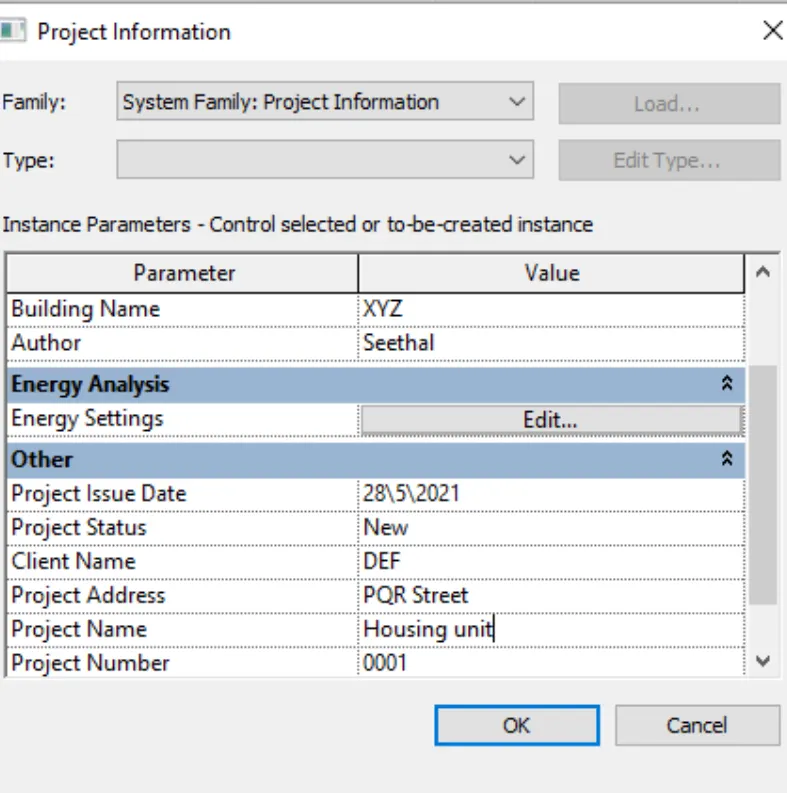
8.click ok and the project setting is compeleted
4.AIM:
Understand the concept of Levels and Grids. Follow the naming and conventions. Create the following Levels: ( Convert to metric equivalents if metric is your units)
Ground Floor @ 0’
First Floor @ 10’
Second Floor @ 20’
Roof @ 30’
PROCEDURE:
1. Open revit file
2. now go to elevation view
3. then change the names of the level
Ground Floor @ 0’
First Floor @ 10’
Second Floor @ 20’
Roof @ 30’
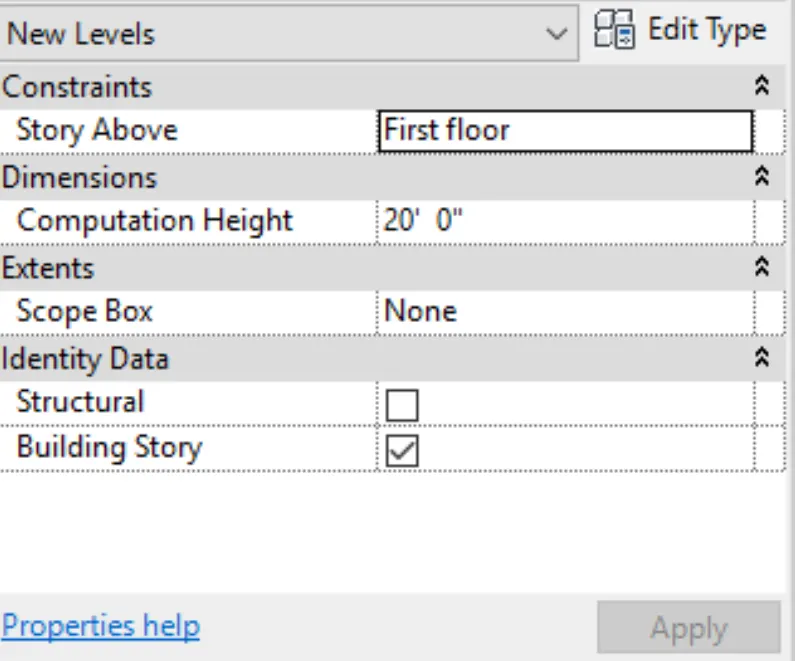
4.now the next step is to create the grids
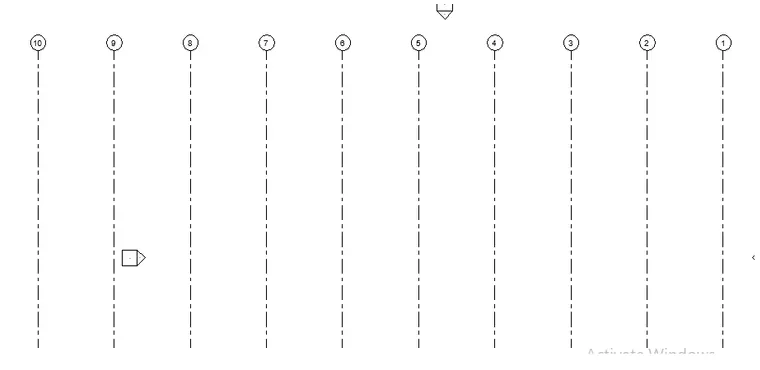
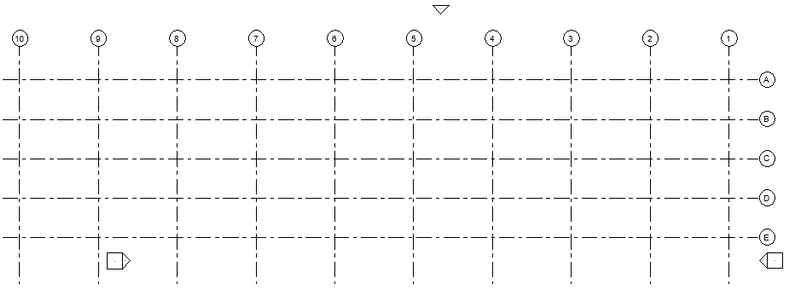
5. again go to the architecturemtab grid now draw the longitudinal grids at a spacing to 20' and starting from the right side and proceeding to left and is numbered from 1 to 10
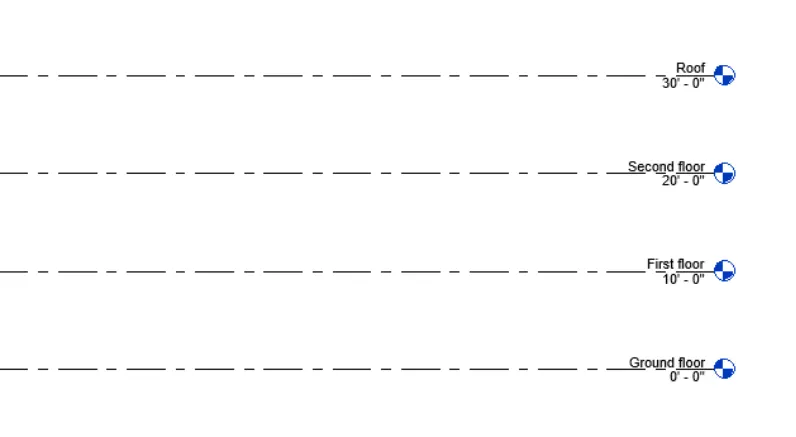
6. now we have to create transverse grids at a spacing of 10' and named as A,B,C D and E
starting the top and proceeding to bottom
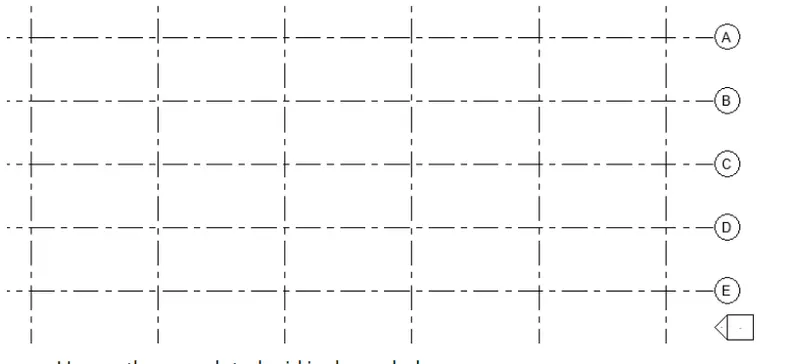
hence completed grid shown below
5.AIM:
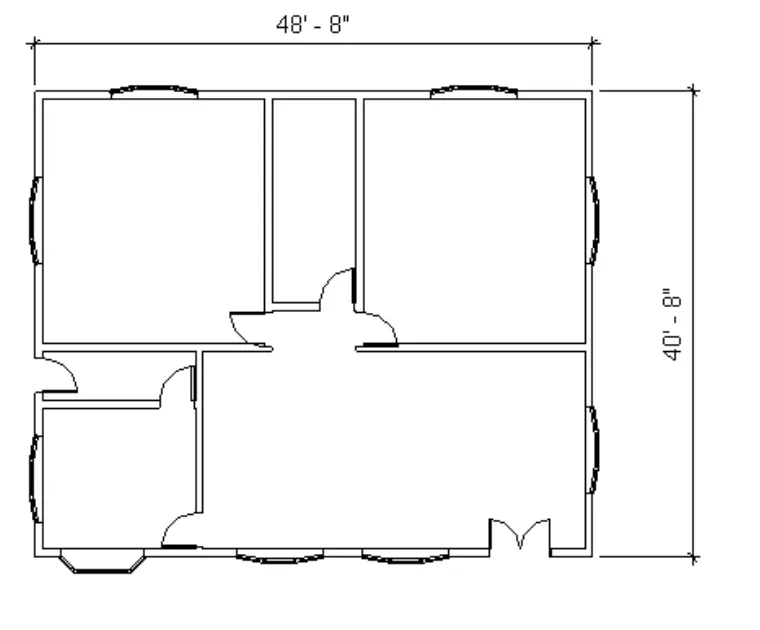
3D modelling of residential unit – From looking at your house / or a place you aspire. Create a conceptual layout of the residential unit. You can measure using a tape or
you can access your residential plan to create a similar layout.
PROCEDURE:
1.Open the revit software
2. create new architectural template for the project
3. now save the files by apropriate name
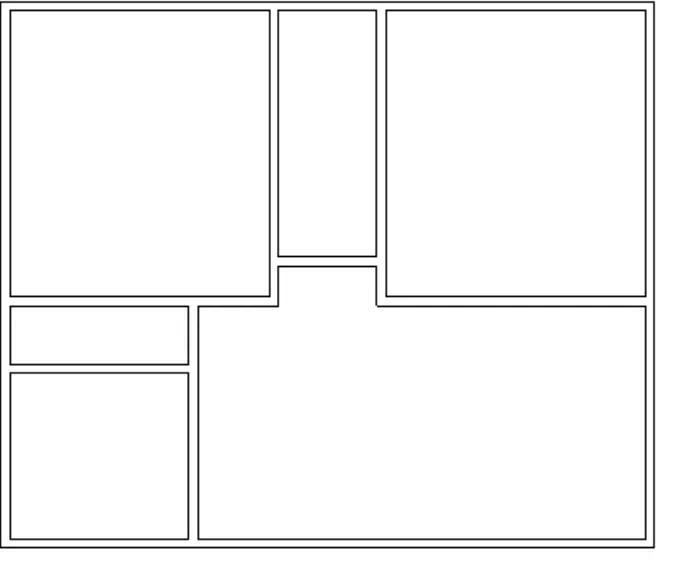
4. now go to architectural tab of the ribbon and choose the wall an create the layout of the plan
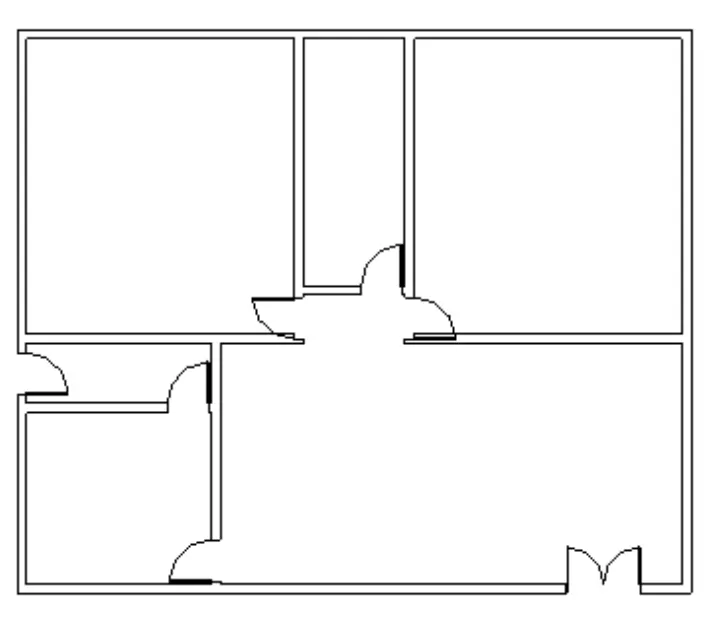
5. again to the architectural tab doors place the doors the required location
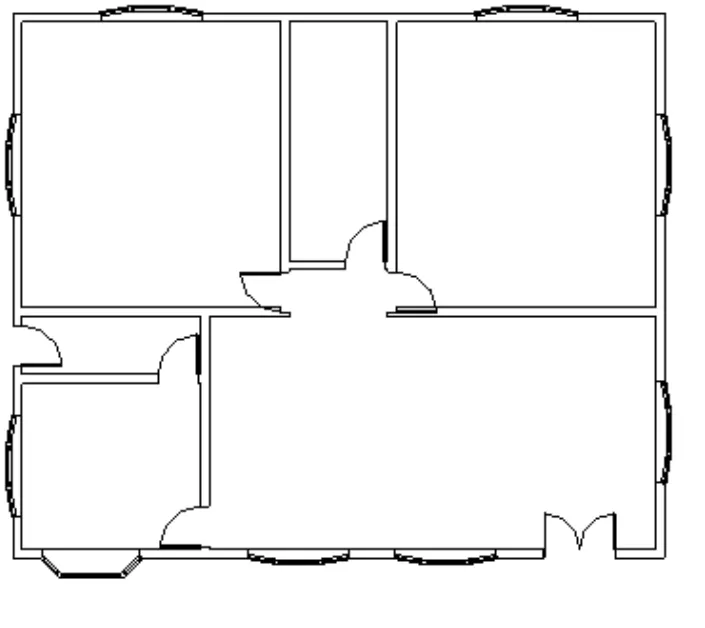
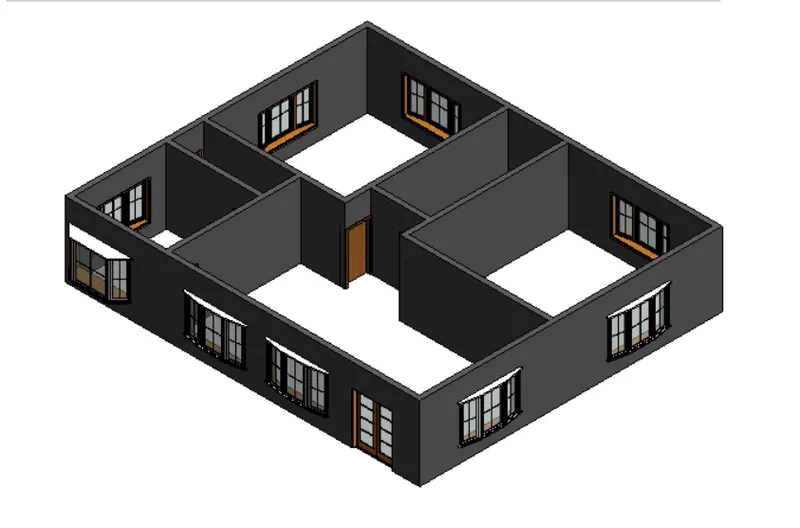
6. now choose the window from the architectural tab of the ribbon and create the windows at the required position
AIM:
In the layout created draft the level of details you are planning to include – Dimensions of room, components you plan to add in the residential unit.
PROCEDURE:
In the layout that is created we have to provide the dimensions so far that go to annotate tab of the ribbon
in the annotate tab go to linear dimension and provide dimension
now go the arcitectural tab room room tag
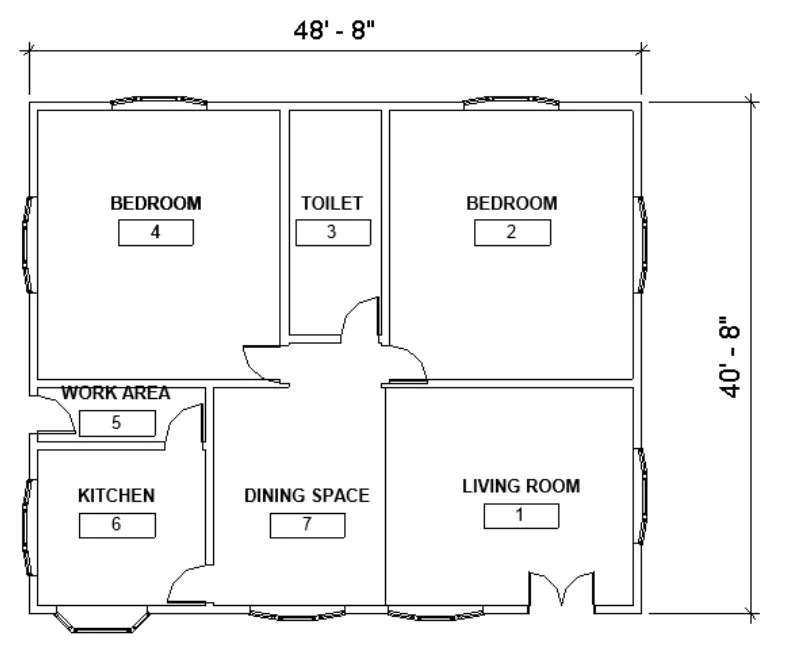
7.AIM:
Identify the residential model elements such as Door, Windows, Tables, Chair, Couch, Bed, Lamps from the library and insert them to the model . Save the project for use
PROCEDURE:
Here we have to place the components in layout created
for that go to the architectural tab components place components load family library and insert them to the model chair
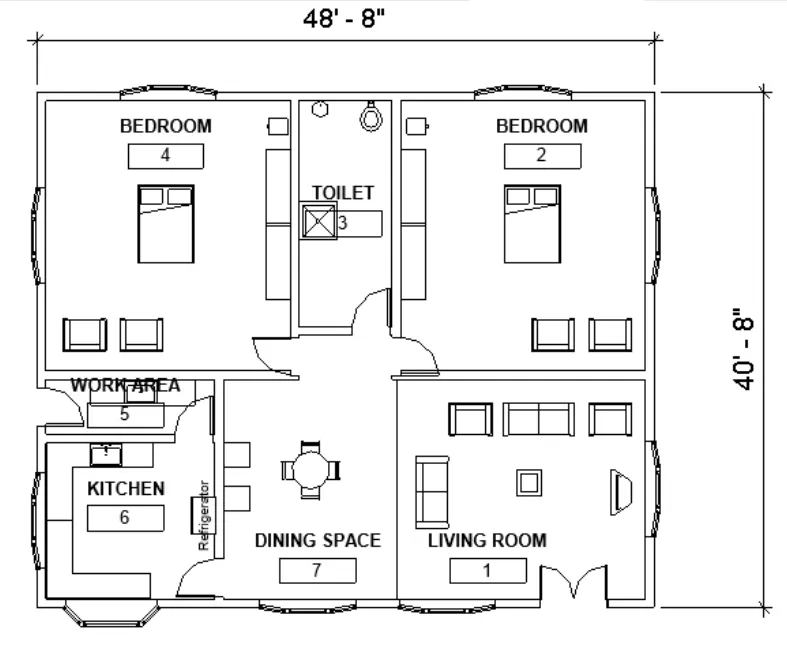
various model elements included are:
dining space, dining table crockery stand
living space 4 sofa 2 tables
bedroom, bed two shelves drawer stand two single sofa
kitchen slab sink and refrigerator
3d view is same is provide