Roof challenge
AIM:
Design of Roof Panel
OBJECTIVE:
- For the Given Roof styling, develop the essential flanges and reinforcements, Provide appropriate dimensions and check for Draft analysis, and submit your Section Inertia report on the 0-Y section.
- Start with the creation of a roof ditch area the tool opening angle is only 3 degrees.
- Do a curvature study on the roof and perform calculations to determine the position of the Bow-roof.
INTRODUCTION:
Roof is not just a styling surface, it provides protection to the vehicle occupants so we need a good structure to the roof. In the roof assembly we have roof rail, roof bow, roof support etc which make the roof stronger.
As a safety point of view roof panel is undergone through varies test in which crush test and roll over test look for the strength of the part. So when designing we have to consider strength as an important point.
Design consideration of roof:
- Visibility criteria
- Head clearance
- Curvature study
- Heat distortion and snow load criteria
- Draft analysis
- Safety parameters
Design of roof:
Inputs Given:
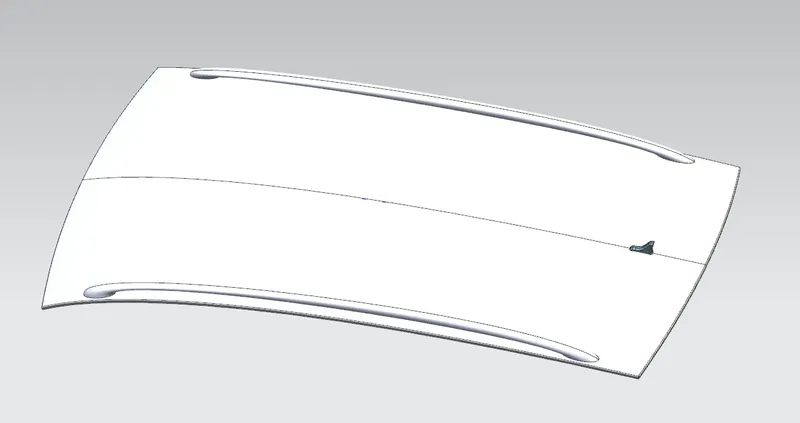
FIG: CLASS A Surface
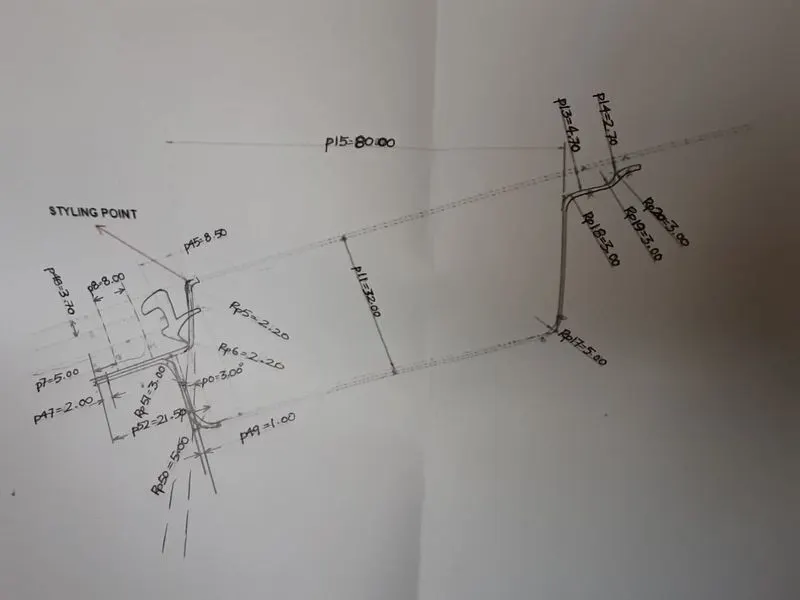
FIG: Master section for Front roof rail
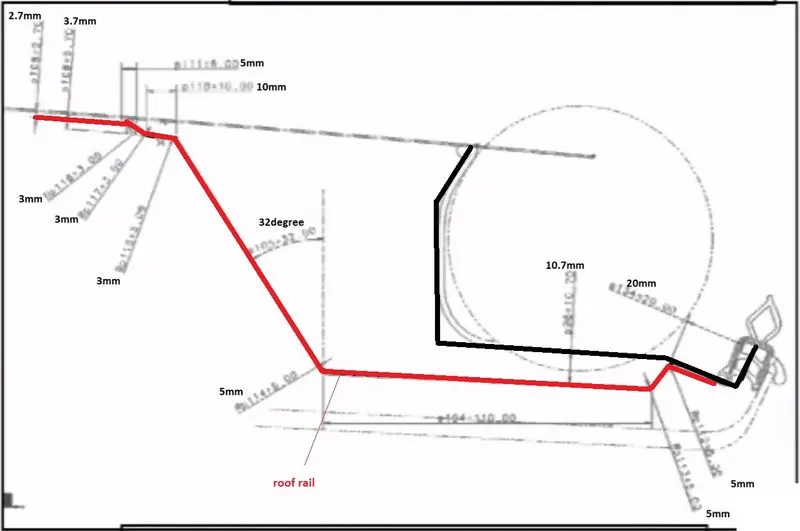
FIG: Master section for Rear roof rail
Roof Panel:
Extracted the roof panel from parent model and created the ditch area according to the master section. Considered the draft angle for the drawing operation, the flange length should be given such a way considering the windshield placement. Introduced Sunroof space, embosses on the panel to increase the strength. Notch design strategy is given for easy weldability.
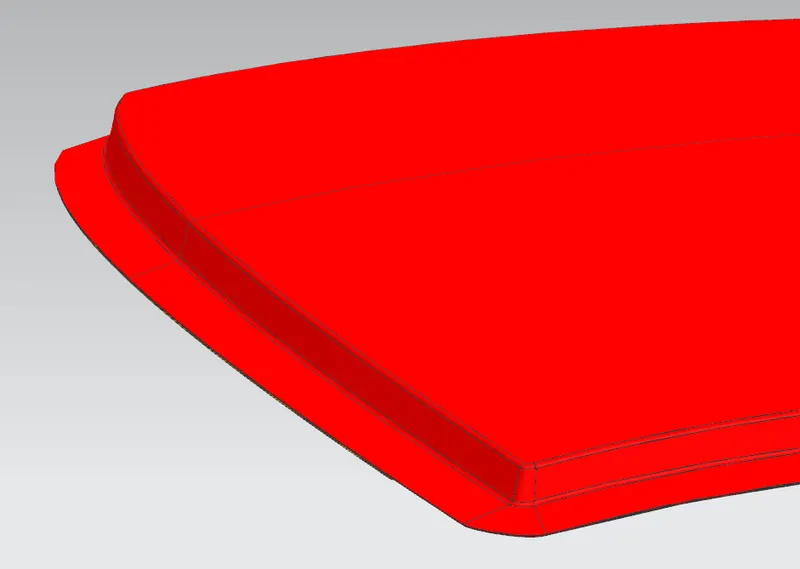
FIG: Ditch Flange
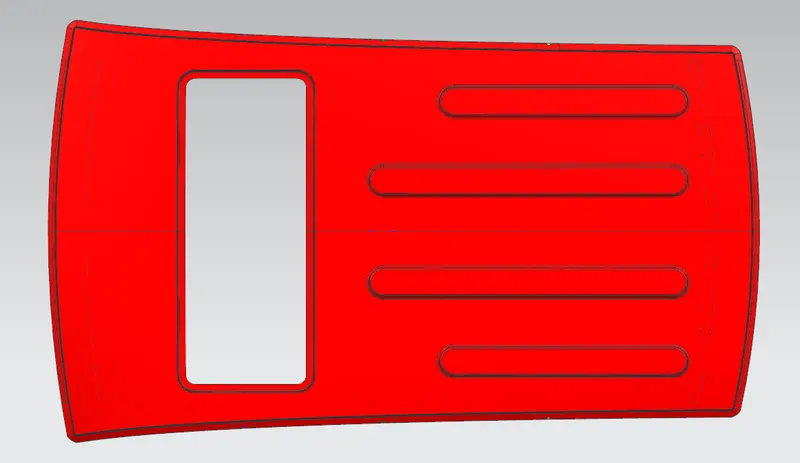
FIG: Roof Panel
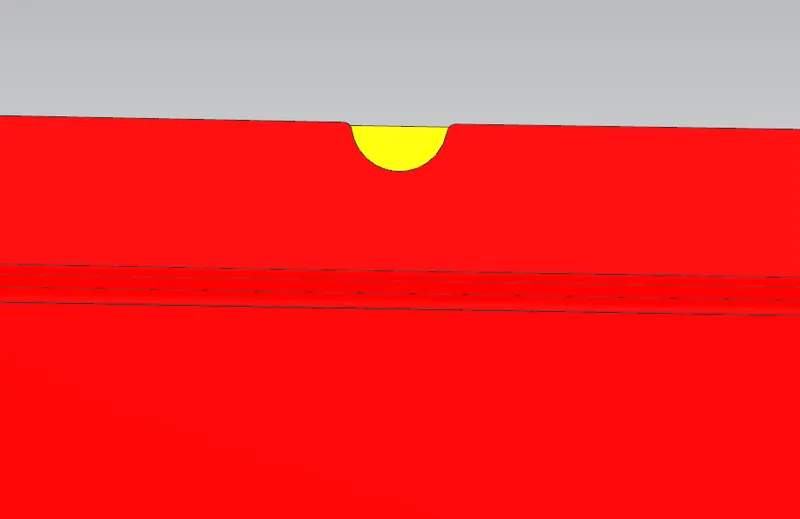
FIG: Notch Design
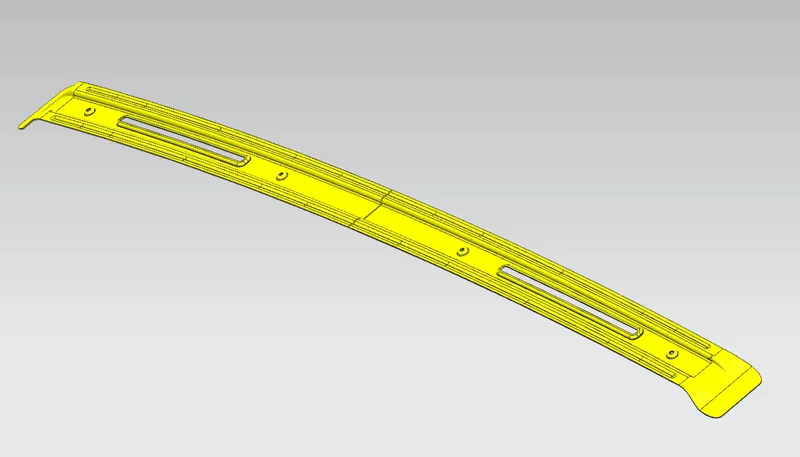
Front Rail:
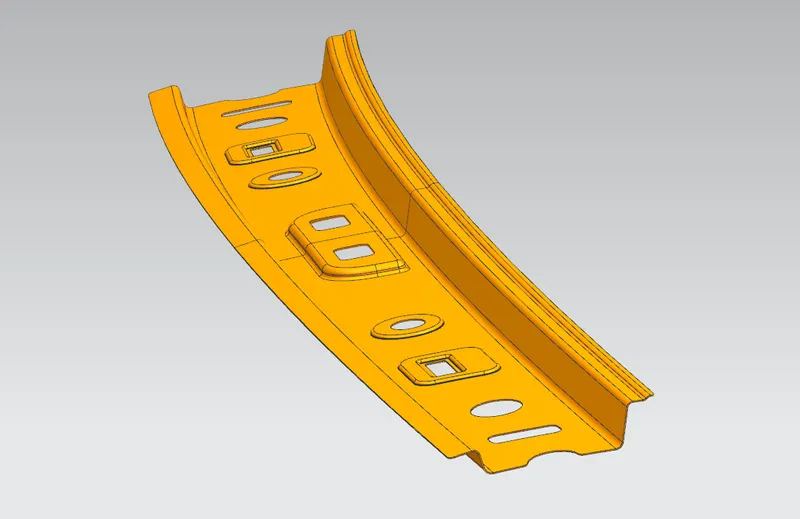
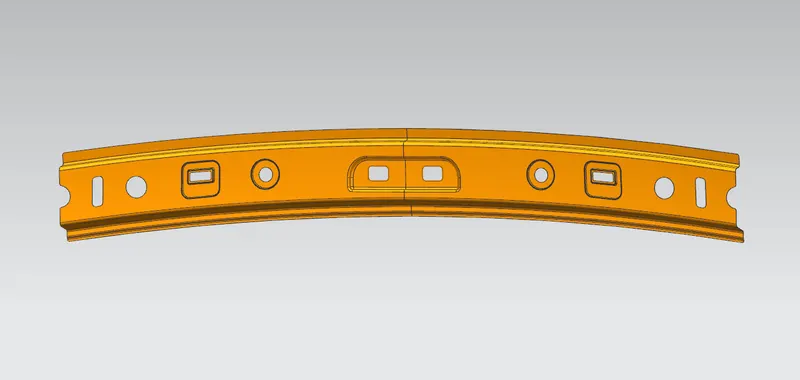
The front roof rail is designed considering the visibility of the driver and headroom clearance. Front rail is a support to the roof panel so it should have good structure and also it should have features to hold the light assembly, rear view mirror etc. The thickness given to the rail is 0.75mm.
Support at Sunroof:
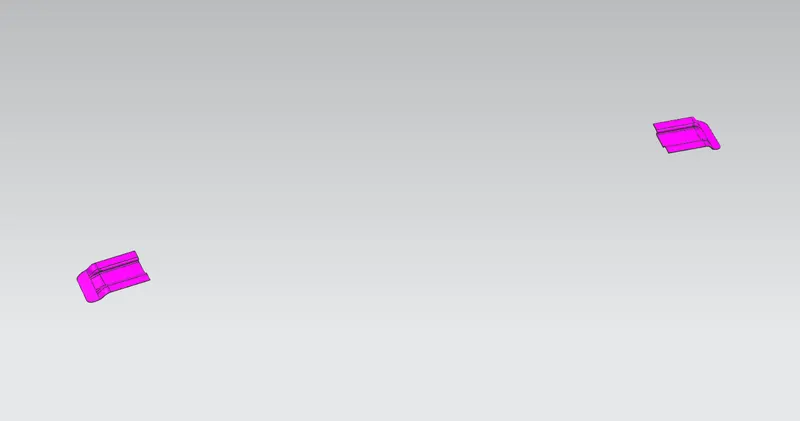
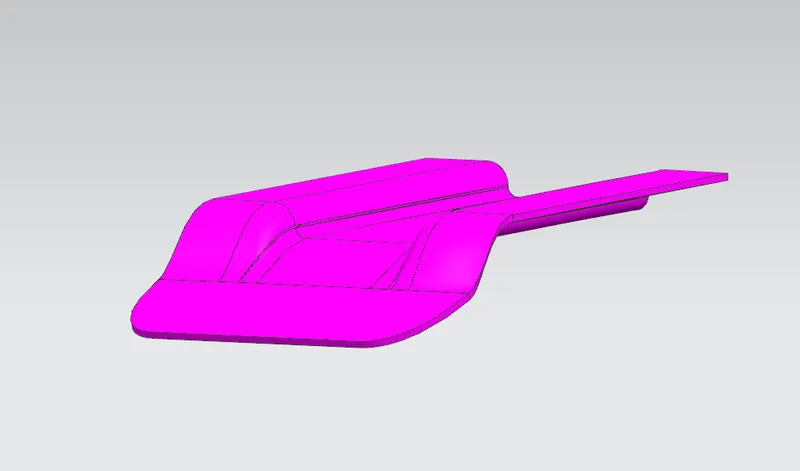
Since the model has sunroof a bow roof is not possible at that position so instead support is given to increase the strength.
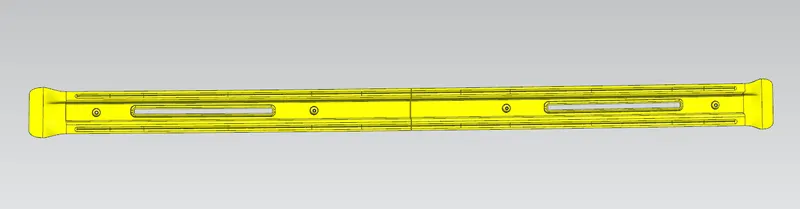
Center Roof Rail:
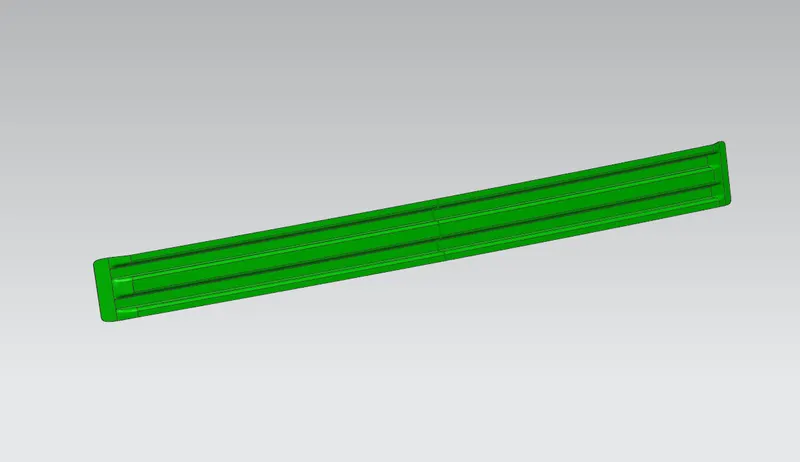
Center roof rail is provided to effectively support the roof at flat area. Roof rail thickness is 0.75mm. Roof rail is attached to the B-Pillar support.
Center roof reinforcement:
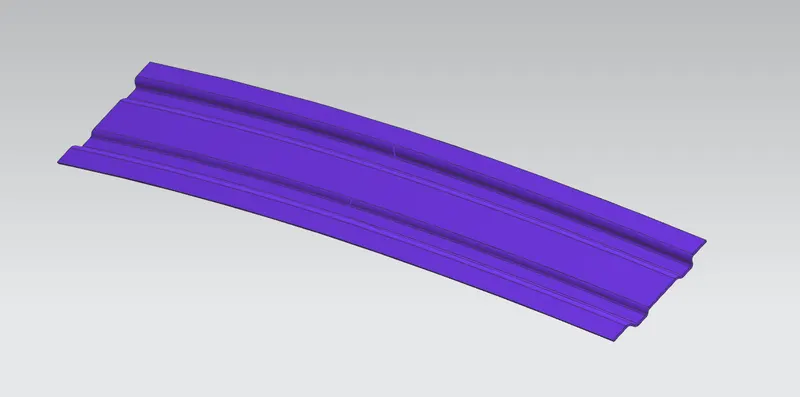
Reinforcement is provided to have more strength. Since there is a portion for sunroof, roof bow cannot be installed at the sunroof area so to increase the strength reinforcement is provided along with center roof rail.
Bow Roof:
The bow roofs gives torsional stiffness and load bearing capacity of the roof structure. The bow roof is positioned based on the curvature of the roof panel. The heat distortion and snow load criteria are checked to analyze the position of the bows.
Rear Rail:
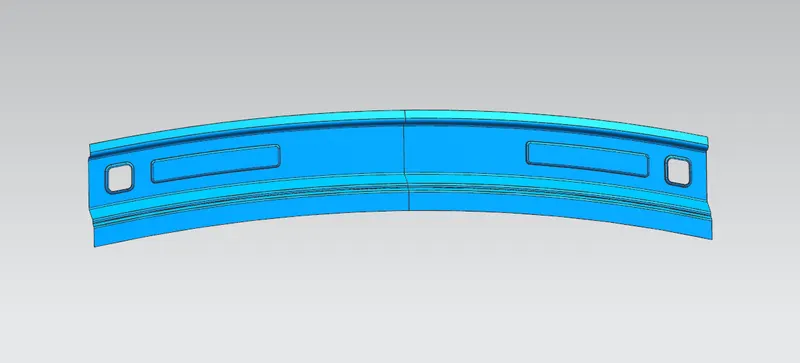
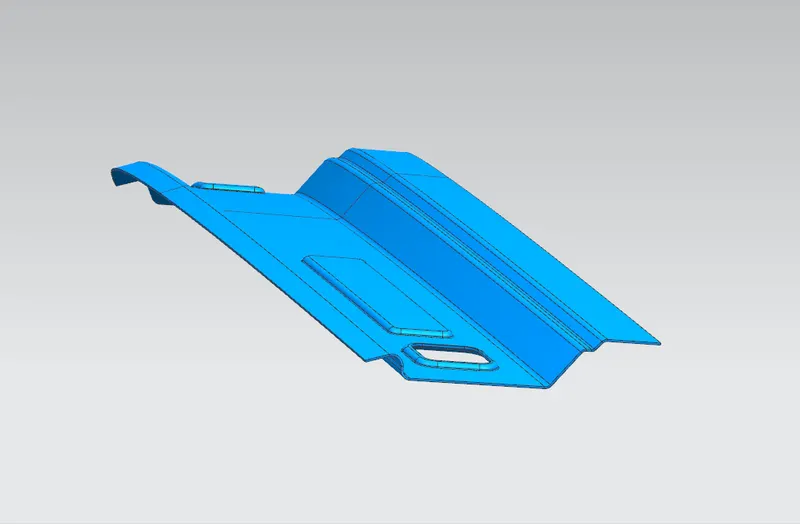
Rear rail is designed according to the master section given. Consider the headroom clearance and also the rear visibility. If there is requirement, lamp holding positions can be given. Thickness of rear rail is given as 0.75mm.
Heat distortion curvature study:
The heat distortion study plays an important role in sheet metal usage. It helps to know about the material condition by looking at the value. If the value is greater than 2.7mm then the structure in not good. For the not good condition change the curvature of the surface or move the bow to different positions.
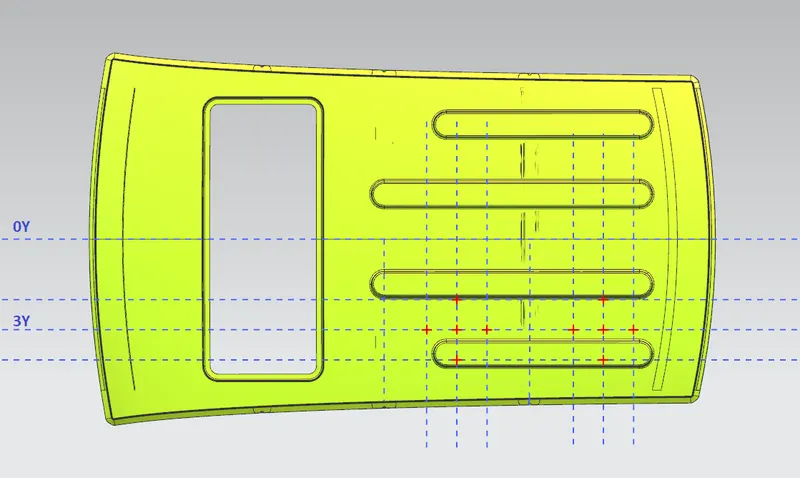
FIG: 3Y AXIS AND INTERSECTION POINTS
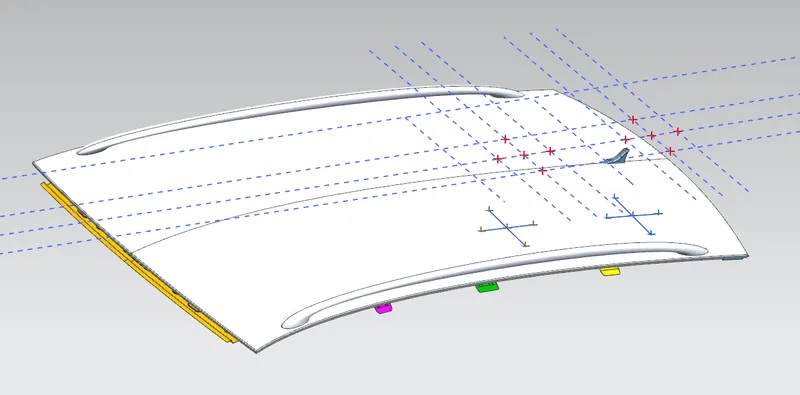
FIG: PROJECTING THE POINTS TO ROOF PANEL
Bow–roof prediction Formula
W = [1.73 x 10^ (-3) x L] + [1.85 x 10^ (-8) x (R^2)/t] + [1.10x10^ (-3) x l] - 2.68
Judgement Condition: OK< 2.7> 3.1
Where
L = Roof Length in X-Direction [mm] (Roof dimension in 0-Y)
R = Roof curvature
R = 2(Rx*Ry)/ (Rx+Ry)
Rx = X curvature
Ry = Y curvature
t = Roof plate thickness [mm]
l = Bow Roof Span [mm]

From the above table it can be concluded that all values of W<2.7. It shows that the position of bow roof are optimum as per design and found ok.
Snow load study:
Snow load study is done to check the durability of the roof to withstand snowfall and the roof goes back to the original shape without any permanent deformation once the load is removed. For snow load study we take 0Y axis check the curvature. The Qr value should be greater than 3.1, then the design is optimized.
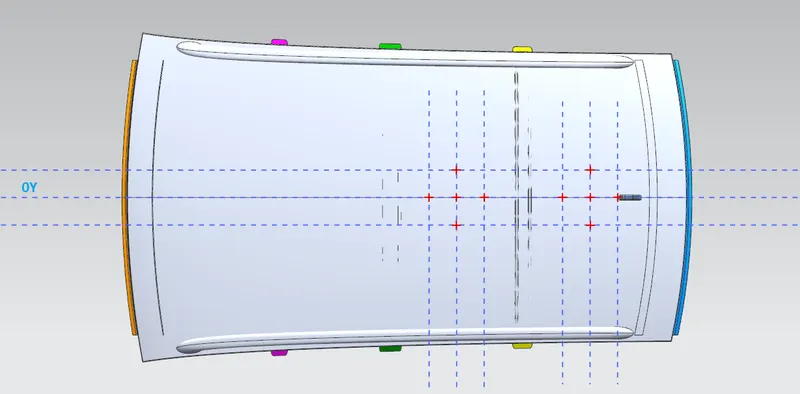
FIG: 0Y AXIS AND INTERSECTION POINT
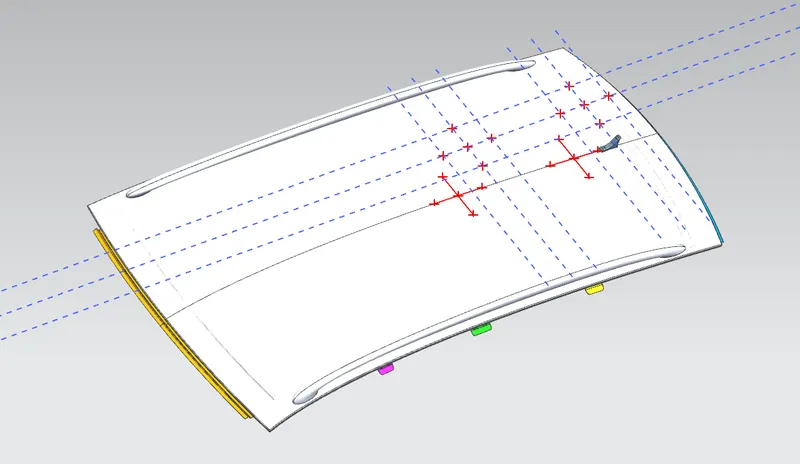
FIG: PROJECTING THE POINT TO THE ROOF PANEL
Snow load Prediction formula
Qr = [Iy x t2] / [α x s x [(Rx + Ry)/2]2 x 10-8]
Where
α = My x Lx2 x 10-12
My = Y(Ly-Y)
Judgement condition = Qr ≥ 3.1
250 ≤ s ≤ 380
t = Roof plate thickness [mm]
Ly = Distance between the front and rear roof Rails on the Vehicle along with 0Y [mm]
Length of Roof panel with the center point between Roof rail Front /Rear as the front and rear reference point.
Lx = Distance between the Left and Right end of the roof on the Roof BOW [mm]
Width of the roof panel exposed on the surface.
Y = Distance from Front Roof Rail to Roof BOW[mm]
s = Distance for which Roof BOW bears divided load [mm]
s = L1/2 + L2/2
Iy = Geometrical moment of inertia of Roof BOW (Y cross-section) [mm4]
Rx = Lateral direction curvature radius of roof panel Y cross-section on Roof BOW [mm]
Roof panel curvature Radius of the Length Lx in Front view
Ry = Longitudinal Direction curvature radius of the Roof panel X cross-section on Roof BOW [mm]
Roof panel X curvature radius of length s in Side view
Moment of inertia calculation:
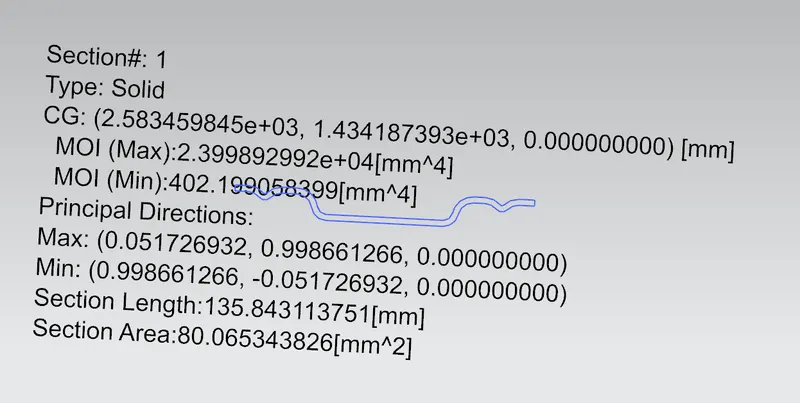
FIG: MOI of Bow
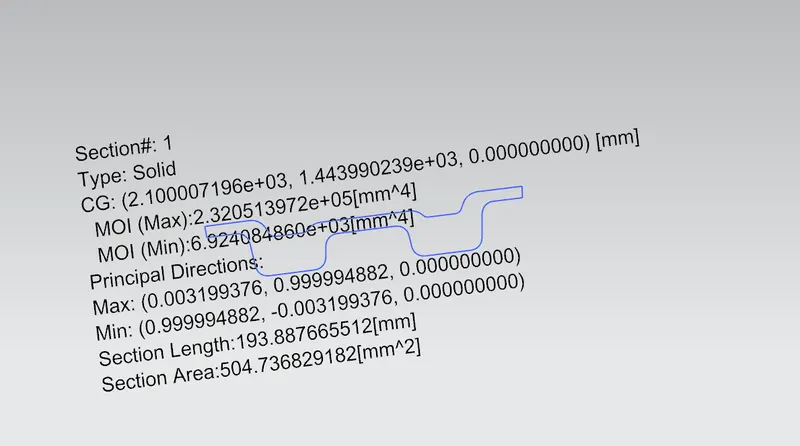
FIG: MOI of Center roof bow and reinforcement

From the above table we can conclude that there is one NG condition. At that NG condition when changing the curvature Rx and Ry we can see the changes in Qr. This correction can be communicated to the Styling team to improve the curvature of the surface.
Draft Analysis:
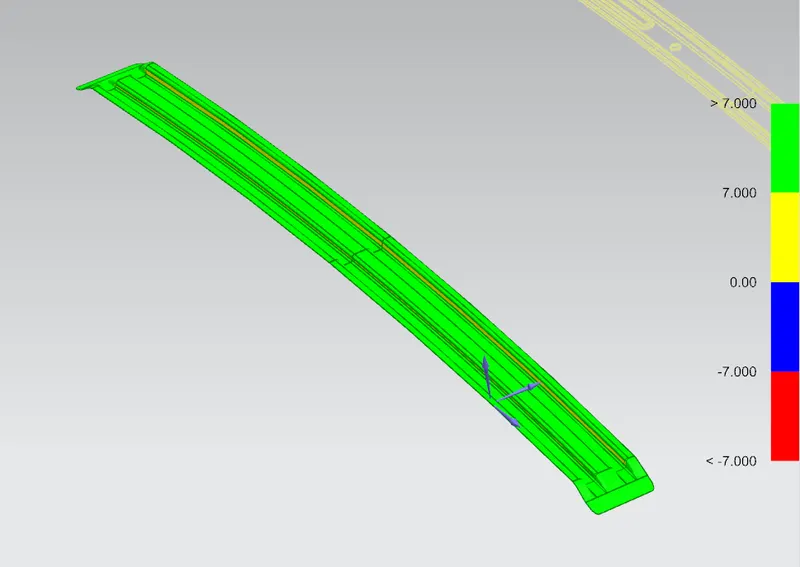
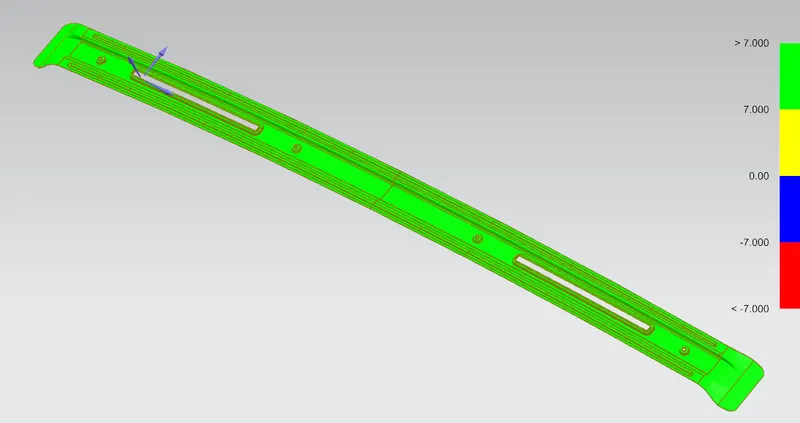
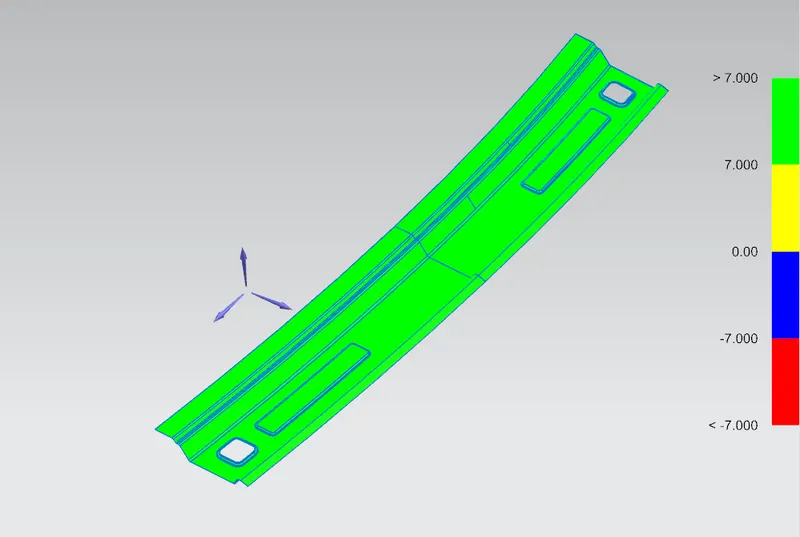
The draft analysis helps the part to manufacture easily. When performing the draft analysis we get a color ranges identifying the zone and from that we can correct the draft angle. Minimum draft given here is 7degree. The green color infer that the face along the tooling direction has positive draft which is more than minimum angle. The yellow color shows the faces along the tooling direction which has an angle between 0 to 7degree.
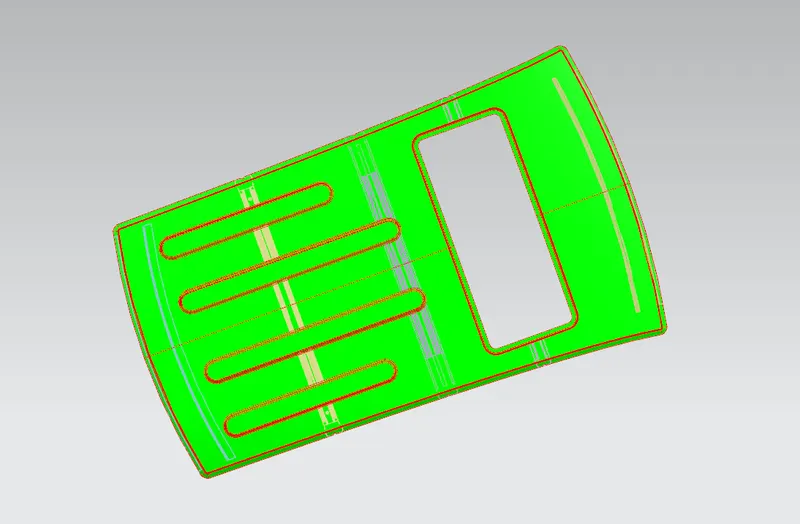
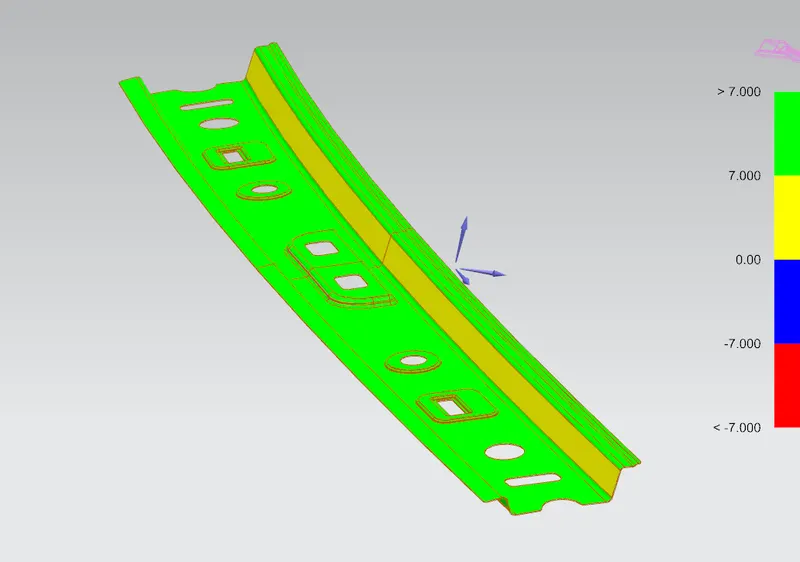
ASSEMBLY VIEW:
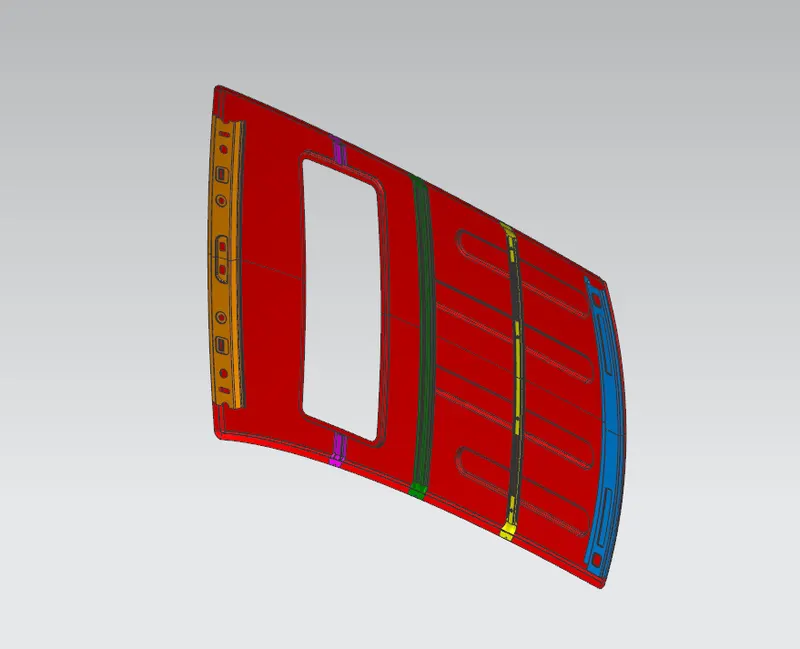
FIG: ISOMETRIC VIEW
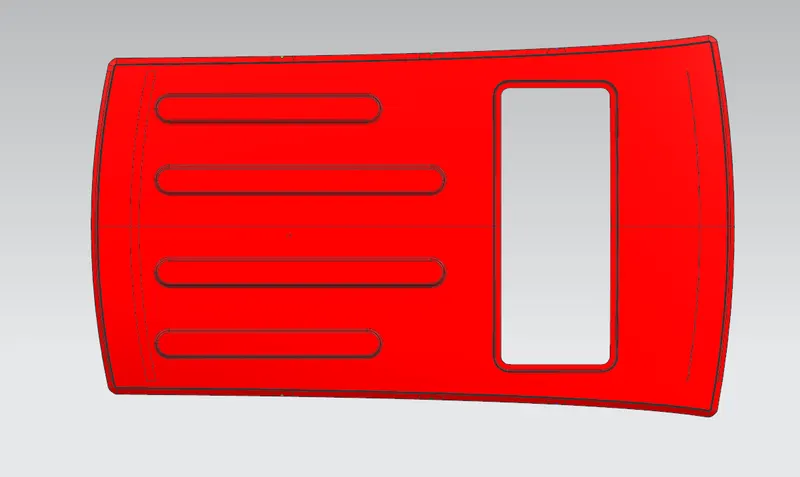
FIG: TOP VIEW
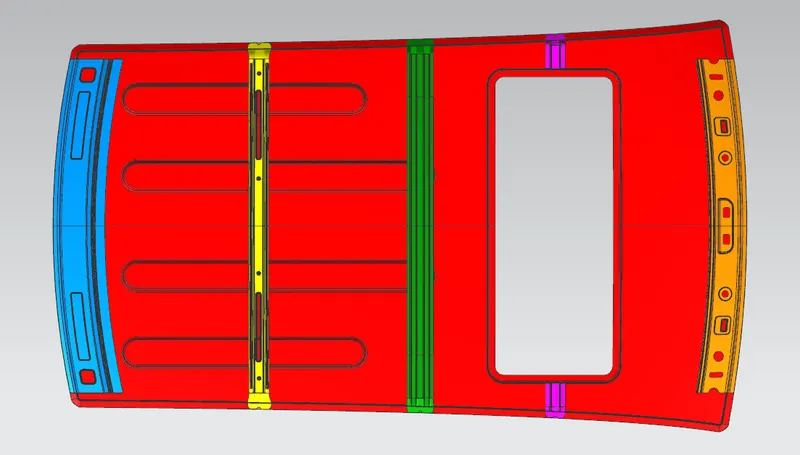
FIG: REAR VIEW