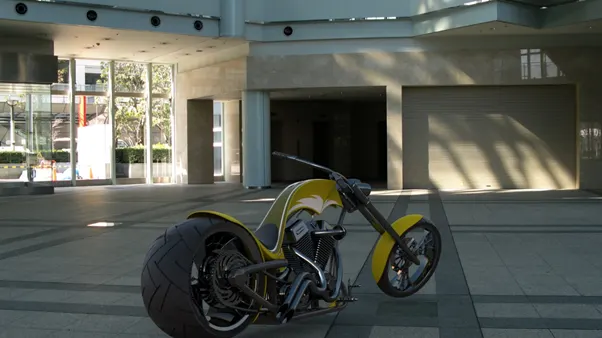
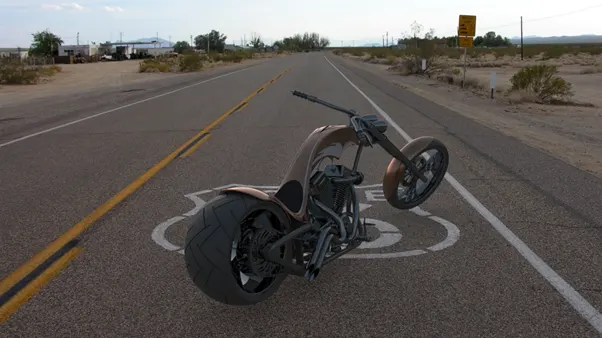
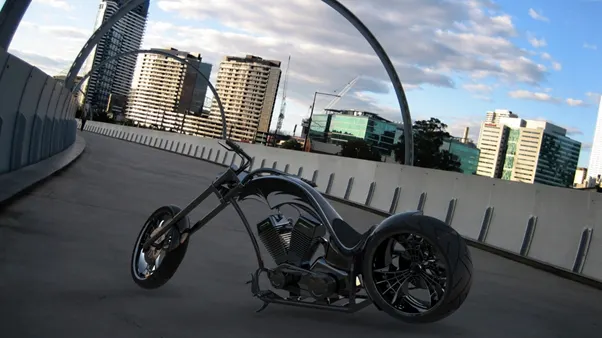
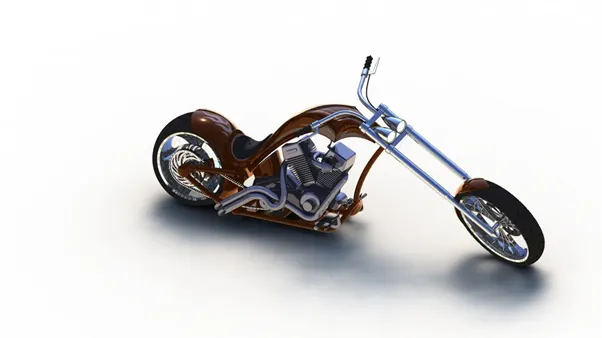
Photo Realistic Rendering
MODELLING OF AMERICAN CHOPPER WITH PROPER CONSTRAINTS ON SOLIDWORKS
OBJECTIVE
- To model the parts of American chopper separately with proper constraints by using the solidworks software.
- To assemble the separately modelled parts of chopper by applying appropriate mates.
- To apply attractive decals and renders.
- To get the realistic view of the chopper with the help of photoview 360.
- To learn the solidworks visualization software for the rendering of the chopper.
INTRODUCTION
This project is about the modelling of the American chopper by using the solidworks software. By working on this project we learned various design aspects. We created the componets separately then assembled them with proper mates resulting in the final chopper. We also added some visual graphics known as decals. Rendering is carried out by applying proper lights and cameras in the solidworks visualization software.
We designed the following componets and then assembled them.
- Chassis
- Engine followed by the exhaust
- Front and Rear wheels with caliper and sprocket respectively
- Front and rear fender
- Oil tank
- Chain and transmission belt
- Kickstand and foot pedal
Design Methodology
Process:-Modelling the parts, assembly of the parts followed by rendering.
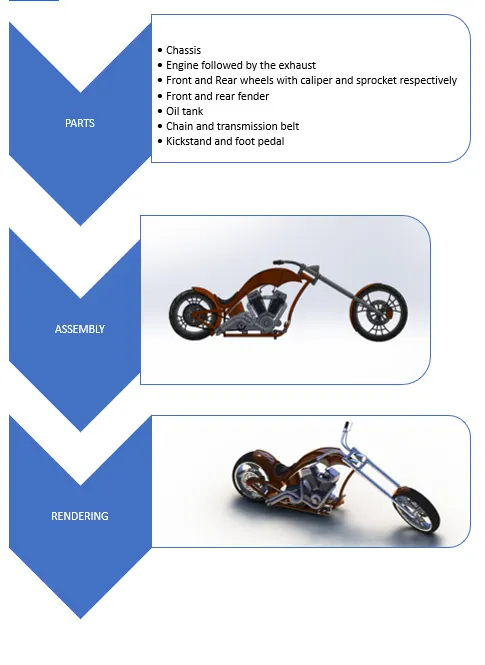
Tools/features used to model the parts are as follows:-
- Extrude boss
- Extrude cut
- Linear pattern
- Projected curve
- Reference geometry
- Fillet
- Shell
- Knit
- Mate
- Mirror
- Revolve boss
- Reference plane
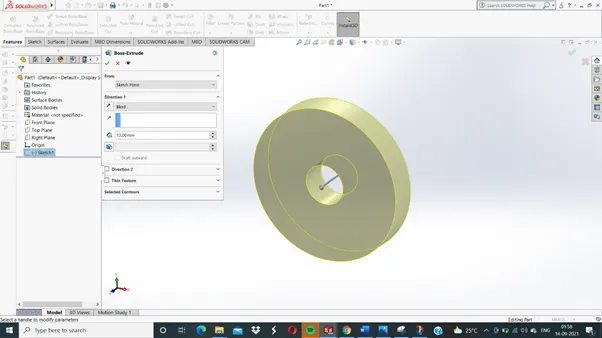
1. Extrude boss:- This is the most used feature in solidworks. We can convert a 2D sketch into a solid geometry by using this feature. We also have the option to adjust the start and end position of solid geometry according to our requirement. We can add the dimensions to both the ends I.E. from midplane, vertex, etc.
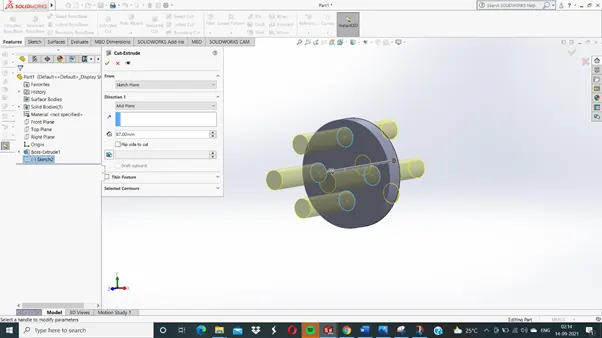
2. Extruded cut
As the name suggests it is a part removing feature. We can cut the part by sketching a closed contour over it. This feature is mostly used to bore the holes in the solids.
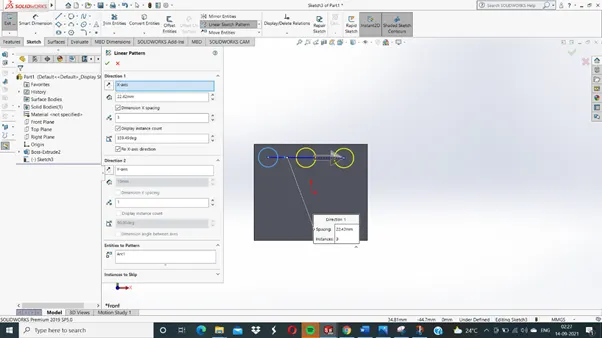
3. Linear pattern
This is a feature which saves a lot of time by patterning a desired sequence of sketches. This feature allows us to choose the path of the pattern to be done. Spacing and angles can also be applied to the pattern.
4.Projected curve
This feature can be used to project a sketched curve onto a model face to create a 3D curve. It also allows us to create multiple closed or open-contour projected curves from a single sketch.
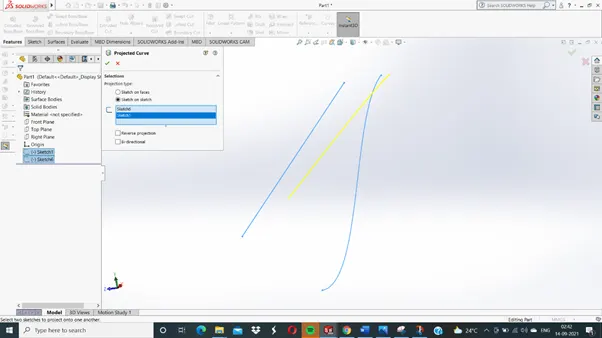
5. Reference Plane
This features allows us to sketch on a surface that is not normal to the other planes. In this feature we create a plane on a required surface and can start sketching on the surface.
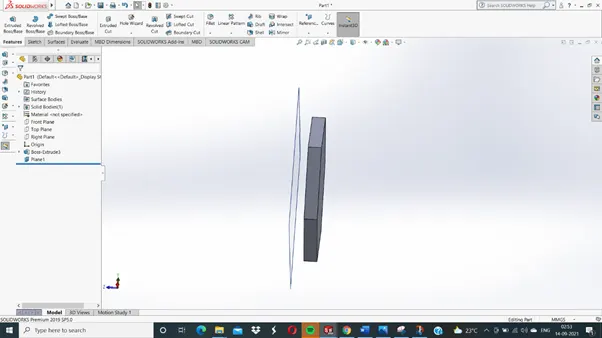
6. Fillet
This feature is used to give a smooth rounded looking shape to the sharp edges and corners of the models. According to the fillet radius we input, the appearance changes so as the material to be removed.
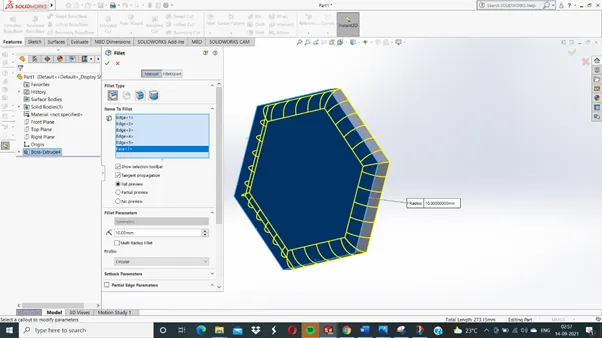
7. Knit
This feature is used to combine the two different surfaces into one.
8. Shell
This tools lets us know the inside geometry of a structure. It helps us to determine whether the structure is hollow or a solid body.
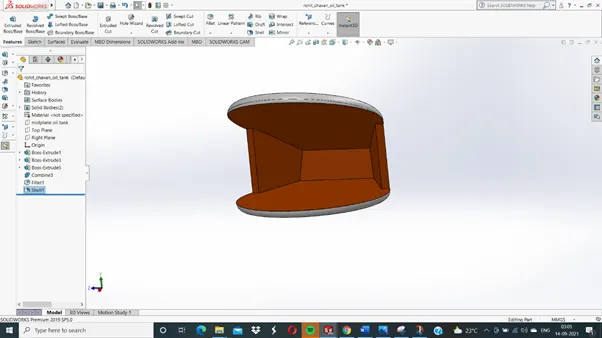
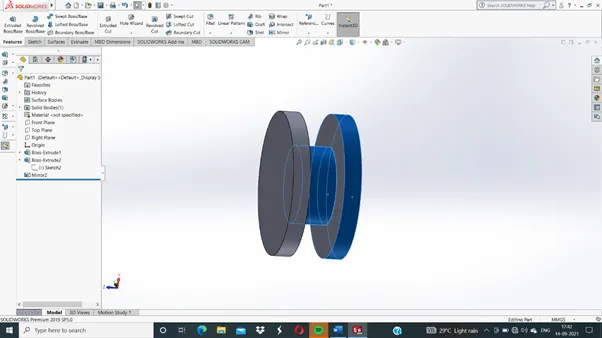
9.Mirror
This is a very useful and a time saving tool in solidworks . This feature is used to create a mirrored part of the original part. It is a time saving tool in case of creating a body of same dimension and size.
10. Revovle boss
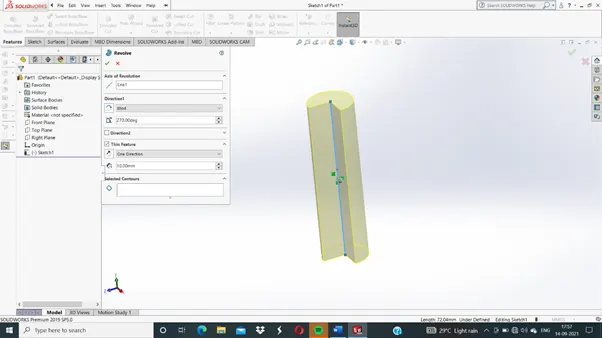
This feature allows us to draw a circular shaped pattern about an axis. By selecting axis of a sketch it adds a round material by revolving around that axis.
As we have learned about the features used to create all the parts lets now know separately about the features that are used for a specific part modelling.
1. Transmission belt
A belt is a loop of flexible material used to link two or more rotating shafts mechanically, most often parallel. Belts may be used as a source of motion, to transmit power efficiently or to track relative movement.
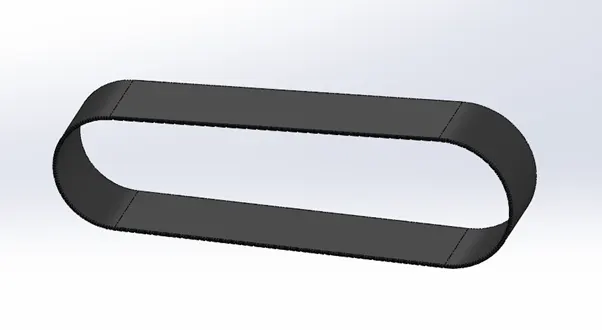
Features used to create the transmission belts:-
- Sketch
- Extrude
- Offset
- Fillet
- Appearance
2. Kickstand
The kickstand is a device used to keep the bike in up-right position. It is a metal piece that flips down to touch the ground and provide support.
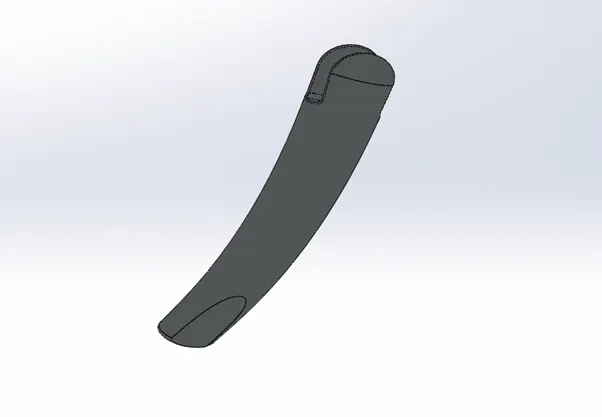
Features used to create the kick stand:-
- 2D sketch
- Ellipse
- Spline
- Pierce
- Loft
- Cut extrude
- Boss extrudes
- Split
3. Front Fender
The fender is a part of automobiles that covers the wheel. To model this fender we start from making a two 3 point arcs and joining them by line command. Then draw a construction line for the reference of the revolve command . Finally revolve about the construction line to get the render shape.
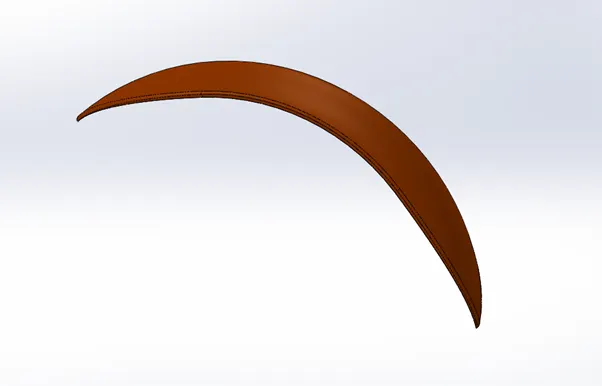
Features used :-
- 2D- sketch
- 3 point arc
- Offset
- Extend
- Trim
- Revolve
- Spline
- Fillet
4. Rear fender
The procedure is exactly same as that of front fender except that of size.
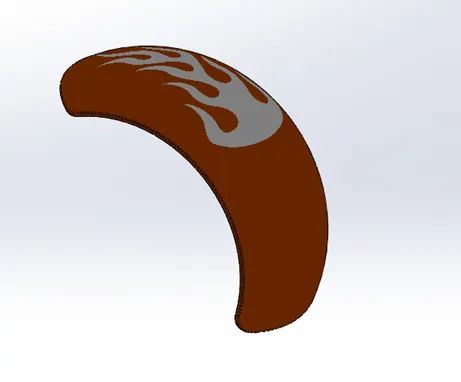
Features used :-
- Sketch
- 3 point arc
- Extend
- Trim
- Revolve
- Spline
- Fillet
- Shell
5. Oil tank
An oil tank is a safe container for flammable fluids . First we start by drawing a single horizontal line . Then we draw two vertical lines from the end points of the first line. Then connecting these horizontal lines by 3 point arc . Finally extruding the sketch we get the model. We apply the shell feature so as to make the model hollow.
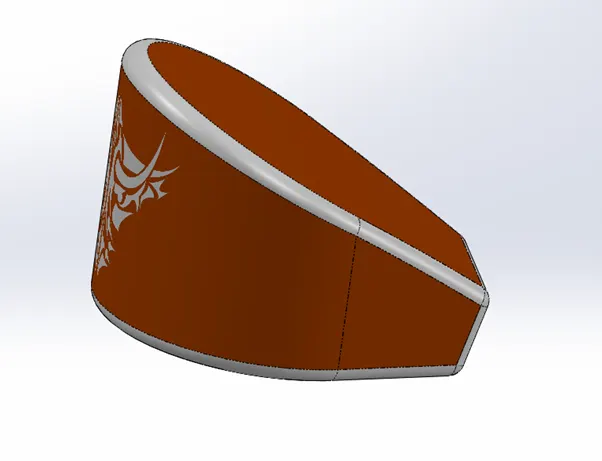
Features used-:
- Lines
- 3 point arc
- Boss extrude
- Combine
- Fillet
- Shell
6. Chain link
The chain drive is a mechanism to transfer power from one place to another, similar to a transmission belt. First start sketching on the midplane by drawing two circles and connecting them. After that in the same plane draw the two chain links and save it as blocks. Then using insert block tool add the links and extrude them. Then to copy the parts through the lines use curve driven pattern tool and then select the lines needed. After that select all the pins parts from the solid bodies sub menu and add it to a folder. Then using the mirror option create the joints on other side of the plane too.
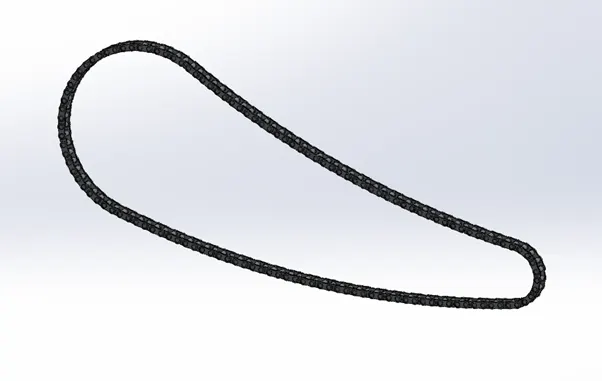
Features used :-
- 2D sketch
- Circles
- 3 point arc
- Slot
- Block
- Fillet
- Curve pattern
- Mirror
7. Pedal
A pedal is a model mounted on the sides of the chopper to support the foot.
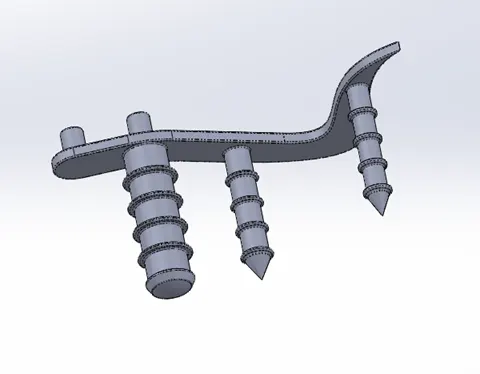
Features used to create the pedal are:-
- Sketch
- Lines
- Circles
- Fillet
- Revolve
- Dome
- Chamfer
- Linear pattern
8. Front Wheel
A wheel is a circular component that is intended to rotate on an axle bearing. Initially, by sketching on the front plane, the rim is formed and rotated extruded using an imaginary axis at the origin. On the front line, a spider web pattern of the rim is formed and is extruded using the functionality of midplane extrusion. And this spider web is patterened circularly to the numbers necess and the rim is finished to form a single solid body. The spider web spokes and the rim are merged.
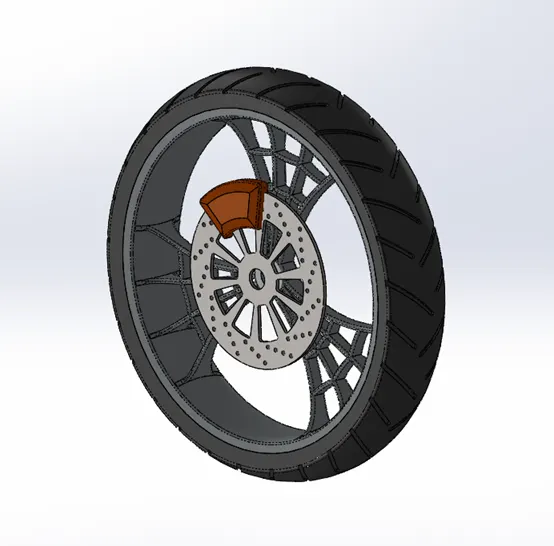
Features used :-
- Extruded boss
- Cut extrude
- Revolved cut
- Circular pattern
- Combine
- Fillet
- Chamfer
9. Rear wheel
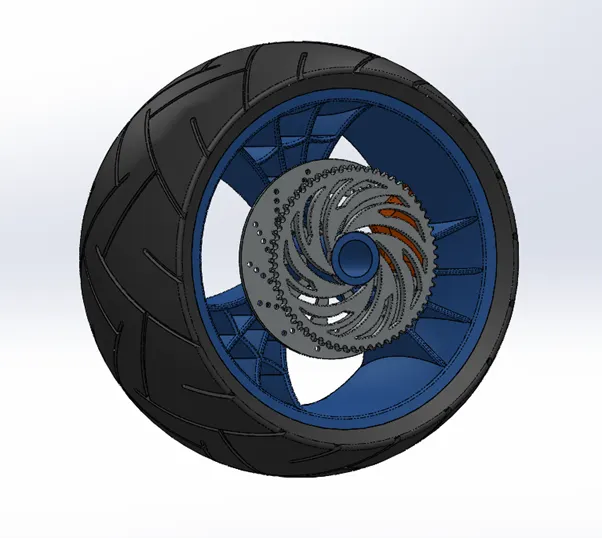
The rear wheel is used for the acceleration purpose.
Features used :-
- Revolve
- Trim
- Fillet
- Boss extrude
- Planes
- Revolve cut
- Linear pattern
- Chamfer
- Fillet features
- Cut extrude
- Circular pattern
- Appearances
10. Front fork
A fork is the part of a chopper that holds the front wheel.
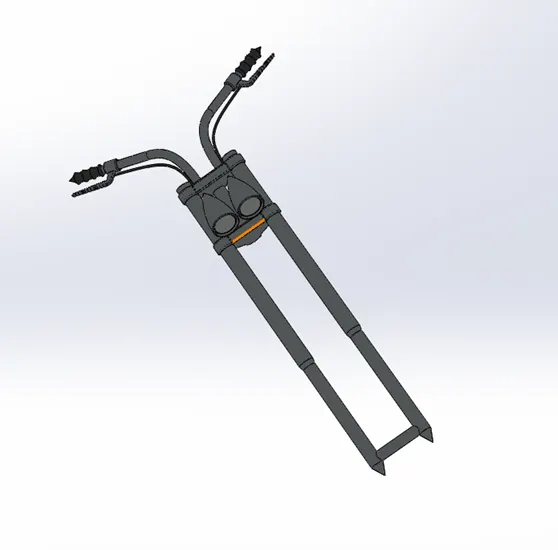
Features used :-
- Extruded boss
- Revolved boss
- Fillet
- Extruded cut
- Dome
- Revolved cut
- Swept boss
- Project curve
- Mirror
- Combine
11. Chassis
A chassis frame, also historically known as its chassis, is the main supporting structure of a motor vehicle to which all other components are attached, comparable to the skeleton of an organism.
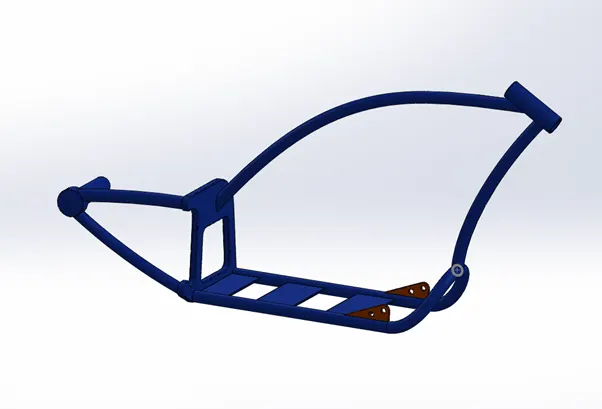
Features used:-
- Sketch
- Offset
- Convert entities
- Project curve
- Trim
- Plane
- Sweep
- Split
- Revolve
- Cut extrude
- Fillet
- Combine
12. Engine
An engine or motor is a machine designed to convert one or more forms of energy into mechanical energy.
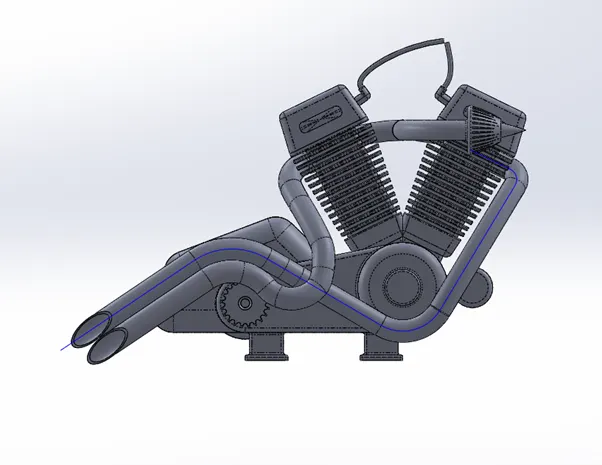
Features used:-
- Sketch
- Convert entities
- Trim
- Revolve
- Boss extrude
- Cut extrude
- Offset
- Dome
- Fillet
- Project curve
- Composite curve
- Sweep
- Mirror
- Circular pattern
- Split
13. Gas tank
The gas tank covers the oil tank and the engine and also it acts as shield to prevent the heat from the engine.
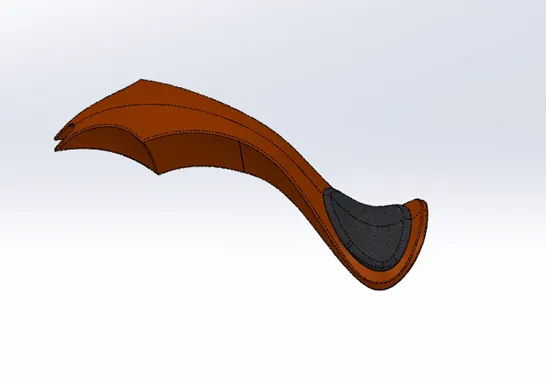
Features used :-
- Sketch
- Trim
- Project curve
- Convert entities
- Sweep surface
- Loft surface
- Fill surface
- Surface trim
- Surface knit
- Sweep cut
- Fillet
Assembly of the American chopper
Assembly of the chopper is done in the assembly part of the solidworks. All components are imported in to the assembly window and are correlated according to their required location by using the Mate feature.
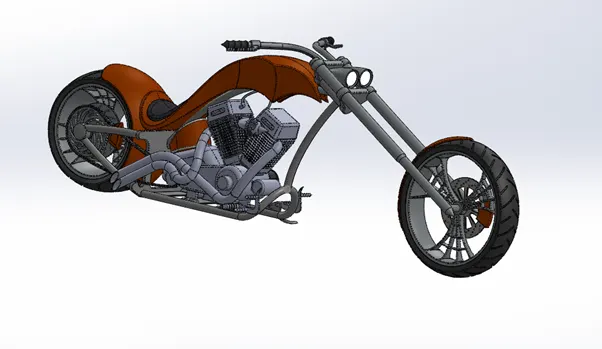
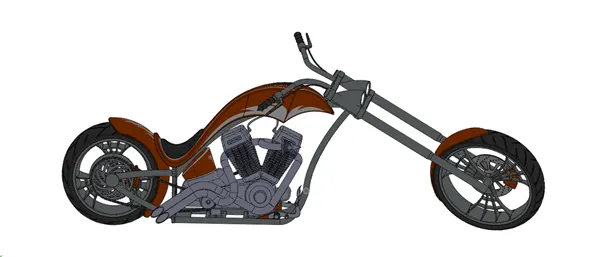
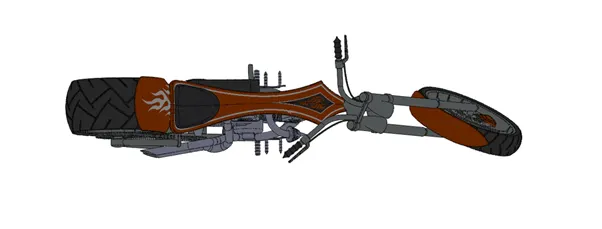
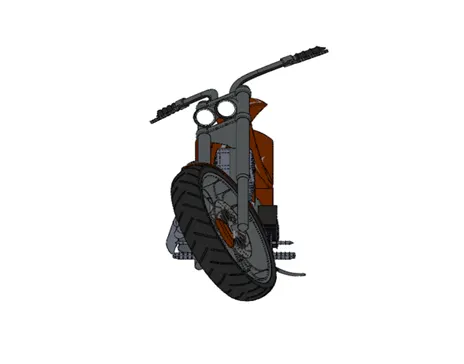
Decals :-
Decals are the design impressions that are to be printed on the metal body. We have added the decals on the gas tank, rear fender and oil tank of the chopper.
Rendering
Photoview 360 is a solidworks add-in that produces photo-realistic renderings of solidworks models. For rendering solidworks Visualize software is used. The rendered image incorporates the appearances, lighting, scene and decals included in the model.
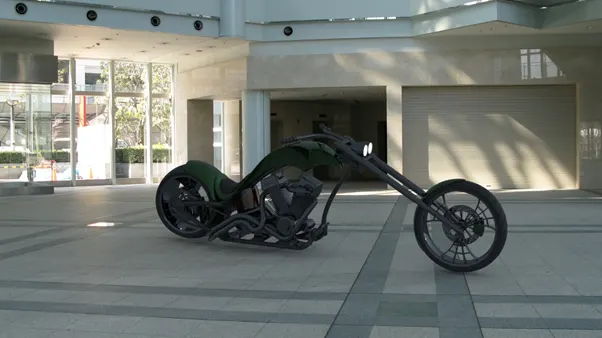
Conclusion:- Using the solidworks tool we designed the american chopper motorcycle and with the help of solidworks visualize tools we created the photorealistic rendering successfully.