Hood design-Week 2
DESIGN HOOD
OBJECTIVE:
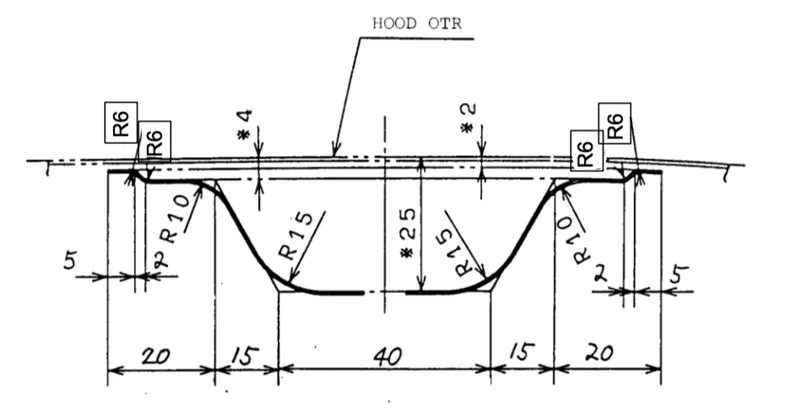
To Design Hood outer panel, inner panel and the necessary reinforcements by following the Master section mentioned with the design parameter.
INTRODUCTION:
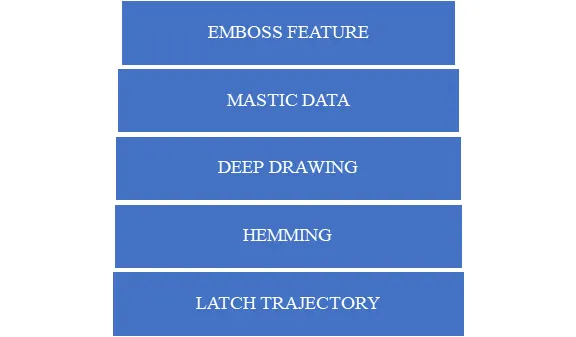
A Car hood, also referred to as a bonnet in some other countries, is the hinged cover that rests over the engine of a front-engine vehicle. Its purpose is to provide access to the engine for repair and maintenance. A concealed latch is typically used to hold down the hood. A detailed report about the Hood Design which includes a detailed explanation about hood and its components, Latch trajectory, Mastic data, emboss definitions, manufacturing process like deep drawing and hemming, and all the parameters followed in the design.
DESIGN PARAMETERS:
Data to be used:
Hood Thickness Information
- Outer Panel Thickness = 0.75mm
- Inner Panel Thickness = 0.75mm
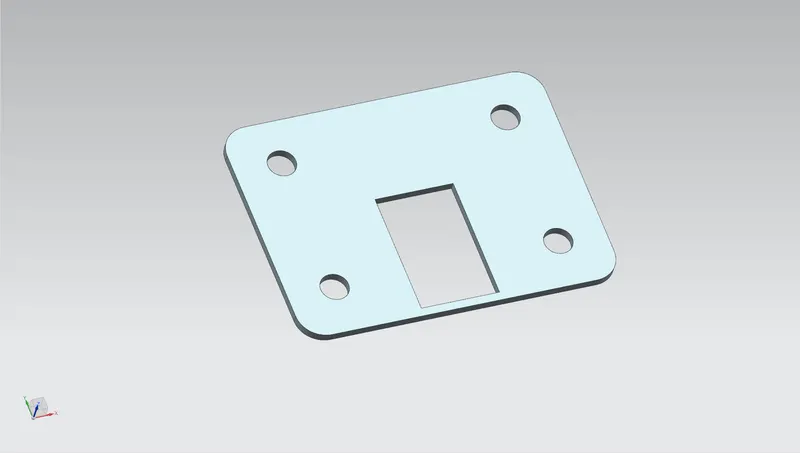
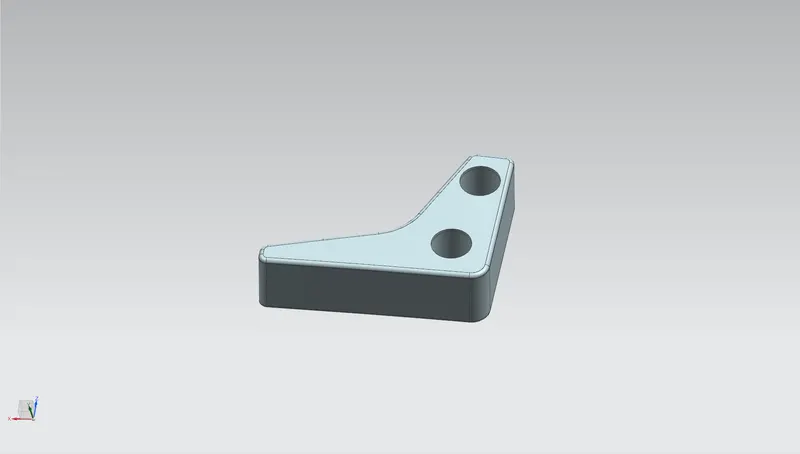
- Reinforcement Thickness = 1.5mm
Master sketch:
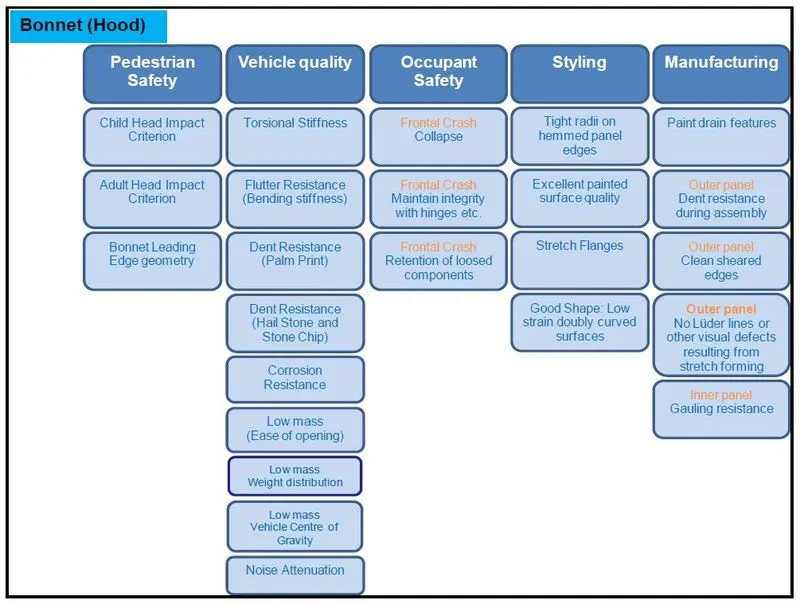
HOOD PREDESTRIALN SAFETY AND THINGS TO BE NOTED:
FEATURES USED IN THIS DESIGN PROCESS:
EMBOSS FEATURE:
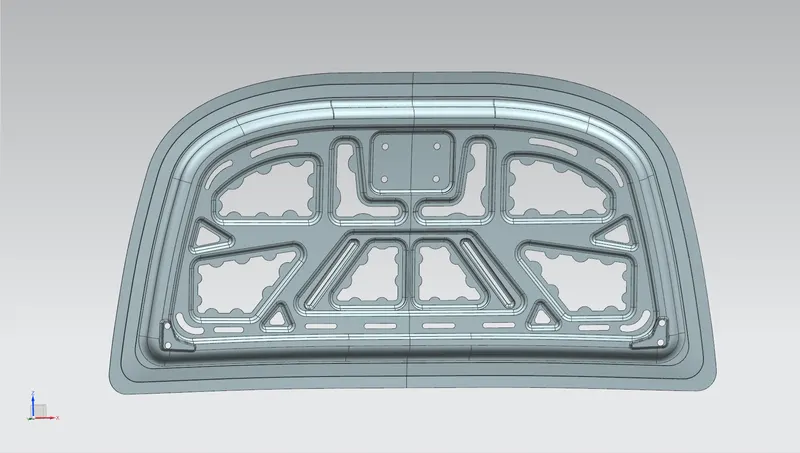
Emboss or Engrave a Face or Plane. The Emboss feature raises or recesses a profile relative to the model face by a specified depth and direction. The embossed area can provide a surface for a decal or painting in the siemens NX modelling, emboss command use to create an embossing by modify a body with faces made by projecting a section along a vector.
CREATING EMBOSS:
- From the menu: insert > design feature > emboss.
- In the emboss dialog, section group, click on curve icon then choose curves in the graphics window.
- Click select face icon in the face to emboss group, then select faces in the graphics window.
- In the emboss direction group, specify a new emboss draw direction.
- In the end cap group, use one or more following options: plane of section, emboss face, datum plane, or selected faces. For this tutorial, I selected embossed faces option, in the location list, select offset then type 5 mm in the distance box.
- In the draft group, set draft angle you want. For this example, I will select draft from embossed faces then type 5 degree in the angle box.
- Click OK to complete
MASTIC DATA:
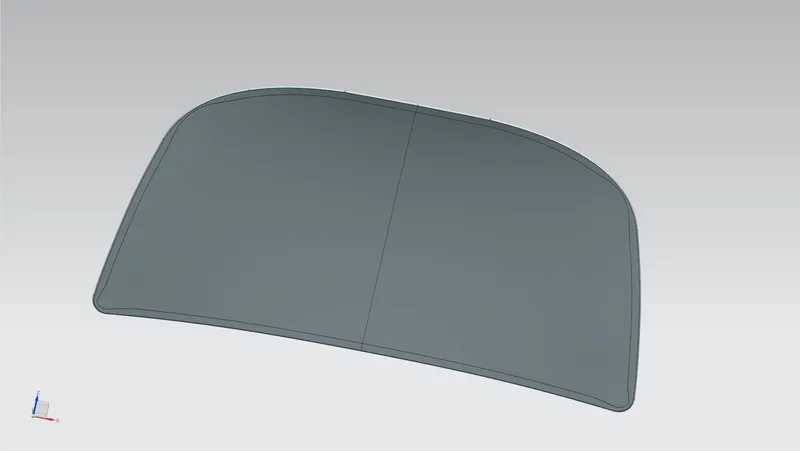
Mastic Data Mastic Sealants are used to Join Inner and outer Panel as wielding both panels will neglect the elegant look of outer panel. So, the joining of Both the panel is done by Hemming and Mastic sealant.
As we know the main purpose of the outer panel is for aesthetic looks thus, we cannot use bolts or welding so the Hemming and Mastic sealant are used. The Mastic sealant has the tendency to increase the strength of the panel and has influence of 80mm diameter.
DEEP DRAWING:
Deep drawing is a sheet metal forming process by which a sheet metal blank is slightly clamped along its perimeter by a blank holder and radially drawn into a forming die by use of a punch. Deep drawing is a sheet metal forming process used industrially to produce cup-shaped, box-shaped, and other complex-curved hollow-shaped sheet parts.
HEMMING:
Hemming is the metal working processes in which a sheet metal edge is rolled over onto itself. Hemming is the process in which the edge is rolled flush to itself, while a seam joins the edges of two materials.
Hems are commonly used to reinforce an edge, hide burrs and rough edges, and improve appearance.
Seams are commonly used in the food industry on canned goods, on amusement park, cars in metal roofing, and in the automotive industry.
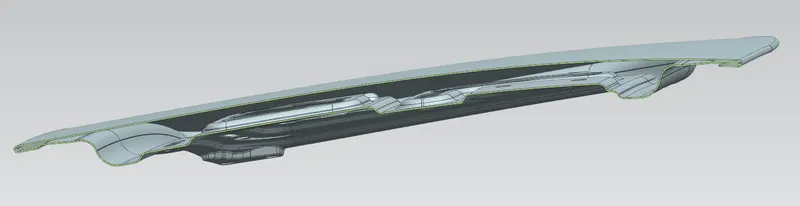
LATCH TRAJECTORY:
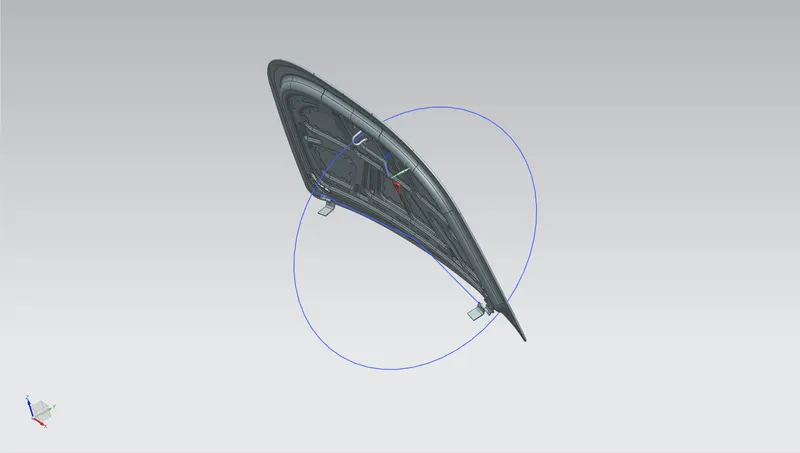
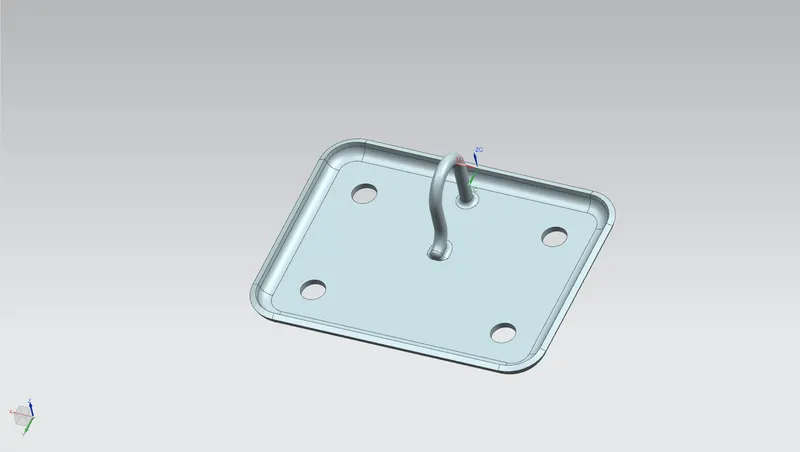
Latch Trajectory is the orbital path in which the latch should be positioned to the lock hole. The trajectory is drawn based on the reference. Keeping this in mind, the latch striker is placed on the inner hood panel using latch trajectory path. This path is created using the hinge axis taken as reference.
COMPONENTS:
HOOD OUTER PANEL:
HOOD INNER PANEL:
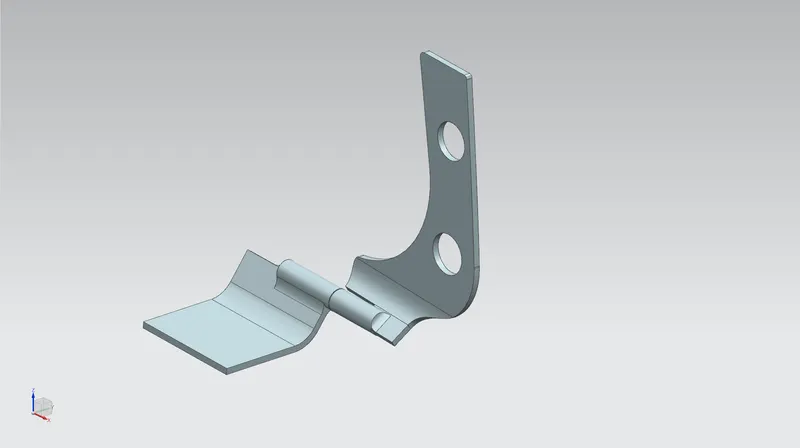
HINGE:
STRIKER:
REINFORCEMENT:
ASSEMBLY:
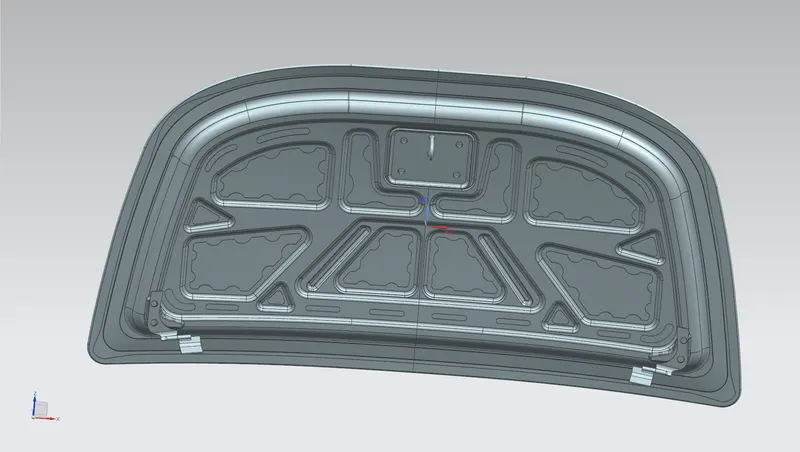
CONCLUSION:
The Design of Hood outer panel, inner panel and the necessary reinforcements by following the Master section mentioned with the design parameter are been designed using NX CAD tool.