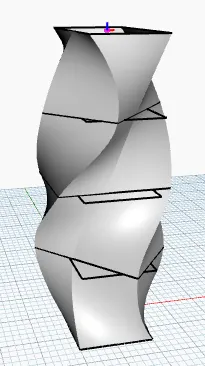
Creating Conceptual mass in REVIT and Creation of Sinusoidal curve and a Parametric stadium using Dynamo
1) Using Dynamo create a set of sinusoidal points and create a curve and create a surface out of the curve.
AIM:- To create a set of sinusoidal points and create a curve and create a surface out of the curve using Dynamo.
INTRODUCTION:- Manage tab provides access to Dynamo which is an open source visual programming platform for designers. It is installed as part of Revit along with Revit specific programming nodes.
PROCEDURE:-
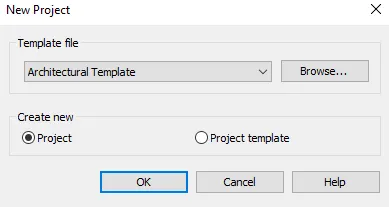
- Open a new Architectural template in the Revit.
- Under Manage tab, select Dynamo.

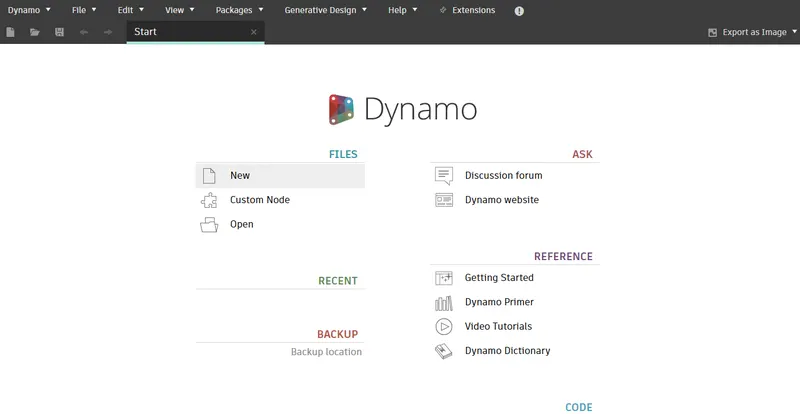
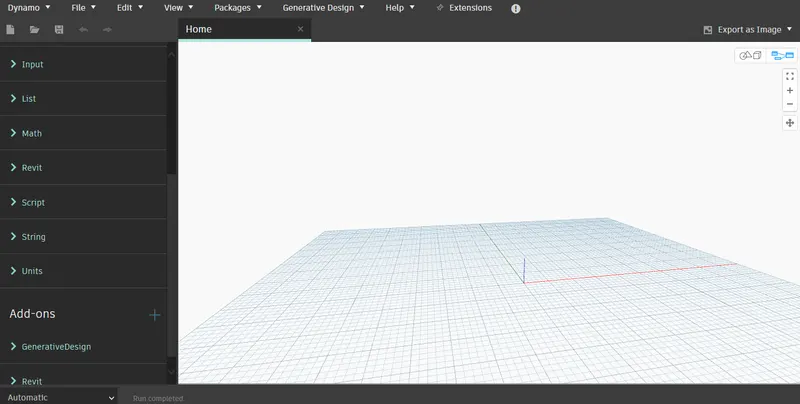
- Select New file from the Dynamo. A new file opens.
- Type 'Integer Slider' in the search option.
- Select Integer Slider thrice and rename it as Start, end and Step.
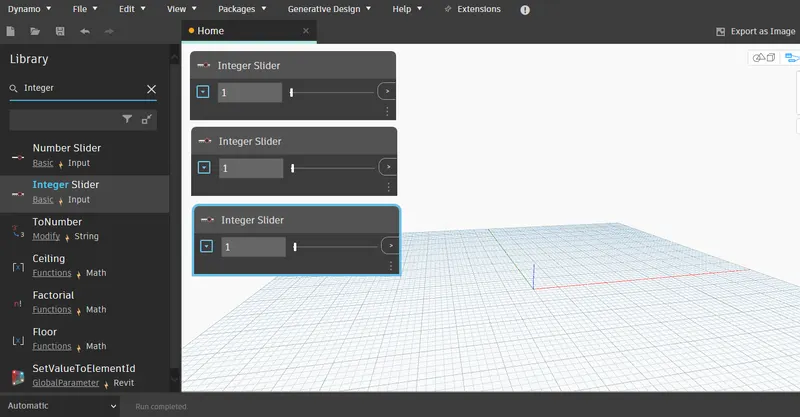
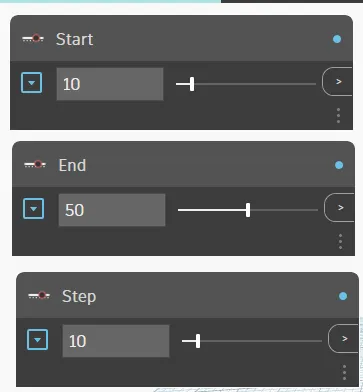
- Next, type 'Range' in the search option.
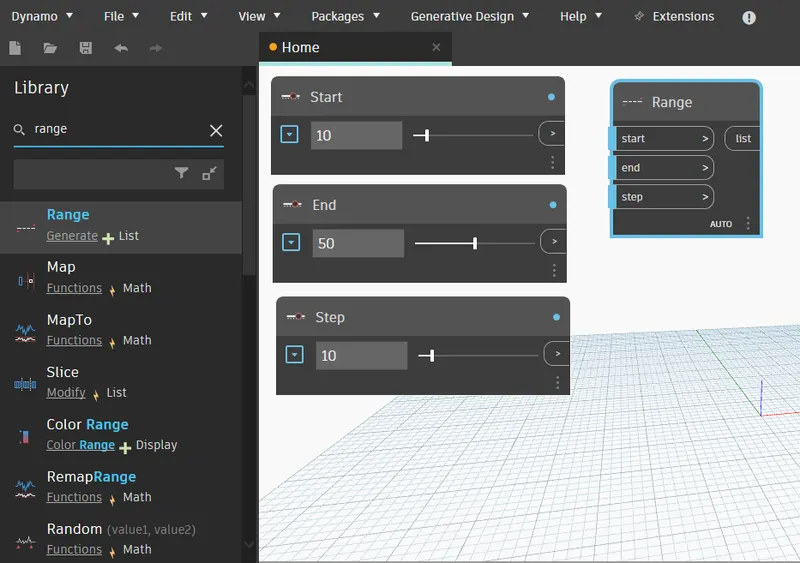
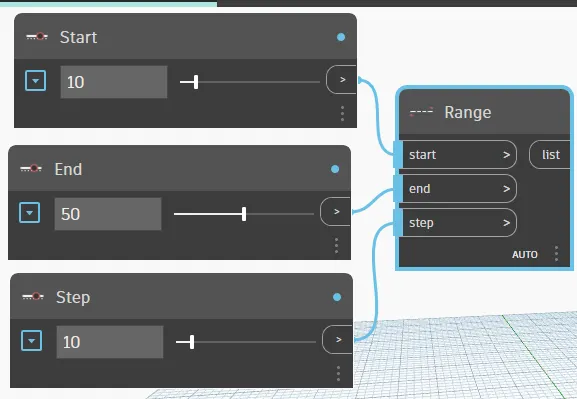
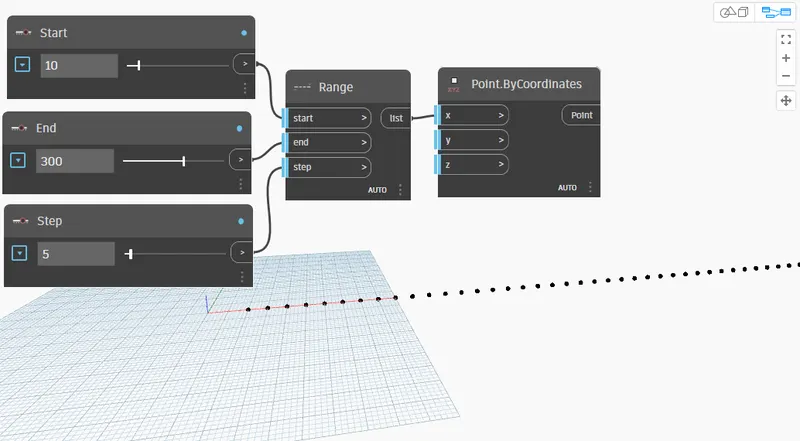
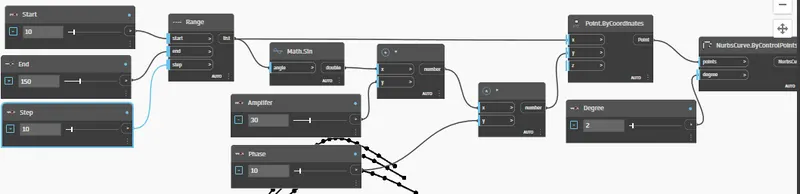
- Connect the integer slider to the the range as shown below.
- Search 'ByCoordinates' in search tool to create points.
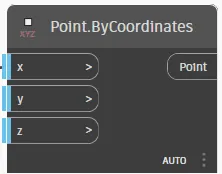
- Change the values in the integer slider to get more coordinate points on the work space.
- Connect Range to X coordinate.
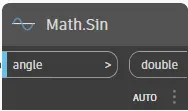
- Type 'Math.sin' in the search option to find the sine of an angle.
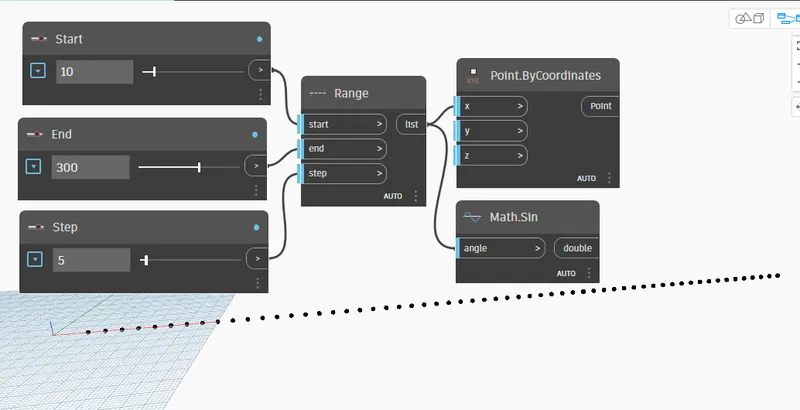
- Connect Range to Math.sin as shown below.
- Again, search for 'Integer Slider' in the search option.
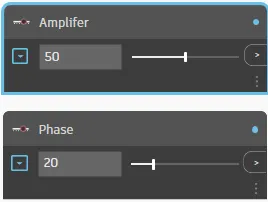
- Rename it to amplifer and phase and adjust the value.
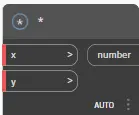
- Type 'Product/*' in the search option.
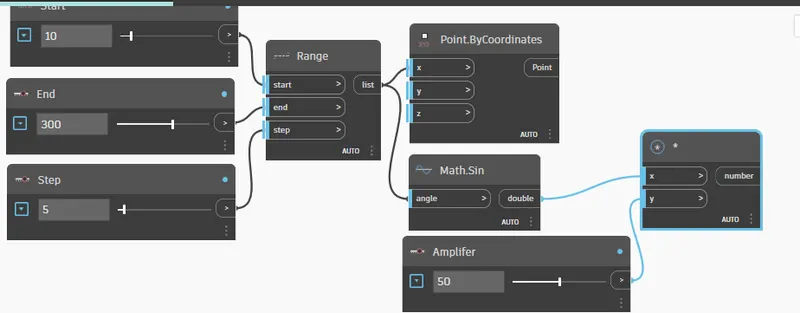
- Connect Math.Sine to x and integer slider (Amplifer) to y in '*' function.
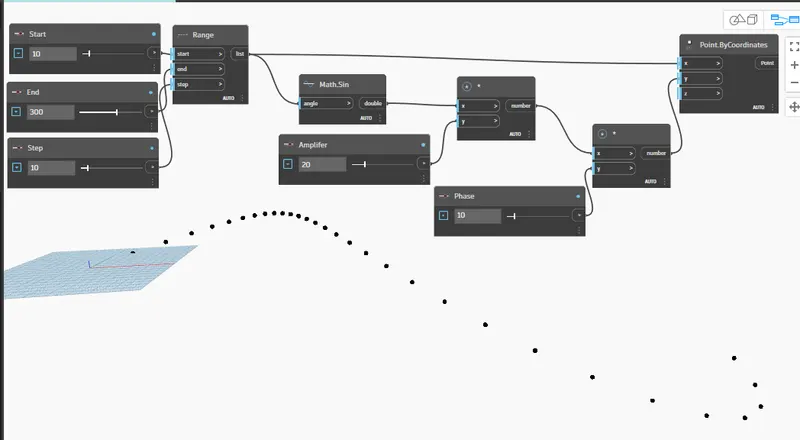
- Connect '*' and phase to new product '*'.
- Connect New '*' with Y coordinate.
- Ajdust the value in Amplitude and phase.
- Search for 'Nurbs Curve.ByControlPoints'
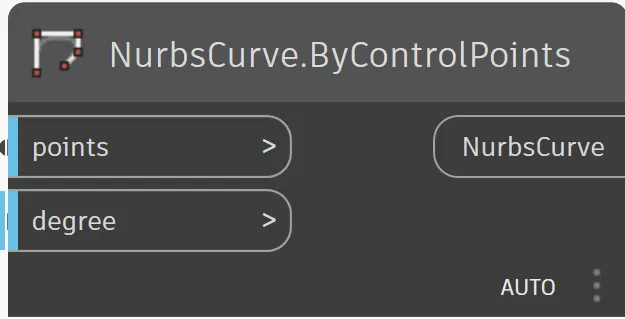
- Connect Point.ByCoordinates to NurbsCurve.ByControlPoints to form the curve.
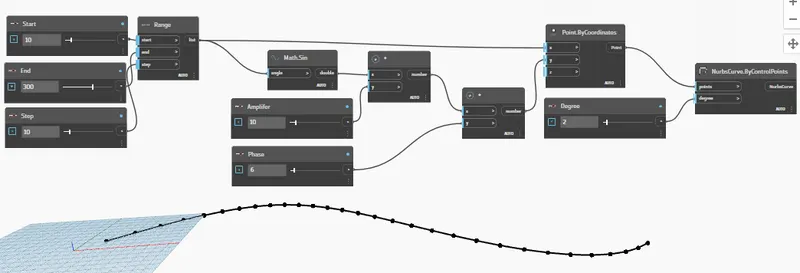
- Copy and paste all the nodes on the screen twice.
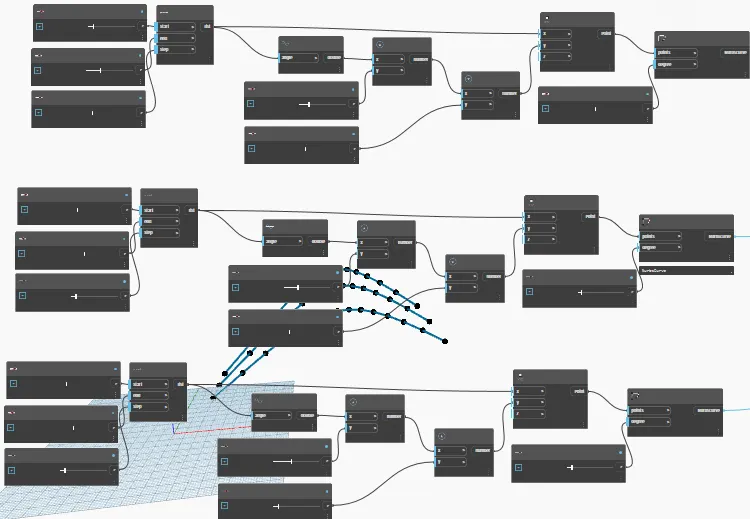
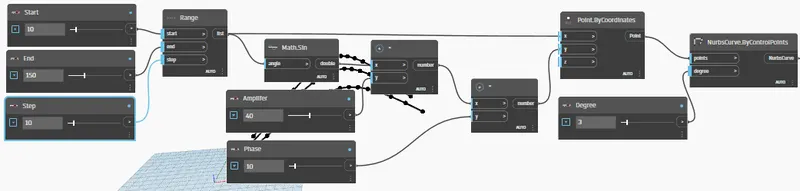
- Change the amplitude of the 2nd and 3rd curve as shown below.
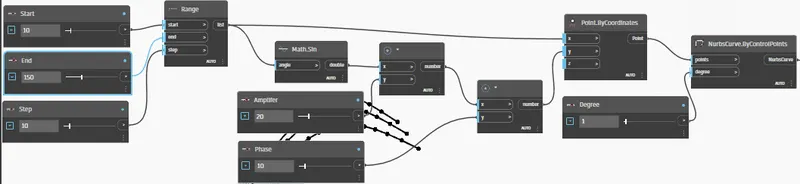 1st set of Sinusoidal Curve
 2nd set of Sinusoidal Curve
 3rd set of Sinusoidal Curve
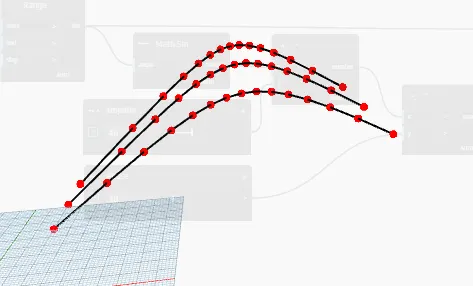
- Therefore, Sinusoidal Curves are created as shown below.
- Search for 'List' in search option.
- Create 2 more lists
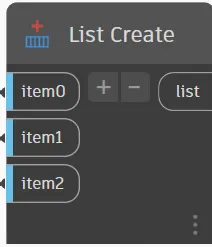
- Connect 3 Nurbs curve to list created.
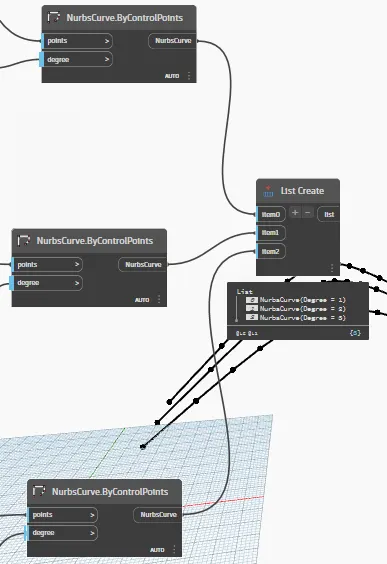
- Select 'Surface. ByLoft' to create cross-section curve.
- Connect the list created to the Surface by loft as shown below.
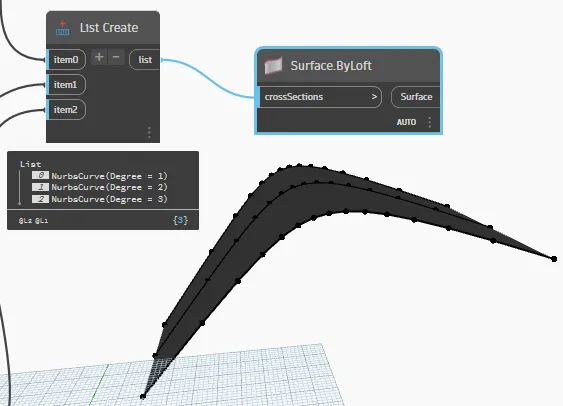
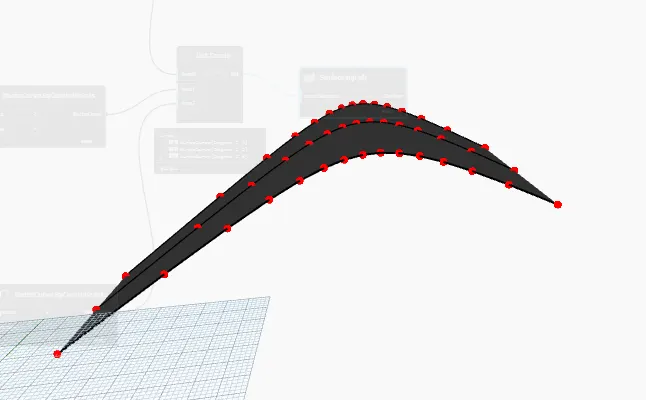
RESULT:- Hence, created a set of sinusoidal points, curve and surface out of the curve using Dynamo.
2) Create a conceptual layout of floor plan in dynamo . Using the tools available in dynamo link the lines to appropriate model elements in Revit by choosing the wall types and wall parameters. Make use of the sliders to slide through the height of the wall and length of the wall.
AIM:- To create a conceptual layout of floor plan in dynamo by choosing the wall types and wall parameters
INTRODUCTION:- Manage tab provides access to Dynamo which is an open source visual programming platform for designers. It is installed as part of Revit along with Revit specific programming nodes.
PROCEDURE:-
- Open a new Architectural template in the Revit.
- Under Manage tab, select Dynamo.
- Select New file from the Dynamo. A new file opens.
- Type 'Integer Slider' in the search option.
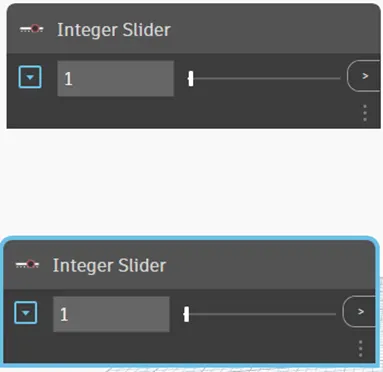
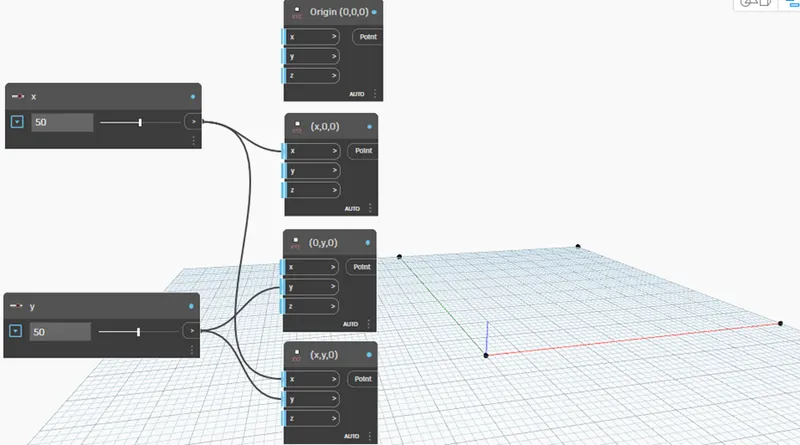
- Select Integer Slider twice and rename it as x and y.
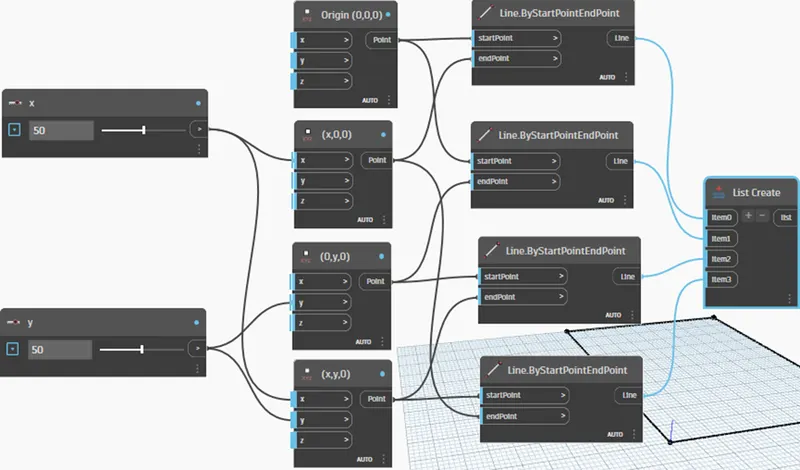
- Search for ‘Point.ByCoordinate’ in search tool.
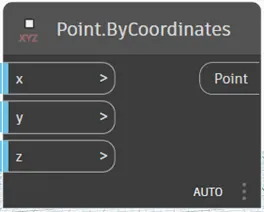
- Rename Integer Slider to x and y and Point.ByCoordinate as (0,0,0), (x,0,0), (0,y,0), (x,y,0).
- Connect Integer slider to Point.ByCoordinate as shown below.
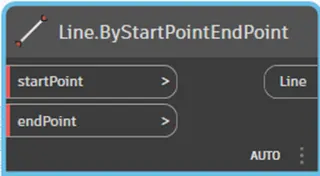
- Select ‘Line.ByStartPointEndPoint’ from search bar.
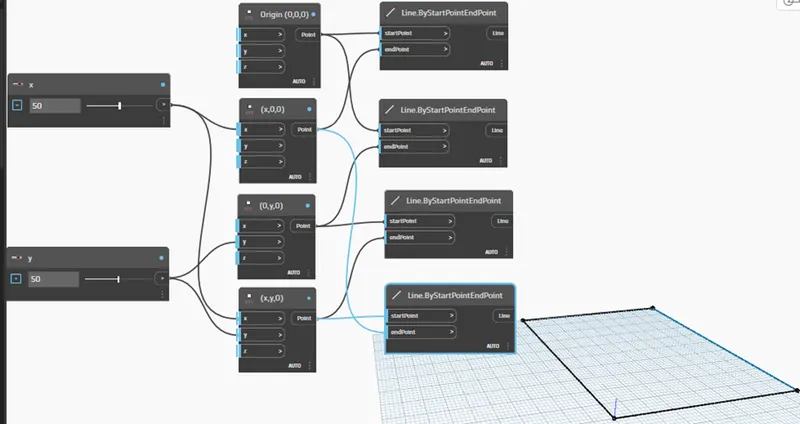
- Select Point.ByCoordinate to Line.ByStartPointEndPoint to form a rectangle as shown below.
- Select ‘List Create’ from search bar.
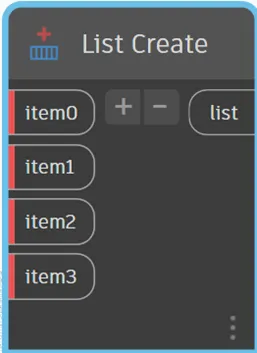
- Connect Line.ByStartPointEndPoint to List Create as shown below.
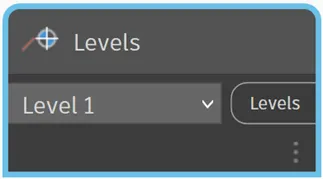
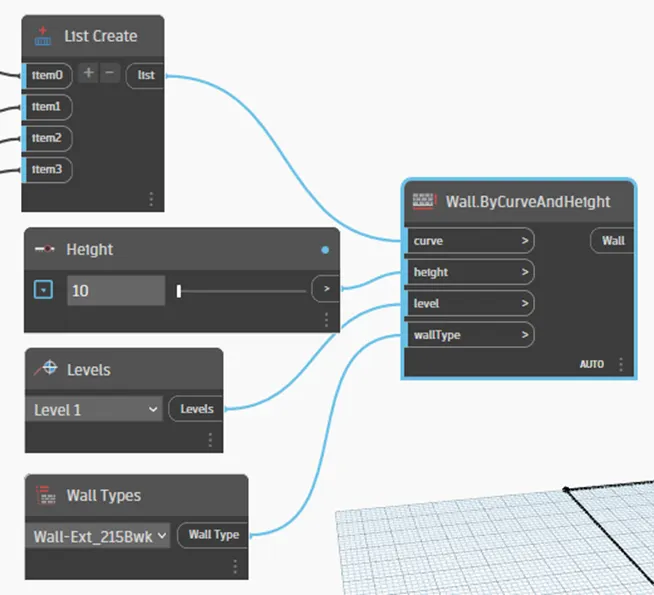
- Select ‘Levels’ from search bar and Select Level 1 from drop down arrow.
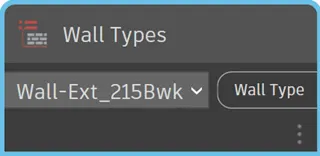
- Select ‘Wall Type’ from search bar and choose wall type ‘Wall-Ext_215Bwk’.
- Again, select ‘Integer Slider’ from search bar.
- Rename it as Height.
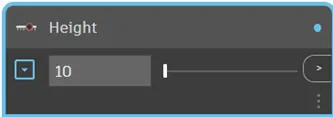
- Select ‘Wall.ByCurveAndHeight’ from search bar.
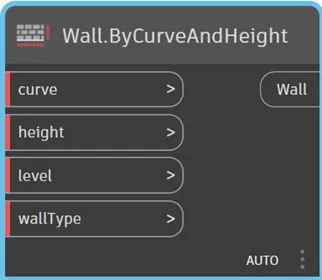
- Connect List create, Wall type, levels and height to Wall.ByCurveAndHeight.
- Select 'Floor.ByOulineTypeandLevel' and 'FloorType' from the Search tool bar.
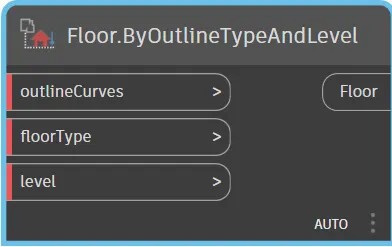
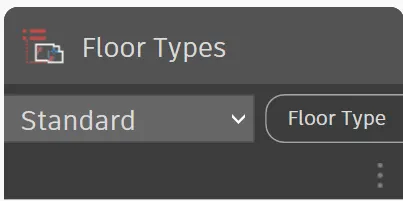
- Connect Floor Type and levels to Floor.ByOulineTypeandLevel.
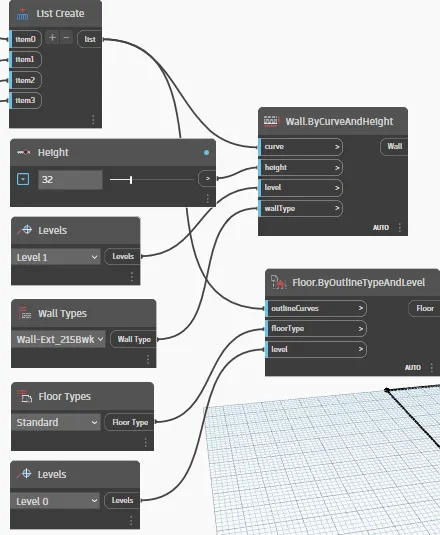
- Steps involved:-
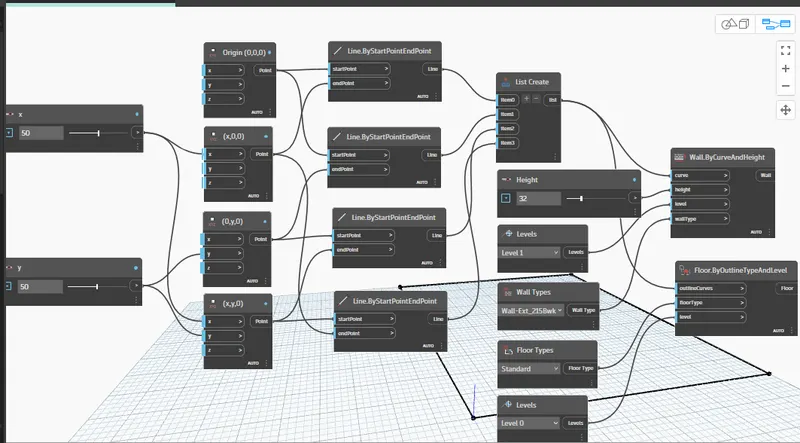
- Adjust the x, y value and height of wall and floor property and check in Revit.
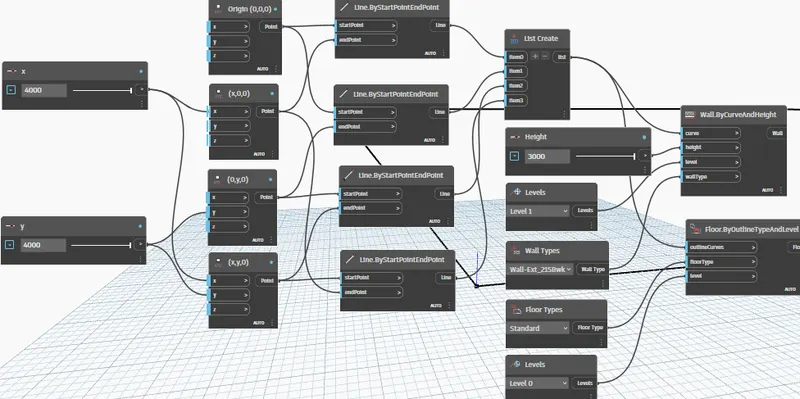
- Check in Revit.
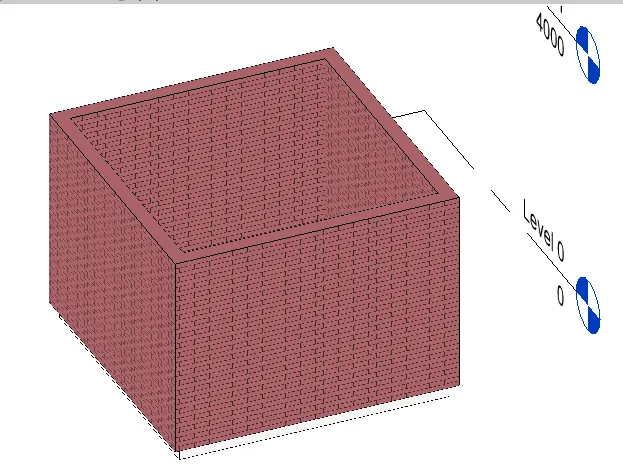
RESULT:- Hence, created a conceptual layout of floor plan in dynamo by choosing the wall types and wall parameters.
3) Create an array of model elements in Revit. Use dynamo to vary the properties of model elements by using the slider or code block
AIM:- To create an array of model elements in Revit using dynamo to vary the properties of model elements by using the slider or code block
INTRODUCTION:- Revit helps to create a set of elements at specified distance using array command. The properties of array element can be varied using integer/ numder slider or code block in dynamo.
PROCEDURE:-
- Open a new Architectural template in the Revit.
- Place 9 Architectural Column in the Revit.
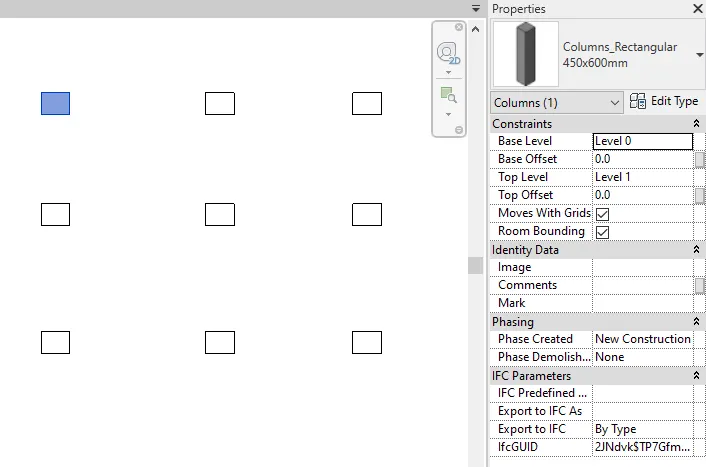
- Under Manage tab, select Dynamo.
- Select New file from the Dynamo. A new file opens.
- Select 'Select Model Element' from search bar.
- Click Select from Select Model Element and then select all The column elements from Revit.
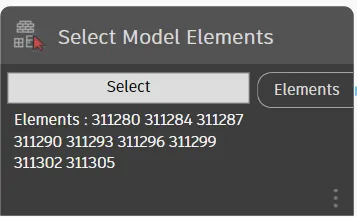
- Search for 'FamilyInstance.SetRotation' from search bar.
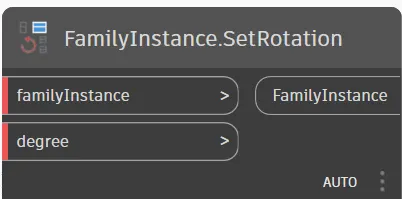
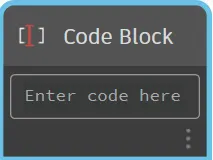
- Search for 'Code Block' from search bar.
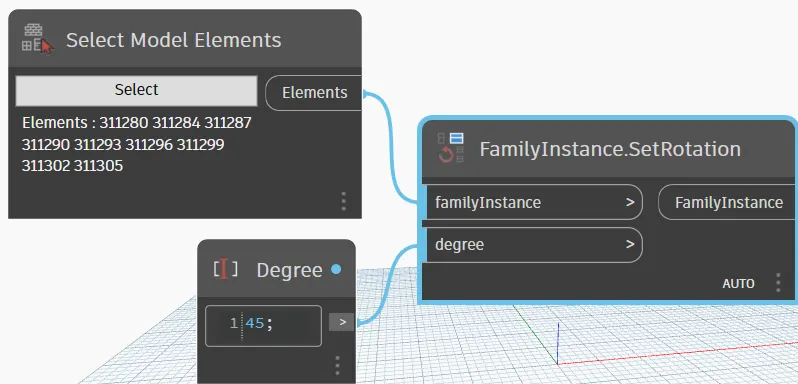
- Connect Select Model Element and Code Block, ie, Degree to
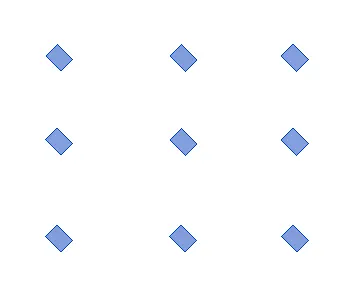
- Check in Revit after rotating to 45 degree.
RESULT:- Hence, created an array of model elements in Revit using dynamo to vary the properties of model elements by using code block.
4) Create a conceptual mass in Revit and develop a parametric column by dividing the surfaces and apply the concepts similar to used in parametric walkway modelling. Use triangular bent or square shaped panels to add finish to the parametric column
AIM:- To create a conceptual mass in Revit and develop a parametric column by dividing the surfaces and apply the concepts similar to used in parametric walkway modelling. Use triangular bent or square shaped panels to add finish to the parametric column
INTRODUCTION:- Conceptual mass allows us to control with added advantage that levels are visible in 3D. The main purpose of conceptual mass modelling is to give 3D shape to the complicated model created by sketching the points, lines and shapes in 2D that will comprise in 3D form.
PROCEDURE:-
- Open a new Architectural template in the Revit.
- Under File tab, select Conceptual Mass.
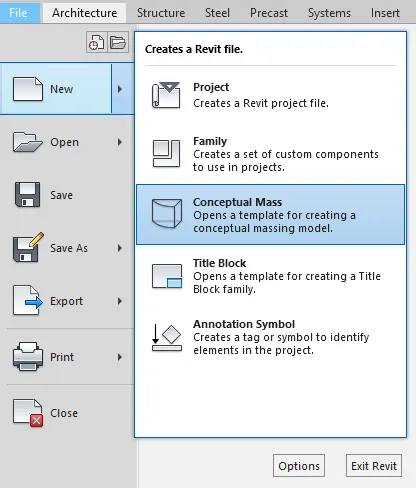
- Open Metric mass file.
- Hence, Conceptual Mass template is created.
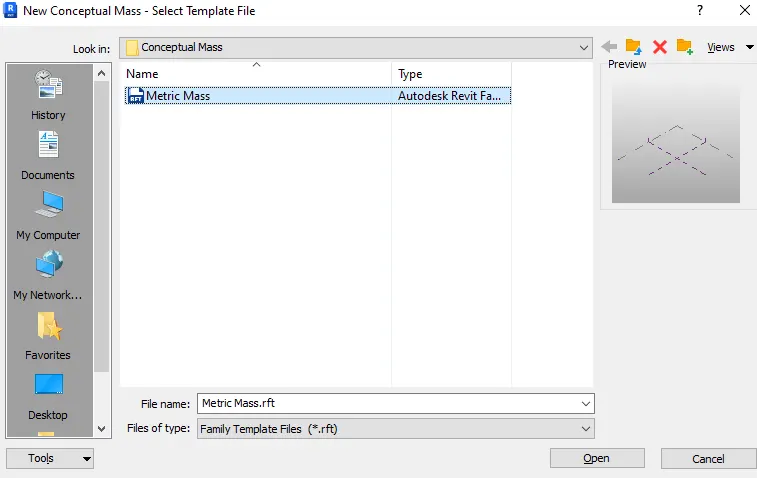
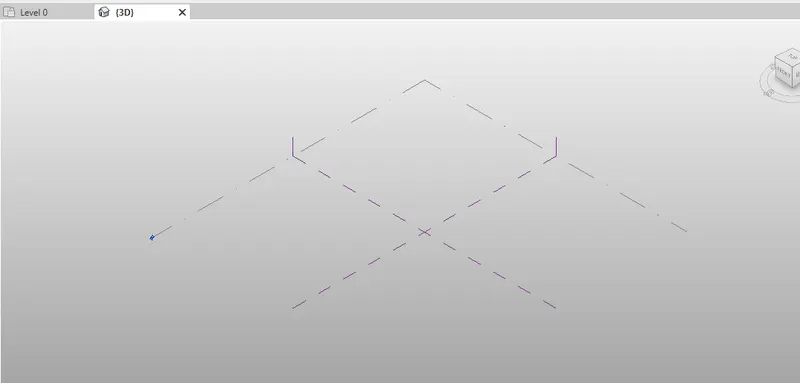
- Go to Elevation and add an another level at 4000mm from level 1.
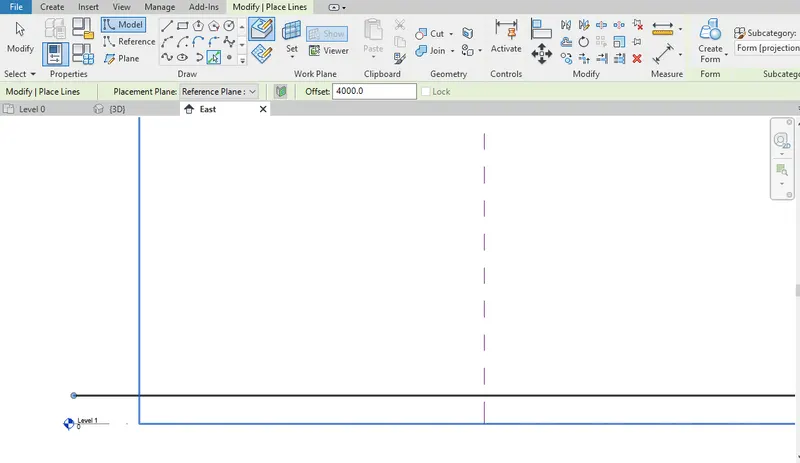
- Select level 1 floor plan from project browser.
- Under Create tab, select Model and then select Splice through Points
- Then draw a S shape using Splice tool.
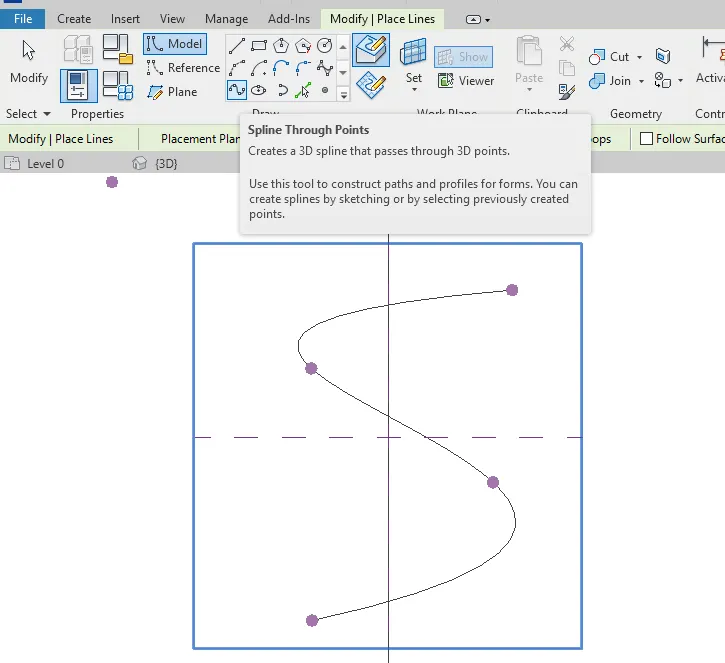
- Check in default 3D view.
- Go to Set option and click on the Splice end points to set work plane.
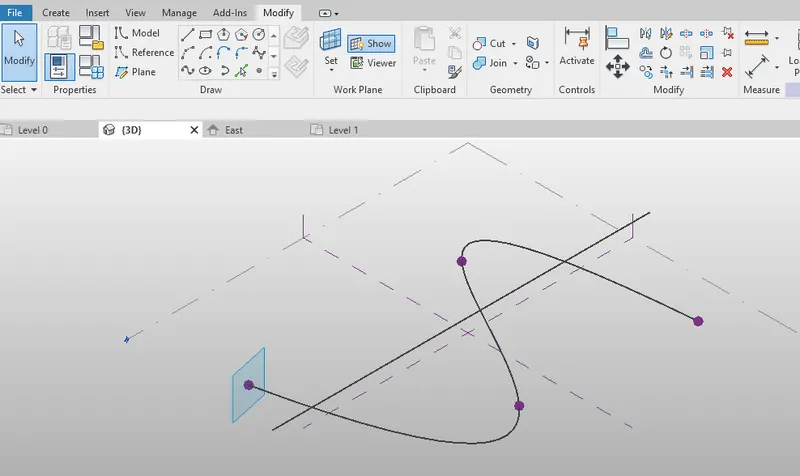
- Circumscribe a polygon of 4000mm on the work plane by selecting the splice end point.
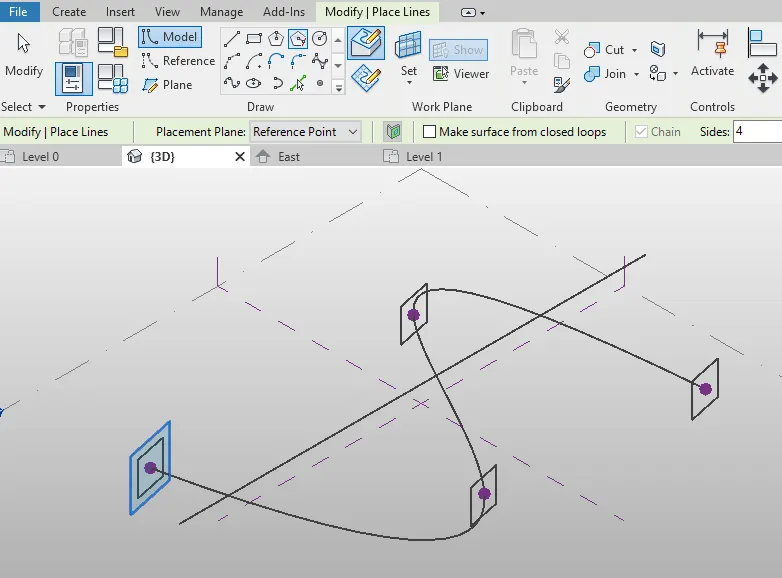
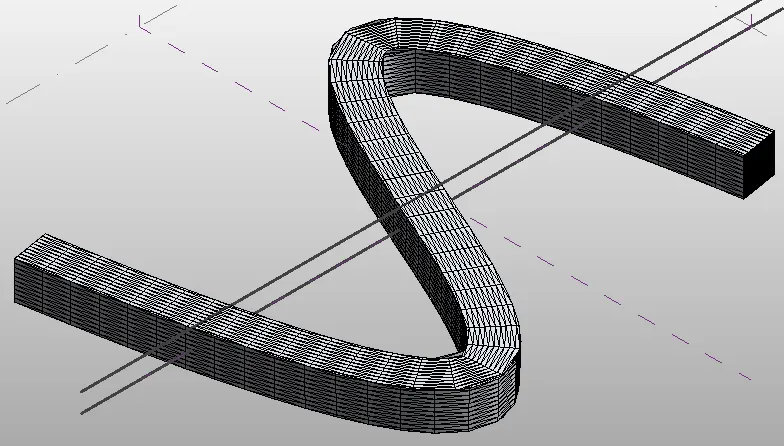
- Select the splice curve and all circumscribed polygon to create a solid form.

- Hence, a solid form is created.
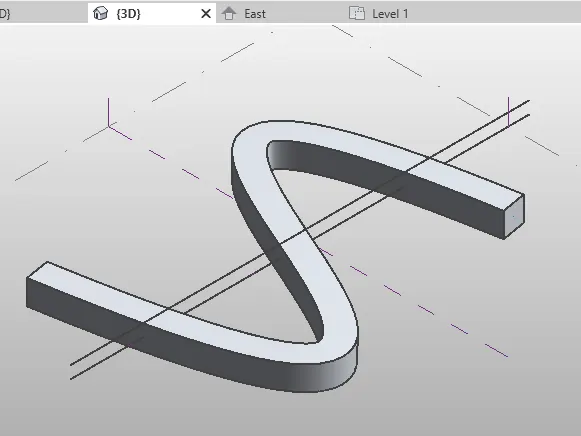
- Select the form from the 3D model to Divide Surface.

- Select Triangular Bent in properties browser.
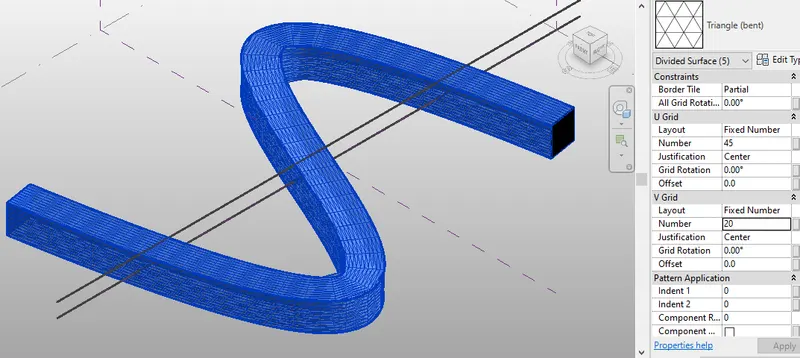
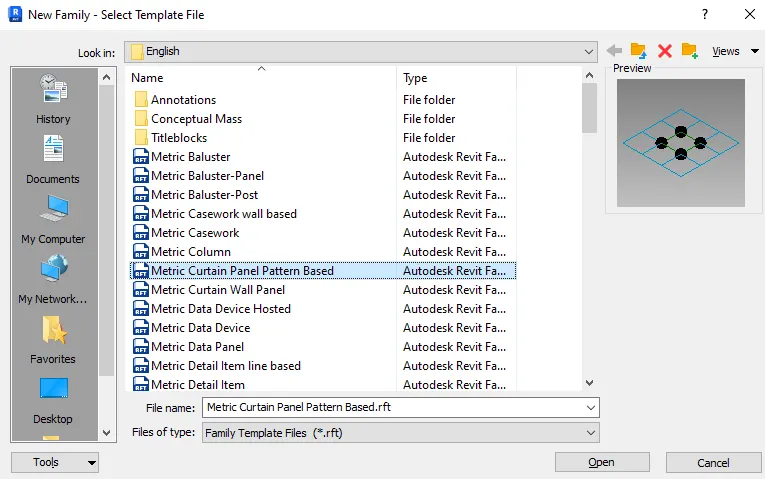
- Select Family to create to new family from File tab.
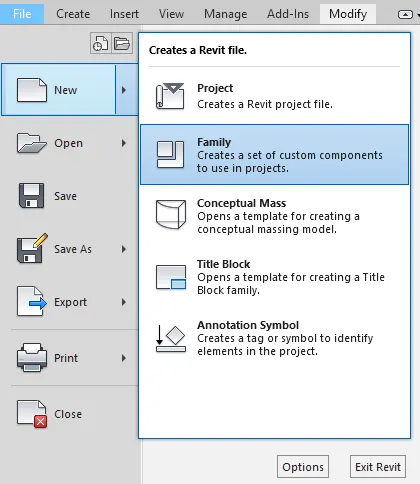
- Open Metric Curtain Panel Pattern Based
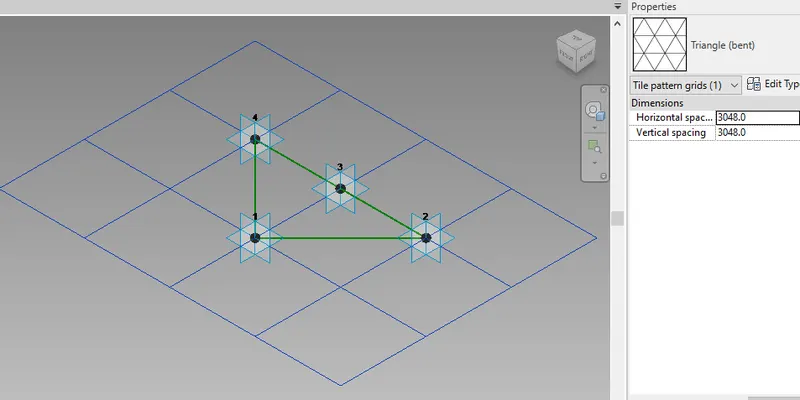
- Choose Triangular (bent) pattern from property browser.
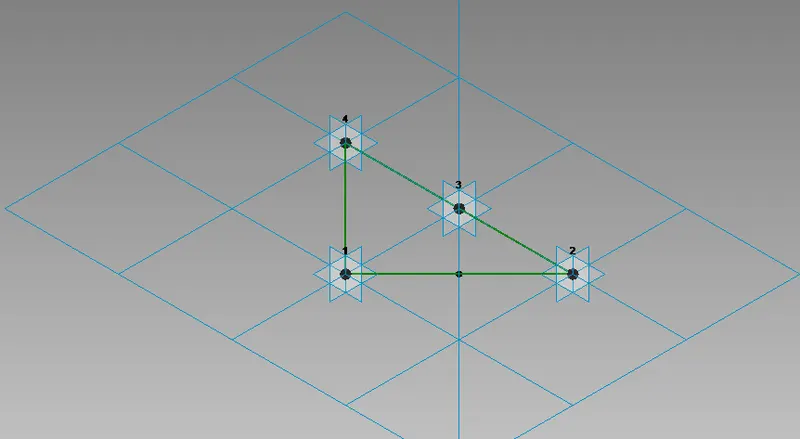
- Set a plane on the mid-point of the triangle.
- Create a circle of 60mm on the plane and create form.
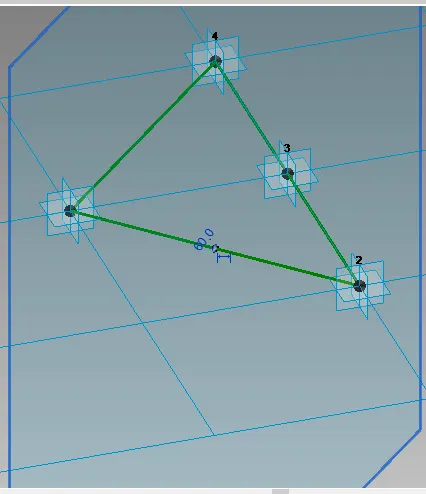
- Click Load into Project to load the family.

- Select The Divided Surface and upload Family 1.
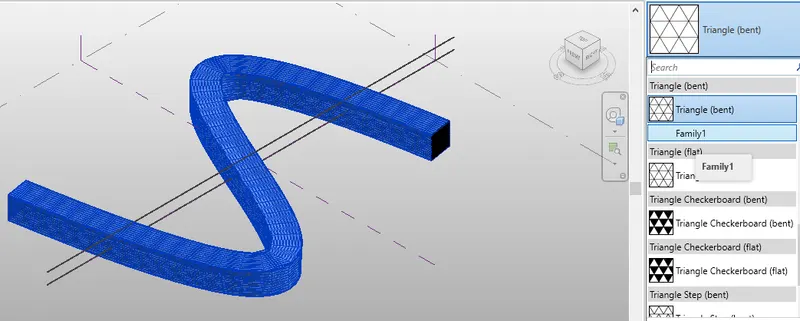
RESULT:- Hence, created a conceptual mass in Revit and develop a parametric column by dividing the surfaces and apply the concepts similar to used in parametric walkway modelling and used triangular bent panels to add finish to the parametric column.
5) Use Dynamo to work on developing a Parametric Stadium. List your parameters and use the visual programming approach to complete the modelling, You can use the concepts discussed in parametric high rise tower in class for reference.
AIM:- To develop a Parametric Stadium using Dynamo
INTRODUCTION:- Manage tab provides access to Dynamo which is an open source visual programming platform for designers. It is installed as part of Revit along with Revit specific programming nodes.
PROCEDURE:-
- Open a new Architectural template in the Revit.
- Under Manage tab, select Dynamo.
- Select New file from the Dynamo. A new file opens.
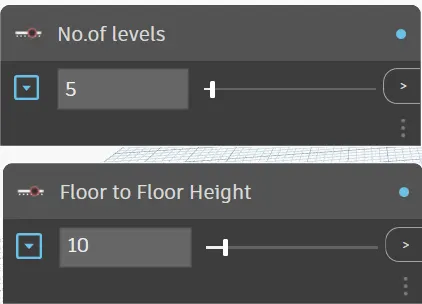
- Type 'Integer Slider' in the search option.
- Select Integer Slider and rename it.
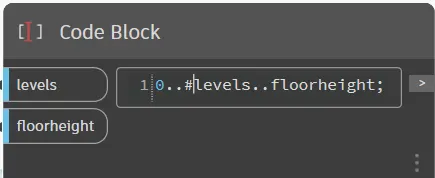
- Select 'Code Block' from the search tool bar.
- Enter Code in the Code Block.
- Type 'Integer Slider' in the search option.
- Select Integer Slider and rename it.
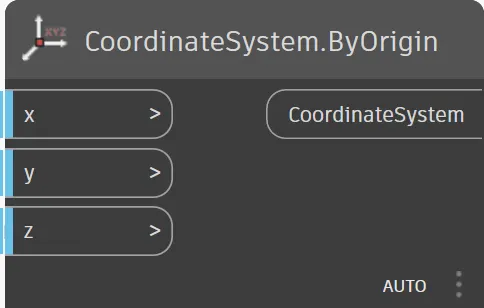
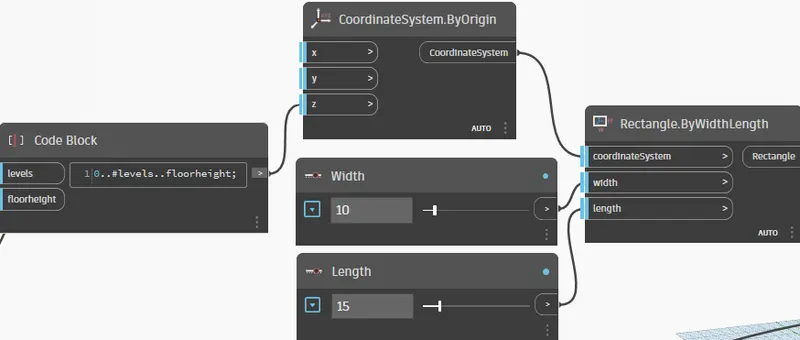
- Search 'CoordinateSystem.By Origin' in search tool to create points.
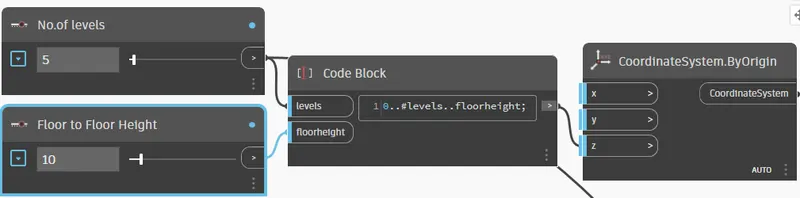
- Connect integer slider(ie, levels and floor height) to Code block and then to Point.By coordinates.
- Again, Select Integer Slider and rename it to create width and length of the the stadium.
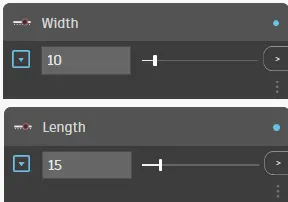
- Search 'Rectangle.ByLenghtWidth' in search tool to create rectangle.
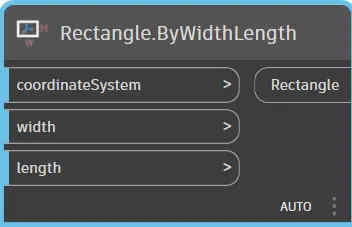
- Connect Origin, Width and length to Rectangle.ByLenghtWidth.
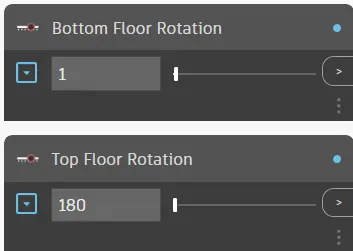
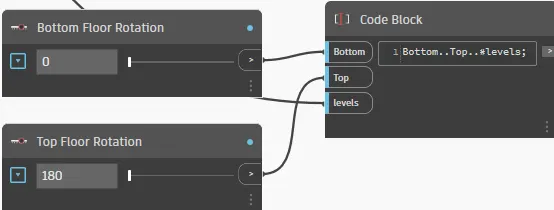
- Create top and bottom rotation angle using Integer slider.
- Connect these integer slider to Code block created.
- Search for 'Point.Origin' and 'Vector.Zaxis' for search tool.
- Connect Point.Origin and Vector.Zaxis to 'Geometry.Rotate' as shown below.
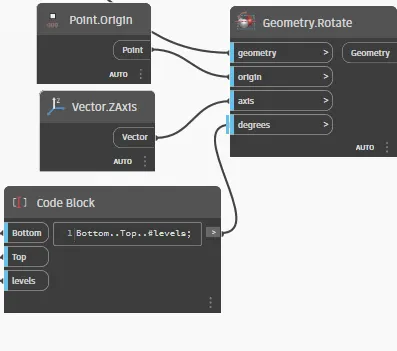
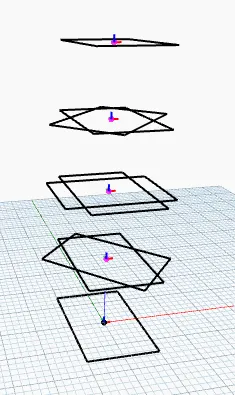
- Therefore, geometry shape is developed.
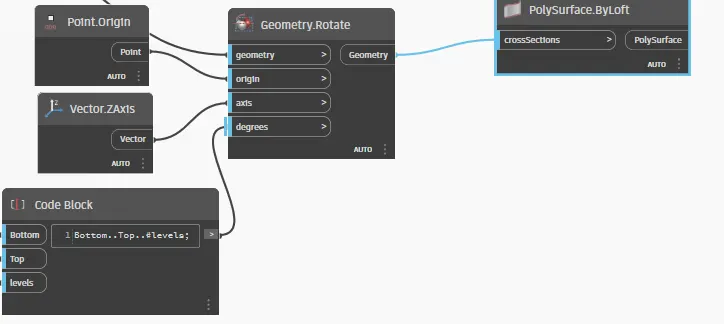
- Connect Geometry to 'PolySurface.ByLoft'.
- Therefore, Podium stadium is generated as shown below.
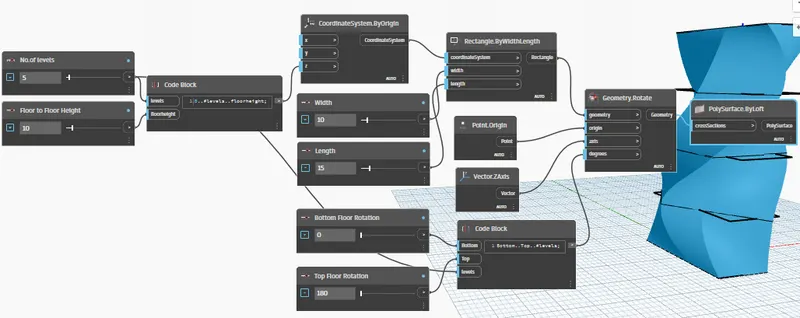
RESULT:- Hence, developed a Parametric Stadium using Dynamo.