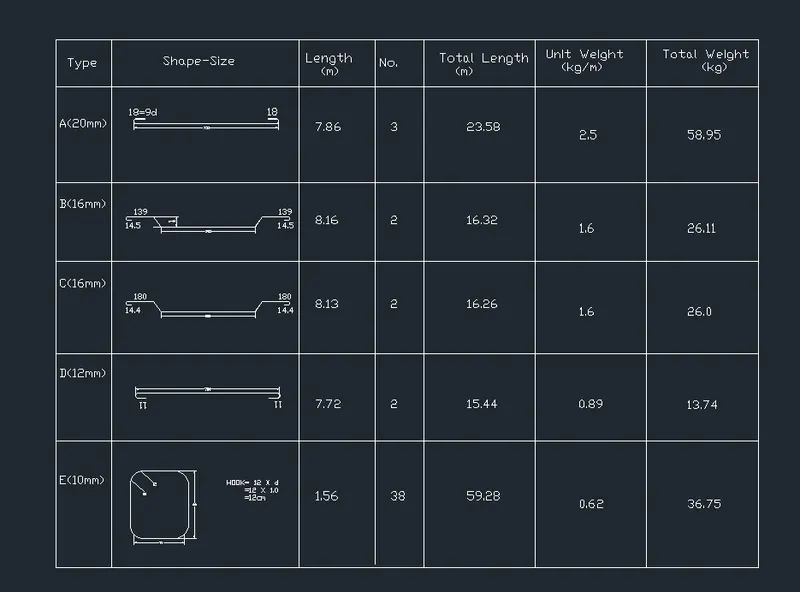
Creating Bar Bending schedule, Different Door types, and Creation of standard drawing templates using AutoCad
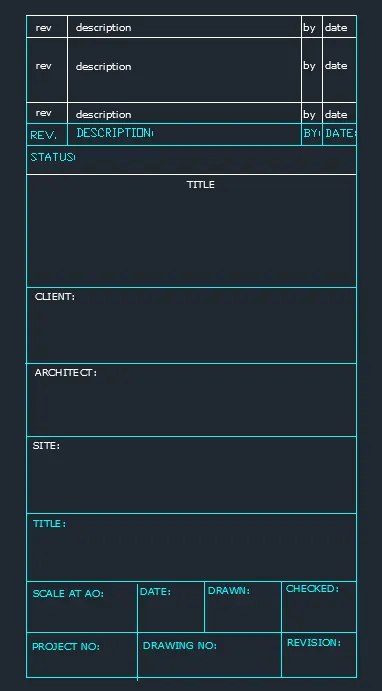
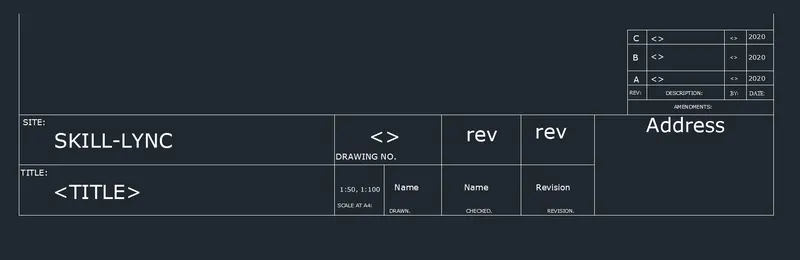
1. Create the templates as shown in Figures. Take the size of the title block as per industry standards or you can assume it as per the size of the paper. Use text and attributes wherever required. After creating the title block you need to save it as a block with names: Custom1_titleblock and Custom2_titleblock, respectively.
Aim:- To create the template as given in the figure.
Introduction:- Block- A block in auto cad is something which is created to represent any particular component of the drawing which can be repeatitively used when it is saved using the block command.
Attribute:-Attributes definition is nothing but the text which are used inside a block so that it can be edited for the similar blocks once they are use in any drawing.
Procedure:- Start with the autocad⮕ set any unit type as here in this drawing dimensioning is not a concern⮕analyse the screen required for the drawing and set the screen size using limmax⮕Zoom⮕ all⮕ now the screen is ready for the drawing.
- The given template can be created using the line, offset ,trim,extend and attribute definition.
- First the table is created using the tools like line,offset,trim,extend then the texts are oprovided.
- Some texts in any templates are such that it is only used for the particular project,but some texts in any template which can be used repeatitavely so, for those texts here we can use attribute definition.
- using "atdef" as command⮕ a dialouge box will get openfor attribute definition⮕give the required "tag,prompt,default" information and make the text settings just given below then⮕enter ok⮕locate the attribute at the required location.⮕similarly create for other texts also
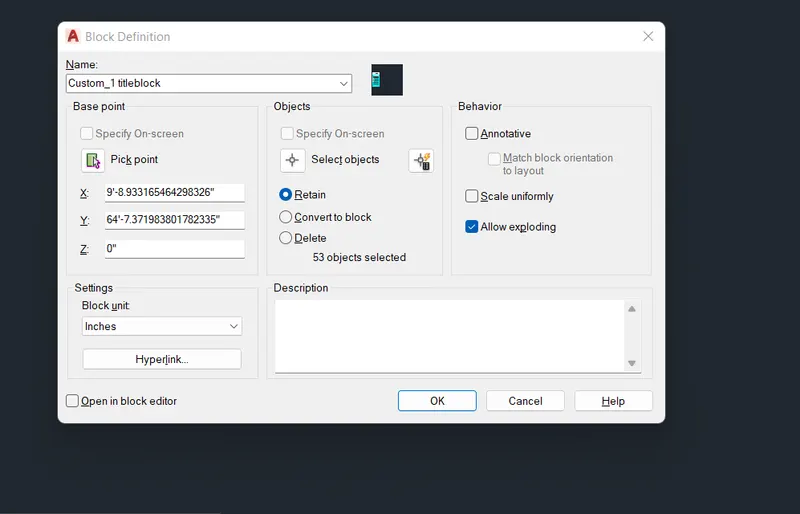
- After creation of the text attributes and other texts and table of titleblock⮕save the template with the name suggested in the question as Custom1_titleblock as block using B for the block command⮕a dialouge box for block definition will get open⮕use pick point in the block ⮕then,it will ask for selecting the objects⮕select those objects which is required in the block⮕check for the retain option , retain-if the retain option radio button is checked then after saving the block,the block will remains retained on the screen but if delete option is checked then the block will get created but it will get deleted from the screen⮕the block can be inserted using "insert" command.
Result:-The resultant snaps for the above procedure followed are as follows:-
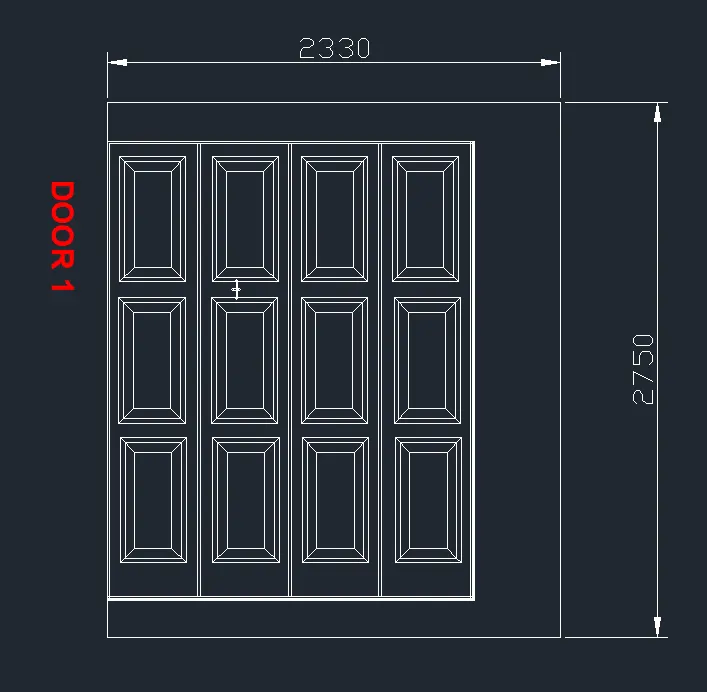
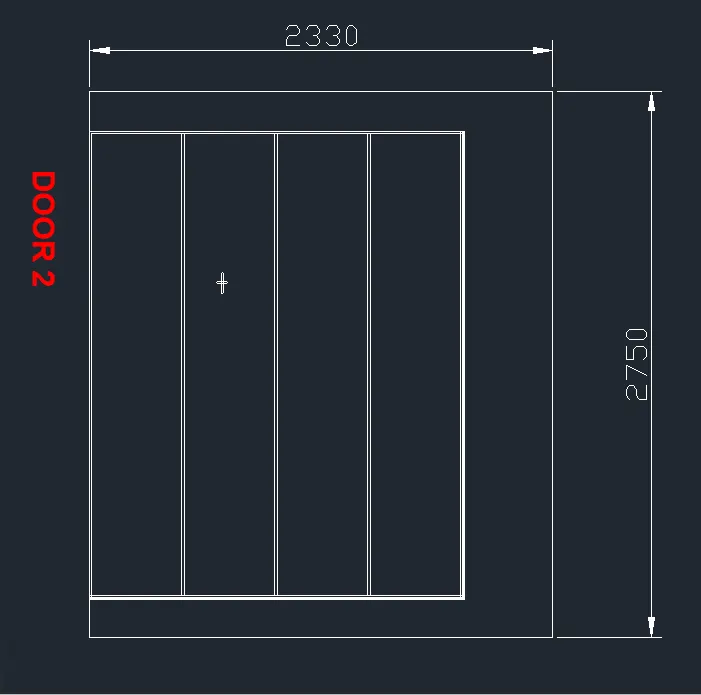
2. Create the doors type for warehouse as shown in the Figure. You need to create each door type as per standard size or given dimensions. Create the blocks of this door type after creating them.
Aim:- To create the door frame type as given in the figure.
Procedure:- Start with the autocad⮕ set the unit in decimal with 0 as precision and choose milimeter as insertion unit⮕analyse the screen required for the drawing and set the screen size using limmax⮕Zoom⮕ all⮕ now the screen is ready for the drawing.
- create a rectangle as @2330,2750.
- the dimensions which are not given is suitably assumed and offset of the rectangle is taken in such a way that it suitably match with the given fig.
- again a rectangle is taken to create the middle panels and make copies of it and suitably drawn inside the bigger rectangle.
- creating the lock using rectangle and lines.
- the below door panel with the same dimension is also created lookalike.
- Snap of the panels are tasken.
Result:- The resultant lookalike drawing of D1 and D2 is as follows.
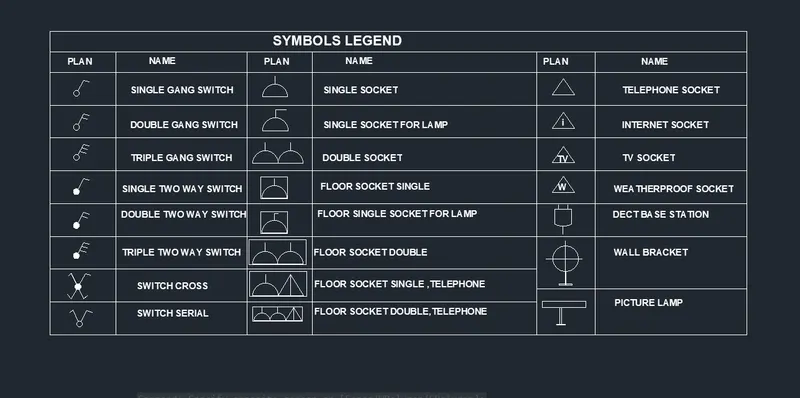
3. Create each symbol as a block with the name given in the legend. After creating the blocks arrange them in the legend as shown in the Figure.
Aim:- To create the template as given in the figure.
Introduction:- Block- A block in auto cad is something which is created to represent any particular component of the drawing which can be repeatitively used when it is saved using the block command.
Attribute:-Attributes definition is nothing but the text which are used inside a block so that it can be edited for the similar blocks once they are use in any drawing.
Procedure:- Start with the autocad⮕ set any unit type as here in this drawing dimensioning is not a concern⮕analyse the screen required for the drawing and set the screen size using limmax⮕Zoom⮕ all⮕ now the screen is ready for the drawing.
- Firstly,create the table using the drawing tools like line and the modification tools such as offset,trim and extend.
- After creating the table all the symbols of the legend is created with there respective names and are arranged in the legend table.
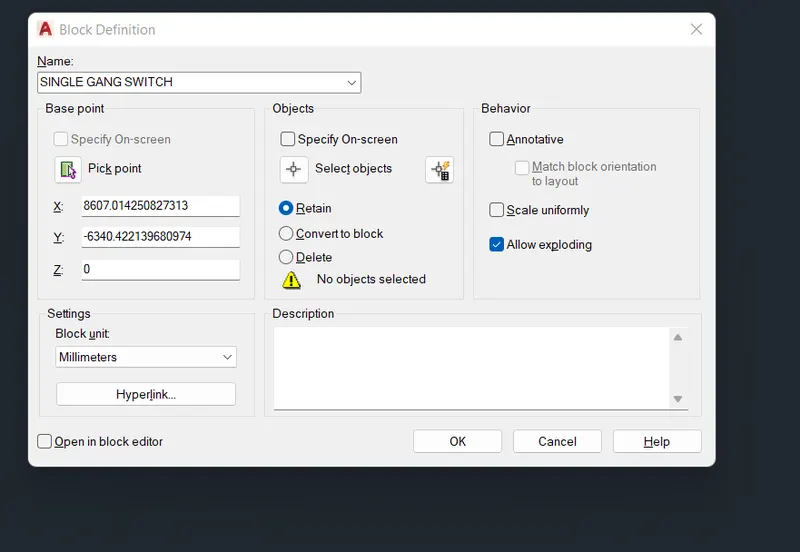
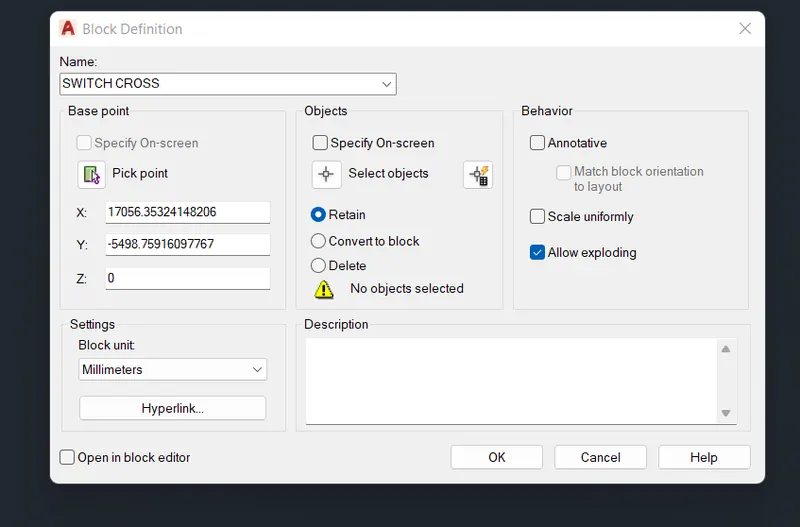
- just create the symbol first and then type B for the block command⮕a dialouge box for block definition will get open⮕use pick point in the block ⮕then,it will ask for selecting the objects⮕select those objects which is required in the block⮕check for the retain option , retain-if the retain option radio button is checked then after saving the block,the block will remains retained on the screen but if delete option is checked then the block will get created but it will get deleted from the screen⮕the block can be inserted using "insert" command and are well arranged in the legend table.
Result:- Some of the snaps of creating block for different names are as follows and the final arranged symbols legend snap is also as follows,
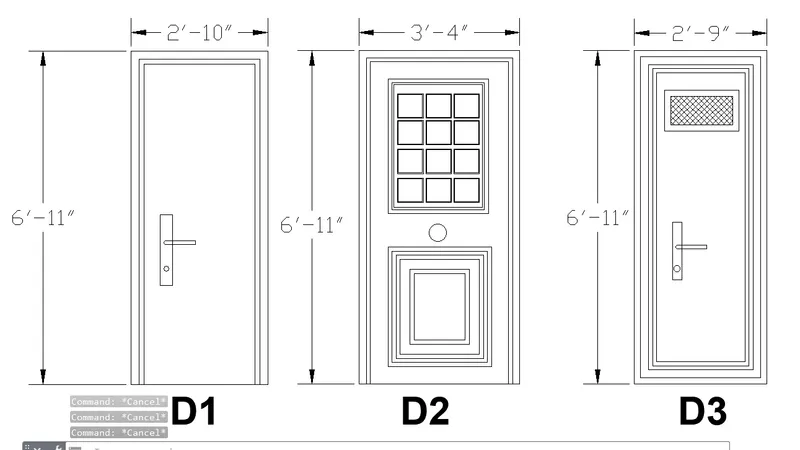
4. Create the door type for residential building as a block. Save the name of the blocks as type. Use given dimensions or assume dimensions as per industry standards.
Aim:- To create the doors as given in the figure.
Procedure:-
- Start with the autocad⮕ set any unit type as feet and inches and keep the ionsertion unit as inches⮕analyse the screen required for the drawing and set the screen size using limmax⮕Zoom⮕ all⮕ now the screen is ready for the drawing.
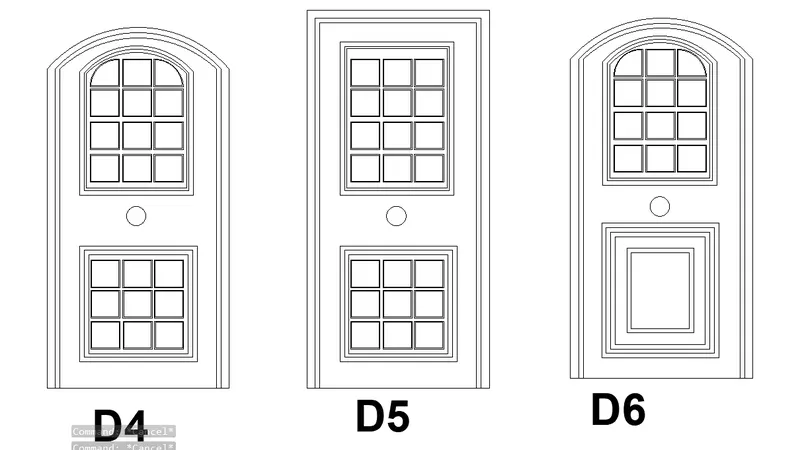
- using the draw tools like line,arc,rectangle and the modification tools like offset,trim,extend can be used extensively to create the door panels as shown in the figure.
- hatching is also used in one of the door:To hatch-type H⮕hatc creation will get open select the hatching pattern abnd set the suitable lookalike scale then hatch the closed rectangular panel is hatched.
- Fillet tool is used to create the arcs in some of the doors.
Result:-The snaps of the doors are as follows with there dimensions.
5. Create each shape as a block as shown in the Figure. Save the block and insert them on the table as shown in the Figure.
Aim:- To create the given shape as block and arrange them by inserting into the legend table.
Procedure:-
- Start with the autocad⮕ set any unit type as decimal with precision as 0 and keep the insertion unit as milimeters.⮕analyse the screen required for the drawing and set the screen size using limmax⮕Zoom⮕ all⮕ now the screen is ready for the drawing.
- Firstly,create the table using the drawing tools like line and the modification tools such as offset,trim and extend.
- After creating the table all the symbols of the legend is created with there respective names and are arranged in the legend table.
- just create the symbol first and then type B for the block command⮕a dialouge box for block definition will get open⮕use pick point in the block ⮕then,it will ask for selecting the objects⮕select those objects which is required in the block⮕check for the retain option , retain-if the retain option radio button is checked then after saving the block,the block will remains retained on the screen but if delete option is checked then the block will get created but it will get deleted from the screen⮕the block can be inserted using "insert" command and are well arranged in the legend table.
Result:- The resultant legend is as follows,