Simple Drop test Simulation on a Smartphone model using LS DYNA
Objective:
- To create a complete simulation file from the given file having just nodes and elements of two parts to perform a drop test.
- INITIAL_VELOCITY card is to be used to give velocity specifications for the cellphone.
- The orientation of the cellphone is also important and there are specific guidelines on how to orient the products but for this assignment, we will ignore that.
- The objective of this assignment is not to get a correct simulation but to get a feel of creating an input deck from scratch
Procedure:
1. Open the given k file into LS Dyna Preprocessor software.
2. The model will look like this:
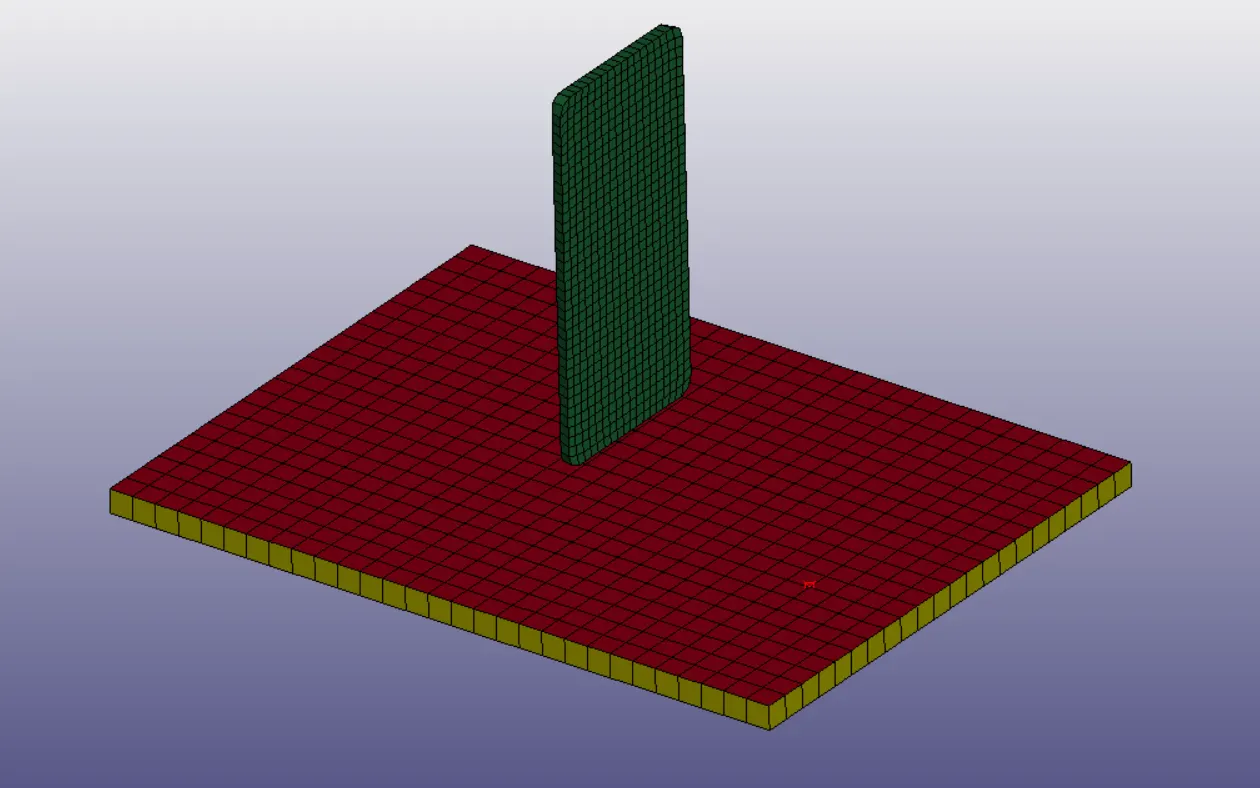
3. On careful inspection of the model, we can see that there are three parts -> the Mobile Phone (solid elements), the ground (elements) and a shell layer on top of the solid elements on the ground.
4. For the drop test we do not need both the 2D shell layer and the 3D ground. Either one will suffice.
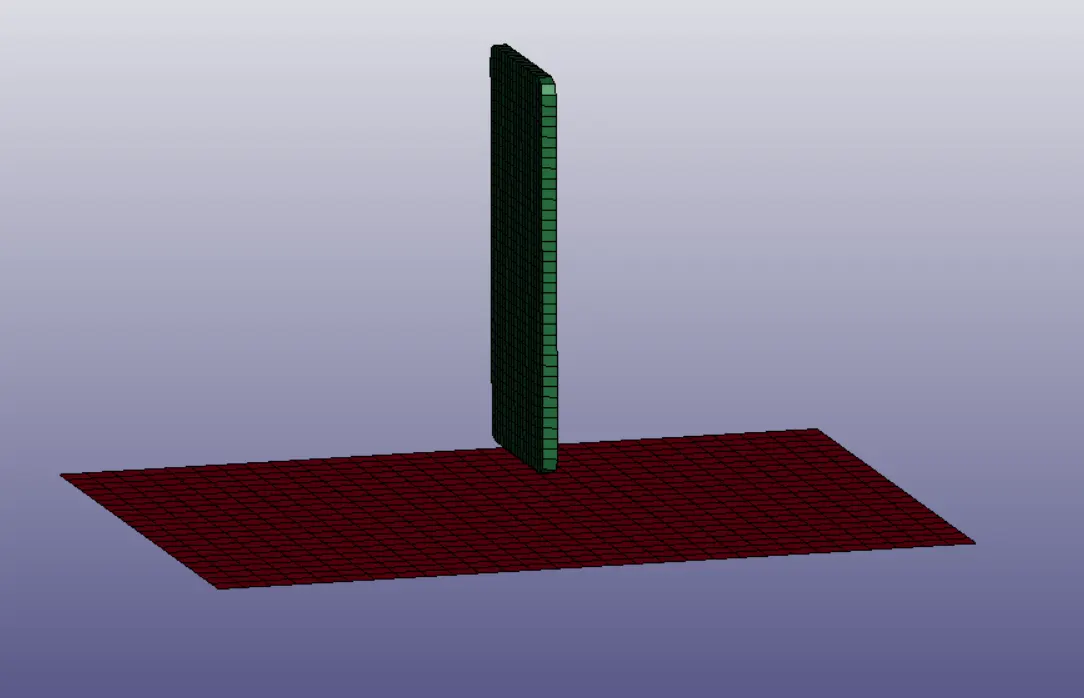
5. Hence we delete the solid element ground part.
6. The model will then look like this:
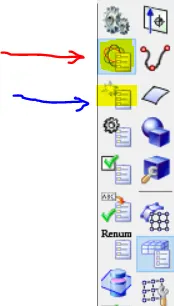
7. To create and view Keywords we have two options on the Model and Part tab on the right hand toolbar.
8. These options are shown below as Keyword manager and Create Entity.
9. Using these two options, the following Keywords have been created.
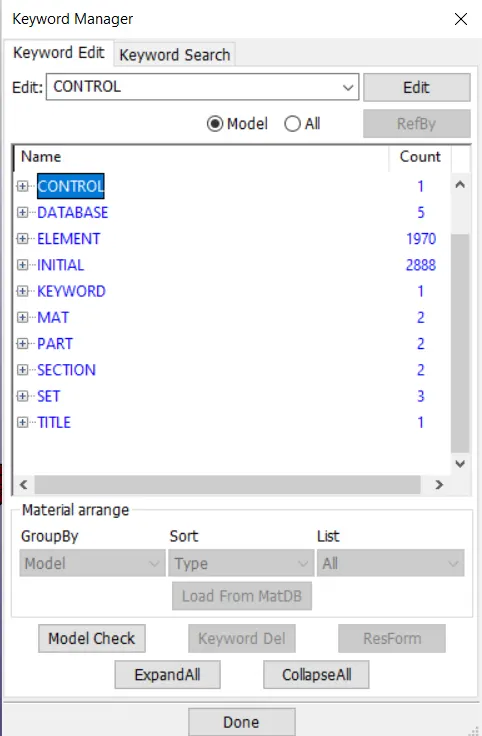
10. We will now look at these Keywords in detail and what they do in the simulation.
Control:
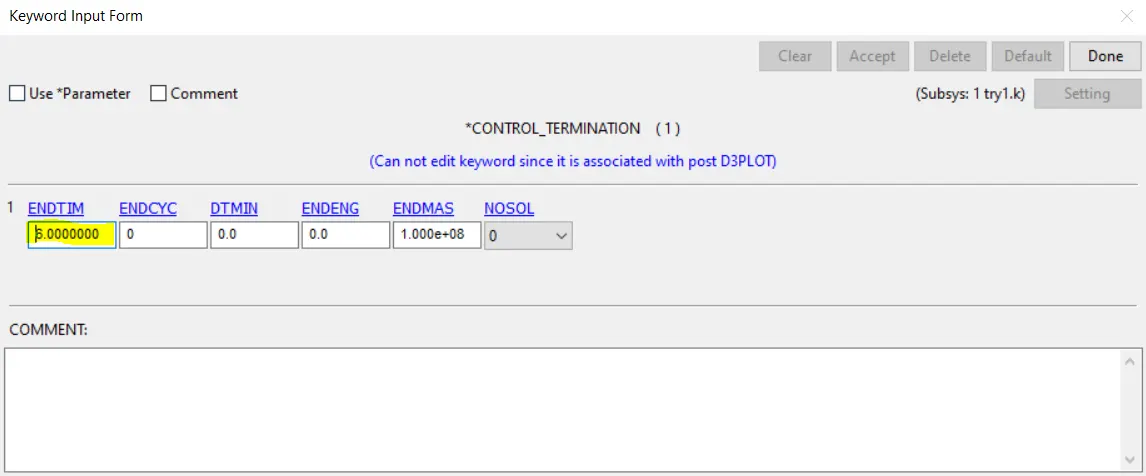
11. This keyword is used to control the time for which the simulation is run.
12. In the ENDTIM box, we can fill in the total time we have to simulate the given problem.
13. Here we simulate the given problem for 6 ms.
Database:
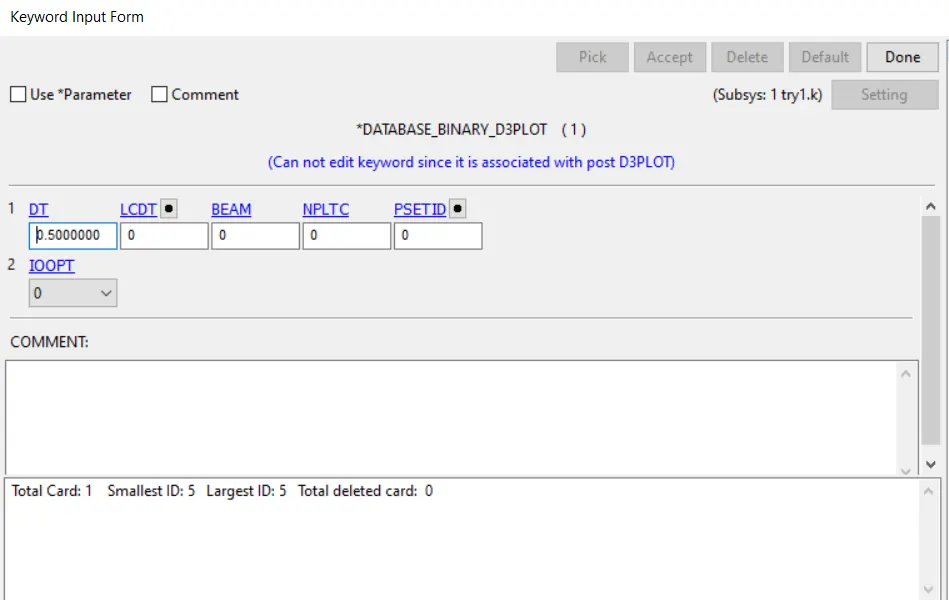
14. This keyword is used to control the time steps in which the d3plot file needs to be written.
15. In other words, the value of DT determines the smoothness of the animation of the simulation.
Initial Velocity:
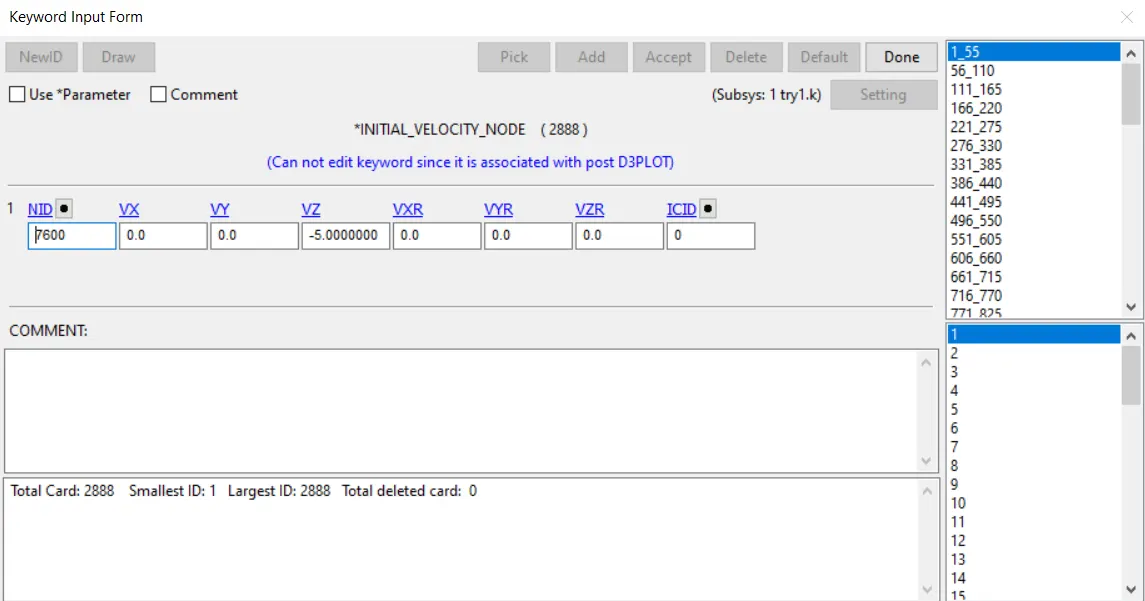
16. This keyword is used to assign a velocity on the Mobile phone elements such that it falls onto the ground elements.
17. A good way to define this velocity is by assigning the nodes into a set and then defining the velocity onto that set. This method is especially useful in larger models.
18. We assign a velocity of -5 along the negative z axis to simulate falling.
MAT
19.This keyword is used to assign material cards onto the elements.
20. By going to the Keyword manager and going to the "all" option, we get a list of all the available MAT cards.
21. For this simulation we assign 024-Piecewise Linear Plasticity for the Mobile and 020-Rigid for the ground and assign the material properties as required.

Section:
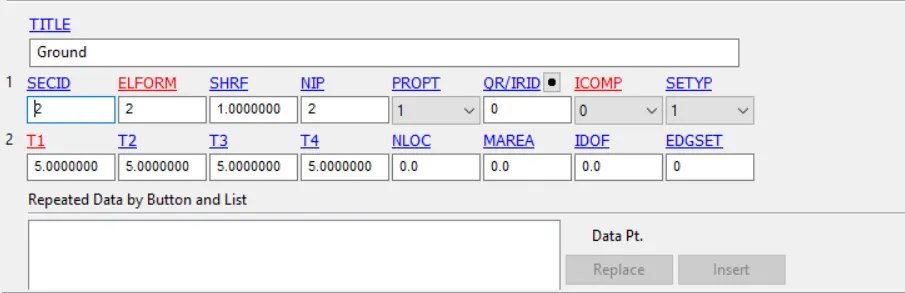
22. This keyword is used to set the section properties for the elements.

23. We have two types of elements in the model - Shell and Solid
24. For this we need to assign the section properties. The shell is assigned a thickness of 5 as shown below.
Boundary:
25. The Boundary keyword is used to set Single Point Constraints on the elements (ground)

26. Since the ground is a rigid body, we set an SPC on the set of nodes
Contact:
27. The Contact keyword is used define the contact that takes place between two parts/same part in the case of self contact.

28. Here we use the Automatic Surface to Surface contact and assign the Mobile as the slave nodes and the Ground as the Master nodes.
29. After setting up the Input deck, we open the LS Dyna program manager and open the k file and run the simulation.
30. Afetr the simulation is run, we get an animation of the simulation.
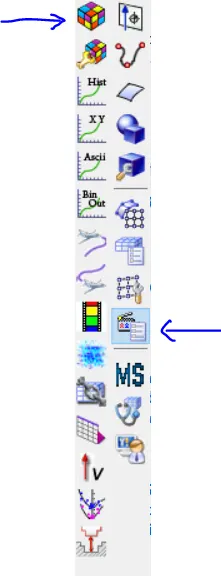
31. In the Post tab, select the Fringe component option.
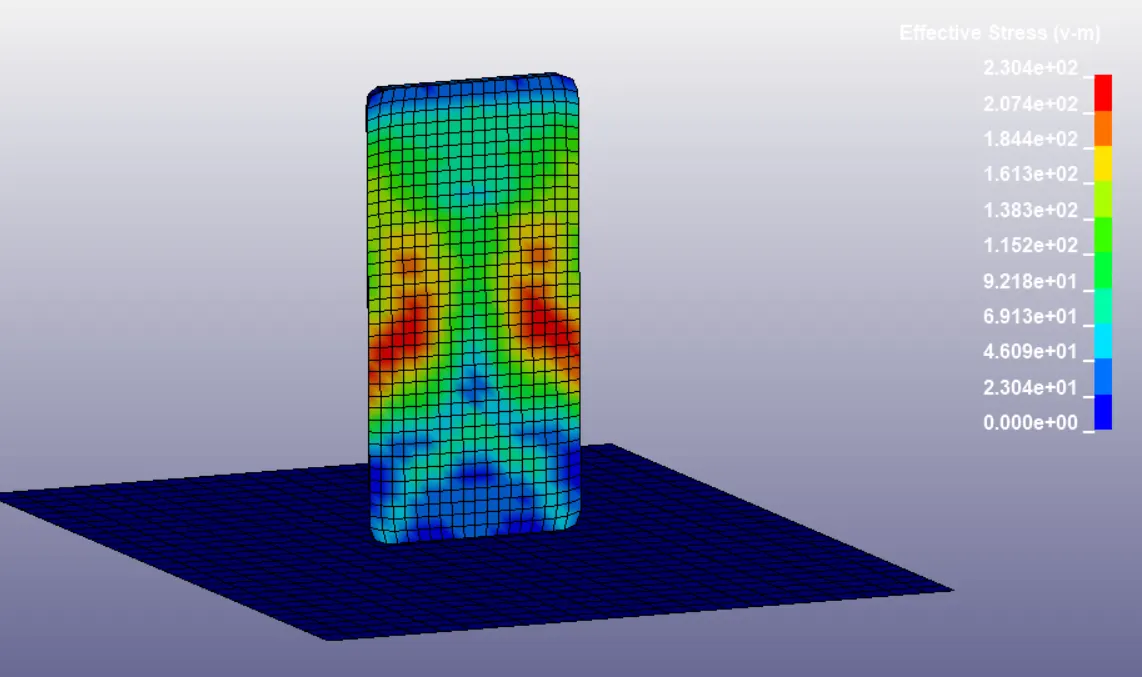
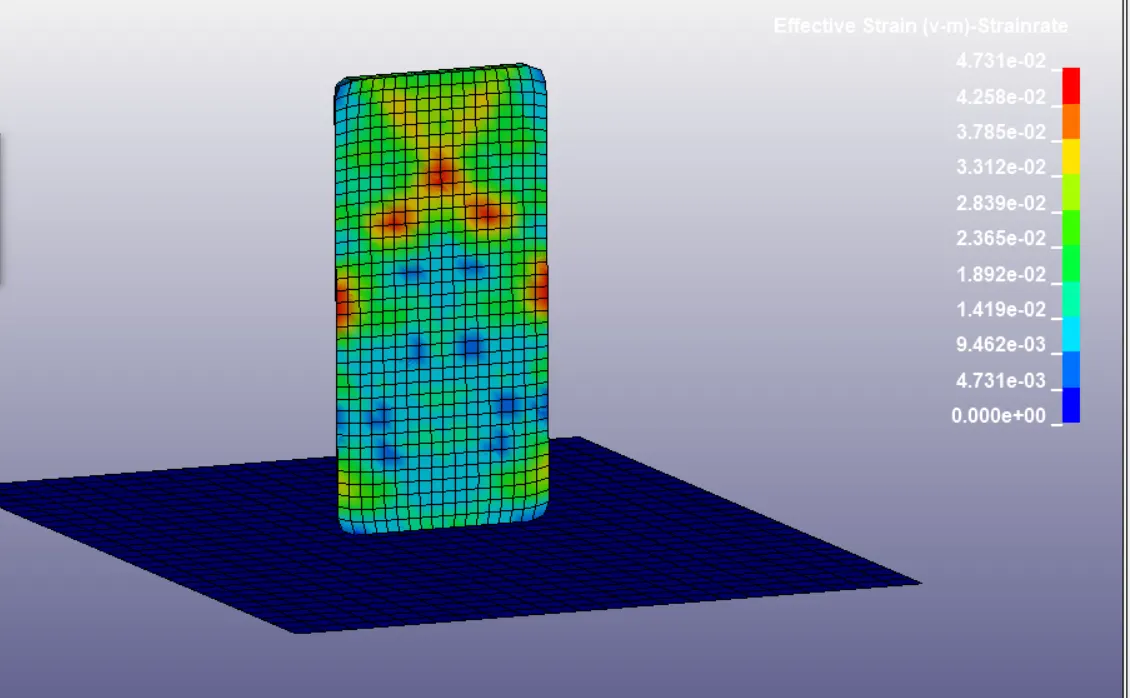
32. Below is the Stress and Strain contours of the simulation at the point of impact:
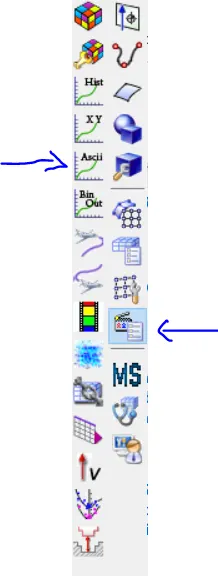
33. We can plot the energies by going to the ASCII option as shown below and selecting the plots that are required. (For this, the ASCII Keyword needs to be defined prior to running)
34. Here we have plotted the Total, Kinetic and Internal Energy of the system.
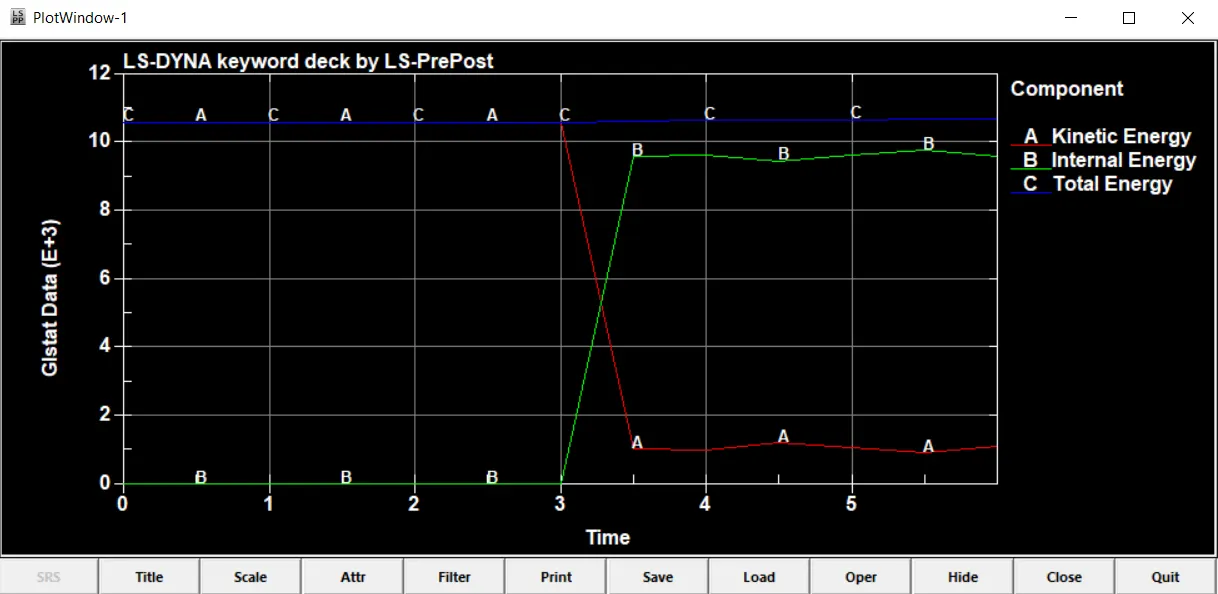
Observations from the graph:
- We observe that the Laws of conservation of energy is met in this simulation.
- The Kinetic energy remains constant till around 3 ms which is when the mobile comes in contact with the ground and then there is a sudden decrease.
- Simultaneously at this moment we see the Internal energy shoot up to absorb all of the Kinetic energy.
- Total Energy remains constant.
Learning Outcomes:
- Setting up the Input Deck for a simulation
- Learnt the meaning and function of Keywords such as MAT, CONTROL, DATABASE, BOUNDARY, etc.
- Learnt how to view different results as contours in the animation.
- Learnt how to plot the results obtained as graphs.
Results:
The Drop test was simulated using the models that were given and the Animation was recorded and the Energy graphs were plotted.