Week 2 Challenge : Surface meshing on a Pressure valve
Objective:
For the given model, check for the geometrical errors and perform Topology cleanup accordingly. Set three different target lengths as three different cases and mesh the model.
- Target length = 1mm, 3 mm, and 5 mm (i.e. 3 cases)
- Element type = Tria
Apply any target length from the above at a time for the entire model as One case. Submit 3 different models for 3 cases. Write a detailed report on your meshing process and mention which case is giving good results and the reason.
Solution:
We get a geometry from a link above then we proceed for pre-processing. And they imported the file and this is what it looked like before to clean up.
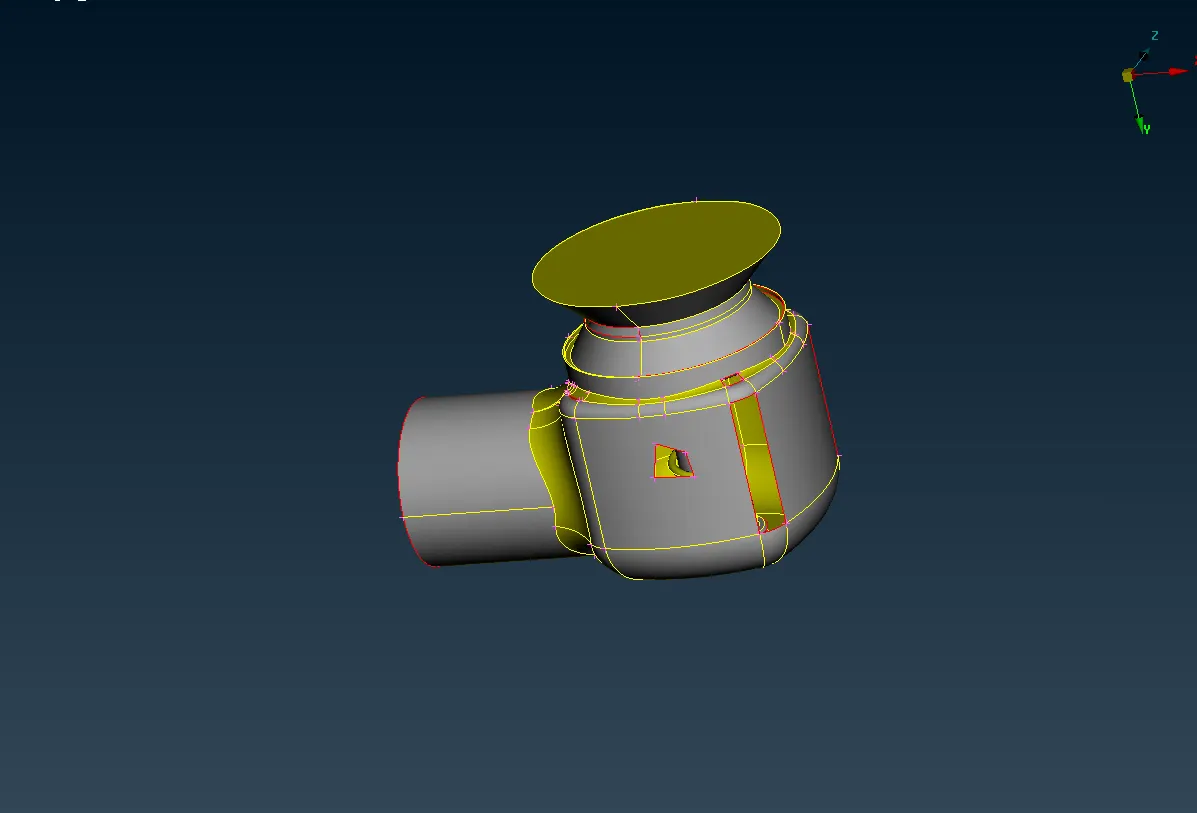
As you can see here the geometry requires a lot of cleanup as there are a lot of patches on the surface that we can see the interior of it from outside. This will lead to unreliable results and it won't be able to proceed with the simulation process.
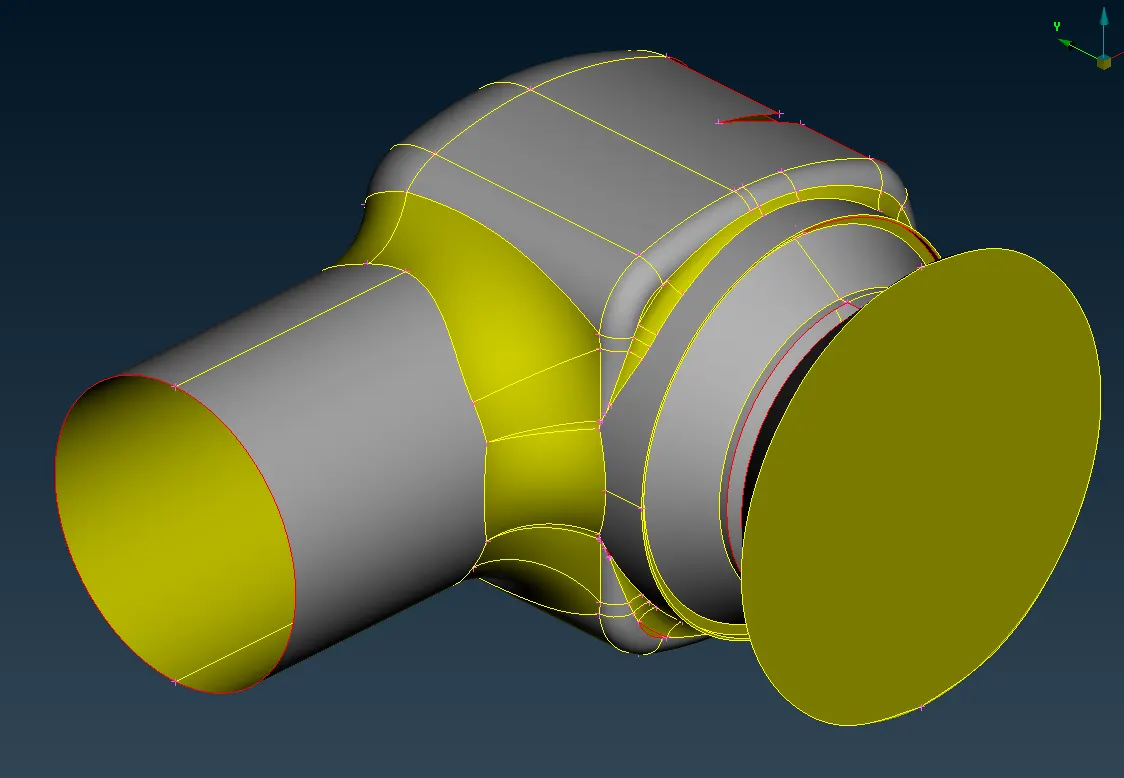
so we move on to the clean-up part.
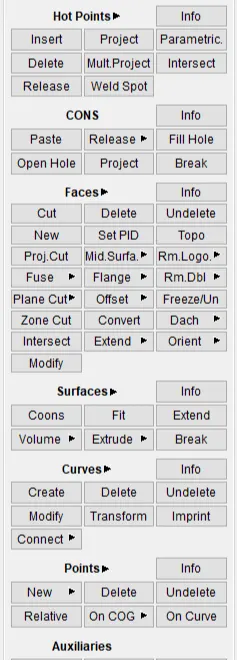
here are a few tools that we look into to proceed
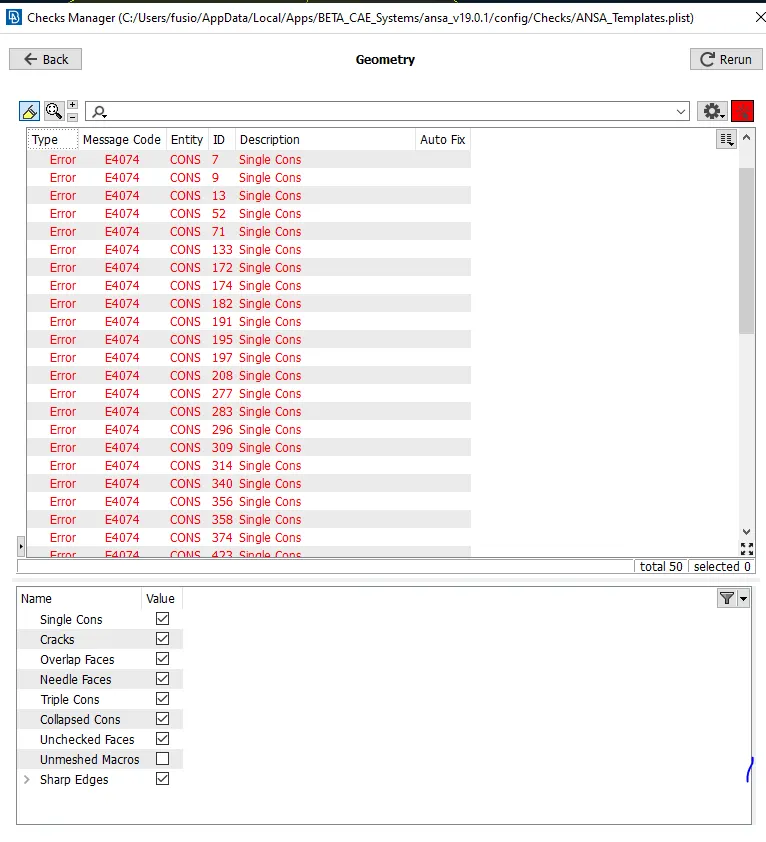
and we check geometry for errors the below SS displays the types of errors this geometry has that need cleaning up.
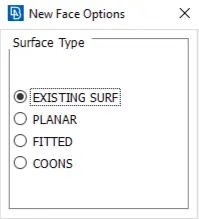
we select < New (faces) < select edges or cons < Middle click(scroll). to complete the action and then to patch every hole that displays like the model with a red line across the hole.
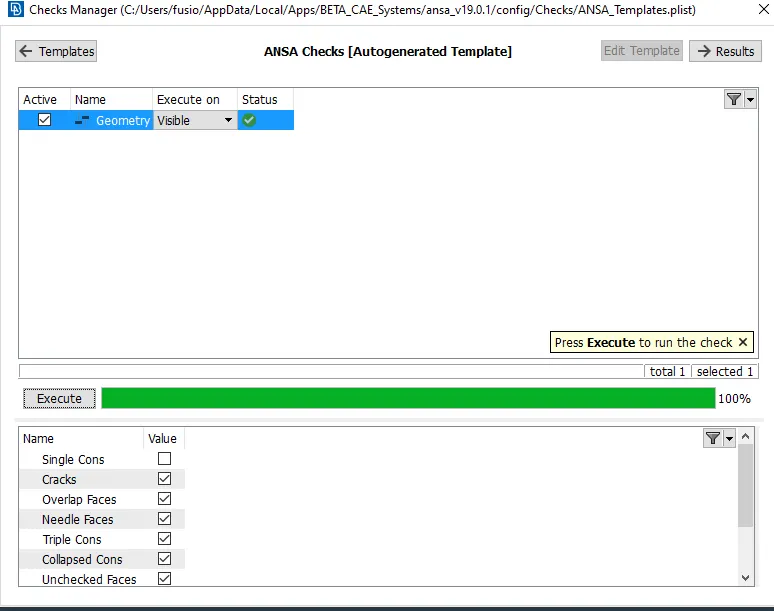
as we patch all holes we check the geomrty and it should check all the parameters with a green check like below that way we know this geometry is cleaned up.
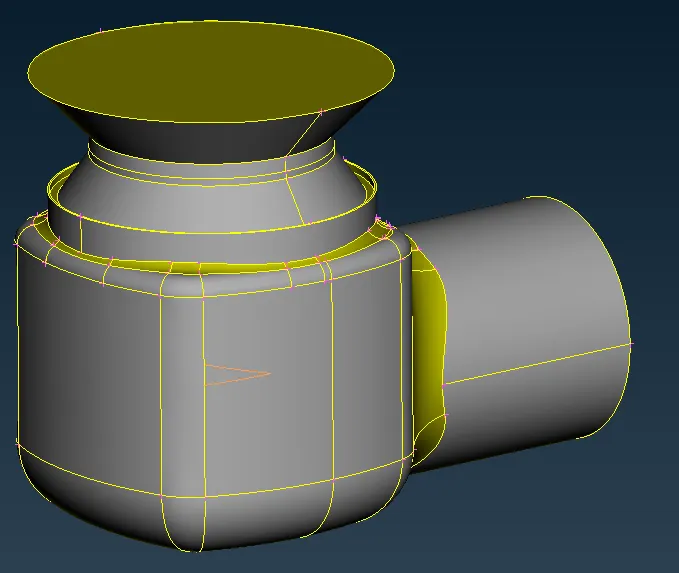
this is what it looks like after clean-up.
and then we move on to mesh it. For this, we have 3 cases for mesh lengths of 1mm, 3mm, and 5mm. We click this tool to go for mesh 
and select the target leth with Macros and perimeter from the New perimeter.
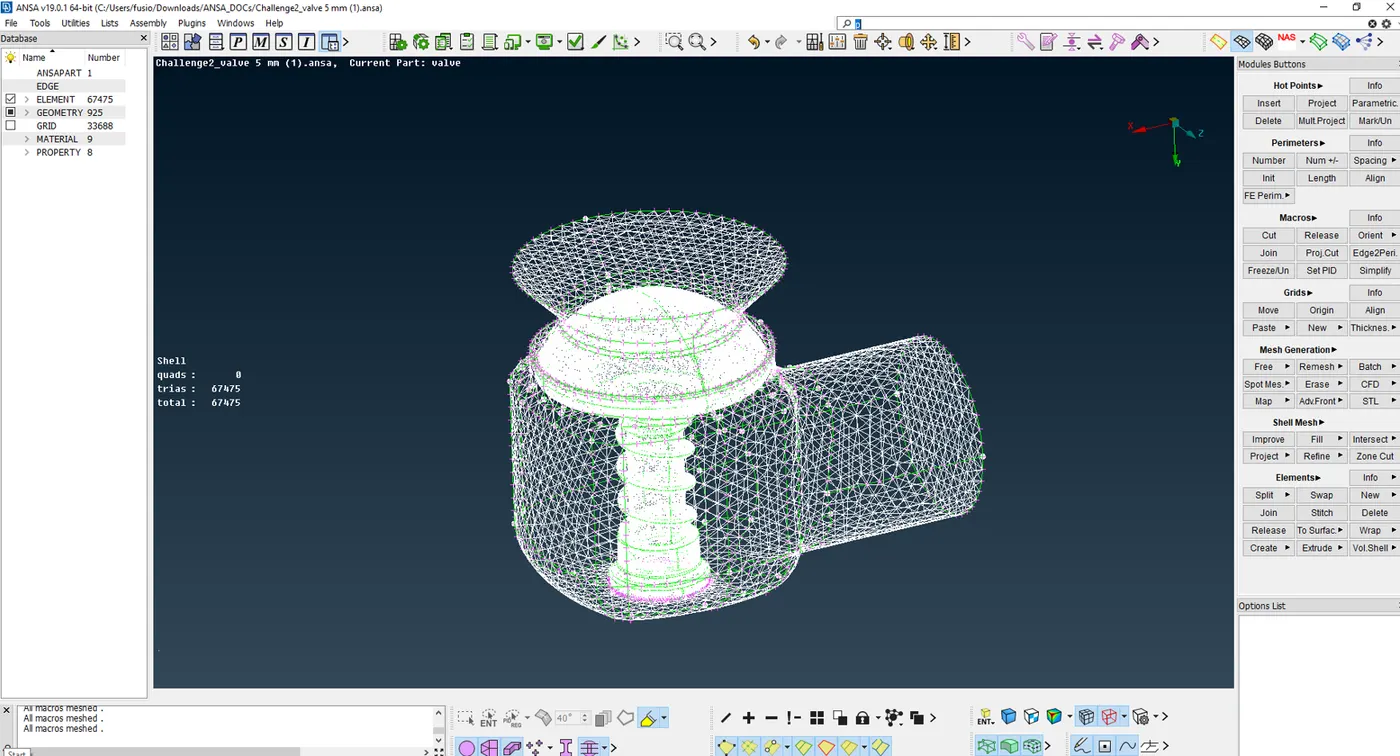
we then add the size in mm of length to proceed with the mesh and this is what we achieve for mesh. But before we move on to mesh we set PIDs to establish specific parts of the geomtery.
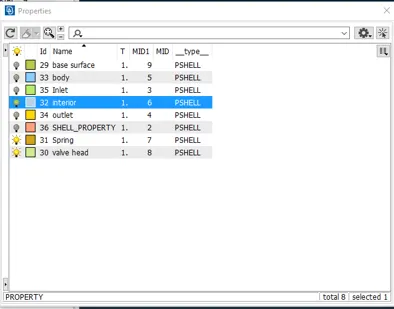
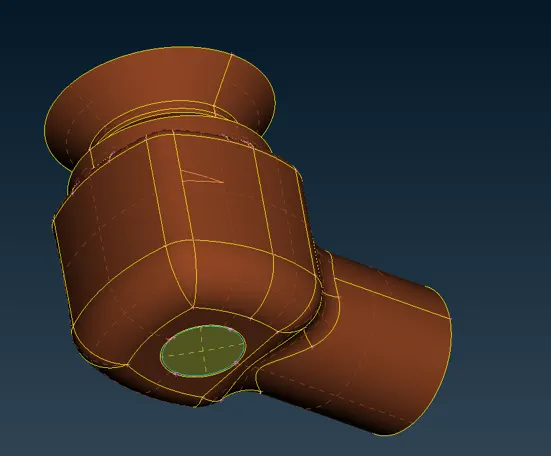
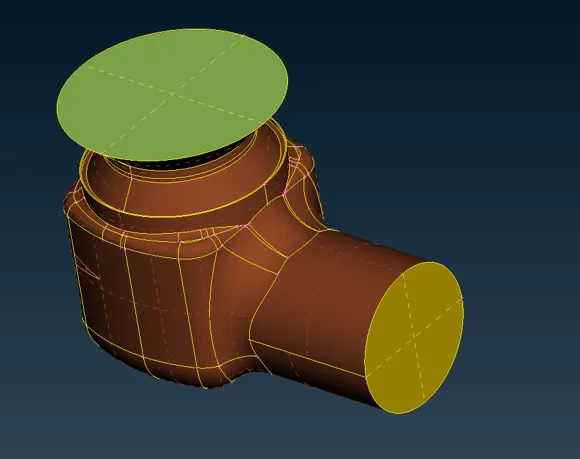
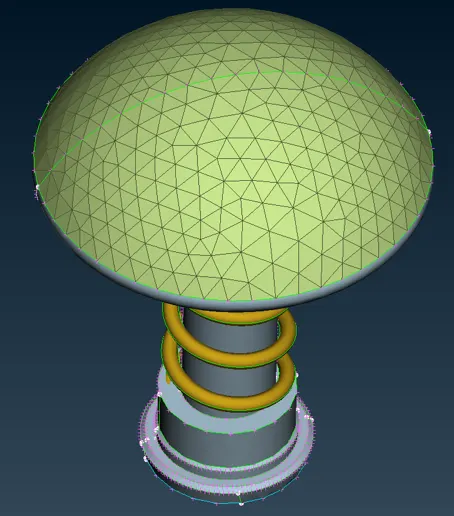
this is the interior column of the geomrty which is being set PIDs.
now the cases of mesh.
case 1: 5 mm with tria elements
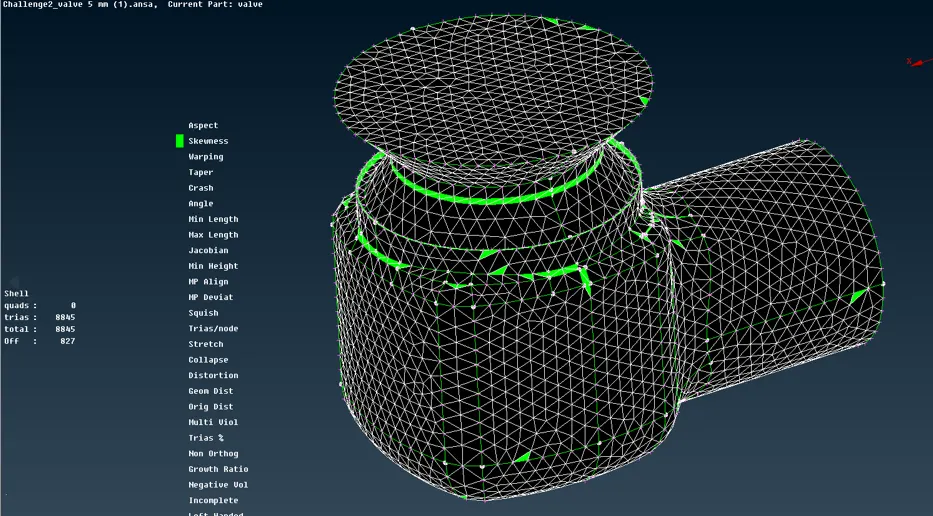
Case 2: 3mm with tria
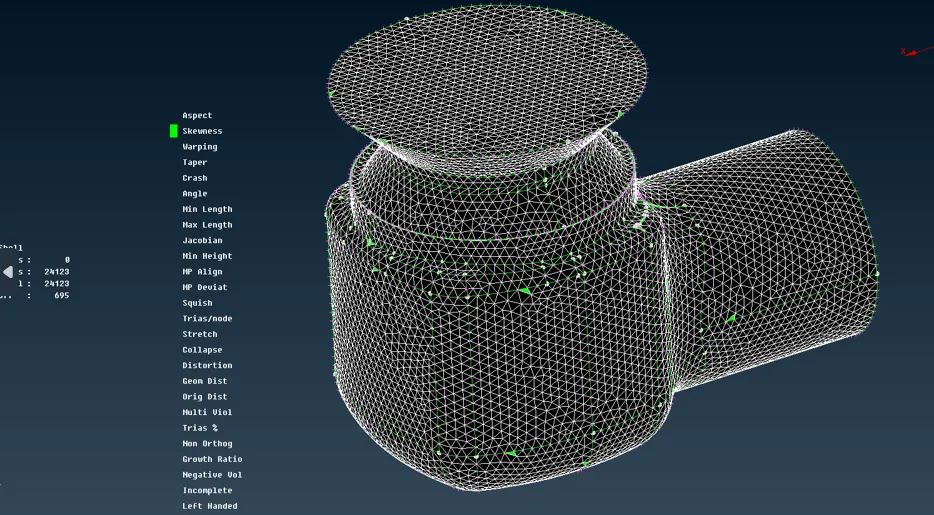
Case 3: 1mm with tria
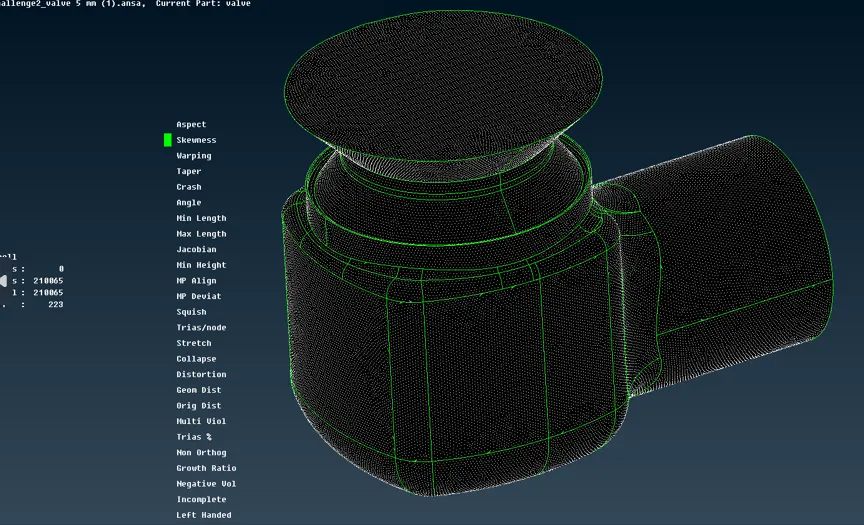
Conclusion:
As we see here we have 3 cases of mesh size of 1, 3, and 5 mm. We are sure that the coarsest mesh would be 5mm which will take less computational time than 3mm and 1mm. And 1mm has he refined one. the finest mesh. which will take more computational time on the domain. So to say which will be considerable and give correct results will be all 3 of them. at the cost of computational time. In regards to meshin the 1mm will produce the more accurate results because it can captured finly on the curves too. But again it all depends on the requirement of how we want water we want. 5mm mesh would give basic results correctly like flow-weighted region reports. But If we want a more detailed report on HTC and thermal conditions then we go for 1mm at the cost computational power. Whereas 3mm would also give results on both ends correctly. The mesh results always depend on the requirement and how fast we want it accurately.