week-11 Joint creation and Demonstration
Joint Creation and Demonstration
Aim: To create translational, cylindrical, revolute, and spherical joints between a pair of bodies and demonstrate their working in LS-Dyna. Since the purpose of this project is just to demonstrate how joint cards are created in LS-Dyna, the geometries between which the joints are created have been kept simple and minimalistic.
Geometry: For the translational joint, two pairs of cubical shell structures are created. For the cylindrical and revolute bodies, two pairs of cylindrical shell structures are created. For the spherical joint, two pairs of concentric spheres are created with 30mm and 25mm radius. Hald the elements of the outer sphere are then deleted using the element edit tool.
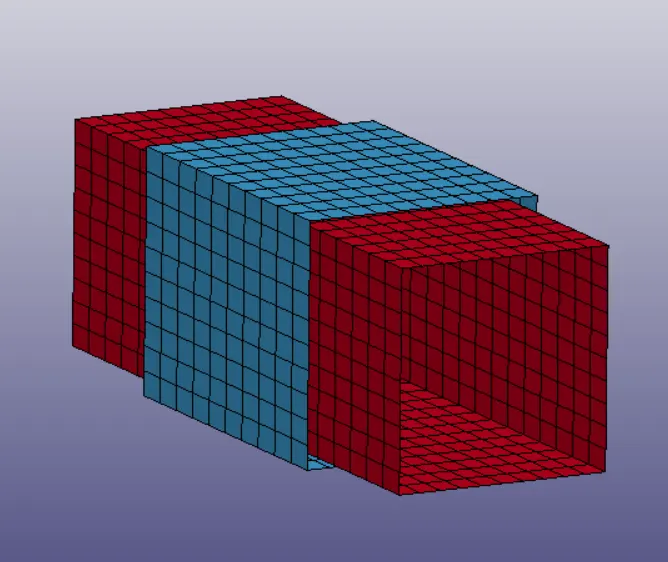
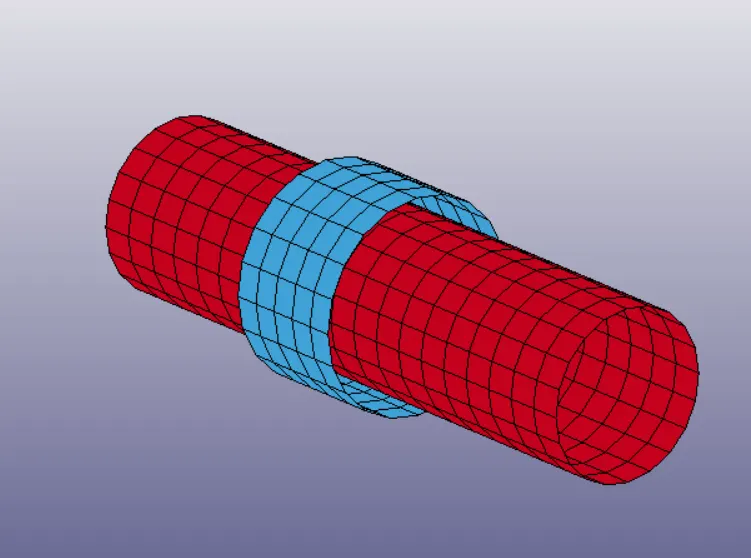
Figure1: Geometrical setup for translational joint Figure 2: Geometrical setup for cylindrical and revolute joints
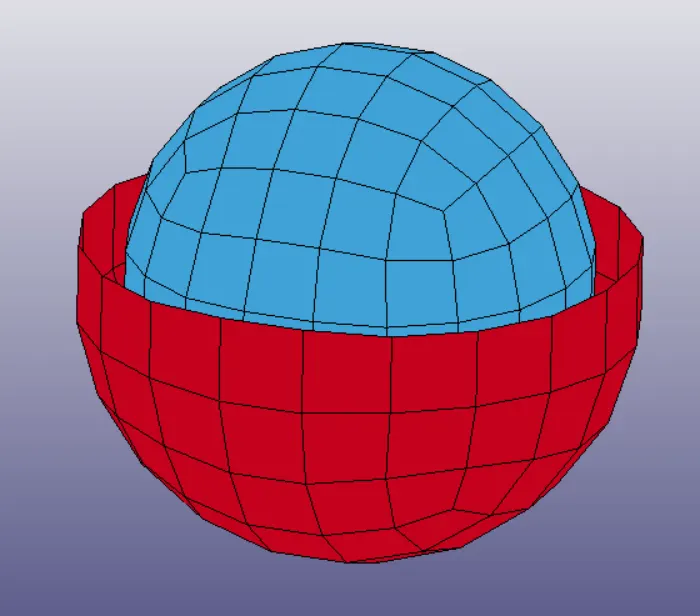
Figure 3: Geometrical setup for spherical joint
Material Model: Each of the four types of joints mentioned above, has been created in two ways - between a pair of rigid bodies and between a pair of deformable bodies. The rigid bodies have been assigned MAT_Rigid material card with the following properties:
| Sl No | Material Property | Magnitude | Unit |
| 1 | Density | 7.85e-06 | kg/mm3 |
| 2 | Young's Modulus | 210 | GPa |
| 3 | Poisson's Ratio | 0.3 | - |
Table 1: Material Properties for MAT_Rigid
For the deformable setup, the two parts are assigned MAT_Piecewise_Linear_Plasticisty card with the following properties:
| Sl No | Material Property | Magnitude | Unit |
| 1 | Density | 7.85e-06 | kg/mm3 |
| 2 | Young's Modulus | 210 | GPa |
| 3 | Poisson's Ratio | 0.3 | - |
| 4 | Yield Strangth | 0.28 | GPa |
| 5 | Tangent Modulus | 0.35 | GPa |
Table 2: Material Properties for MAT_Piecewise_Linear_Plasticity
Meshing: All parts are meshed with quad elements with the default Belytschko-Tsay element formulation and 5 integration points along the thickness of the element. The elements are given a thickness of 2mm.
Joint Definition: As a starting point, the node pairs for the joints are defined. Here, each pair of nodes have the same coordinates in space. The individual nodes of a pair are assigned to the connecting bodies between which the joint is created. The node pairs for each of the joints is shown below:
- Translational joint: This requires 3 pairs of coincident nodes - 2 defining the axis of translation and the third one is set at an offset point to lock rotational movement between the two bodies. The six nodes defined here are 2000-2005 with nodes (2000, 2002 and 2004) being assigned to the other body and nodes (2001, 2003 and 2005) being assigned to the inner part.
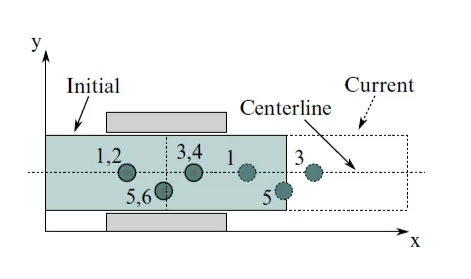
Figure 4: Sample description of the nodes definition in translational joints
- Revolute Joint: This requires only 2 pairs of coincident nodes defining the centerline/axis about which the two parts can rotate. No translation is allowed. The nodes defined here are 2000-2003 with 2000 and 2002 being assigned to the outer part and 2001 and 2003 being assigned to the inner part.
- Cylindrical Joint: This has been derived from the revolute joint by relaxing the constraints on its axis, so the parts can also translate along the defined axis. The definition of coincident nodes is the same as in the case of revolute joint.
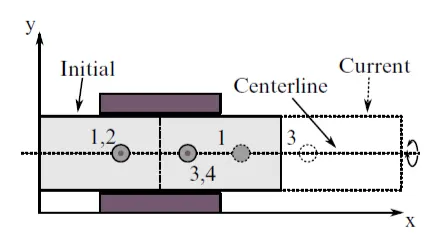
Figure 5: Sample description of the nodes definition in cylindrical joints
- Spherical Joint: Here only 2 coincident nodes are required to define the joint. The two nodes remain coincident implying that only rotation about all the three axes is permitted. The nodes defined for the revolute joint in this project are 2000 and 2001 with 2000 being assigned to the outer part and 2001 being assigned to the inner part.
Apart from this, the joint modelling approach for the rigid parts and deformable parts is different:
- Rigid Parts: The coincident nodes are assigned to their respective parts using Constrained_Extra_Nodes_Set. The joints are defined using Constrained_Joint_Translational/Revolute/Cylindrical/Spherical which takes up the nodes used for the joints.
- Deformable Parts: Here the coincident node pairs are attached to their respective parts through Constrained_Nodal_Rigid_Bodies with the coincident joint nodes forming the master node of these CNRBs. The joints are then defined using Constrained_Joint.
Boundary Conditions: Here the parts are provided a velocity or displacement only i.e. no constraints are applied. The boundary conditions are also applied differently for the rigid and deformable cases:
- Rigid parts: The Prescribed_Motion_Rigid card is used to define the motion. Curves are defined for the translation and/or rotation and assigned in LCID. The analysis is run in Implicit mode in this case.
- Deformable Parts: Here the Initial_Velocity card is used to assign the translation and/or rotation. The analysis is run in explicit mode.
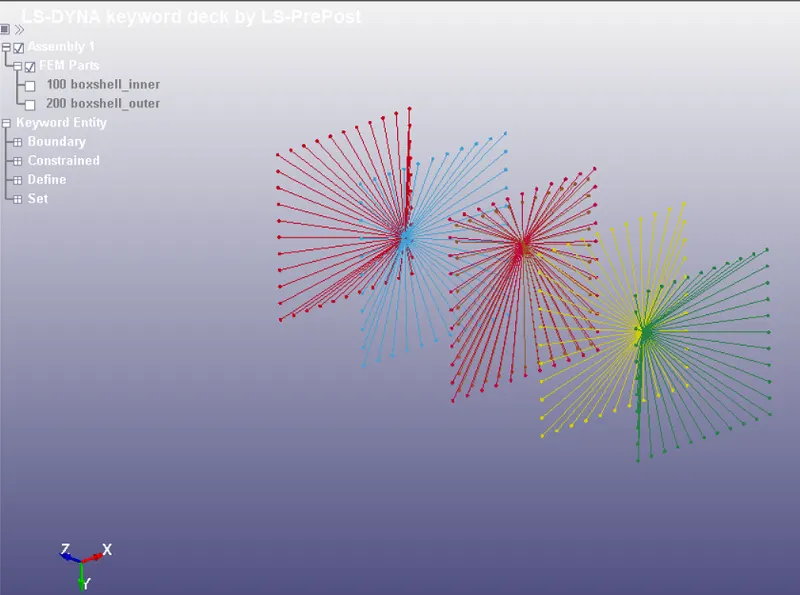
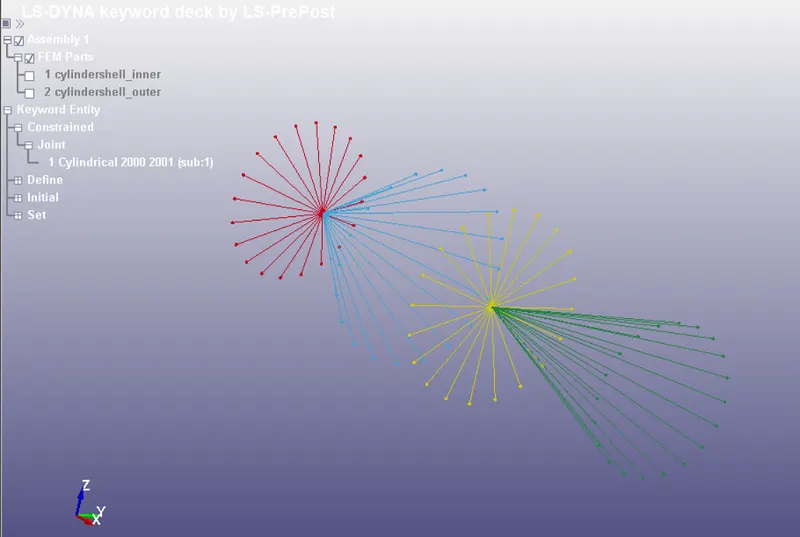
Figure 6: CNRBs defined for translational joint Figure 7: CNRBs defined for cylindrical and revolute joints
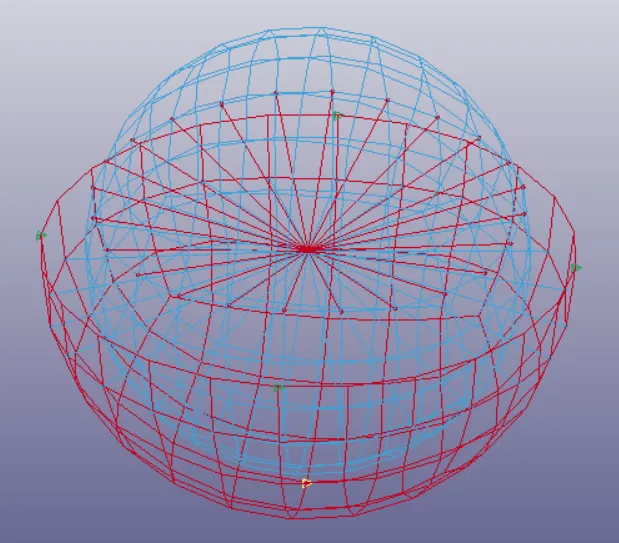
Figure 8: Rigid bodies defined for deformable spherical joint
The boundary condition for each of the joints is described below:
- Translational: A prescribed translational motion of 20mm (rigid case) and an initial velocity of 50mm/ms (deformable case) is provided to the inner part along the positive Z-direction.
- Cylindrical: Here, along with the translational motion (but along X), a prescribed angular rotation (20mm) and an initial rotational velocity of 50mm/ms (deformable case) is provided about the X-axis.
- Revolute: A prescribed angular rotation of 20mm (rigid case) is provided to both the inner and outer parts but in opposite directions. For the deformable case, angular velocities of 50mm/ms are provided to the parts.
- Spherical: Here prescribed angular rotation of 20mm (rigid case) is provided to both the inner and outer parts along all the global axes. For the deformable case, an initial velocity of 150mm/ms is provided to the inner part only about the y axis. The nodes selected for the initial velocity definition were on the plane perpendicular to the y-axis. Similarly, rotational velocities can be provided about the other axes as well by selecting the nodes lying perpendicular to the rotation axis.
Analysis Settings: All simulations are run for 5ms with binary and ASCII files being requested at intervals of 0.2ms. For the implicit run, a constant time step of 0.2ms was used.
Results: The pictographic representation of each of the joints is as shown in Figures 9, 10, 11 and 12. These figures show the case of rigid body joints only. The only difference in deformable bodies, in terms of visual representation, will be the presence of nodal rigid bodies.
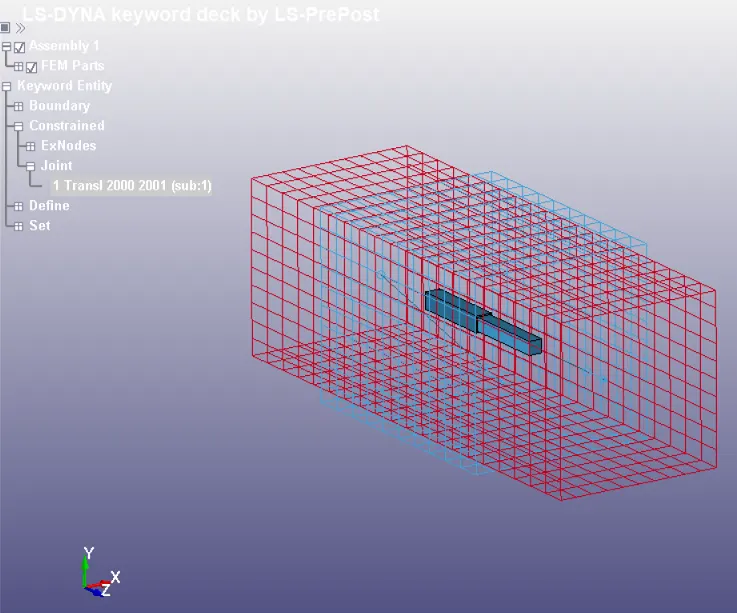
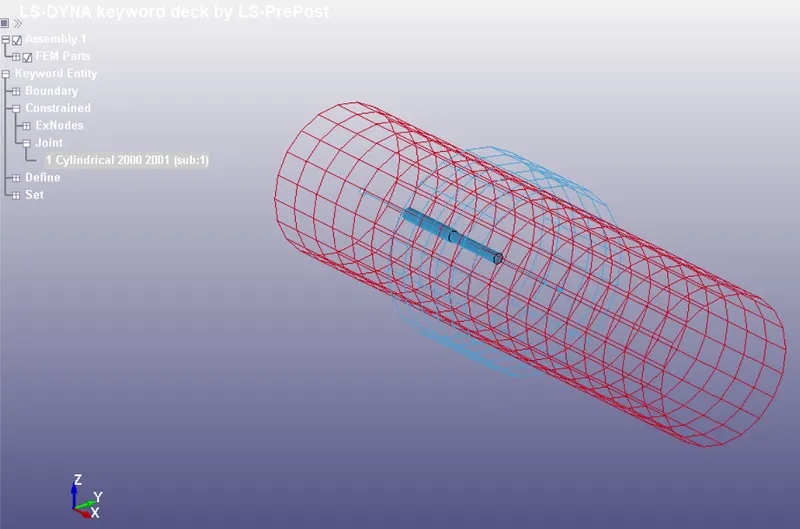
Figure 9: Translational joint Figure 10: Cylindrical Joint
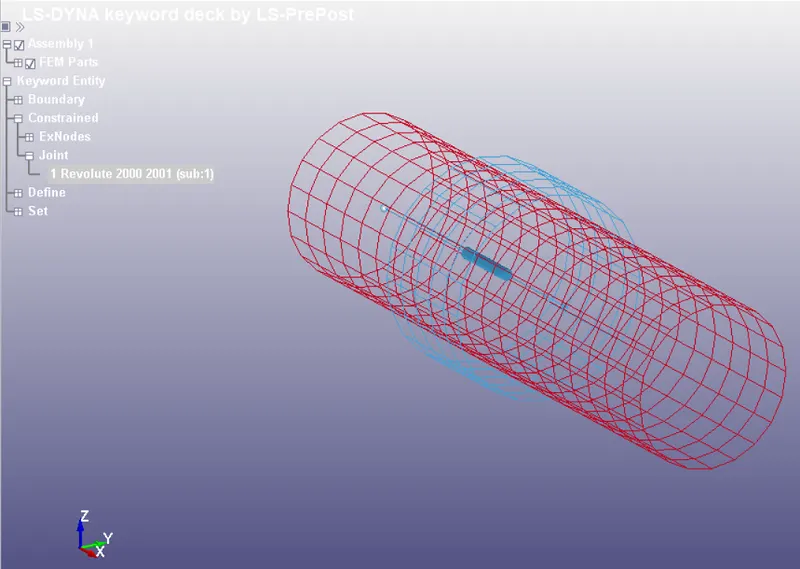
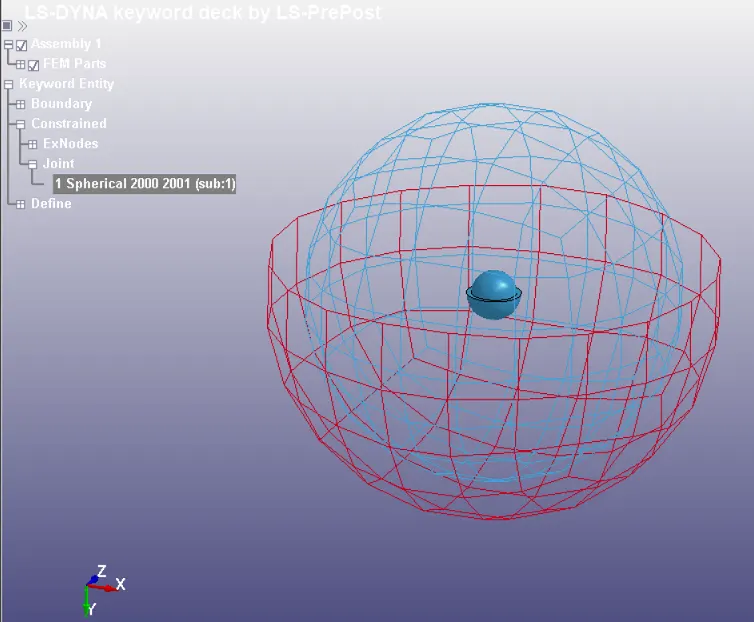
Figure 11: Revolute Joint Figure 12: Spherical Joint
The animations for each of the rigid and deformable joints are as shown below:
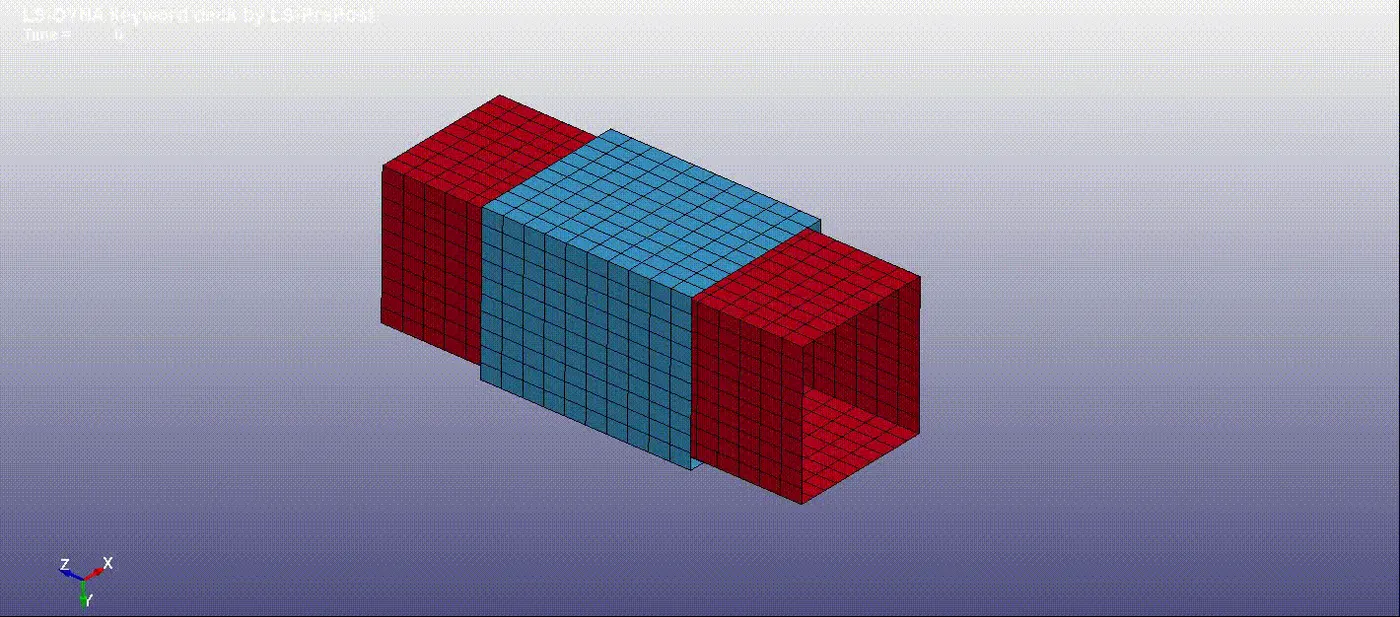
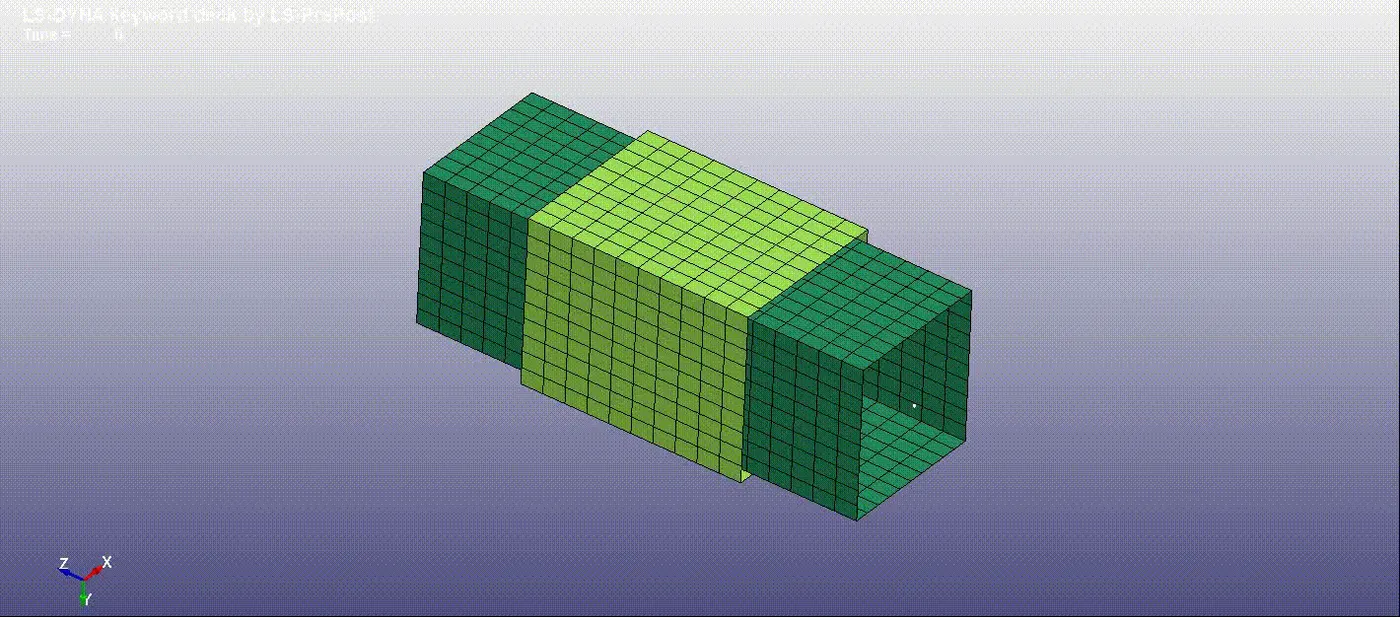
Figure 13: Rigid Translational Joint animation Figure 14: Deformable Translational Joint animation
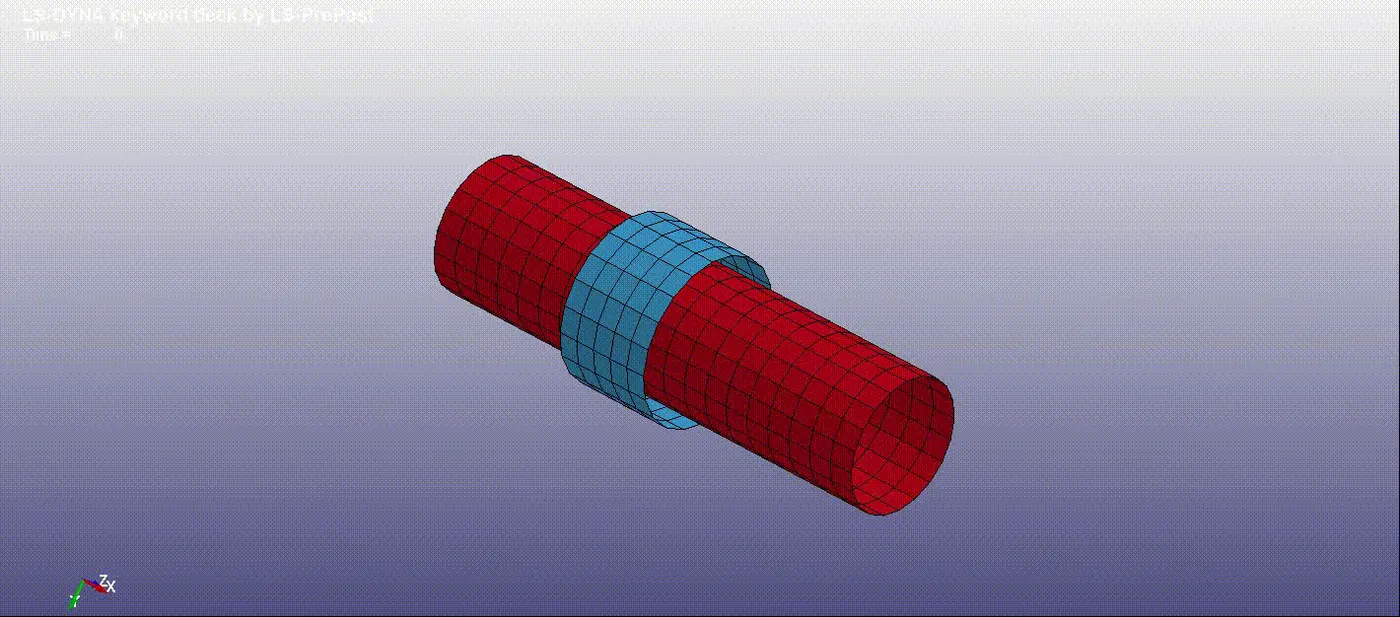
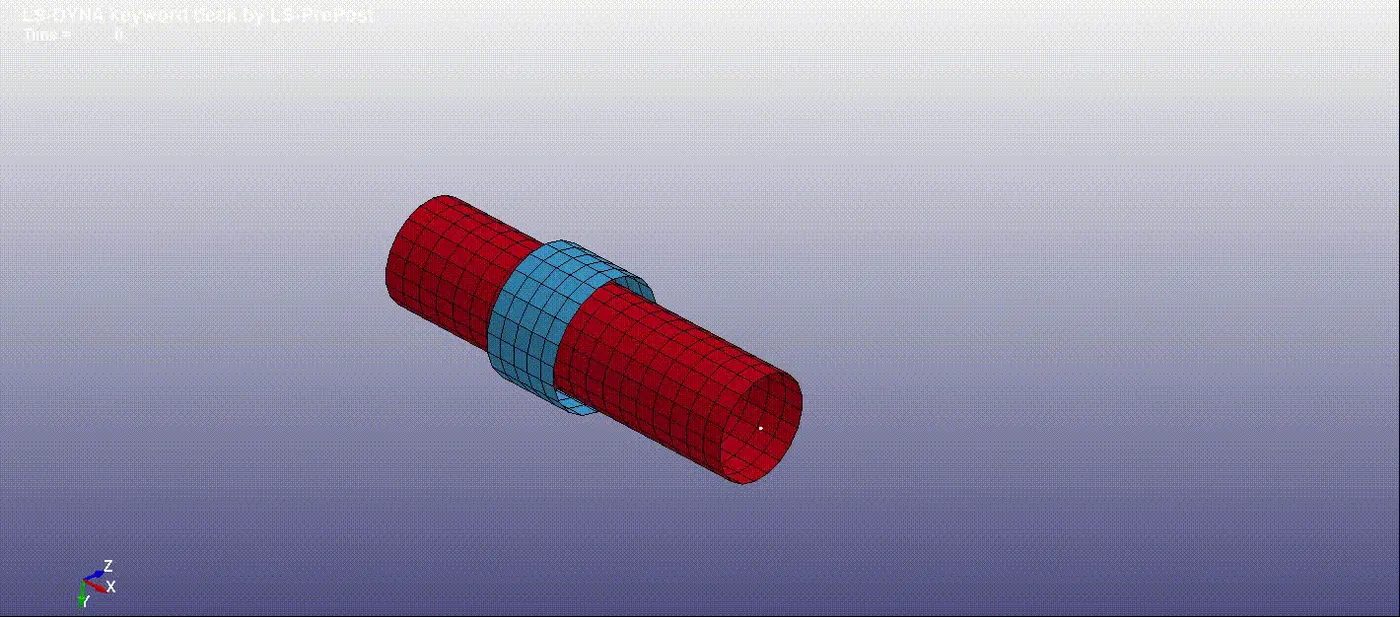
Figure 15: Rigid Cylindrical Joint animation Figure 16: Deformable Cylindrical Joint animation
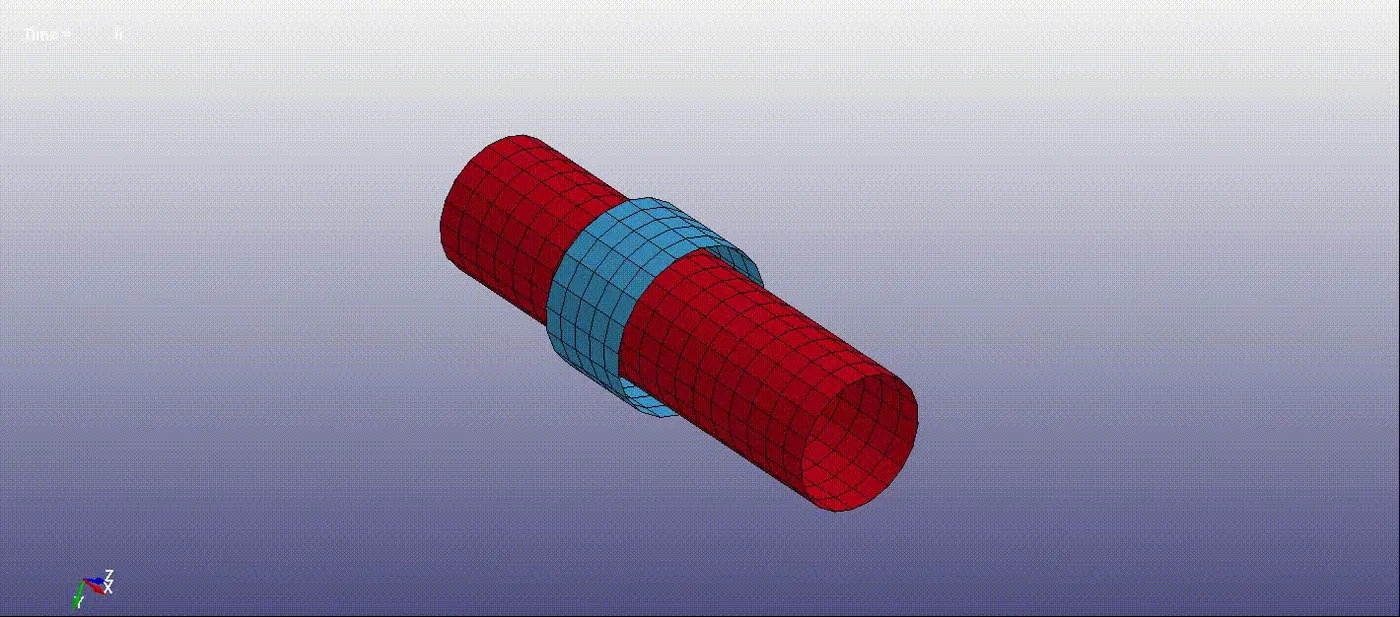
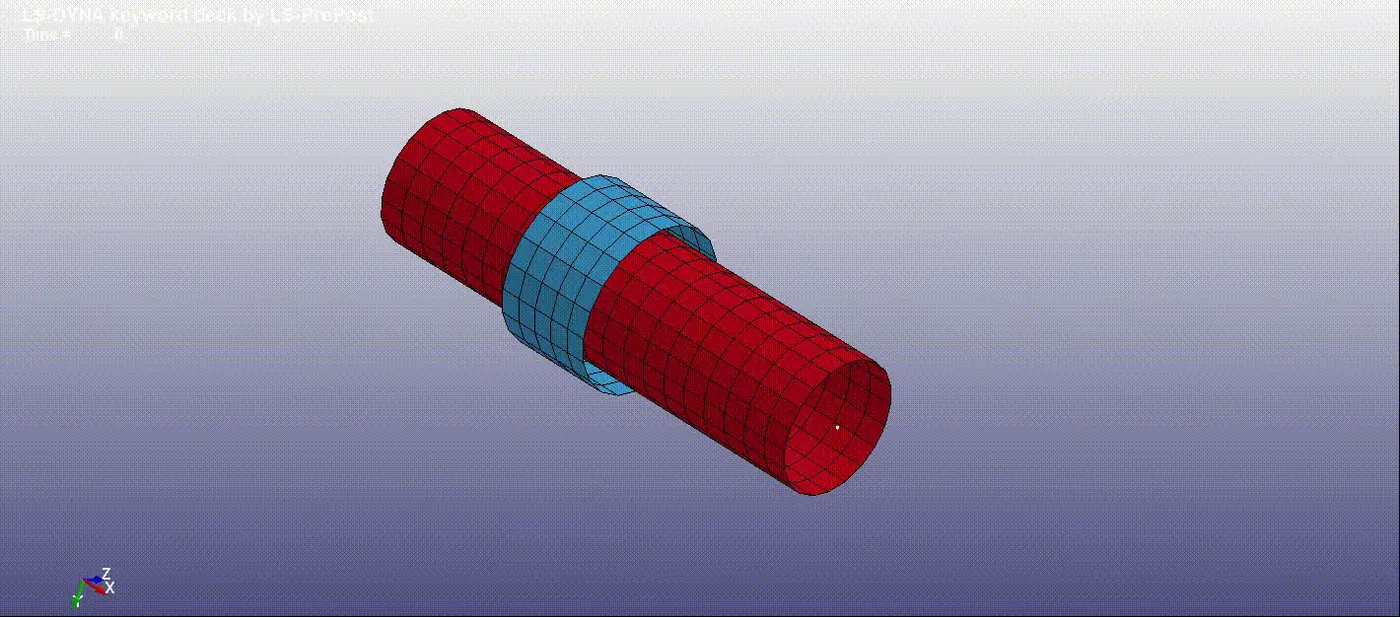
Figure 17: Rigid Revolute Joint animation Figure 17: Deformable Revolute Joint animation
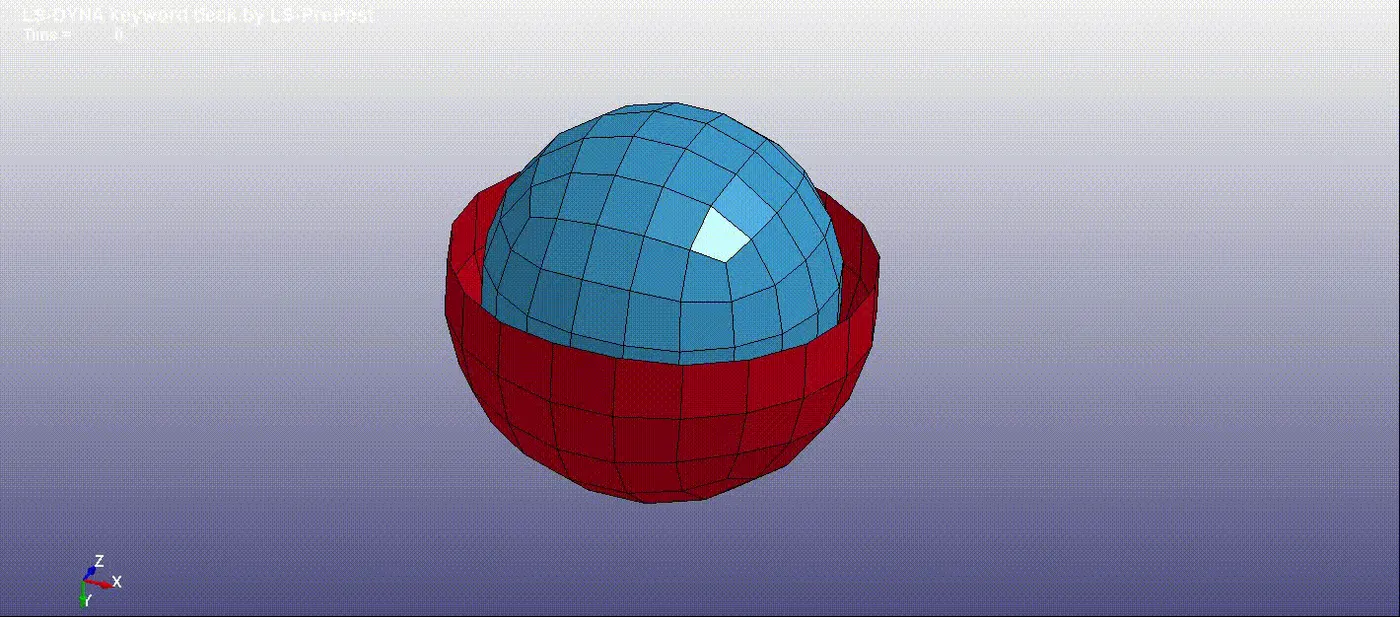

Figure 18: Rigid Spherical Joint animation Figure 19: Deformable Spherical Joint