Preparing Schedule & Cost Estimation for a building using REVIT
1.
Aim:- Use the shortcut keys in Revit discussed in class to complete the following tasks and list them below
a. Using 3D model create a section box
b. To create similar doors and windows in a floor plan layout
c. To reduce the thickness of lines visible in plan views
d. To apply override settings to a floor in the model section view
e. To increase the range of visibility in a plan view
f. To select the previously selected items
g. To add annotations to the model views
h. To bring the model elements in line
i. To rotate the model elements
j. To move an object to another location
k. To copy a model element
l. To mirror an element about an axis
m. To create an array of model elements
Introduction :-
- Shortcut keys is a key borad command used to do the work faster
- There are several shortcut keys used in Revit
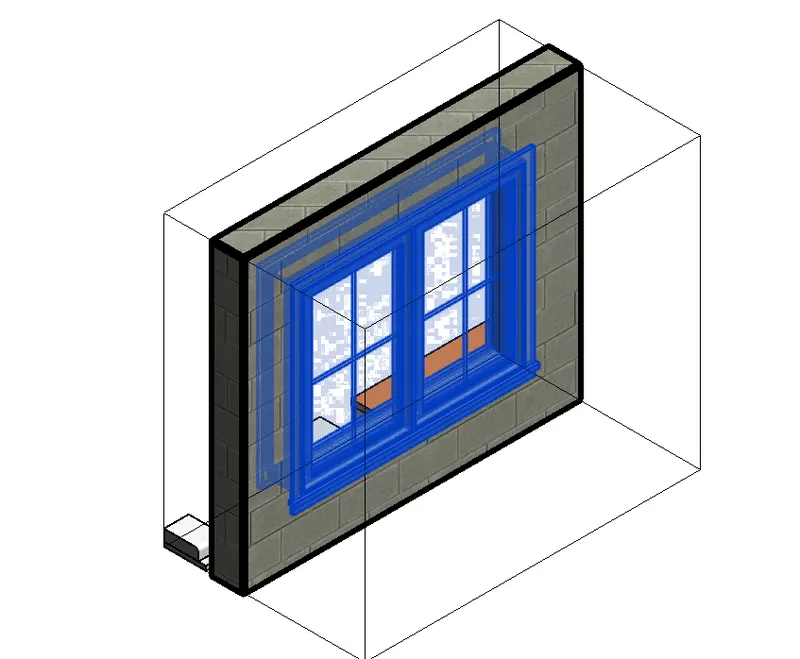
a. Using 3D model create a section box
Procedure:-
- Open a project fiile which you have saved
- Select the window to take a section box
- Click a short cut command BX to take a section box
b. To create similar doors and windows in a floor plan layout
Procedure:-
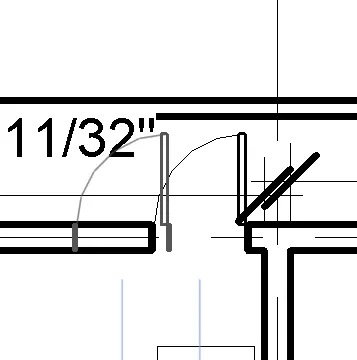
- Select the door in the plan to take the create the similar
- Click a short cut command CS to take a create the similar
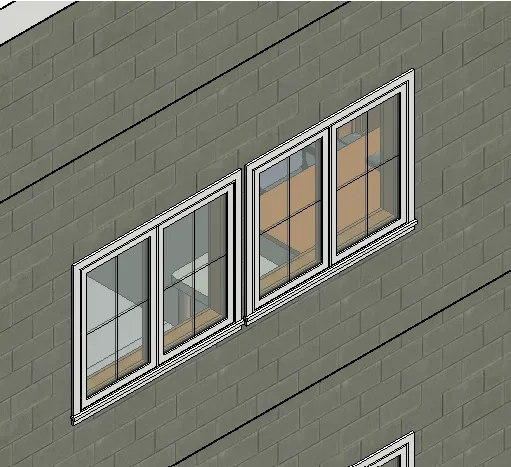
- Select the window to take the create the similar
- Click a short cut command CS to take a create the similar
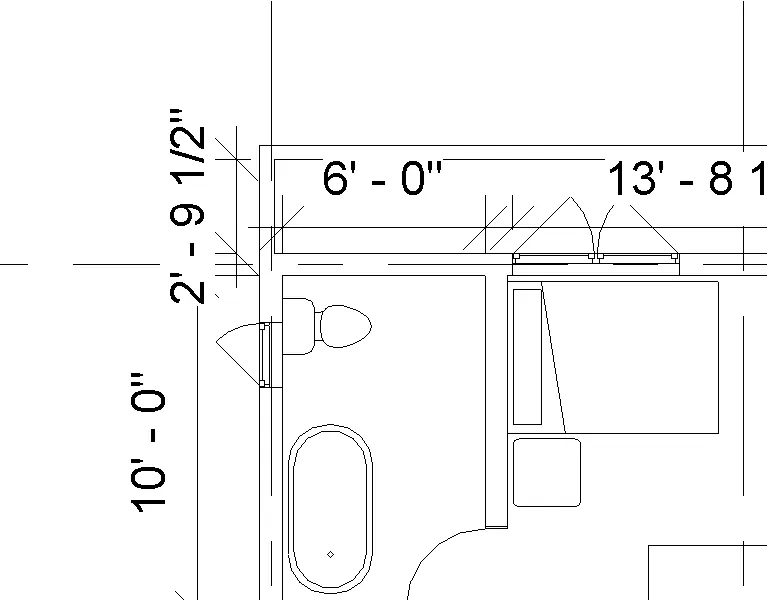
c. To reduce the thickness of lines visible in plan views
Procedure:-
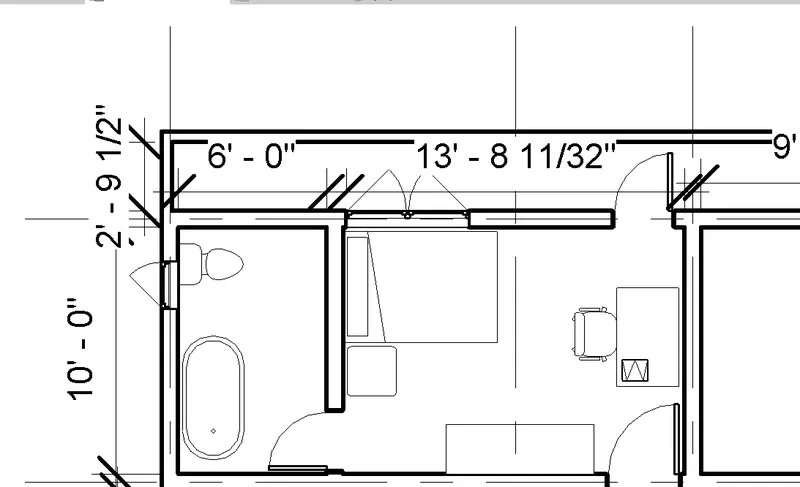
- In the plan to take the reduce the thickness of lines
- Click a short cut command TL to reduce the thickness of lines
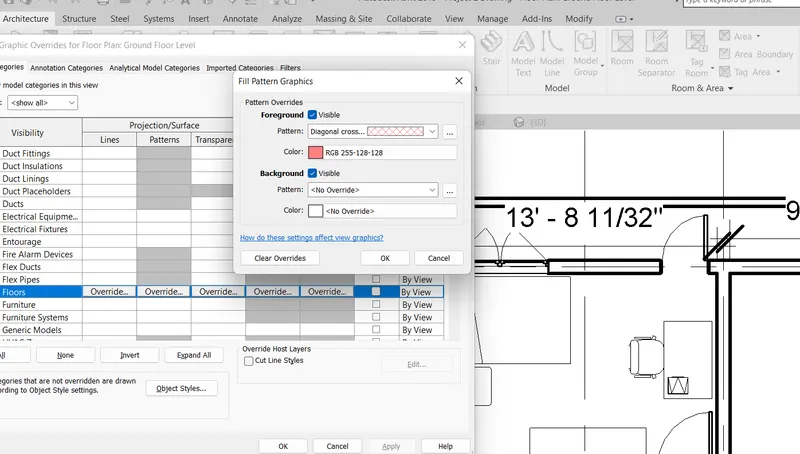
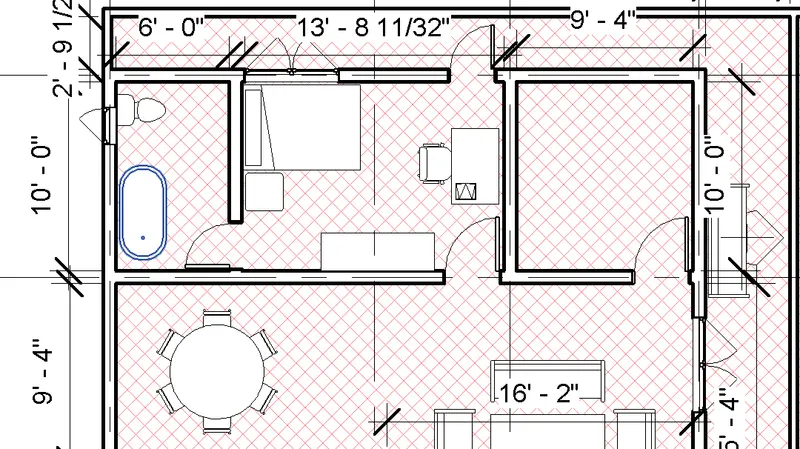
d. To apply override settings to a floor in the model section view
Procedure :-
- Select the Floor and change the pattern to apply override settings to a floor
- Click a short cut command VG to apply override settings to a floor
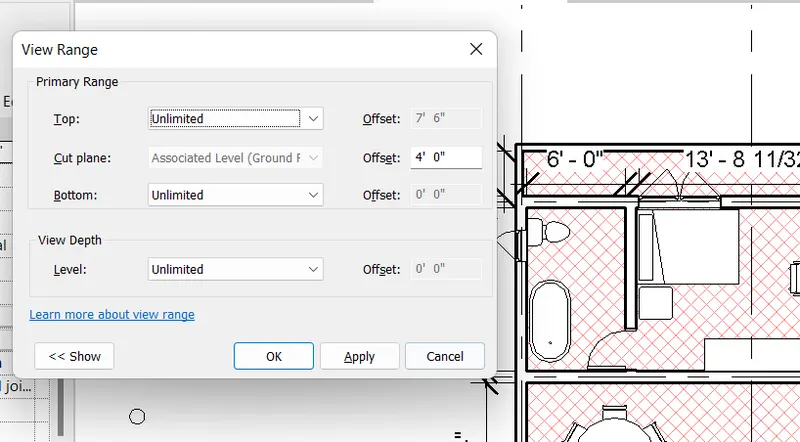
e. To increase the range of visibility in a plan view
Procedure:-
- Select the element in the plan to increase the range of visibility in a plan view
- Click a short cut command VR to increase the range of visibility in a plan view
f. To select the previously selected items
Procedure:-
- In the plan to select the previously selected items
- Click a short cut command cntrl+< to select the previously selected items
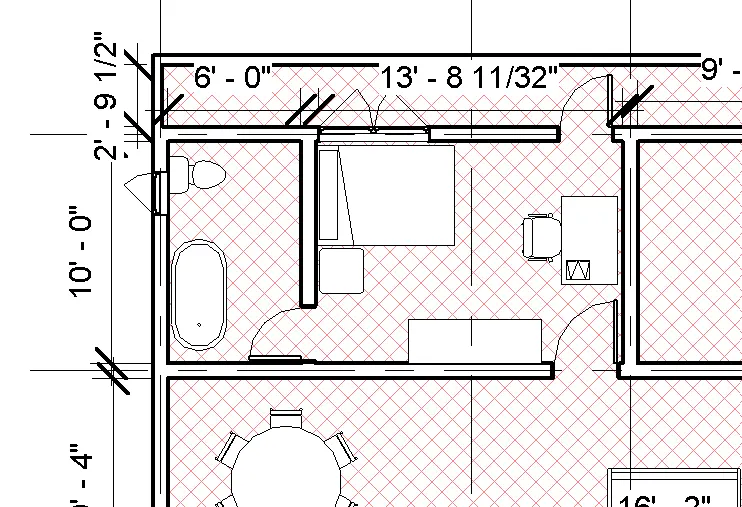
g. To add annotations to the model views
Procedure:-
- In the plan to add annotations to the model views
- Click a short cut command Di to add annotations to the model views
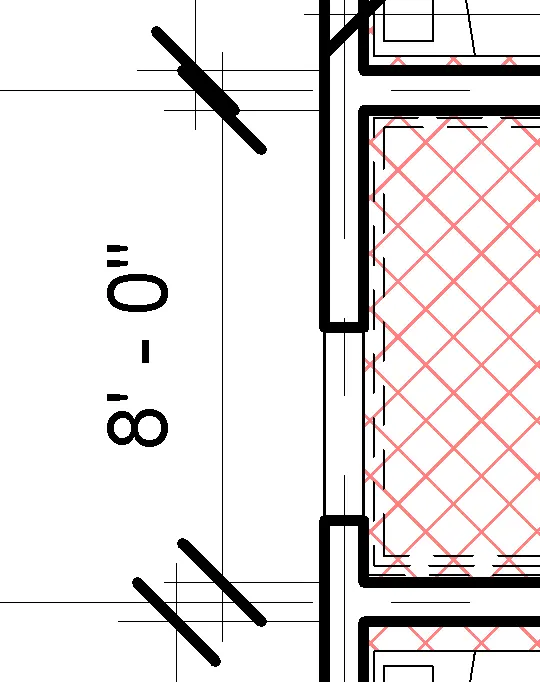
h. To bring the model elements in line
Procedure:-
- In the plan to bring the model elements in line
- Click a short cut command AL to bring the model elements in line
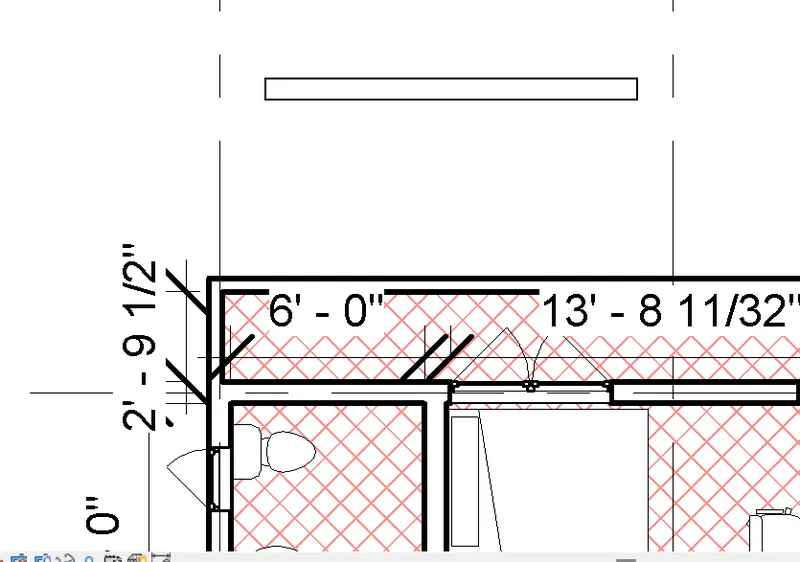
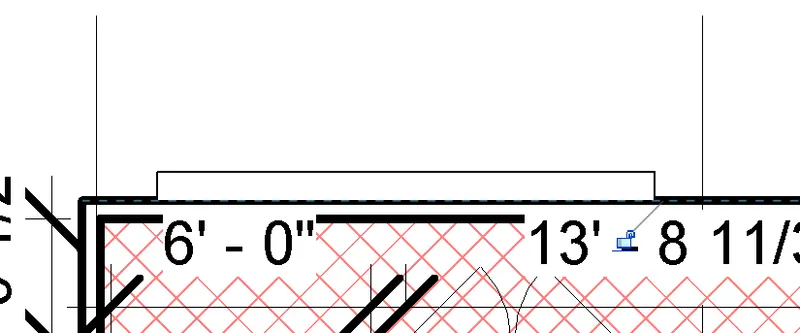
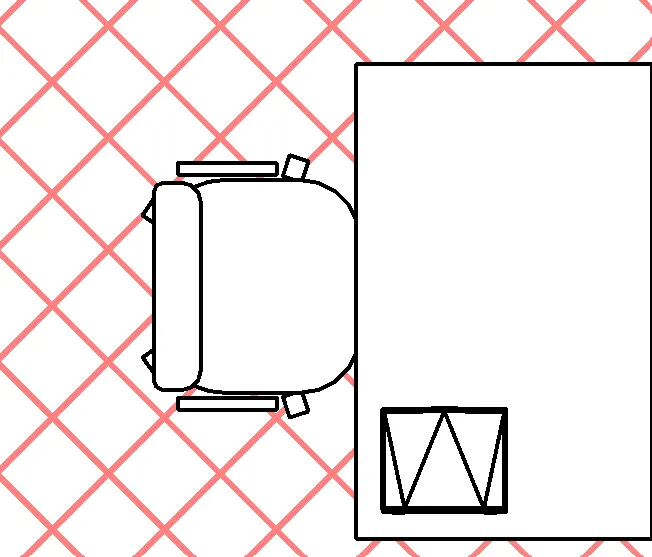
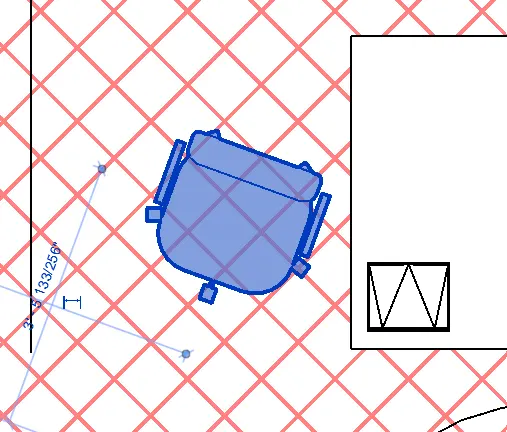
i. To rotate the model elements
Procedure:-
- In the plan to rotate the model elements
- Click a short cut command RO to rotate the model elements
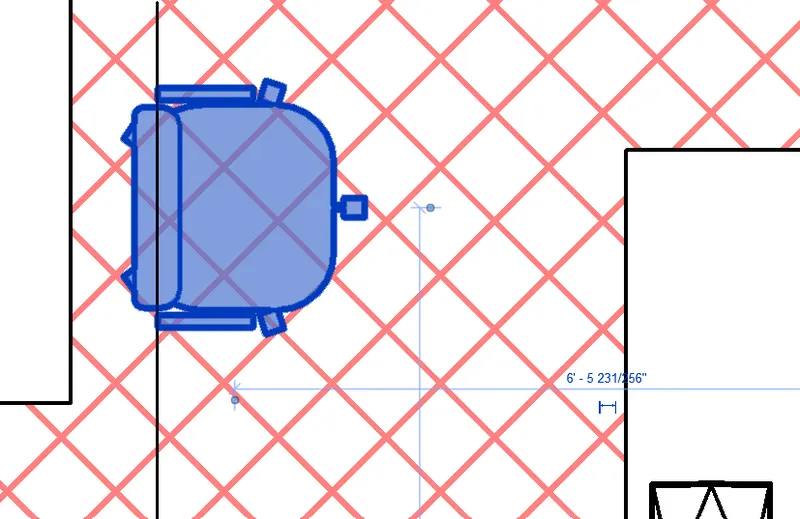
j. To move an object to another location
Procedure:-
- In the plan to move an object to another location
- Click a short cut command MV to move an object to another location
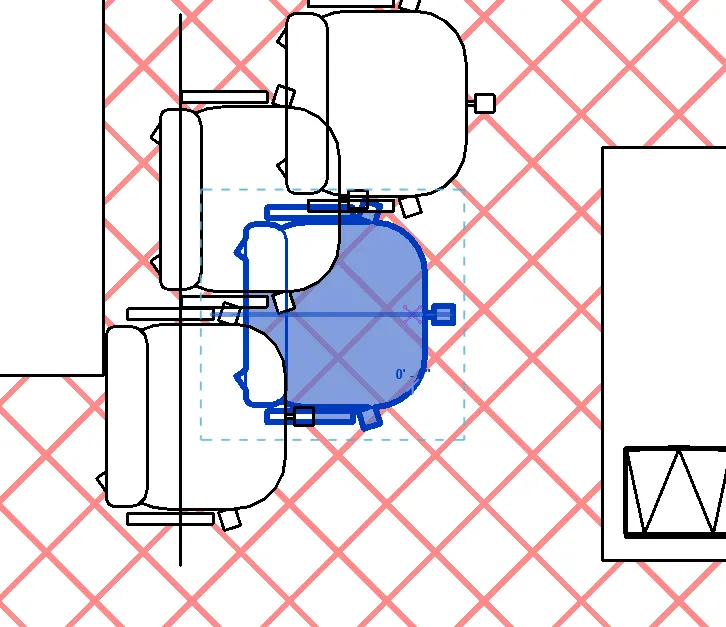
k. To copy a model element
Procedure:-
- In the plan to copy a model element
- Click a short cut command CO to copy a model element
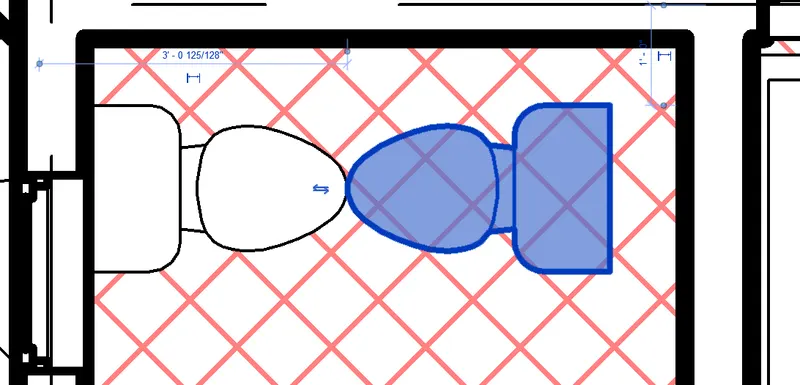
l. To mirror an element about an axis
Procedure:-
- In the plan to mirror an element about an axis
- Click a short cut command MM to mirror an element about an axis
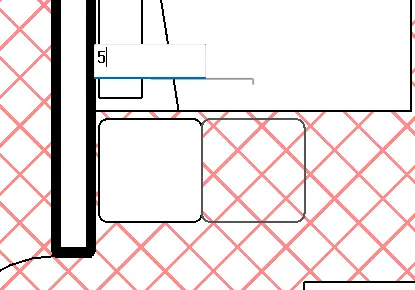
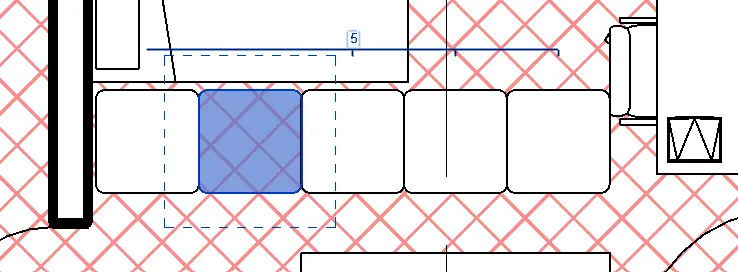
m. To create an array of model elements
Procedure:-
- In the plan to create an array of model elements
- Click a short cut command AR to create an array of model elements
Result:-
The shortcut commands are used in this question like
- Section box
- Create similar
- Thin line
- Visibility graphics
- View range
- Reselect
- Dimenion
- Align
- Rotate
- Move
- Copy
- Mirror
- Array
2.
Aim:- Using Revit and the project used from week 6 to 8 prepare a schedule for the following
a. Walls
b. Doors
c. Windows
d. Material – Concrete/Wood
Introduction:-
Schedule:-
- A schedule is a tabular display of information, extracted from the properties of elements in the project
- Schedule consists of a differnt parameters which are included in the Autodesk Revit
Procedure:-
Step1:-
- Open the saved project in the Revit
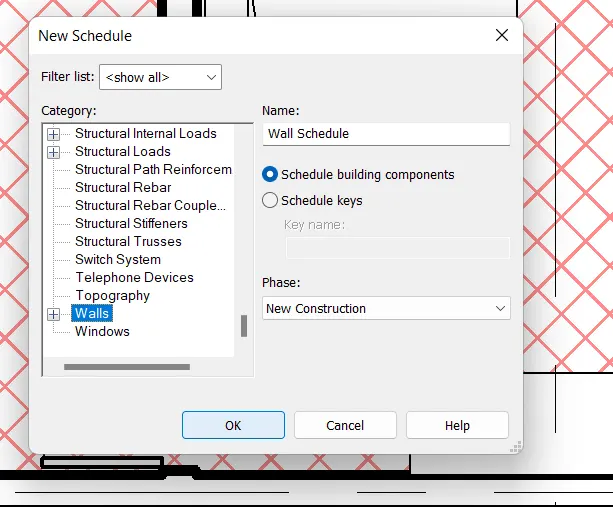
- To take a schedule
- Click on the view tab then click on the schedule
- Then click on the wall
- Then click on schedule properties which you need
- Then click on OK
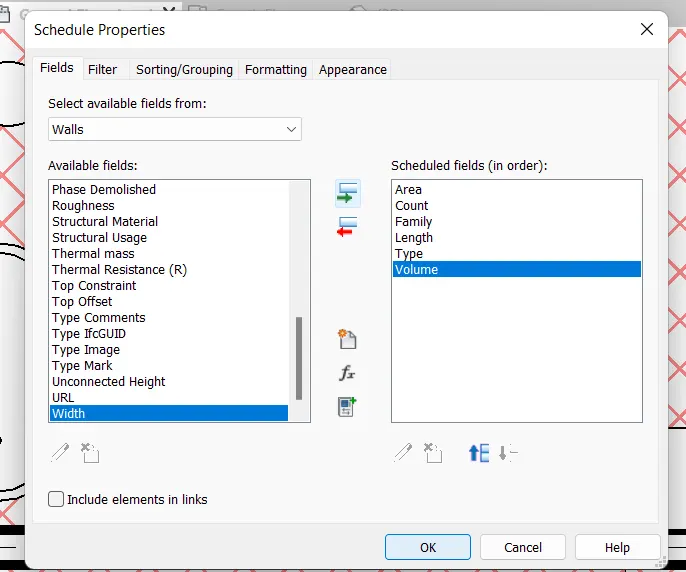
Step2:-
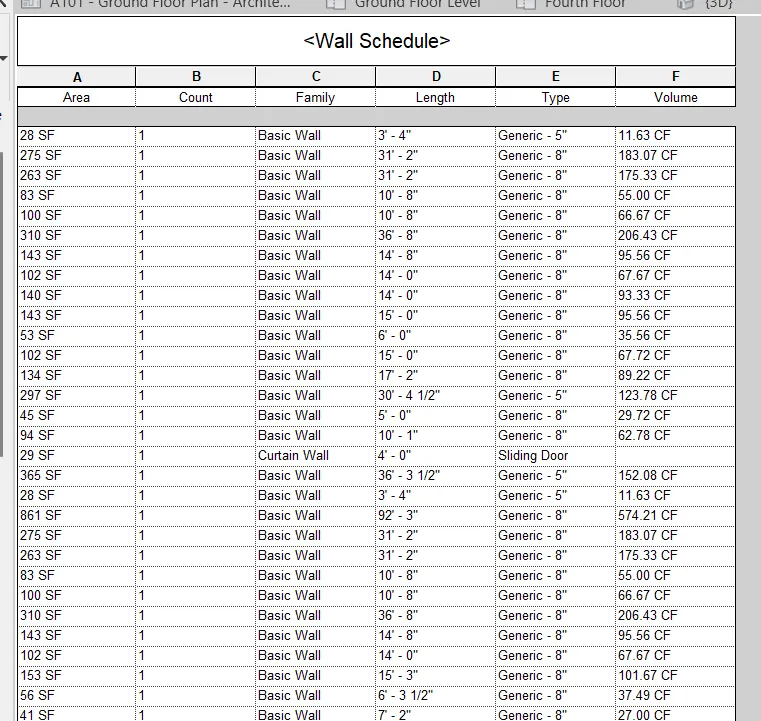
- Then this is the schdeule of the wall along with their properties
Step3:-
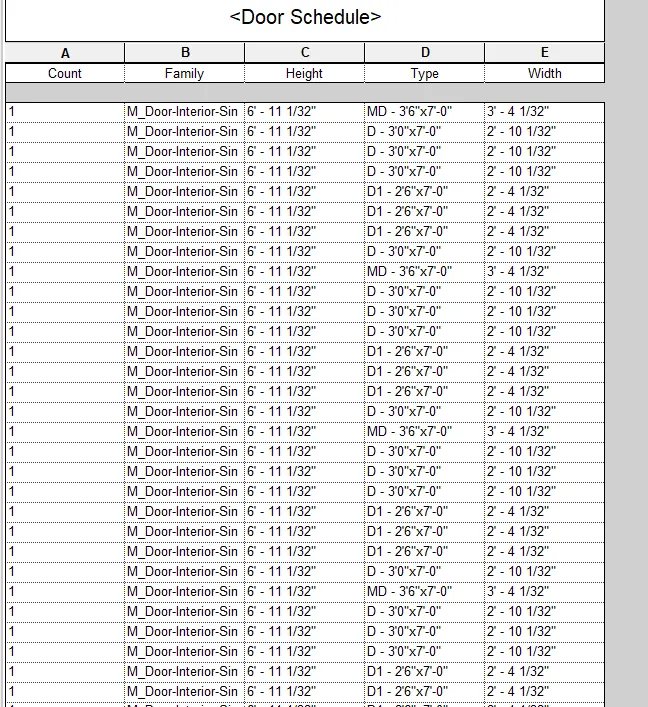
- The same procedure repeats
- Then this is the schdeule of the door along with their properties
Step4:-
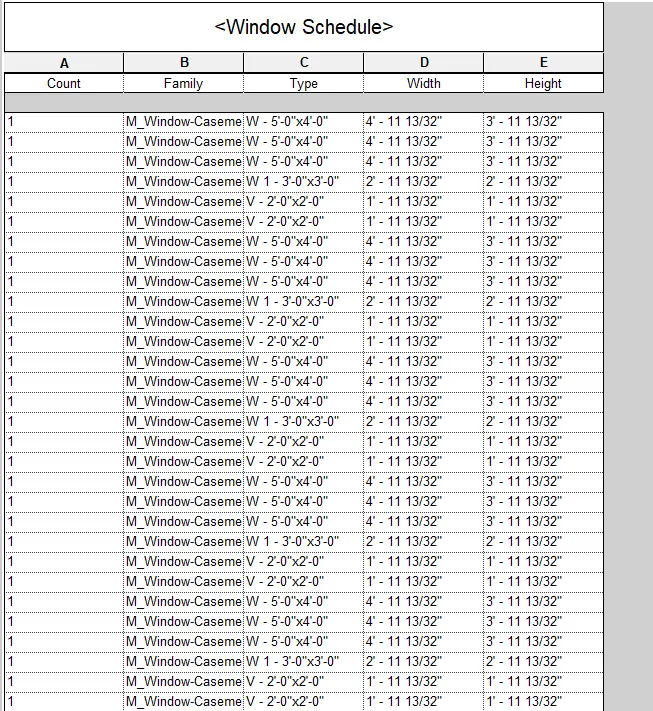
- The same procedure repeats
- Then this is the schdeule of the windows along with their properties
Step5:-
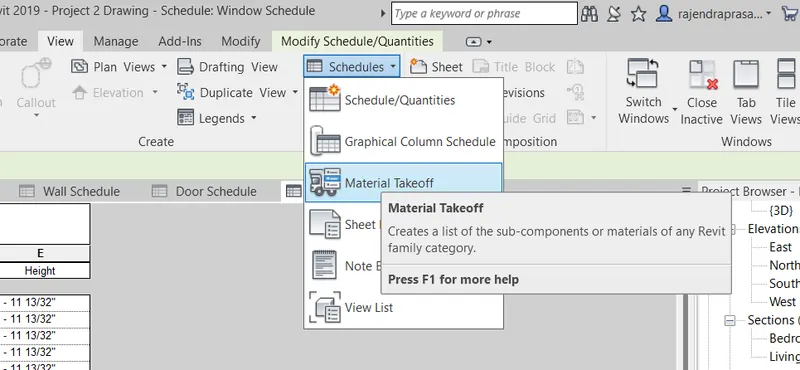
- To get the material schedule
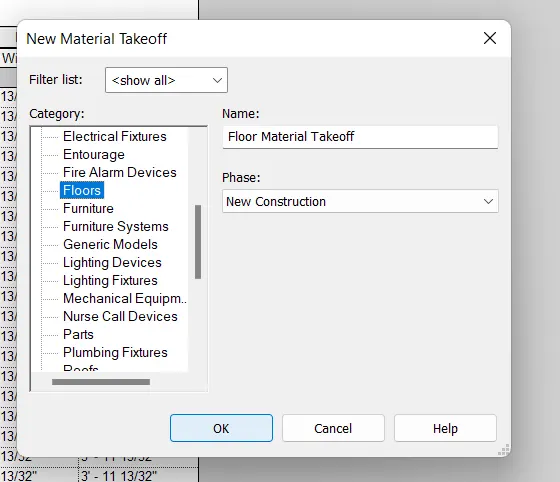
- Click on the schedule then click on the material take off
- Then click on the floor then add the parameters to it
- Then click on OK
Step6:-
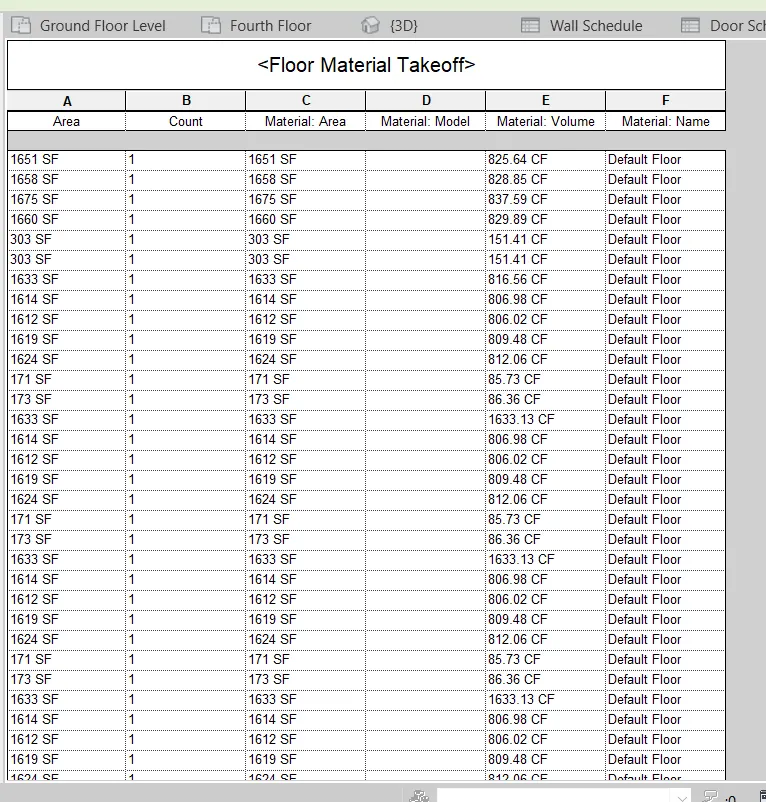
- Then this is the schdeule of the floor along with their properties
Result:-
This is the schedule for wall
This is the schedule for door
This is the schedule for window
This is the schedule for floor material
3.
Aim:- Using Revit Calculate area and volume of each room in the model with appropriate room tags applied to each room. Prepare a schedule report for area and volume of each room.
Introduction:-
Schedule:-
- A schedule is a tabular display of information, extracted from the properties of elements in the project
- Schedule consists of a differnt parameters which are included in the Autodesk Revit
Procedure:-
Step1:-
- To take a schedule
- Click on the view tab then click on the schedule
- Then click on the wall
- Then click on schedule properties which you need
- Then click on OK
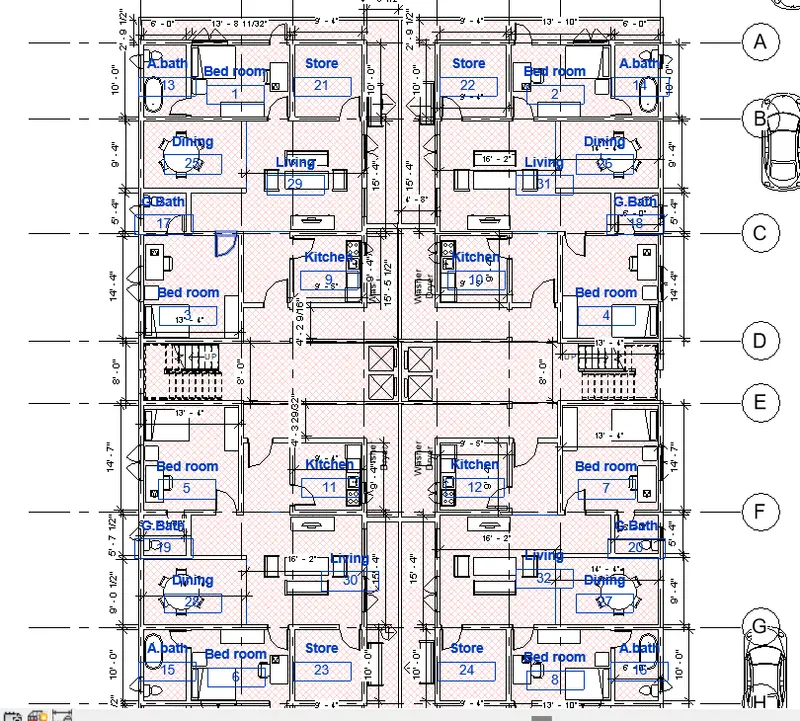
This is the room tag that applied to all the rooms
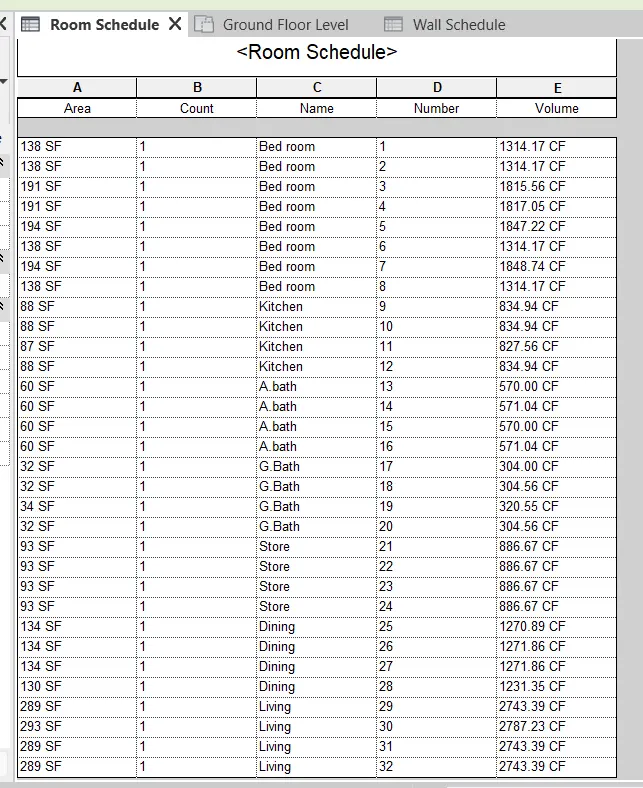
This is the room schedule to all the rooms
Result:-
This is the room schedule to all the rooms
4.
Aim:- Using the same schedule using the unit cost rate for materials available in the internet, prepare total cost of materials used in the project
a. Total Cost of Materials
b. Individual Material Take off
Introduction:-
Schedule:-
- A schedule is a tabular display of information, extracted from the properties of elements in the project
- Schedule consists of a differnt parameters which are included in the Autodesk Revit
Procedure:-
a. Total Cost of Materials
Step1:-
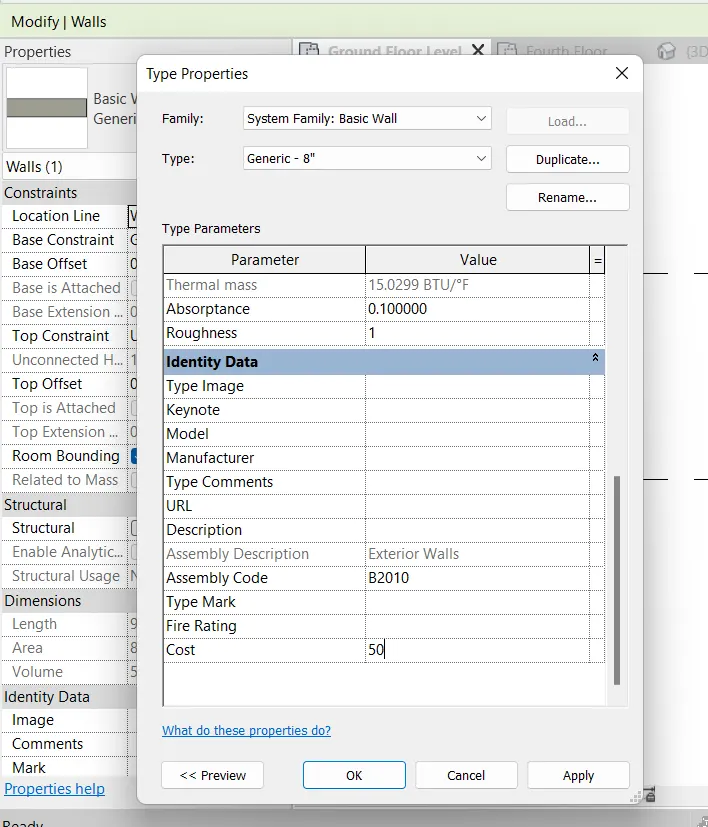
- Clcik on the one Generic 8" wall then go to edit type
- Then change the cost to 50INR
- Click apply and then click OK
Step2:-
- To get the material schedule
- Click on the schedule then click on the material take off
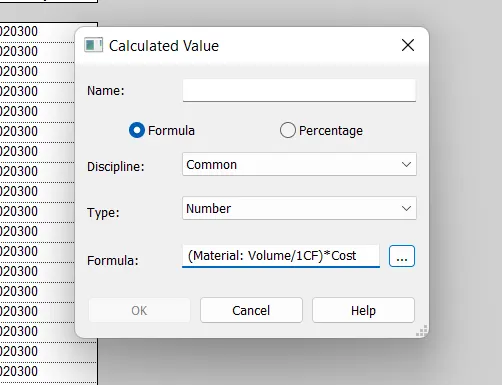
- Then click on the floor then add the parameters to it along with that add dummy parameter
- Change the dummy parameter name to Total cost
- Give a formla - (Material:Volume/1CF)*Cost
- Then click on OK
Step3:-
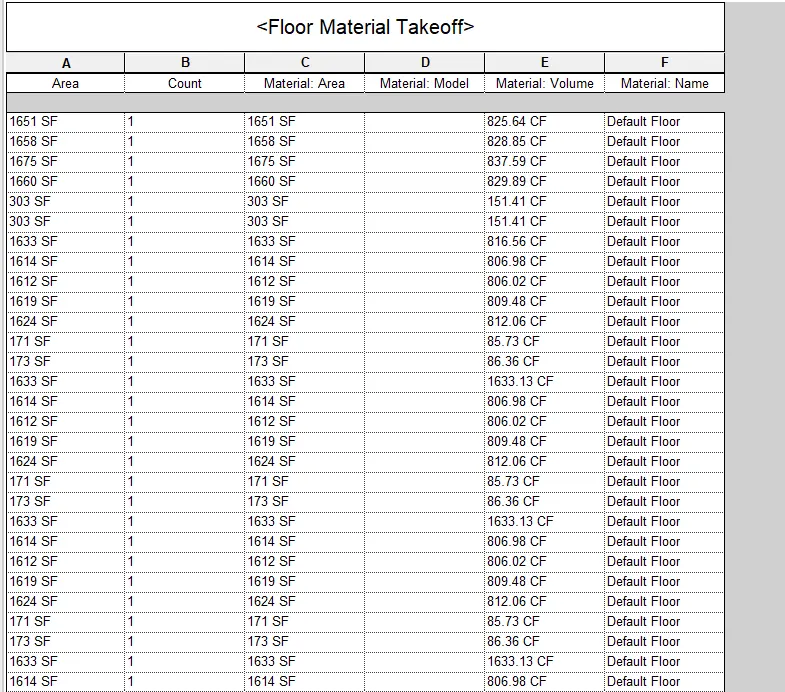
- This is the floor material take off list along with their parameter
Step3:-
- This is the door material take off list along with their parameter
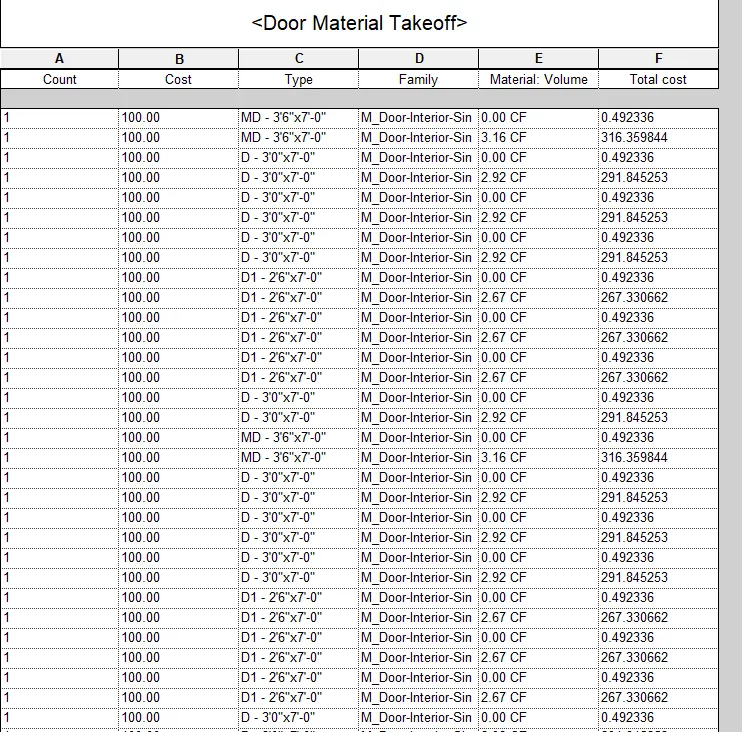
Result:-
This is the floor material take off list along with their parameter
This is the door material take off list along with their parameter
b. Individual Material Take off
Procedure:-
Step1:-
- Open the saved project in the Revit
- To take a schedule
- Click on the view tab then click on the schedule
- Then click on the wall
- Then click on schedule properties which you need
- Then click on OK
Step2:-
- Then this is the schdeule of the wall along with their properties
Step3:-
- The same procedure repeats
- Then this is the schdeule of the door along with their properties
Step4:-
- The same procedure repeats
- Then this is the schdeule of the windows along with their properties
Step5:-
- To get the material schedule
- Click on the schedule then click on the material take off
- Then click on the floor then add the parameters to it
- Then click on OK
Step6:-
- Then this is the schdeule of the floor along with their properties
Result:-
This is the schedule for wall
This is the schedule for door
This is the schedule for window
This is the schedule for floor material
5.
Aim:- Using the concept of Visual Programming discussed in class, list a flowchart for the following scenario
a. How to decide framings for a structure using Dynamo ?
b. If there is no water coming from the pipes
c. If request for money from client has been declined for the project
a. How to decide framings for a structure using Dynamo ?
Flow chart
- Preparation of form work
- Assembling the form work
- Placement of reinforcement
- Concrete placing
- Compacted
- Curing
- Completed
b. If there is no water coming from the pipes
- Check the pipe connection
- Check the water supply
- Check for any leaks
- Fix the problem
c. If request for money from client has been declined for the project
Explain the project to the client
Provide a time to client to decide
If he accepts to pay continue with the project If he refuses to pay decline the project
6.
Aim:- List the parameters associated with each model element
a. Wall
b. Floor
c. Door
d. Window
e. Table
f. Building
Introduction :-
- Project parameters are specified to single projecct file
- They are added to elements by assigning them to multiple categories elements, sheets or view
a. Wall
Pramaters are
- Structure
- Wrapping at inserts
- Wrapping at ends
- Function
- Corase scale fill pattern
- Corase scale fill colour
- Absorptance
- Roughness
- Type image
- Key note
- Model
- Manufacture
- Type comments
- URL
- Description
- Assembly code
- Type mark
- Fire rating
- Cost
b. Floor
- Function
- Corase scale fill pattern
- Corase scale fill colour
- Absorptance
- Roughness
- Type image
- Key note
- Model
- Manufacture
- Type comments
- URL
- Description
- Assembly code
- Type mark
- Fire rating
- Cost
c. Door
- Function
- Wall closure
- Construction type
- Panel material
- Frame material
- Trim material
- Door handle material
- Width
- Height
- Rough width
- Rough height
- Thickness
- Stiles
- Top rail
- Bottom rail
- Analytical construction
- Key note
- Model
- Manufacture
- Type comments
- URL
- Description
- Assembly code
- Type mark
- Fire rating
- Cost
- Operation
d. Window
- Wall closure
- Construction type
- Muntin pattern generic model
- Exterior trim generic model
- Interior trim generic model
- Muntin visibility
- Exterior frame material
- Interior frame material
- Exterior trim material
- Interior trim material
- Glass panel material
- Width
- Height
- Rough width
- Rough height
- Analytical construction
- Analytical construction
- Key note
- Model
- Manufacture
- Type comments
- URL
- Description
- Assembly code
- Type mark
- Fire rating
- Cost
- Operation
- Tyoe mark
- Default sill level
- Half width
e. Table
- Base material
- Top material
- Height
- Length
- Width
- Key note
- Model
- Manufacture
- Type comments
- URL
- Description
- Assembly code
- Type mark
- Fire rating
- Cost
- Operation
Building
- Elevation
- Section
- Levels
- Grids