


Courses by Software
Courses by Semester
Courses by Domain
Tool-focused Courses
Machine learning
POPULAR COURSES
Success Stories

MODELLING AN AMERICAN CHOPPER BIKE USING SOLIDWORKS
MODELLING AN AMERICAN CHOPPER & IT'S COMPONENTS USING SOLIDWORKS OBJECTIVE: To model an American chopper bike using solidworks and to create some rendered images of the same. INTRODUCTION: This project report is about how I created an American chopper after modelling it's components and assembling it using Solidworks.Here…
Jophin Louis
updated on 07 Aug 2020


MODELLING AN AMERICAN CHOPPER & IT'S COMPONENTS USING SOLIDWORKS
OBJECTIVE:
To model an American chopper bike using solidworks and to create some rendered images of the same.
INTRODUCTION:
This project report is about how I created an American chopper after modelling it's components and assembling it using Solidworks.Here I will briefly explain how I did this project using solidworks.
METHODOLGY
PLAN OF ACTION FOR DESIGNING CHOPPER:
1. Modelling various components/parts
2. Assembly of components/parts
3. Setting up camera, environment, lights etc
4. Final rendering
Various commands and features I used to model the parts are as follows;
- 2D sketch : A 2D sketch is the base to create a 3D model. It is created on plane on 2 axes. Various line tools, circles, rectangles, splines etc are mainly used to create sketches. Tools such as 'Power trim', 'Trim extend' etc. were widely used in this project.
- Projected curves : Used to project a sketched curve on to a model face to create a 3D curve. It can be also created by creating sketches on two intersecting planes.
- Trim : Used to remove the extra edges of intersecting lines on a 2D sketch.
- Offset : Used to add sketch entities by offsetting faces, edges, curves etc to a specified direction and distance.
- Convert entities : Convert selected model edges or sketch entities into current sketching plane.
- Boss Extrude : It is used to extrude a sketch or selected contours in specified directions thus creating a solid feature.
- Revolved Boss : Revolves a sketch or selected sketch contours about an axis, thus forming solid feature
- Swept Boss : Sweeps a closed profile along an open or closed path to create a solid feature.
- Extruded Cut : It removes material from a 3D model according to the selected profile along specified direction.
- Revolved Cut : It removes material from a 3D model according to the selected profile about a specified axis.
- Loft : The loft feature helps to create shapes by making transition between multiple profiles and make use of guide curves to form complex geometry.
- Dome : A dome is a smooth rounded vault forming the outside face of a body or structure.
- Fillet : used to connect adjacent faces with a specified tangent curve.
- Chamfer : Used to connect adjacent faces with a specified inclined line.
- Combine : It is used to combine two or more solid bodies together.
- Extended surface : Used to extend the selected edge of a surface along a specified direction and distance.
- Ruled surface : It is used to insert a ruled surface according to the selected edges.
- Offset surface : Creates offseted surface using one or more faces.
- Surface fill : Create a surface patch within a selected boundary.
- Boundary surface : Creates a boundary surface between profiles in two directions.
- Lofted surface : It is used to create lofted surface between two more profiles.
- Trim surface : It is used to remove the unwanted portion of a surface according to a sketch profile or other features.
- Shells : Used to hollows out a part, leaves open the faces we select and creates thin walled features on the remaining faces.
- Assemblies : Used to build complex assemblies consisting of many components which can be parts or other assemblies called subassemblies.
1. Modelling various components/parts
This American chopper bike consists of 13 parts;
a. Transmission Belt
b. Kick stand
c. Chain
d. Rear Fender
e. Rear Wheel
f. Front Wheel
g. Front Fender
h. Pedal
i. Oil Tank
j. Front Fork
k. Chassis
l. Engine
m. Gas Tank
1(a). TRANSMISSION BELT
I got familiarized with various sketch tools such as 'smart dimension', spline tool, trim tool, circle tool, various line tools such as centre line, Midpoint line, etc. Also got familiarized with applying various constraints to sketches such as tangency, horizontal relation, vertical relation, renaming planes etc. Learned to use various tools such as 'Extruded Boss/Base', 'Fillet' etc. At the end, got introduced to applying various materials using 'Appearences' tool.


1(b). KICK STAND
By modeling this part, I got introduced to sketch tools such as 'ellipse', 'spline' etc. I learned to create loft using ' Lofted Boss/Base'. At the end of modelling 'Dome' tool (insert>features>Dome) was used to create smooth curved end faces. Also a provision for pivoting the stand was modeled using 'Extruded Boss/Base' tool.


1(C). CHAIN
I learned how to make 'blocks' and save them so that we can use it later for modeling components with repeating elements or parts. For example, in this case the pins and chain plates were repeating elements. Also, got introduced to use the 'curve driven pattern' tool. I got familiarized with various features of ' Extruded Boss/Base' tool such as extruding 'from vertex' , 'from midplane' etc. I used 130 pins and 260 chain plates for making this model.

1(d). REAR FENDER
Procedure of modelling the rear fender of the chopper was almost similar to that of front fender modelling. Additional feature used here was the 'shell' feature. Also the dimensions of rear fender was different from that of front fender.

1(e). REAR WHEEL
The procedure for modelling the rear wheel & Front wheel of the chopper was almost similar. But, the rear wheel have more width compared to that of front wheel. Also the tread pattern design was slightly different in this case. Wider tires will provide improved handling and cornering performance as they have stiffer side walls and wider tread faces. Tread patterns are provided for channeling out the water while travelling along a wet surface. A slick tire will always provide more grip or road holding ability in case of travelling along a dry surface compared to a tire having tread pattern, while in case of wet surface tire having tread patterns provide more grip. Increasing the surface area contact of the tire with the road improves the road holding ability of vehicle. It also provide better confidence to the driver while negotiating a corner. You may also noticed that there is difference in width of front and rear tires in case of most motorcycles. Front wheels usually have smaller width to provide better stearing ability. Rear wheels are wider to improve the traction and control as the power from the engine is transmitted to rear wheels.

1(f). FRONT WHEEL


1(i). OIL TANK


Leave a comment
Thanks for choosing to leave a comment. Please keep in mind that all the comments are moderated as per our comment policy, and your email will not be published for privacy reasons. Please leave a personal & meaningful conversation.
Other comments...
Be the first to add a comment
Read more Projects by Jophin Louis (32)
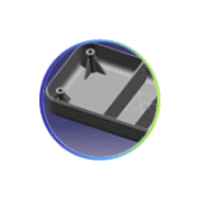
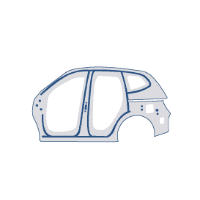
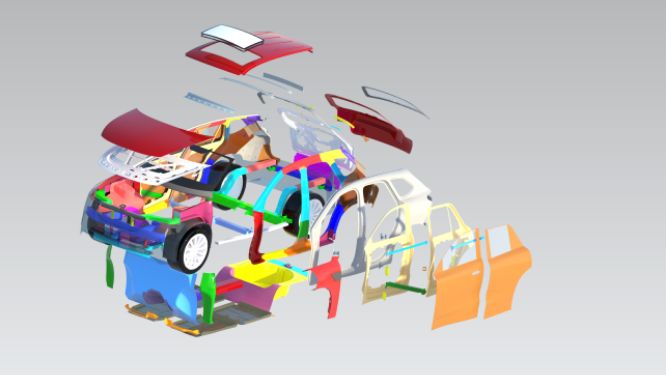
HOOD ASSEMBLY DESIGN - BIW
OBJECTIVE To develop the hood inner and outer panels considering the safety, functionality and manufacturability, following the industrial standards. ABSTRACT Body in white (BIW) is the stage in automobile manufacturing in which a car body's frame has been joined together, that is before painting and before the…

18 Feb 2024 04:33 PM IST
Alias Rendering Project
RENDERING USING AUTODESK ALIAS Objective: In this challange, the task is to render some models we did earlier using Autodesk Alias. Rendering is done through switching to the 'Visualize' option available under the control panel. We can select the whole surface and double click on the material we want to assign…
16 Nov 2022 08:59 AM IST
Technical Surfacing Kia Sportage
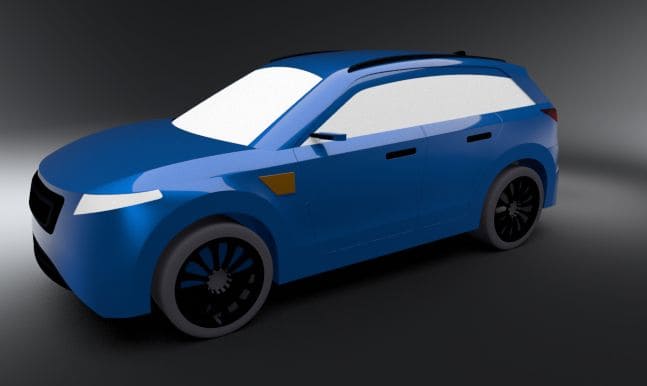
Photorealistic rendering
16 Nov 2022 08:58 AM IST
Concept Modelling of Steering Wheel
16 Nov 2022 08:55 AM IST
Related Courses

Skill-Lync offers industry relevant advanced engineering courses for engineering students by partnering with industry experts.


Our Company

4th Floor, BLOCK-B, Velachery - Tambaram Main Rd, Ram Nagar South, Madipakkam, Chennai, Tamil Nadu 600042.

Top Individual Courses
Top PG Programs
Skill-Lync Plus
Trending Blogs
© 2025 Skill-Lync Inc. All Rights Reserved.