Week 9 - Project - A pillar Design with Master Section
AIM:
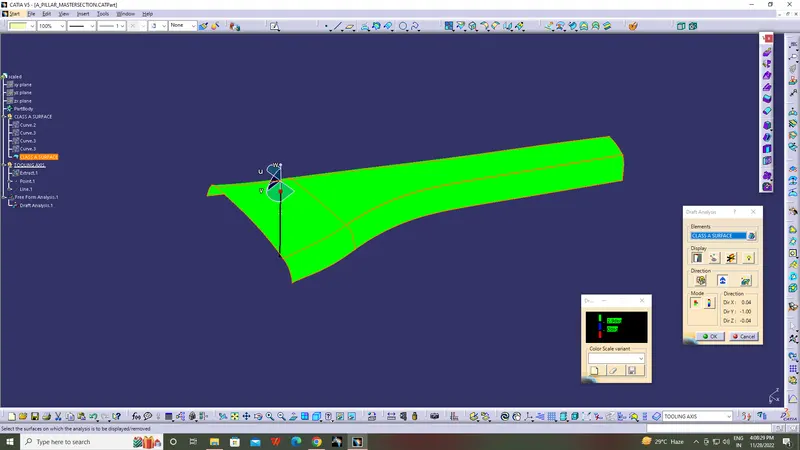
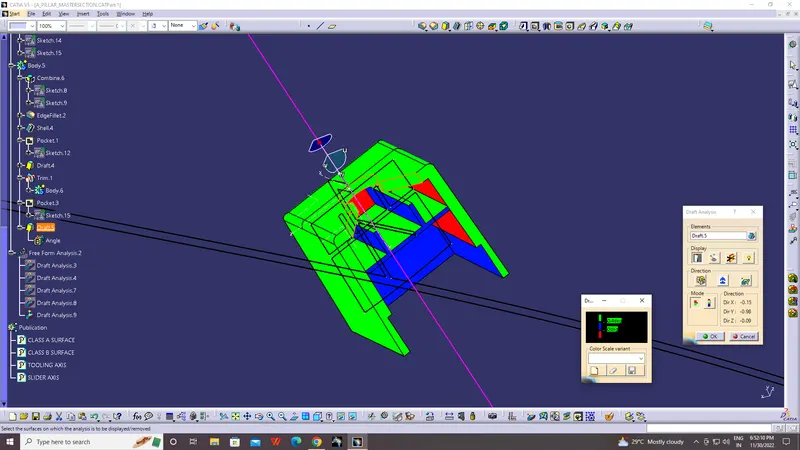
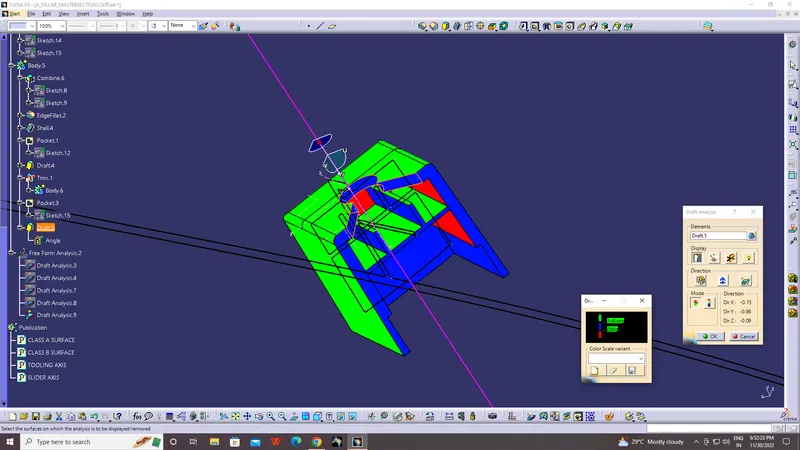
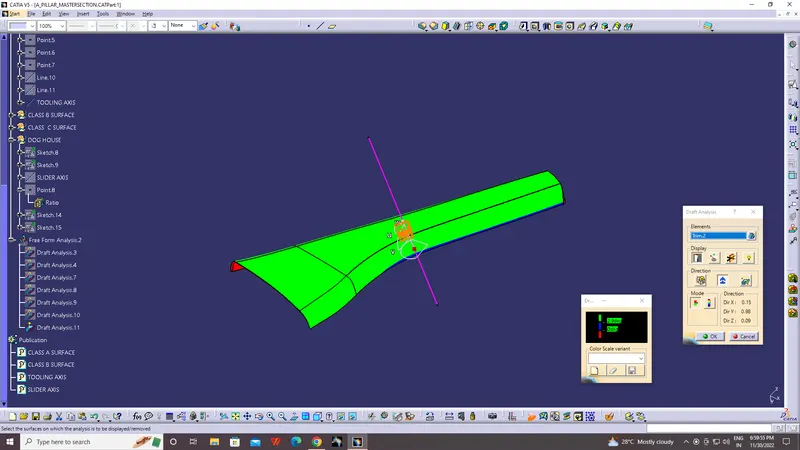
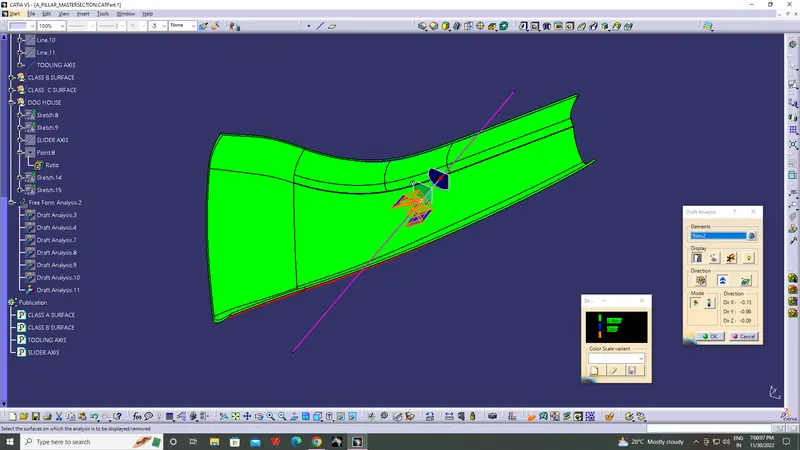
Create the Pillar, Plastic component through the given Class-A surface. To begin with, the tooling axis for the given Class-A Surface should be created meeting the requirements of the draft angle and at the end perform the Draft analysis on the model.
TOOLING AXIS:
The Tooling Axis is the direction in which the mould travels. The mold is built in two separate piece named core and cavity.
Three methods for creation of a tooling axis:
- Tooling axis based on x,y,z direction.
- bisecting method.
- normal to the surface.
CLASS-A SURFACE:
It is aesthetic surface and the outer most surface which is visible to the cutomers.
CLASS-B SURFACE:
It is simply off-set of Class A surface and inner most part which is not visible to the customers.
CLASS-C SURFACE:
A surface that joins class-A and class-B surfaces is class-C surface(thickness).
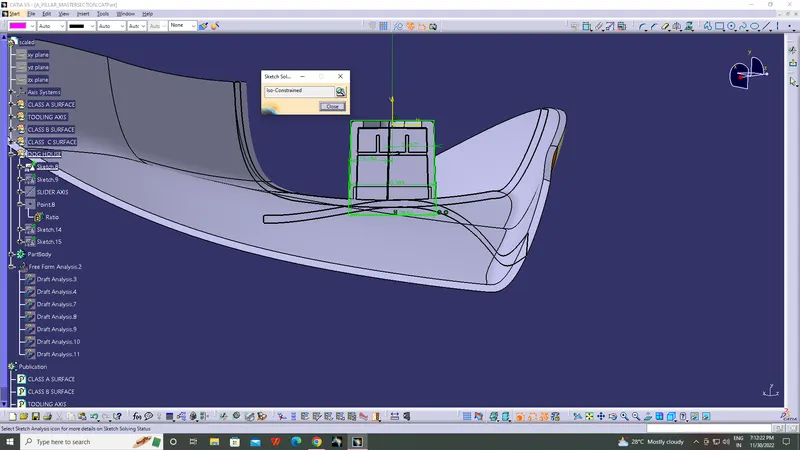
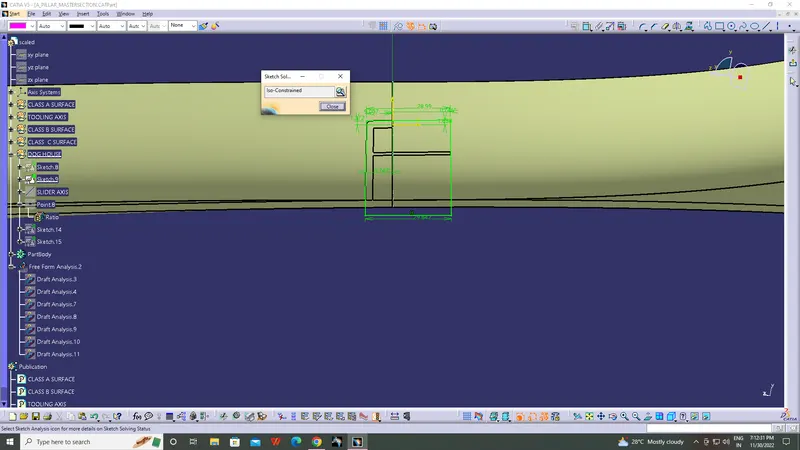
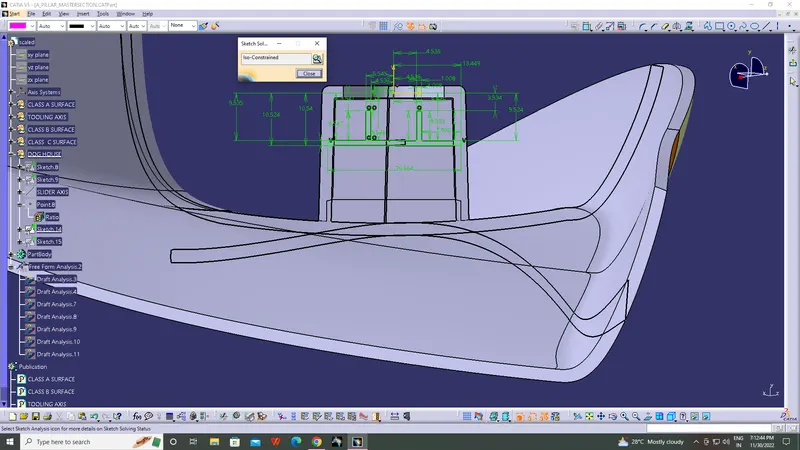
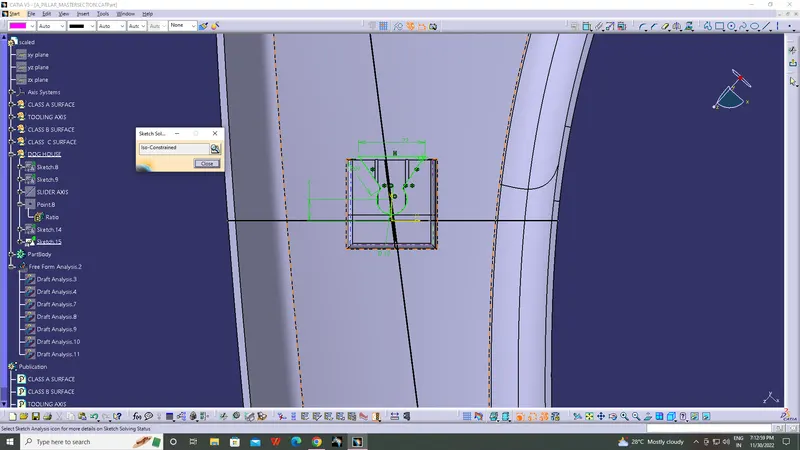
SKETCHES WITH ISO CONSTRAIN.
CLOSE BODY:
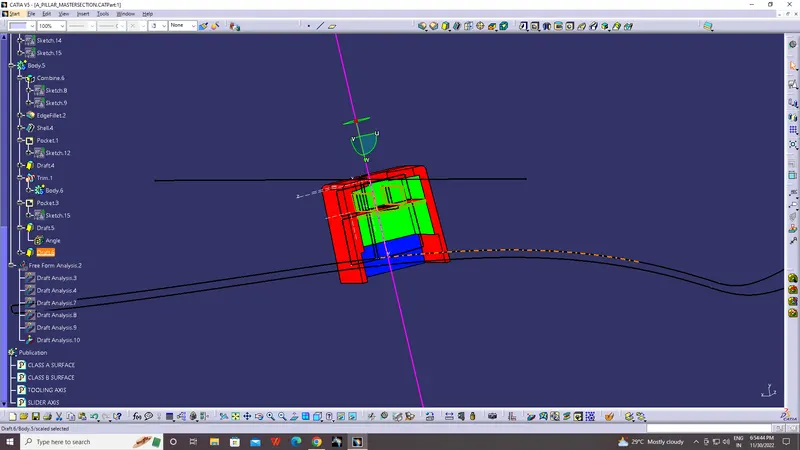
- Go to the part body workbench then use close boby tool and finally get close body of A Pillar.
DOG HOUSE:
- Create sketch for a dog house, and pad it.
- Then pad this sketch, now shell the pad with 2.5 mm.
RIBS:
- Now create a ribs is inside a dog house, create a sketch for a ribs,use master section.
- Then pad this sketch . Next use add with dog house, get a ribs for the body
CONCLUSION:
The A Pillar and Dog house is complete with Respect To mastersection.