Week 10 - Challenge 3 - Door Trim Lower with Engineering Features
Door trim lower with engineering features
Aim: To create the door trim lower component through the given class A Surface.
Objective:
To make sure that the model meets the design rules for heat stake and locator creation.
To construct a tooling axis and perform a draft analysis on class A surface.
To create class B and class C surface and make closed surface.
To create the B side feature in the component considering the design rules.
Perform draft analysis on the final part.
Design Methodology:
1. Tooling Axis creation:
The tooling direction is basically the direction that the mold pulls a part. The mold is built in two separate pieces, basically . You have a cavity side and you have a core side. The core pulls apart from the cavity and that s called the die line or tooling direction.
Open the given CAT Part file.
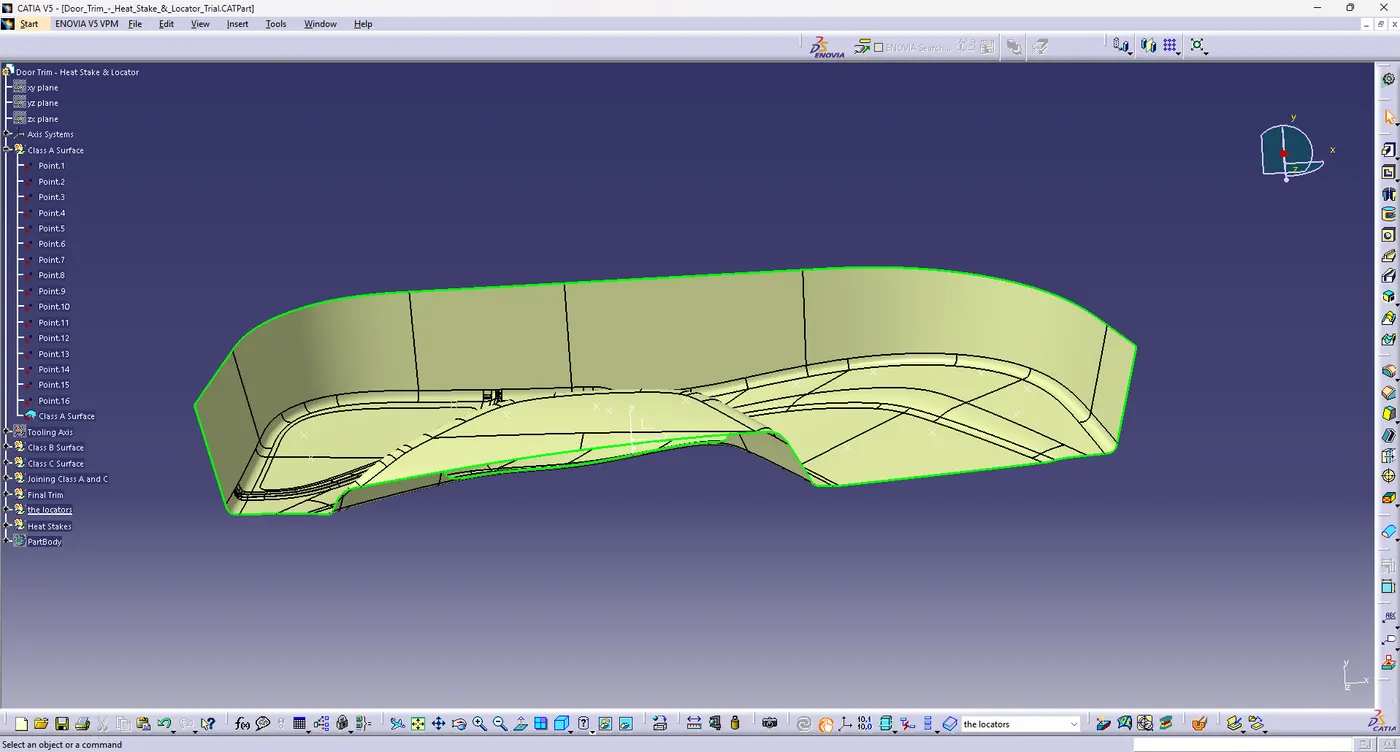
Check for gaps between the surfaces for that click on join and then preview.
If there are any gaps between the surfaces join them with a maximum tolerance of 0.003mm.
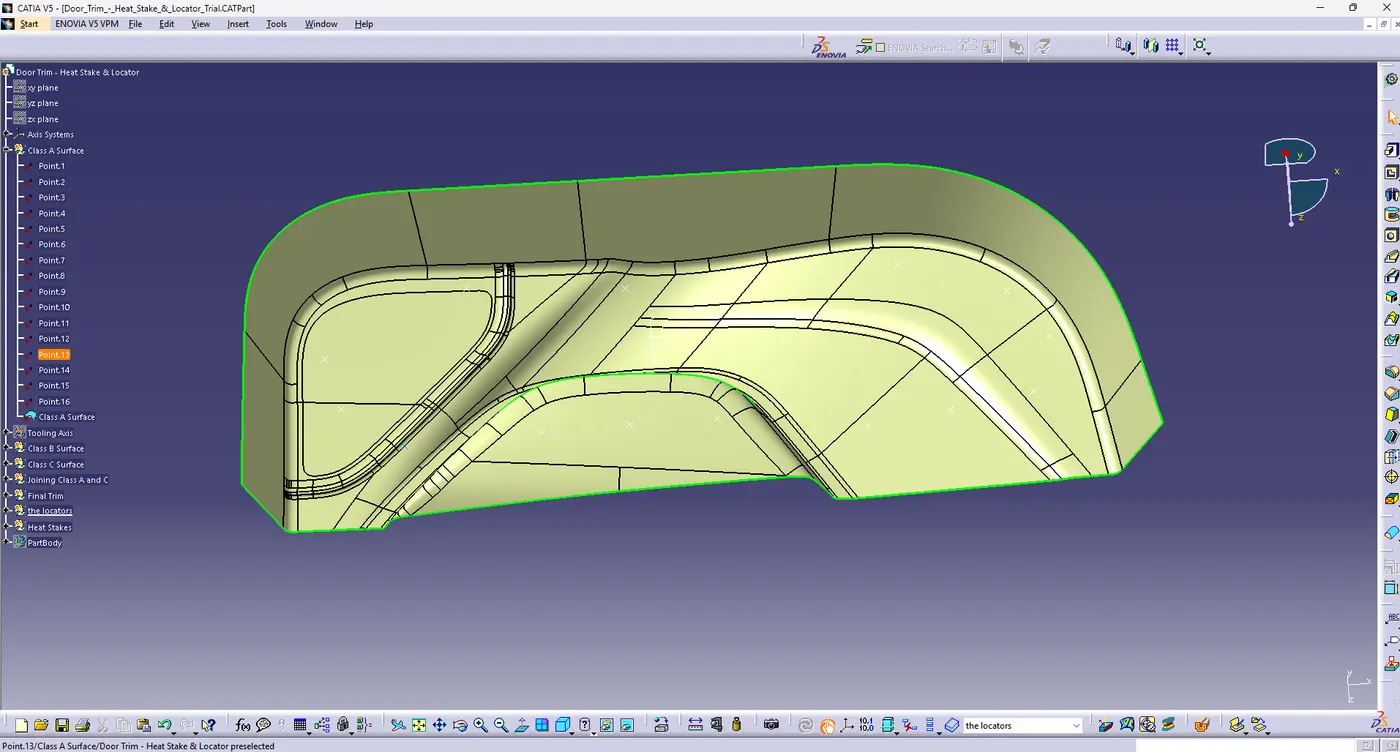
Extract the boundary and disassemble the boundary.
Find the correct tooling axis where the material don't interfere with the tooling axis and all the elements can be created.
Extract a surface which is more over a flat type and create a point at the middle and create a tooling axis in Y- direction.
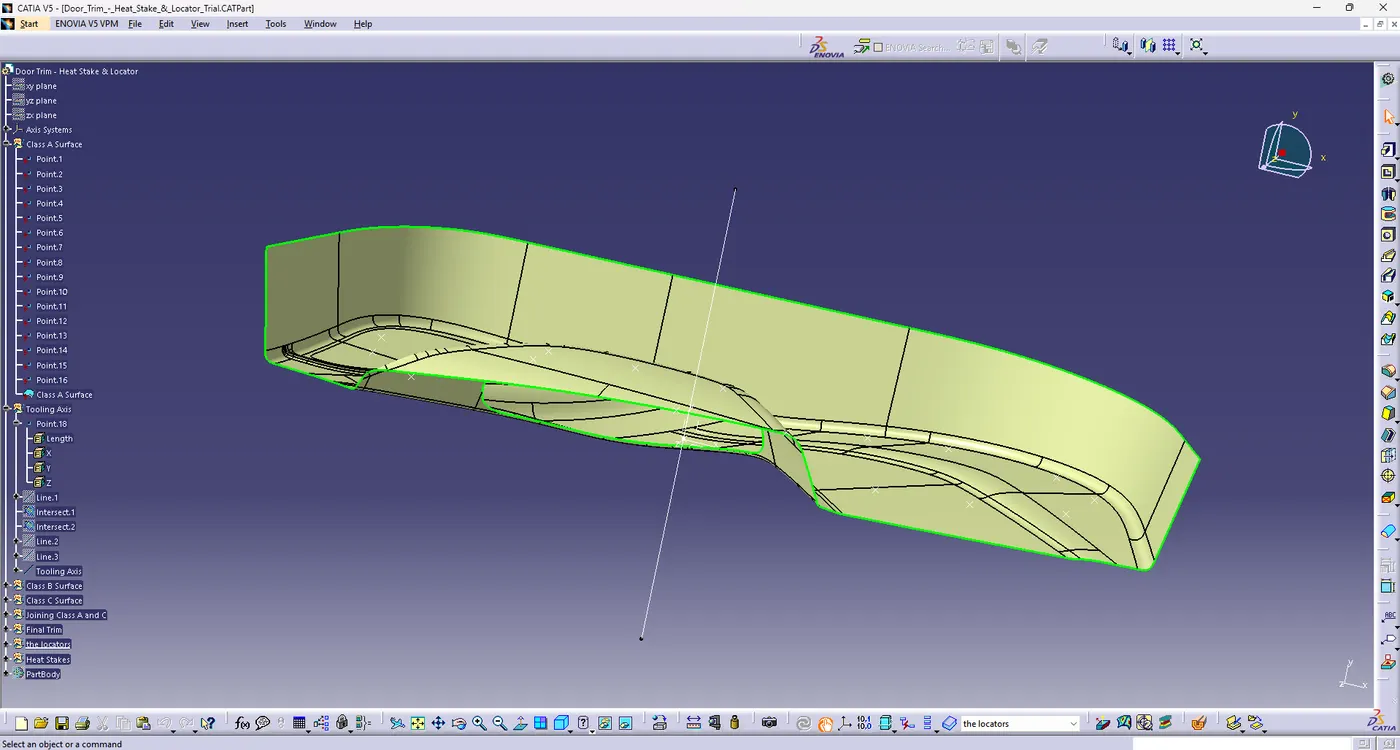
The tooling axis is created for the component.
2. Draft Analysis:
The Draft analysis command enables you to detect if the part you drafted will be easily removed. This type of analysis is performed based on color ranges identifying zones on the analyzed element where the deviation from the draft direction at any point corresponds to the specific values.
Before going to draft analysis go to customized view parameter> under mesh>check material and then click ok.
Now for draft analysis goto insert>analysis>feature draft analysis
Use the compass to define the draft direction.
In the color scale change the draft angle of 3 degrees.
The component changes to green indicating of passing draft angle.
Use running point to check the angle on the component.
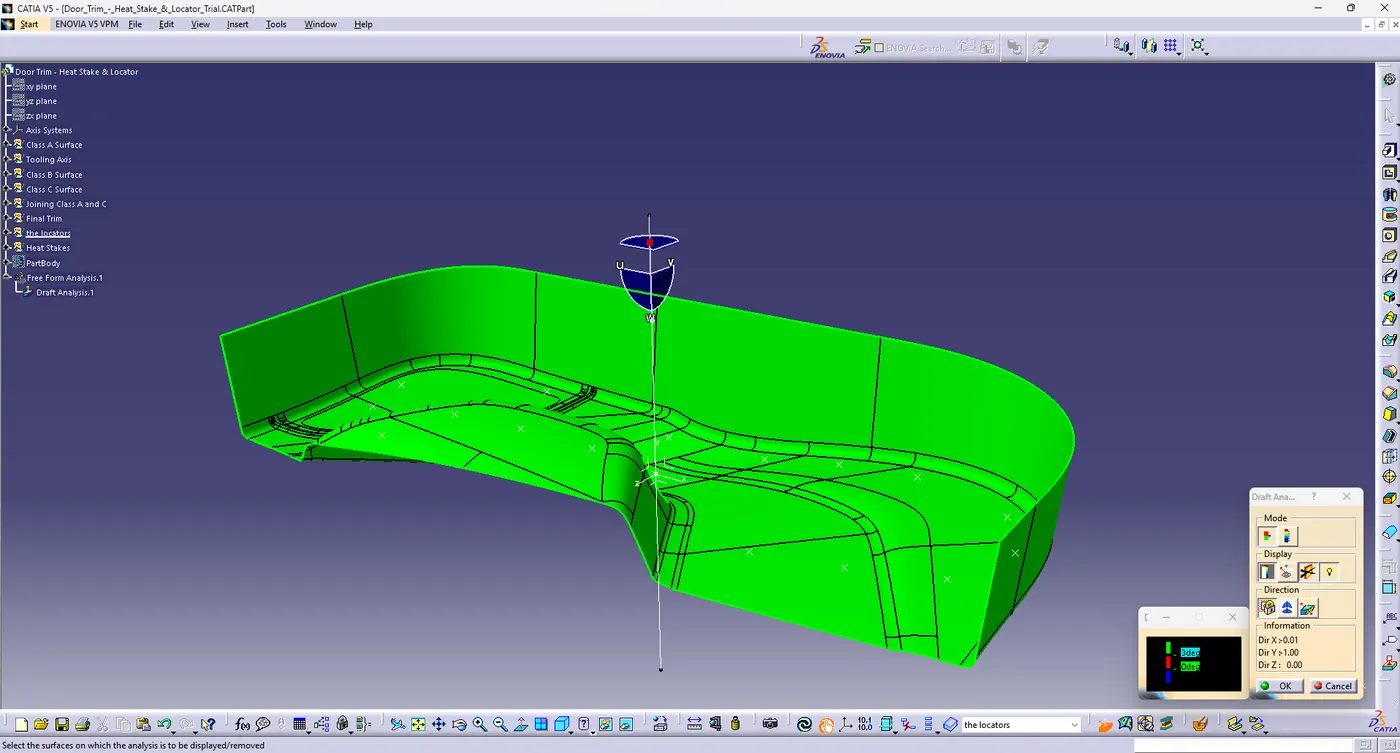
The draft analysis is complete.
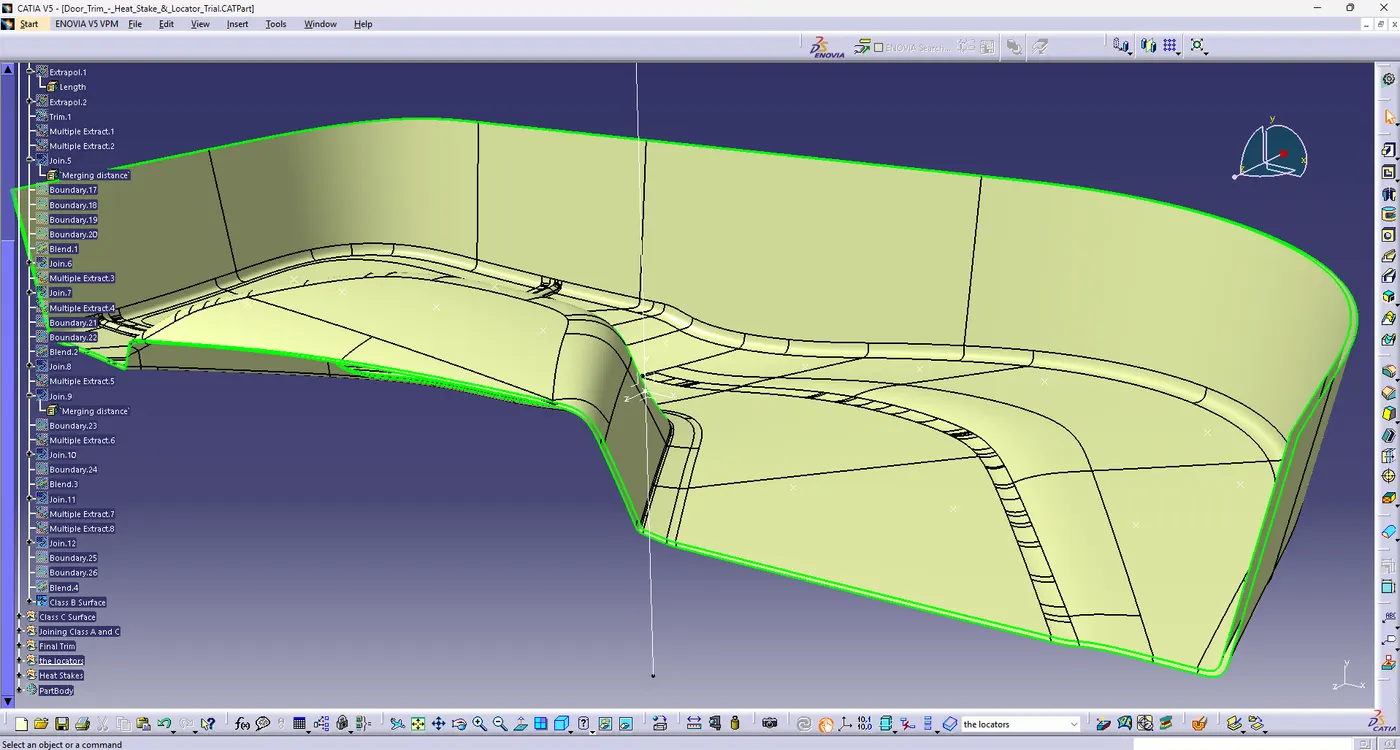
3. Creating the class B Surface:
Offset the surfaces to 2.5mm to create the thickness.
Check whether all the surfaces are properly offsetted.
One corner does not offsetted, will be created with multiple section command.
Join all the surfaces together and class B Surface is created.
while trimming the class C surface some of parts not getting coincide, will extrapolate 4mm with selecting the outer boundary.
4. Creating class C Surface:
Extract the boundary from the class A surface using the boundary command.
Using disassemble tool to divide the boundary as the boundary contains domains.
Use the sweep command >choose profile type line> subtype as draft direction > Choose the guide curve and draft direction>draft angle as 3 degrees>Preview.
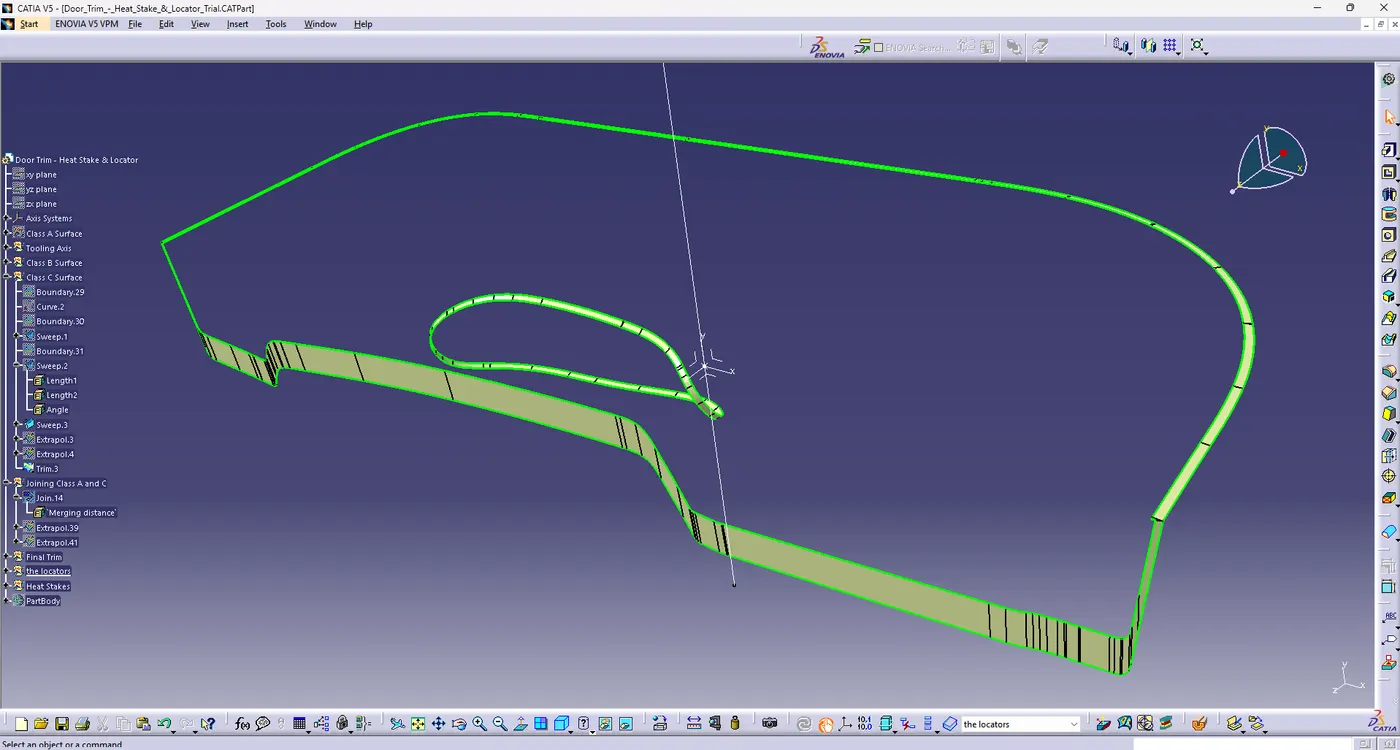
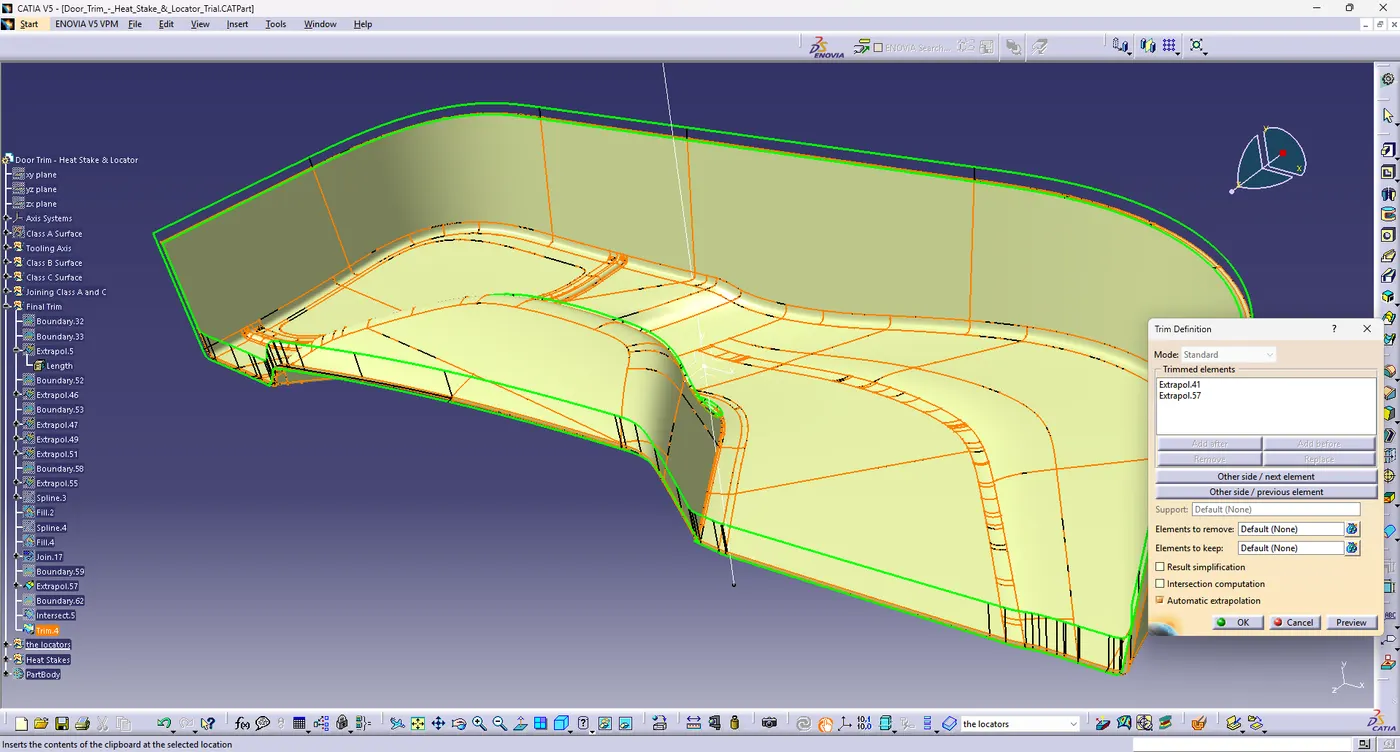
After getting the Sweep join the class C Surface with class A and then use the combined surface to trim the class B surface to create a closed surface.
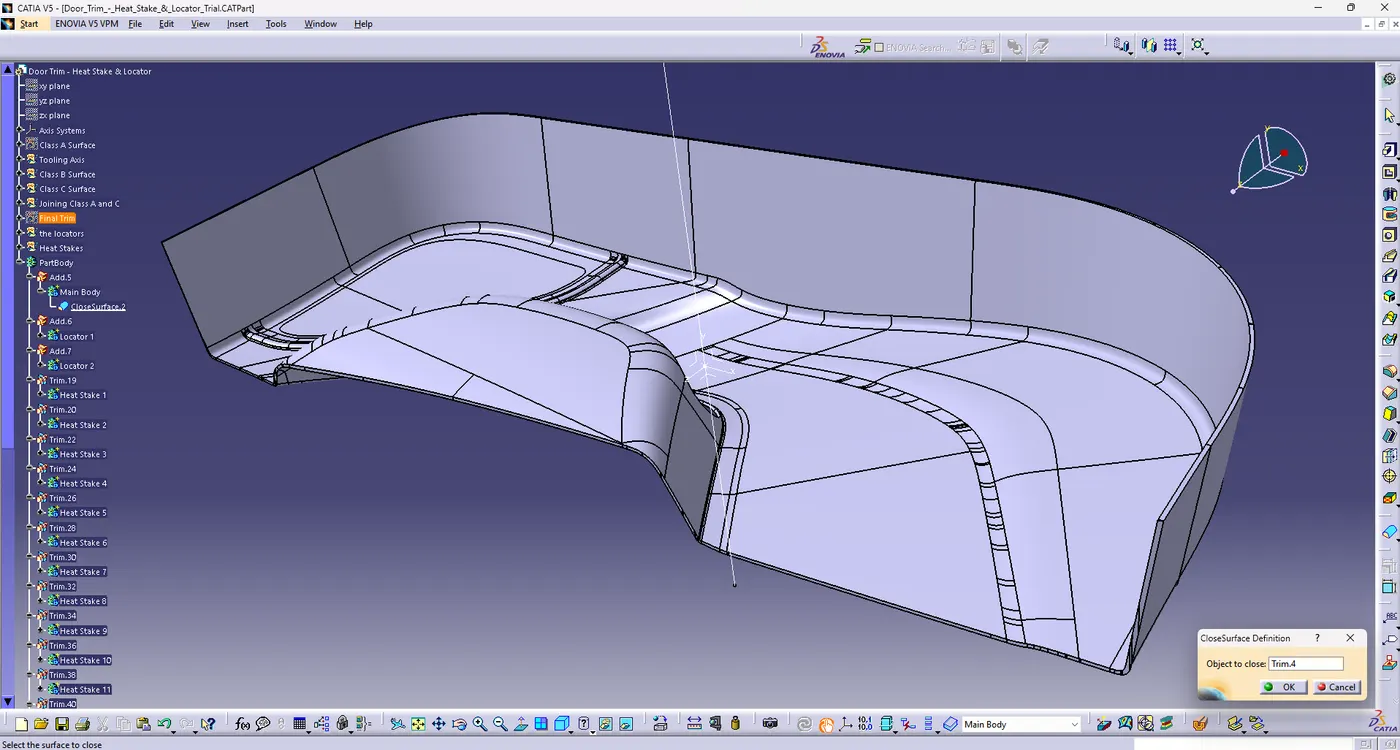
Now open the part design workbench and use the close body surface create a solid component.
B side feature creation:
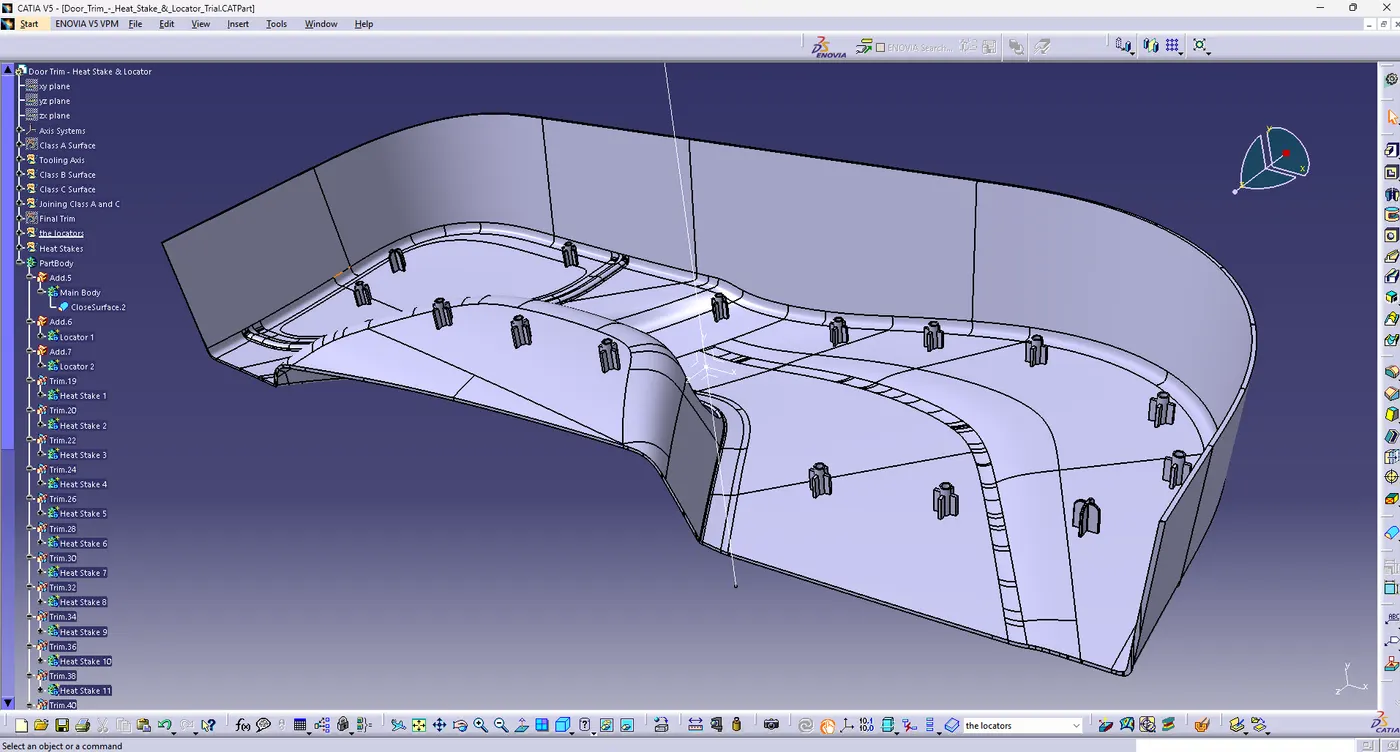
Creation of heat stakes:
Heat staking is a pulsed-heat process to join two or more parts out of which one at least is made of plastic. The process is to deform the plastic material using heat and force at a set process time. The bond is made by partially deforming the plastic part in order to fix the other.
Heat staking makes it easy to bond metal to plastic and is commonly used in high volume/low cost applications such as automotive ,IT and consumer appliances.
Creation of Locators:
3D model:
Conclusion:
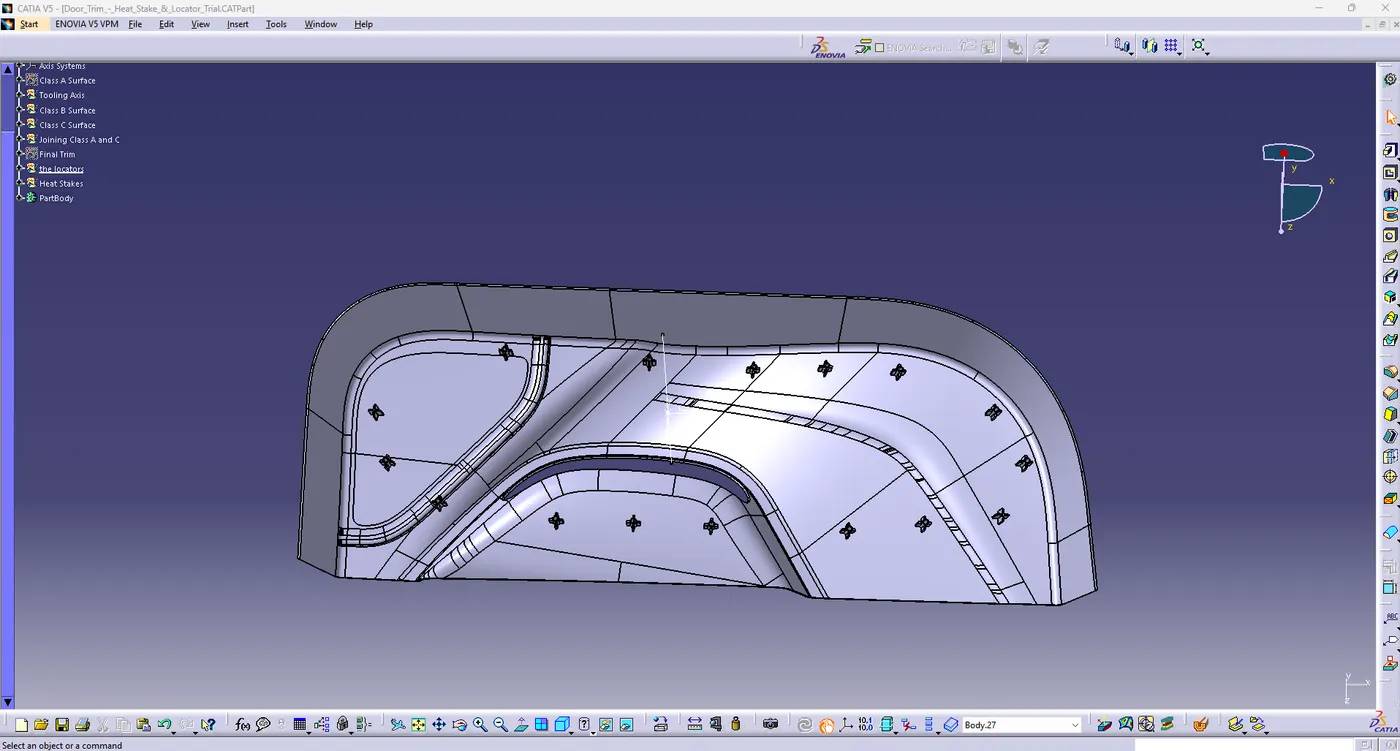
The tooling axis and the solid CAT part with B Side features is created from the given class A surface and Draft analysis is performed.