Usage of Collaborate tool in REVIT
REVIT_USAGE OF COLLABORATE TOOL_WEEK 6 :
- N.KEERTHANA
AIM: To learn the use of collaborate tool in revit and learn about work-sharing(enabling simultaneous working on the model) and working in a cloud.
INTRODUCTION: In this week of course, we learn how to use the collaborate tool and the advantages of using the collaborate tool and also the process of work-sharing, which enables us work simultaneously on the model i.e, it allows different disciplines to work on a project simultaneously to increase the efficiency of the project and reduce the time.
In the collaborate tab we have various tools such as collaborate, synchronize with central, relinquish all mine, copy monitor, etc., with which the Revit software allows us to work on a project simultaneously on various works.
In this challenge we learn how to work simultaneously on the works related to Architectural and Structural disciplines, in a project (model), by using manage links tool and linking the projects by shared coordinates and making a central model.
1) Open an architectural template. Using the Manage tab set project base point and project shared coordinates for the project
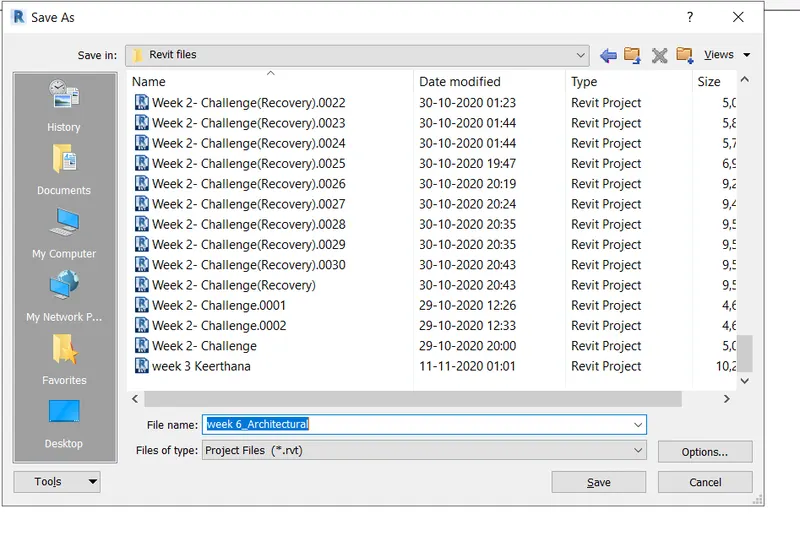
- A new project with architectural template is opened and saved with appropriate name
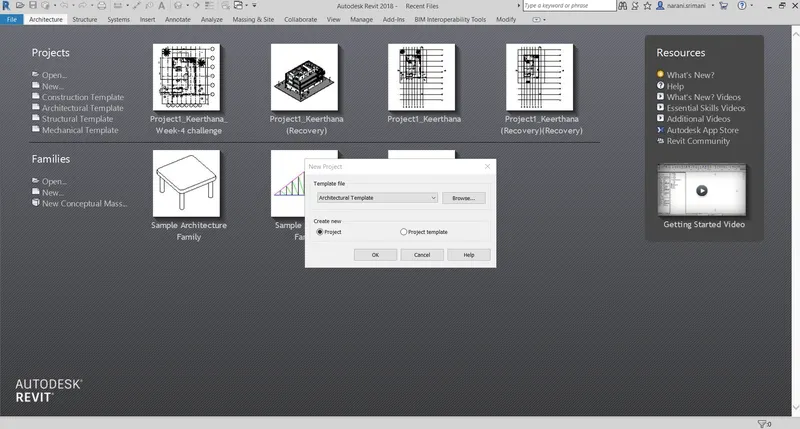
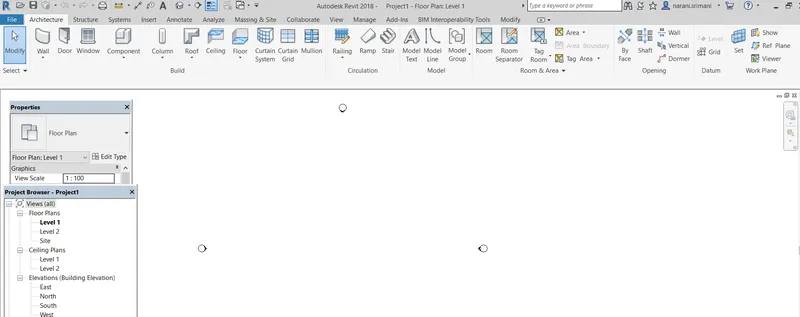
- The base point and the project shared coordinates are setup. For this, the grids are drawn(both longitudinal and transverse grids) and point of intersection is taken as the project base point
- The coordinates are set up by folowing the steps:- Goto Manage tab -> Specify coordinates -> Select the grid line and give the coordinates
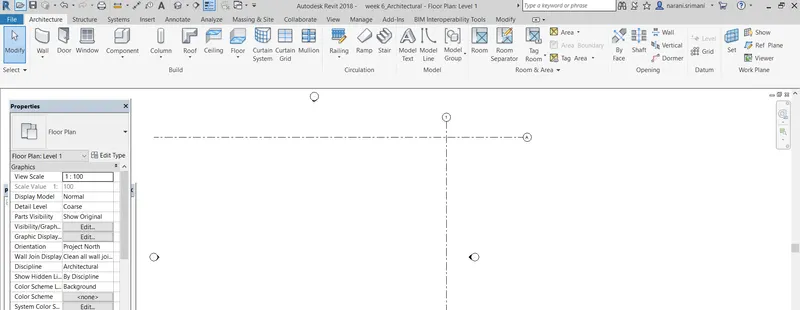
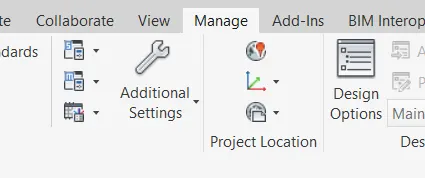
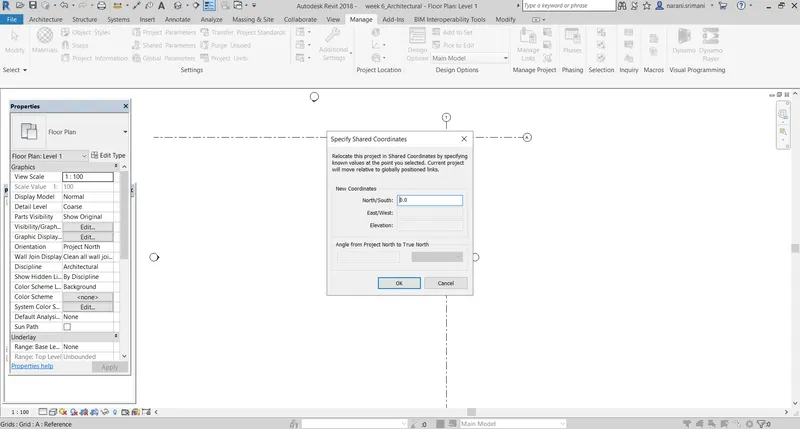
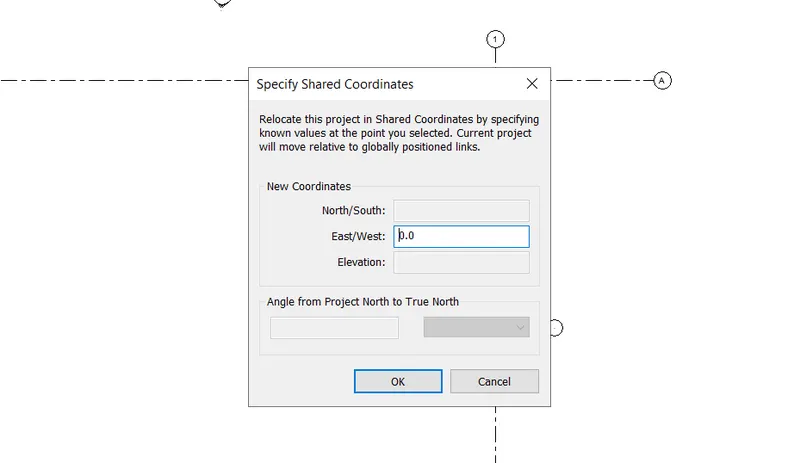
- The coordinates are set up to (0,0) as origin
- The file is saved
2) Open another new file but with a structural template. Using the manage tab set project parameters the same as the architectural model. Copy the parameters from the architectural model to the structural template or enter the parameters manually into the structural model
- Now, another new file with structural template is opened and saved appropriately
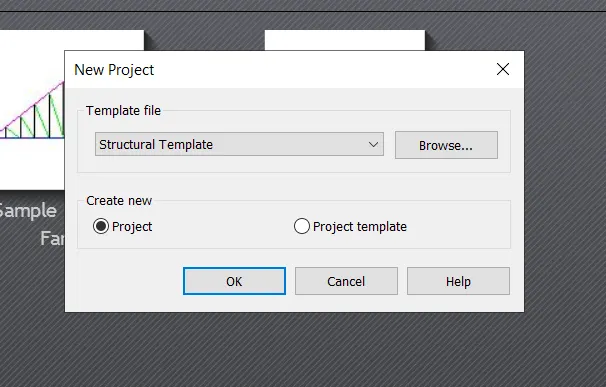
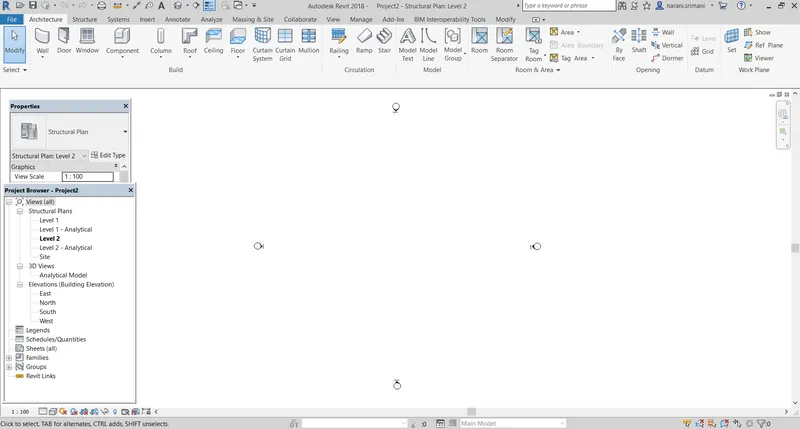
- The base point and the project shared coordinates are setup by creating grids and providing the coordinates using manage tab
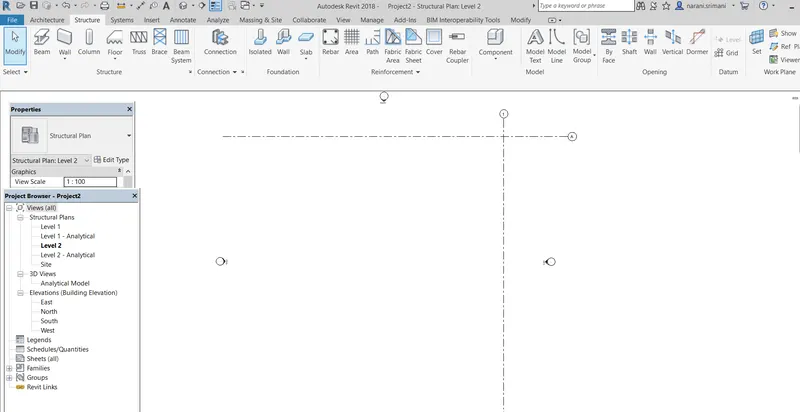
- The coordinates are setup to (0,0) as origin(base)
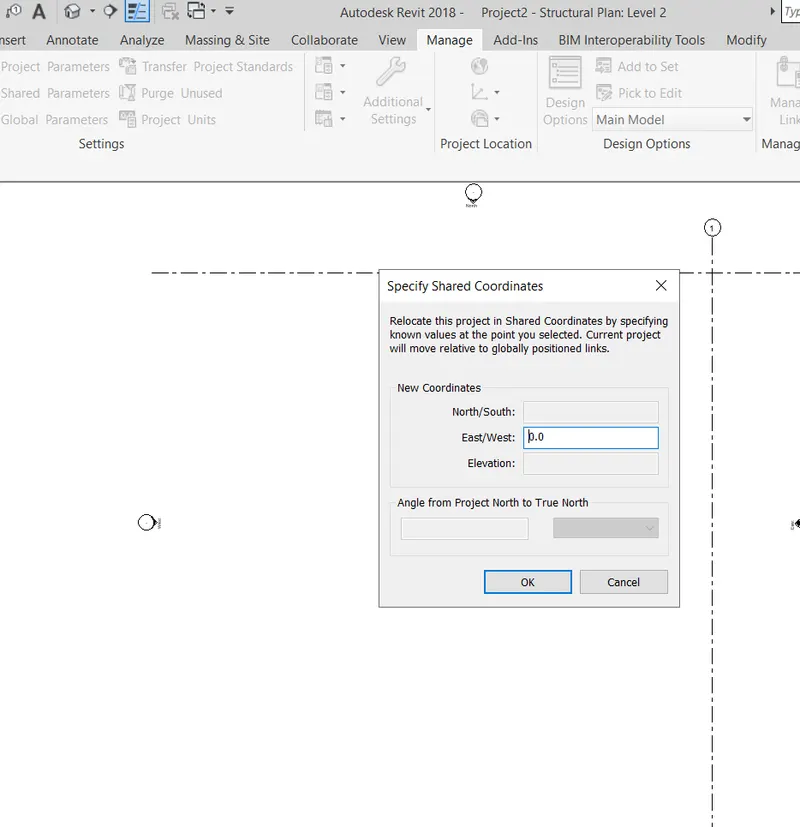
- Then the file is saved
3) Re-open the architectural model. Using the tools under the Collaborate tab make the architectural model a central model (enabling simultaneous working on the model)
- The architectural model, created before is opened
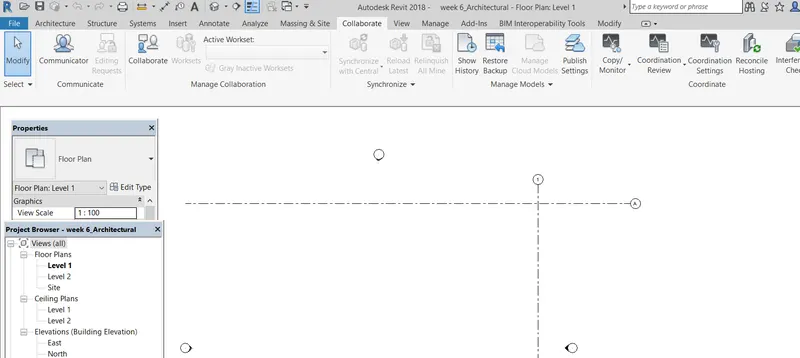
- To make the model a central model: Goto Collaborate tab -> Collaborate tool -> click on it
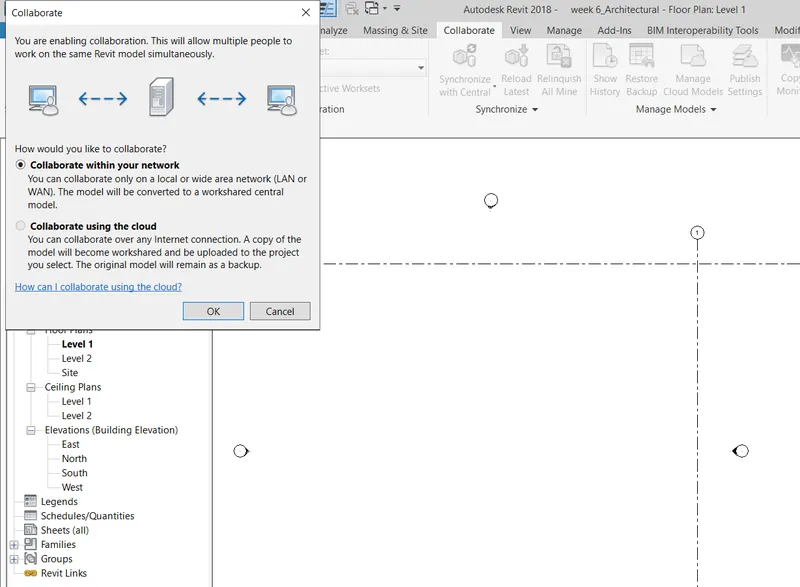
- The Revit softwate creates the interface for the collaboration
- The file is saved as a central model(enabling simultaneous working on the model)
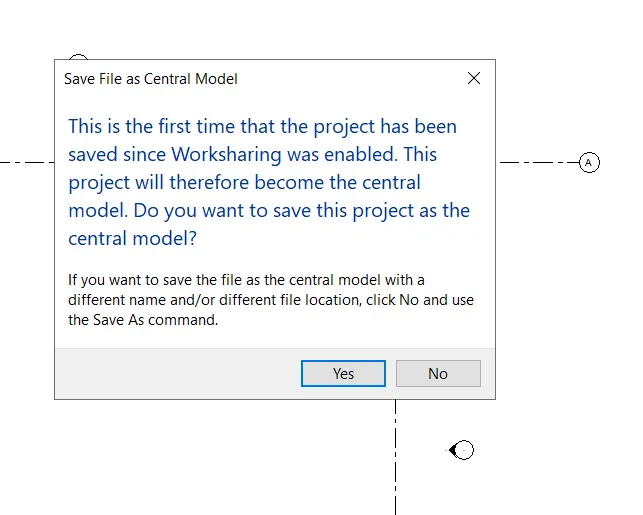
- For this:- click on save, then the software (ask permission) says that the project will be saved as a central model, click on 'Yes' or 'Ok'
- Then the model is saved as a central model
4) Create the Grids Longitudinal and Transverse pattern for the project similar to the task done in Week 2
- In the architectural model, after making it as central model, the grids are created both longitudinal and transverse pattern for the project with certain spacing similar to task done in week-2 as shown in the picture
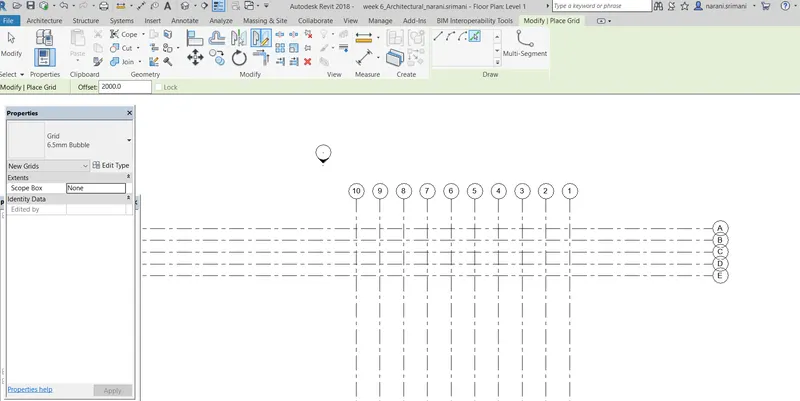
5) Synchronize the changes from the local copy to the central file of the architectural model.
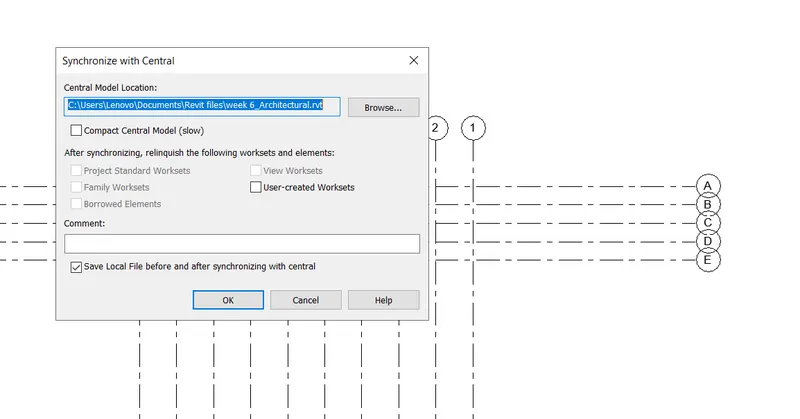
- To synchronize the changes from the local copy to the central file of the architectural model: Goto collaborate tab -> Synchronize with central -> click 'OK'
- Thus, the changes are synchronized to the central Architectural model(file) as shown in the pictures below
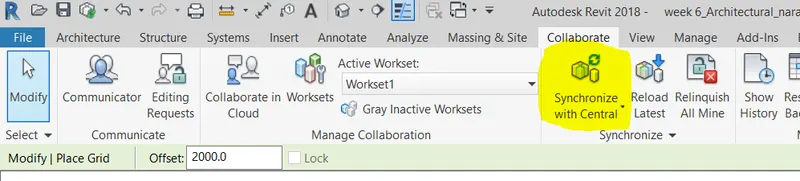
6) Open the structural model and use the collaborate tools to save the model as a central file.
- Now, the structural model, created before is opened
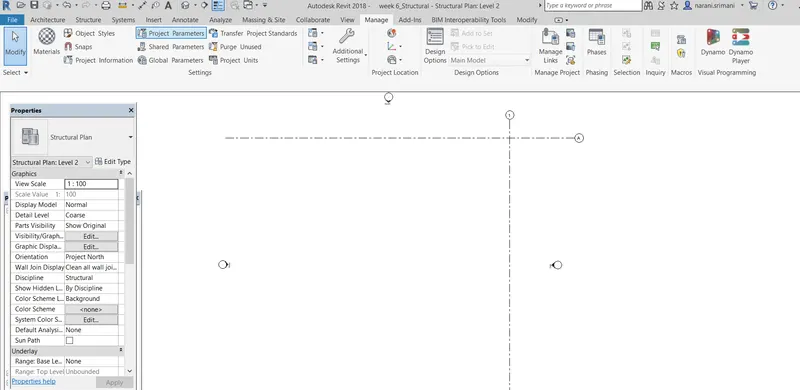
- The model is saved as a central file by following the steps: Goto collaborate tab -> collaborate tool -> click on it -> Work sharing environment is created
- The file is saved as a central model
7) Under the Collaborate tab, select the grids and levels from the architectural model, and using Copy Monitor try to copy the grids to the structural model. See what happens when the copy monitored grid is moved around in the structural model
- First acquire coordinates for the present model from manage tab
- The architecture model is linked to this sturctural model by following steps:
- Goto Manage tab -> Manage links -> click on Add -> select the architectural model -> link by shared coordinates -> click 'OK'
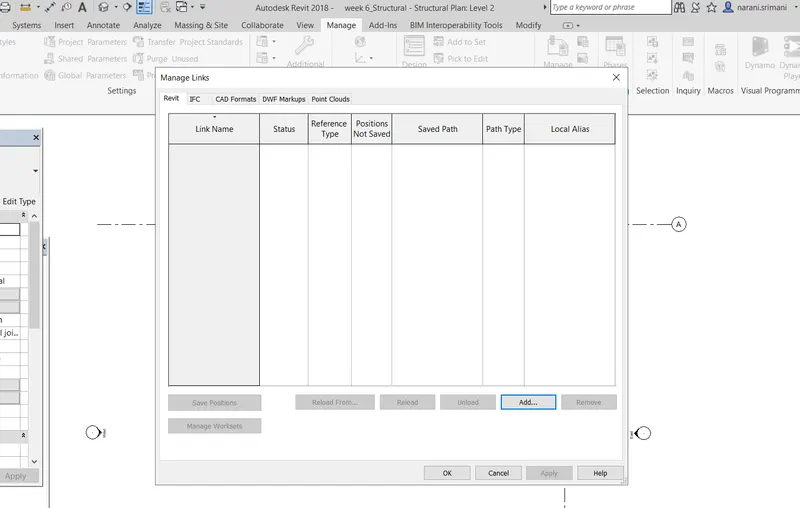
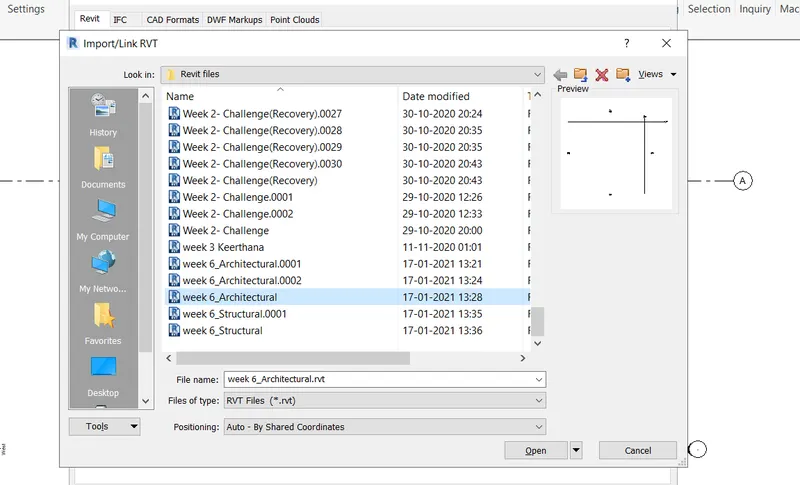
- Acquire coordinates from manage tab and select the linked model
- Now, ensure that the base points of both the models(parent and linked) are matched
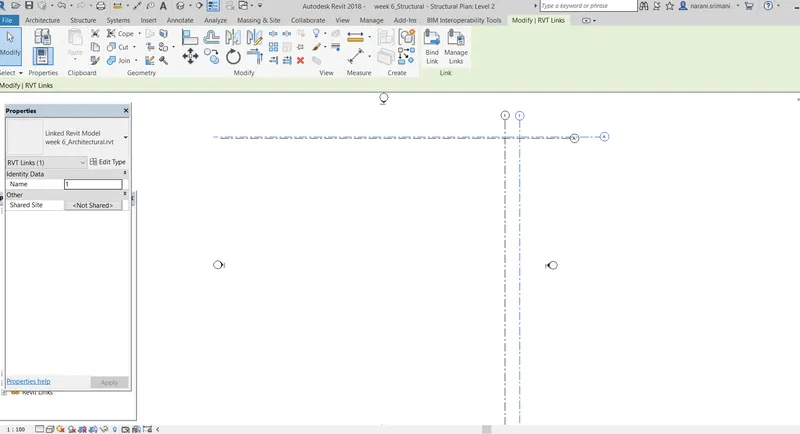
- For this:- Goto Manage tab and select the positioning (by shared coordinates) and then position the points by using the tool Relocate the project as shown below
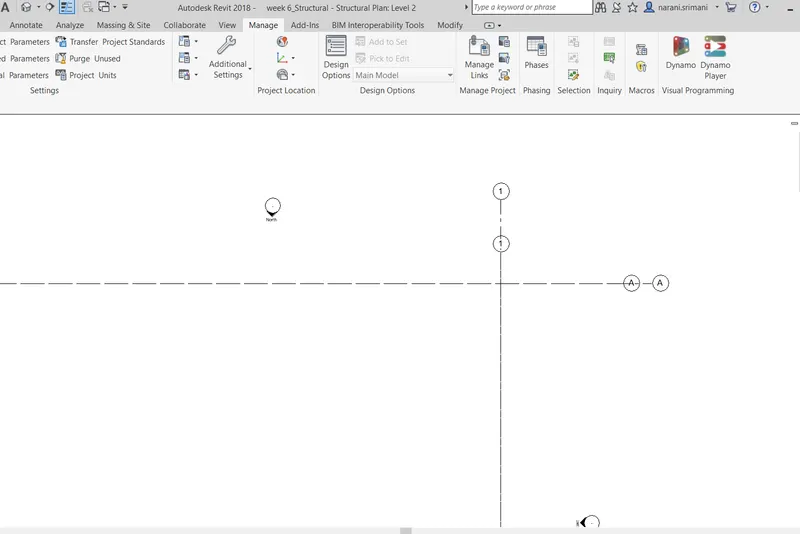
- Now, goto collaborate tab, select copy monitor tool and select the grids of the linked model and copy to the current(parent) model
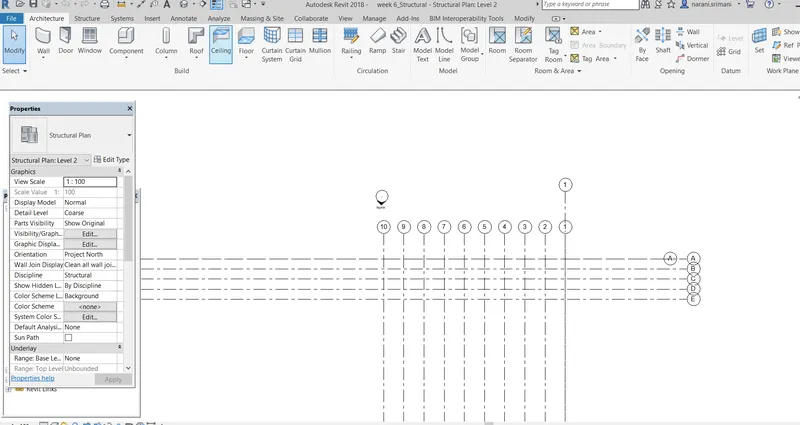
- Then, select the copy monitored grids and try to move
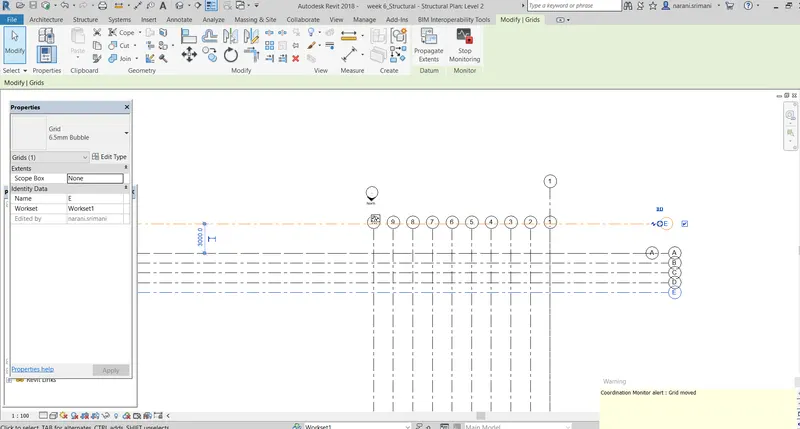
- When a copy monitored grid is moved around in the sructural model, the software gives a warning saying that 'the copy monitored grid is moved'
- This provide us the security for the grids (or any elements tha are copy monitored) such that we can easily know if any changes occured to the elements in the project model
- The file is saved and synchronized with central
8) Create another new file with a construction template. Save the new file as a central model. This file will include both architectural and structural model. Under the manage tab, Click manage links to link both architectural and structural files. Save the file and close all the files.
- A new file with Construction template is opened and saved with appropriate name
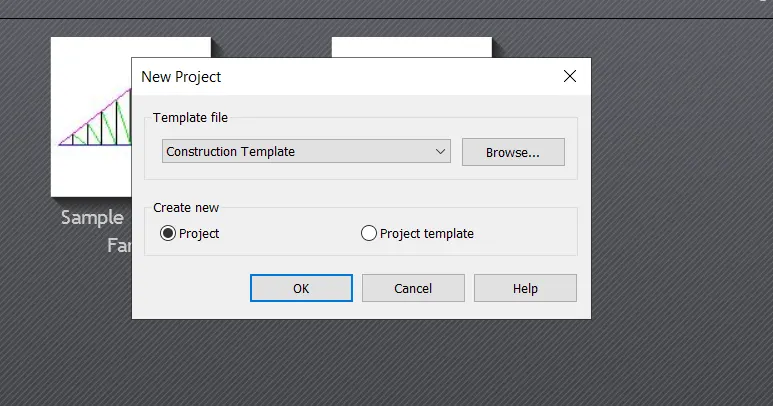
- The file is then saved as a central model using collaborate tool
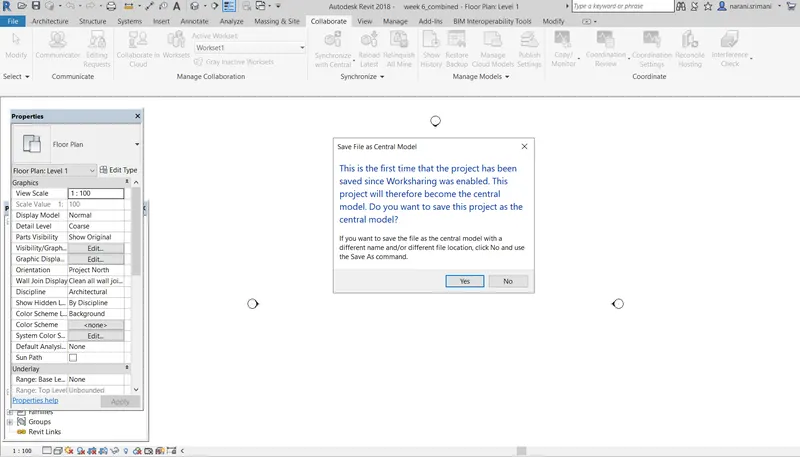
- This file will include both architectural and structural model
- Goto Manage tab -> manage links -> link both Architecture and structure models by shared coordinates
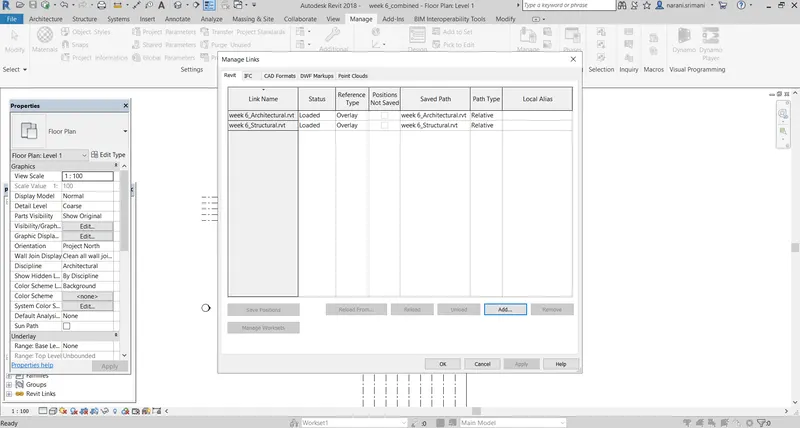
- First link the architectural model and acquire coordinates from manage tab
- Then link the structutral model and acquire coordinates
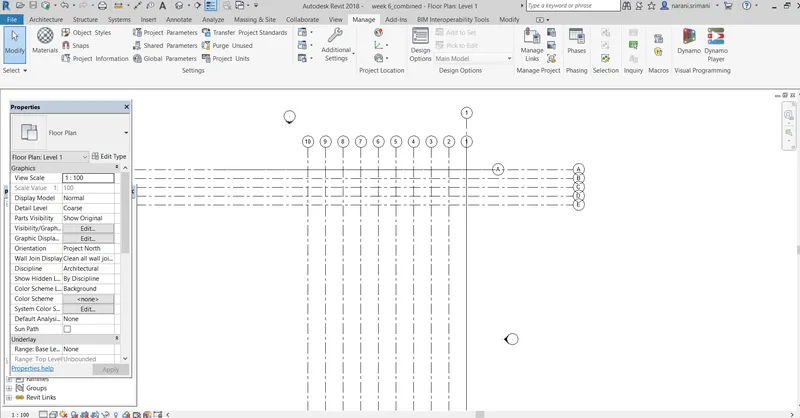
- Save the model and synchronize with central
- Then, all the files are closed
9) Are the grids from structural and architectural model matching in the construction template created? If yes the model is set up for project 2. If not work on the shared parameters and linking options under Manage links
( Hint: origin to origin, by shared coordinates or by project base point to base point ) to link the models in an appropriate manner)
- The grids from structural and architectural models are matching in the construction template model as shown in the picture below
- Hence, the model is setup for Project-2
10) List a flow chart of a project tree set up in terms of Construction model, Architecture & Structure model, in this exercise and understand how many people can work on the same project using Revit simultaneously
- Flow chart of project tree set up :
Construction model - Includes Architectural model and Structural model
- Architectural model -> Project Base point and shared coordinates -> save as Central model -> Structural model -> Project base point and shared coordinates -> save as Central model -> Open the Architectural model -> Draw Grids -> Synchronize with central -> Open Structural model -> Link Architectural model -> Relocate Project(position) -> Create new Construction model (combined) -> Link both Architectural and Structural models -> Save the files
- From this we can see that on the same project, various disciplines people can work simultaneously such as architectural discipline people, structural discipline people and the construction discipline people can work on the same project and share the work accordingly, hence increasing the efficiency of the project and reducing the work and time of completion
RESULTS :
- Understood the use of collaborate tool in REVIT
- Learnt about the work-sharing and the process involved in it using three different models and linking them
- Learnt how to link the projects by shared coordinates from manage tab
- Understood the Synchronize option by synchronizing local file with the central model
- Understood the use of 'Copy monitor' tool in the model and how to pin the elements in the model
- The model is made ready for the project-2
- THANK YOU -