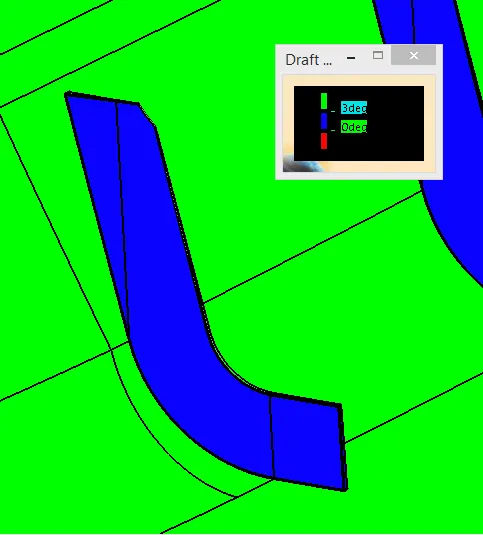
Week 9 - Project - Master Section Development
Aim :
To create a solid body of B pillar cover including ribs and locators using CATIA V5 tool with the given class A surface and Master Section.
Detailed Report :
1. Check the given input class A surface
2. Creating Tooling axis
3. Draft analysis
4. Creating class B surface
5. Flange
6. Creating class C surface
7. Final trim of Class A, Class B and Class C surfaces
8. Creating Solid body
9. Draft Analysis for the solid part
10. Creating B side features for the B pillar
11. Final Draft analysis
1. Check the given input class A surface :
Input given. CLass A surface with Master section
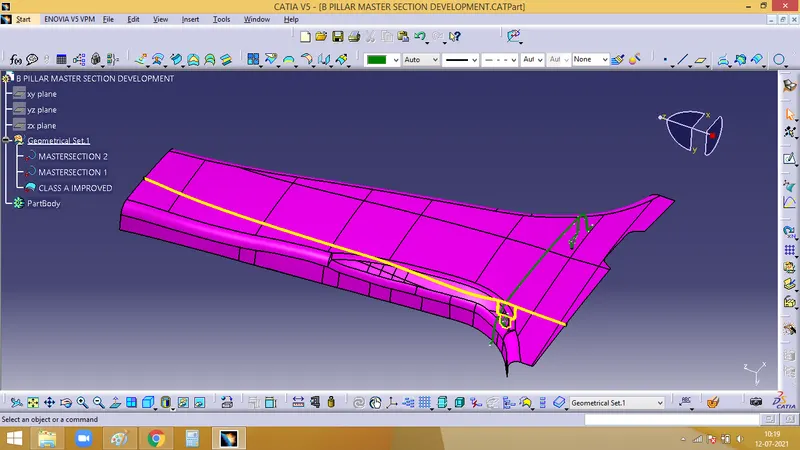
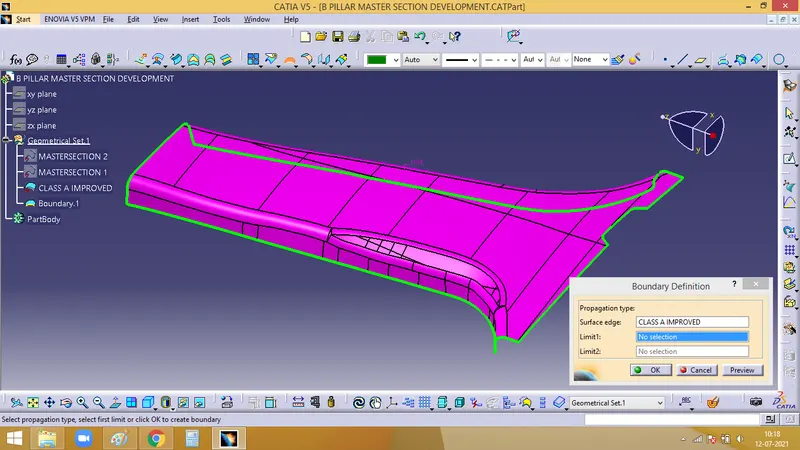
2. We need to check the given class A surface, for which we use Boundary command. In the below image we can see a single boundary which shows that the input is good
2. Creating Tooling axis :
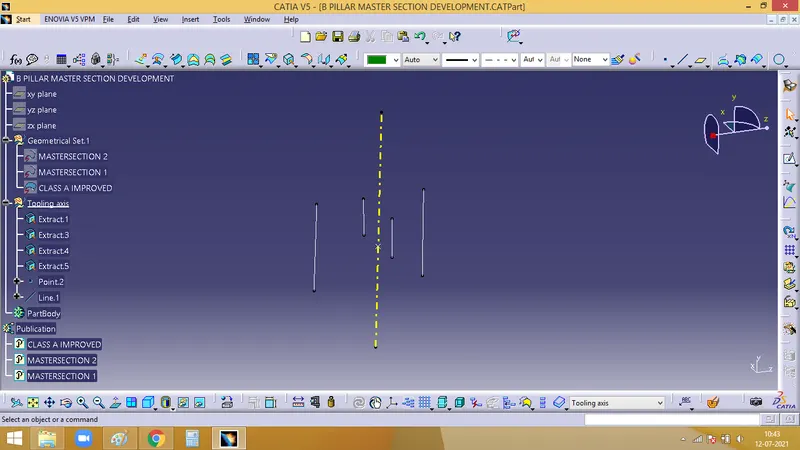
Here bisecting line concept is used to create a tooling axis
Extract these 4 lines
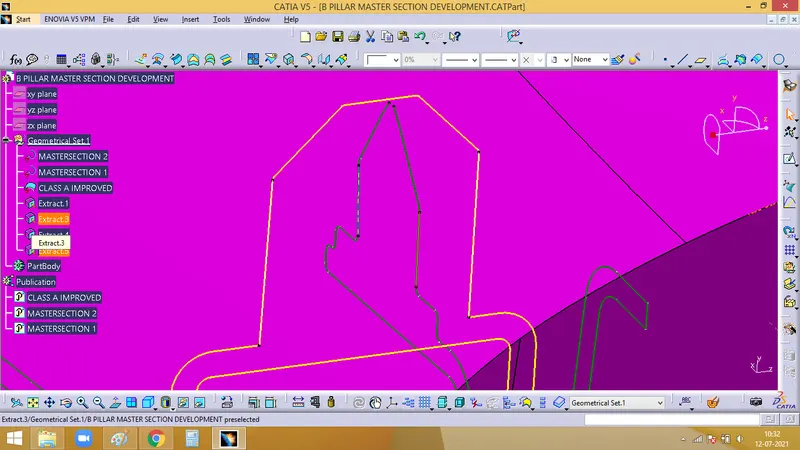
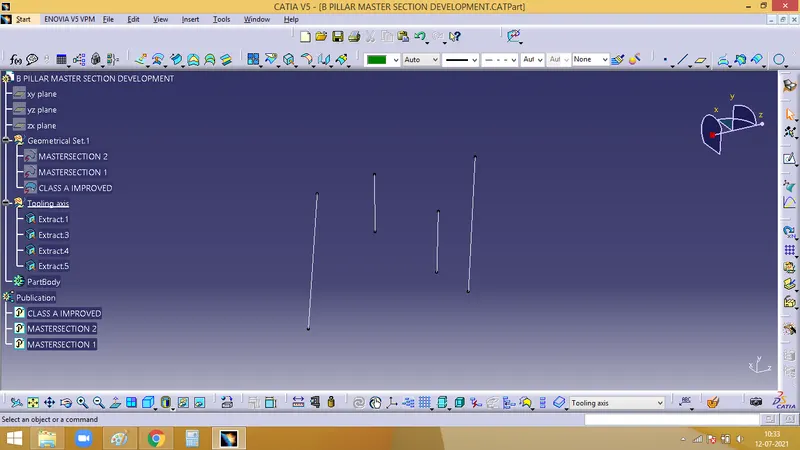
With these lines create a tooling axis, By using Bisecting command in the line option
3. Draft Analysis :
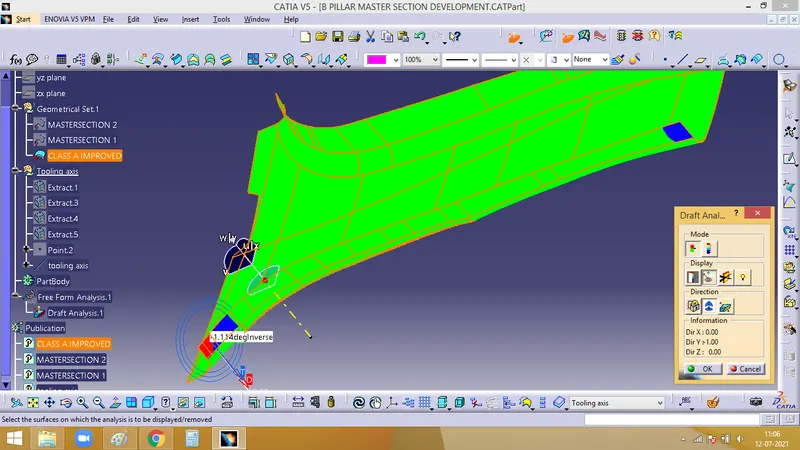
After creating tooling axis, we need to check the draft analysis with respect to the component
Use the feature draft analysis command. Change to material
Place the compass along the tooling axis
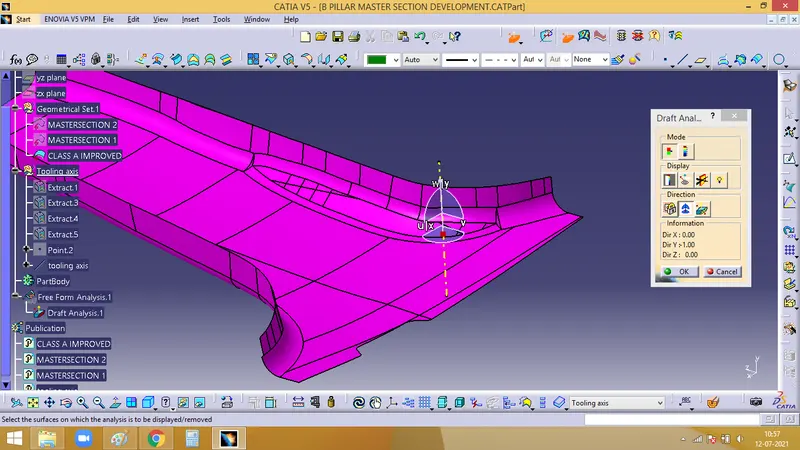
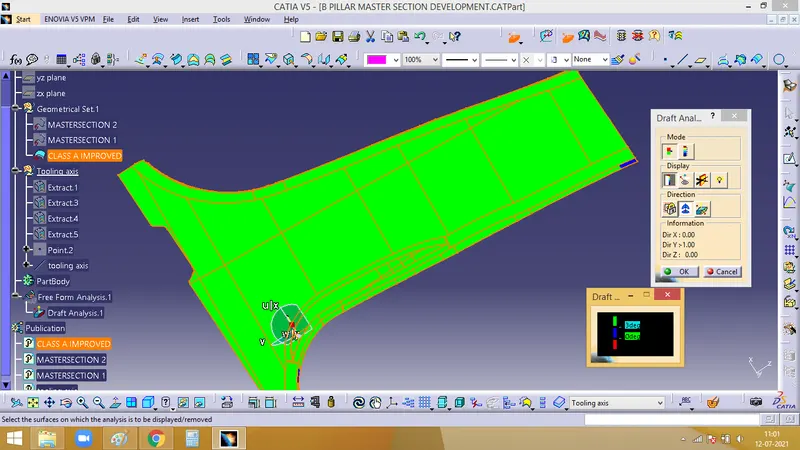
We can find small patches in the below image, as they are negligible and the an entire patch or fillet is not affected, so they can be ignored
4. Creating Class B surface :
With the given Master section, it was measured that the thickness of the component is 2mm.
With respect to that, we need to offset the class A for 2mm
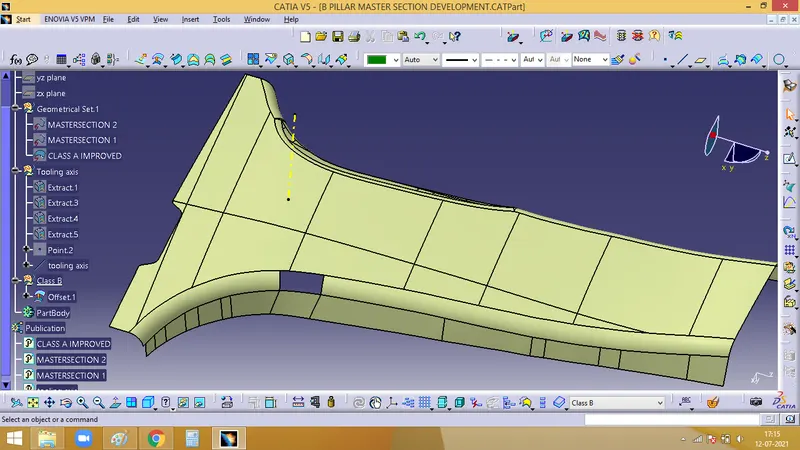
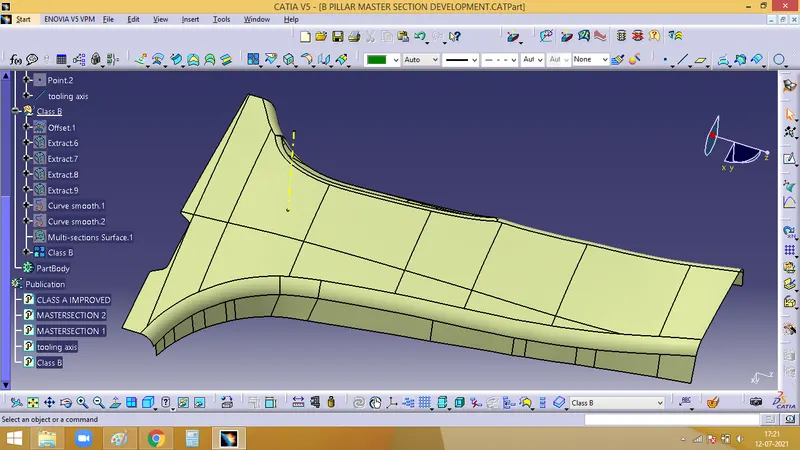
For the patch there which was not filleted, multisection has to be done inorder to correct it.
Extract the bpondaries of that patch, smooth curve it, then using the Multisection command we can close the patch
Then join this patch with the remaining main surface. Now finally class B is created. Publish it.
5. Flange :
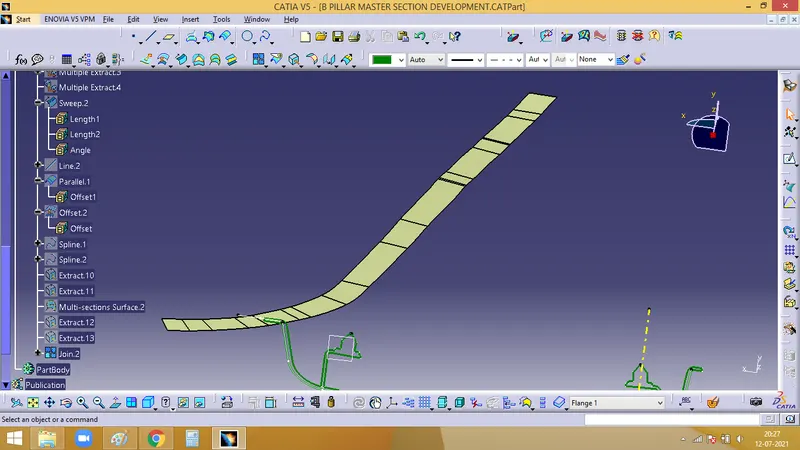
Create a plate with respect to Master section 2, using through 3 points command in Planes
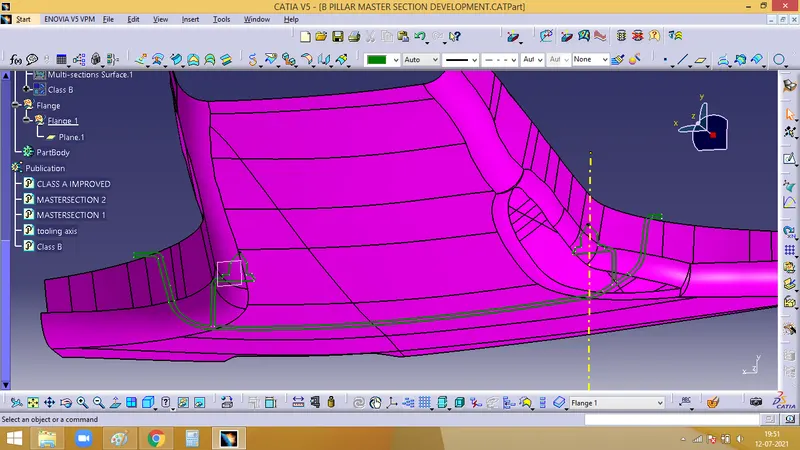
Take an intersection of the Class A and the plane created
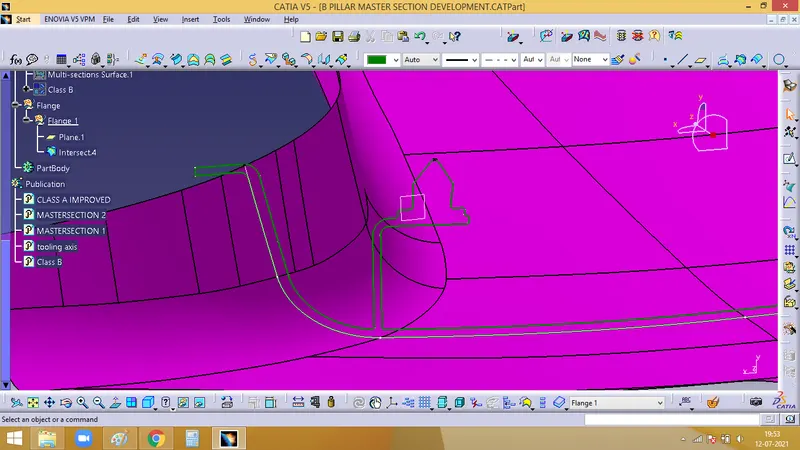
To create a flange, using multiple exract command extract the edge and the sides.
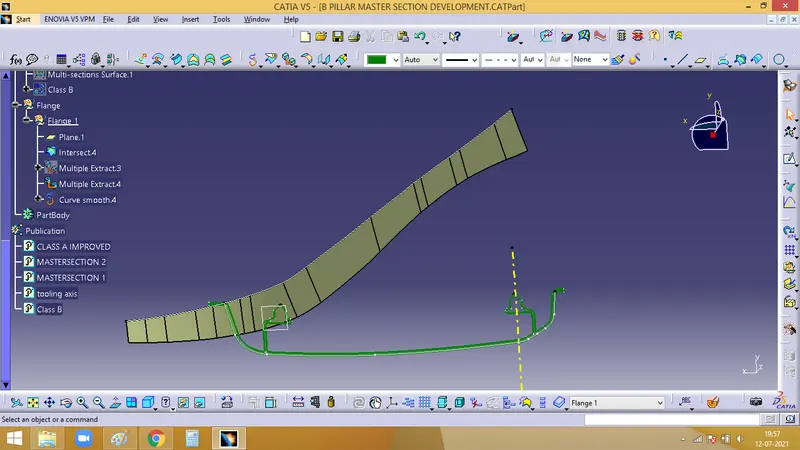
Now using sweep we can create the flange. We need to check if the flange created is parallel to the mastersection, for which we create an intersection with the sweep and the plane created
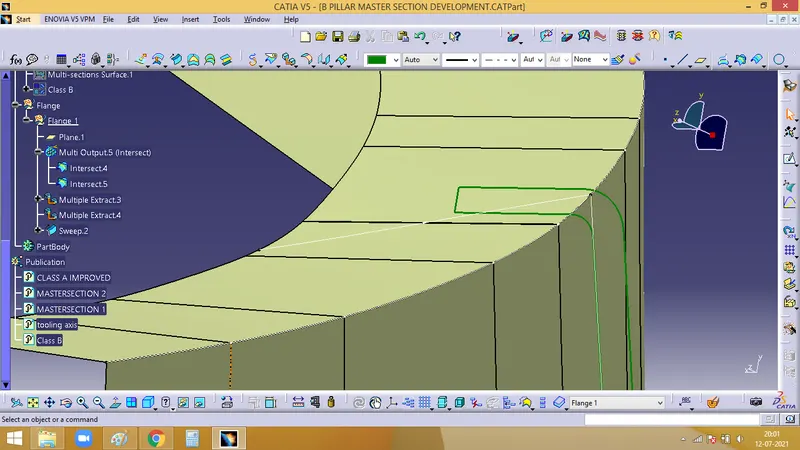
Change the angle of flange until it coincides with the intersion line
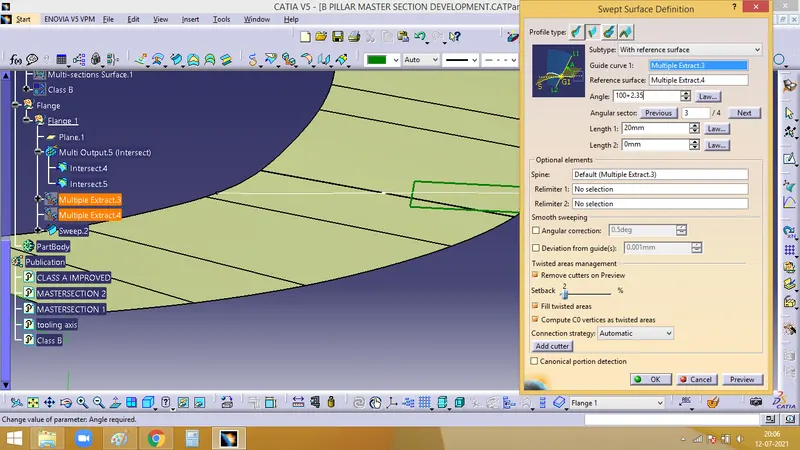
Fianlly offset it to a value of 1.6 to trim it with class A
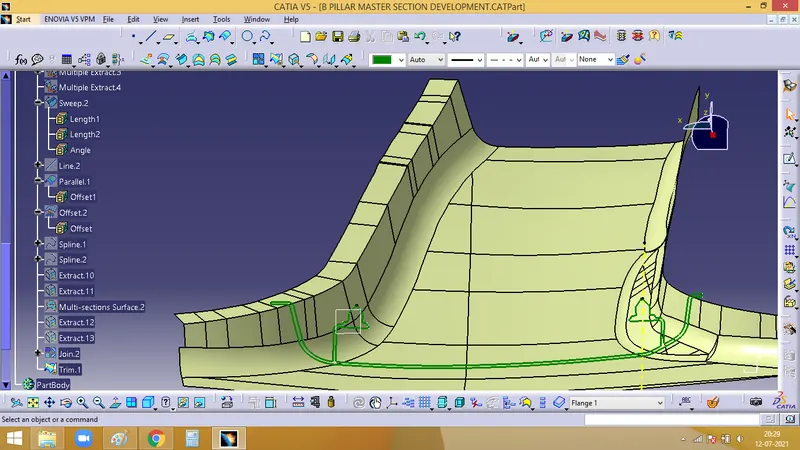
Now, create Flange 2
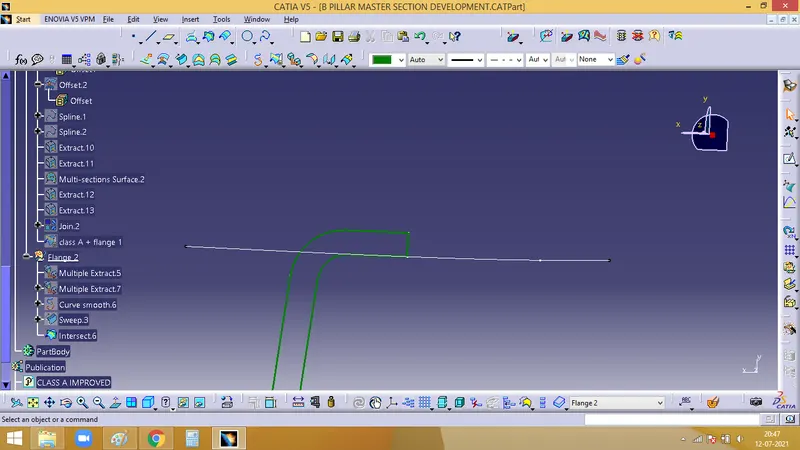
Repeat the same procedure as flange 1
Create an intersection with sweep and the plane and ensure its in line with the master section as in below image
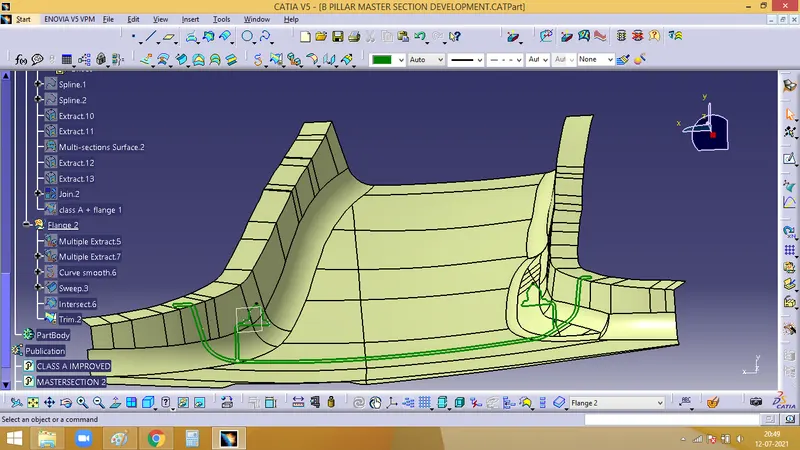
Now, trim it with the A surface
To give fillets :
Measure the fillet in the Master section and give the value for the flange edges
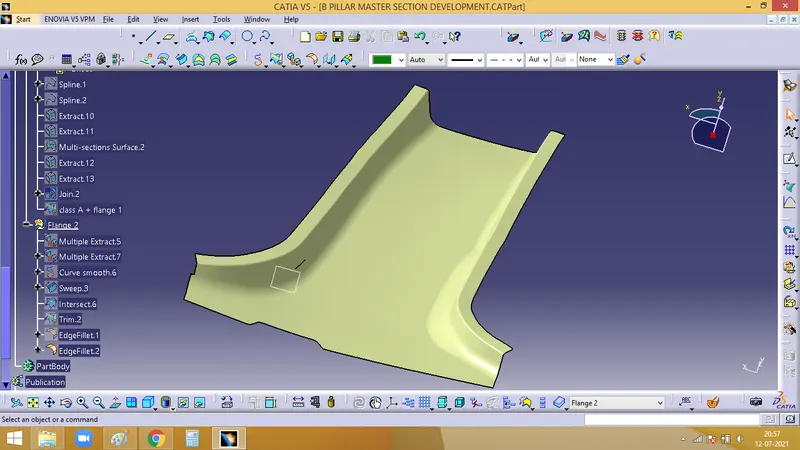
Now, we need to givw flages for B surface, for which, offset the flange 1 and flange 2 created, then trim it with the class B surface. Now add fillets to it
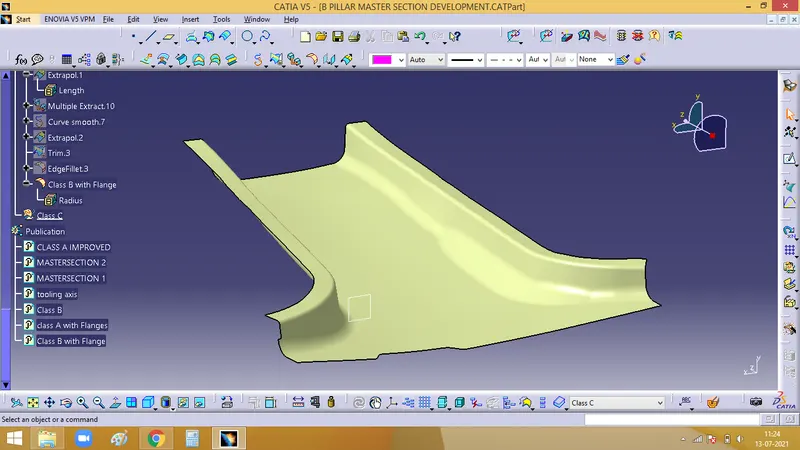
6. Creating Class C :
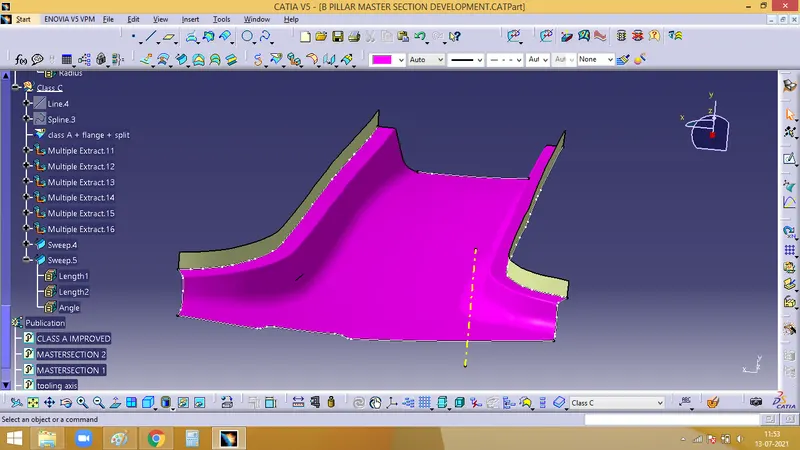
On the class A extract the 6 edges
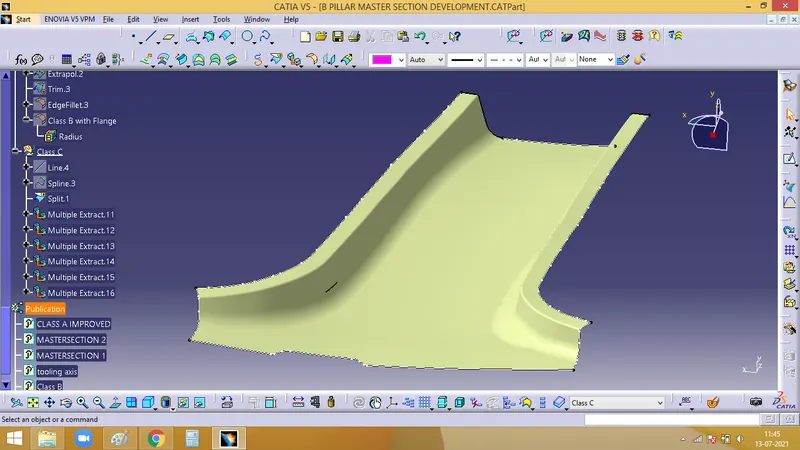
Sweep the edges with draft direction along the tooling axis
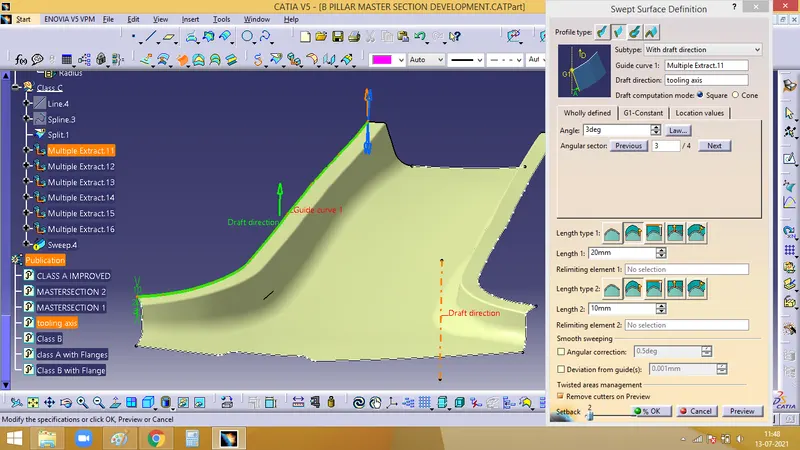
For the top edge, we can sweep it, then extrapolate it, such that it can trimmed with the class A surface
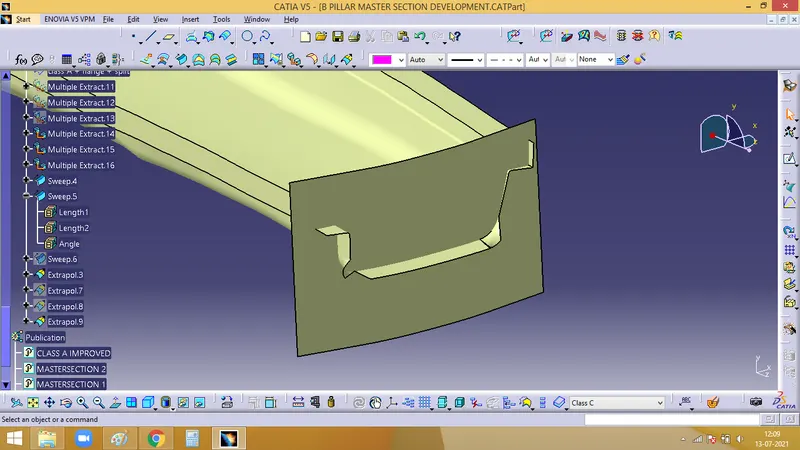
For the 4th edge, we can extract the two straight lines, sweep them, then join it using multisection command
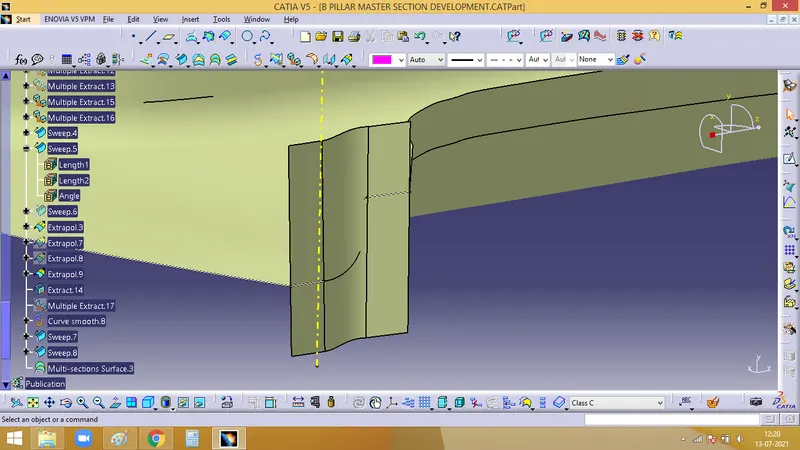
Now, for the bottom edge, sweep it as done before.
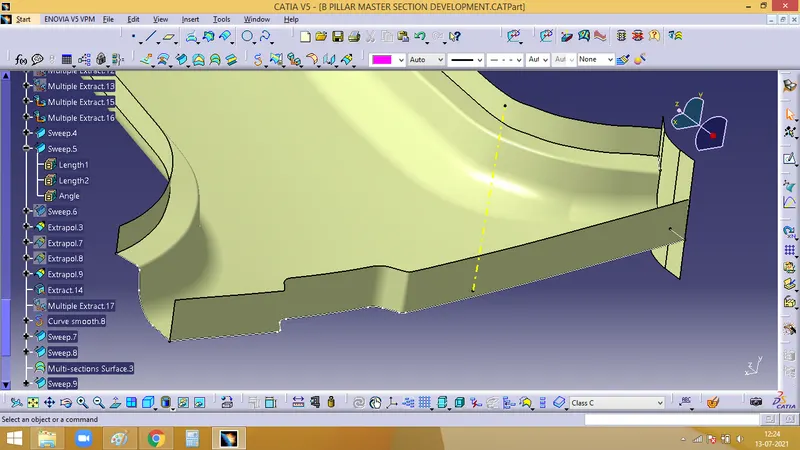
And for the other smaller edge repeat the same procedure as for the 4th edge
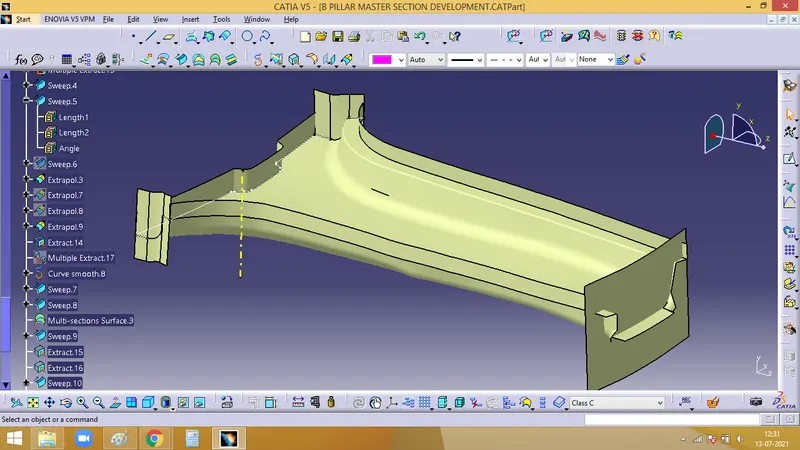
Now, trim all the C surfaces together. and the C surface is formed
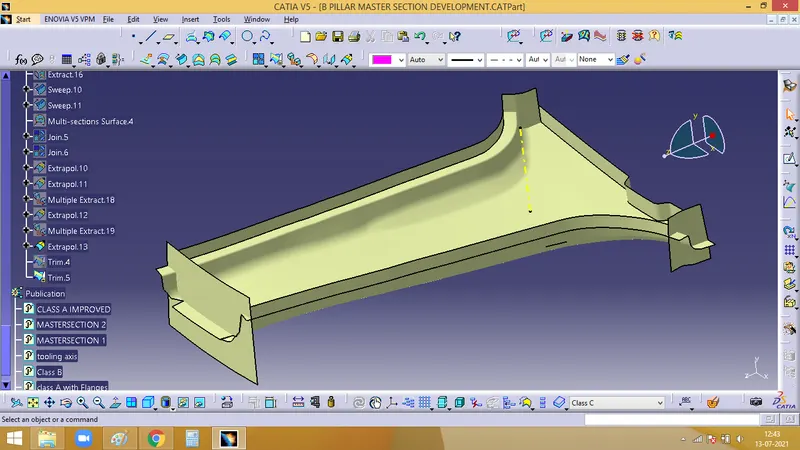
7. Final trim of Class A, Class B and Class C surfaces
Now, finally trim A surface with the C surface
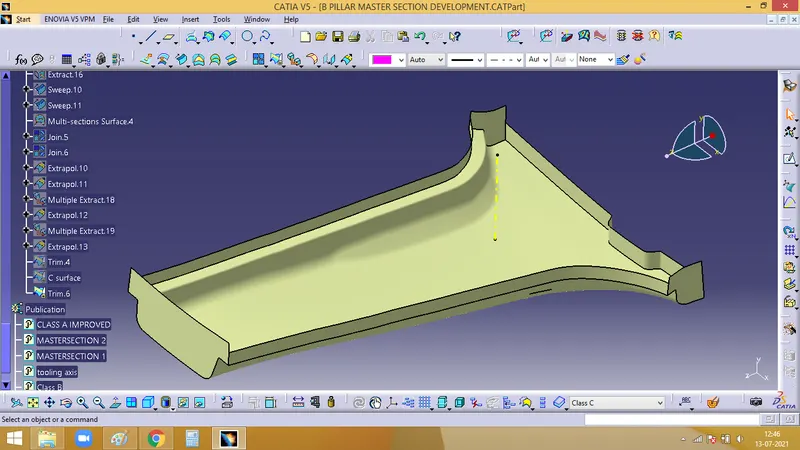
Now, unhide the B surface. Check the intersection. Extrapolate the B surface by 2mm
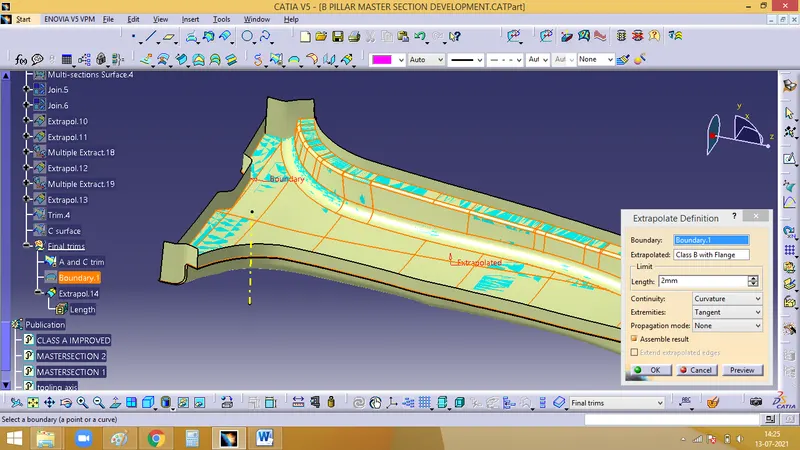
Now, trim the extrapolated B surface with the A and C trim.
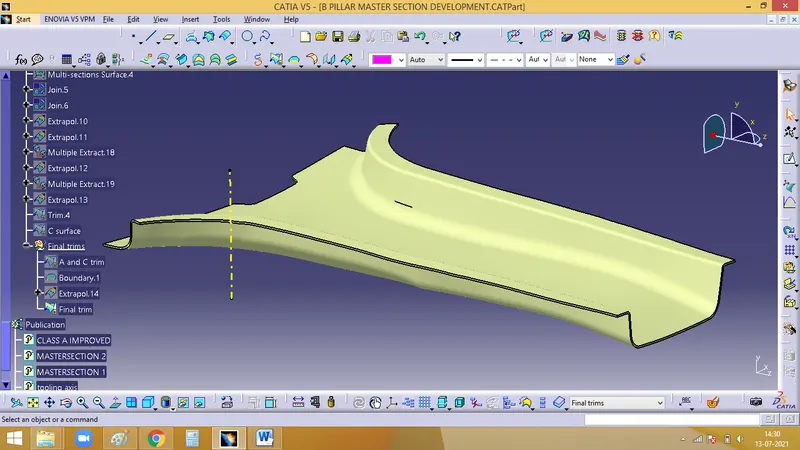
8. Creating Solid body
Define in Part body, using Closed surface command convert the final trimmed surface into a solid body
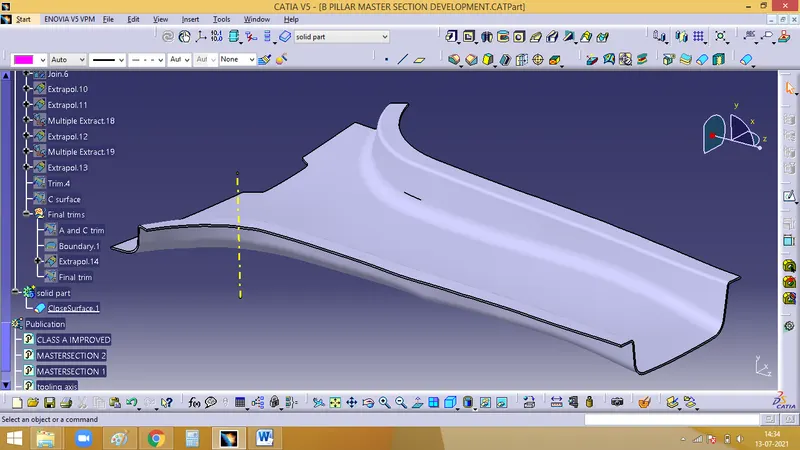
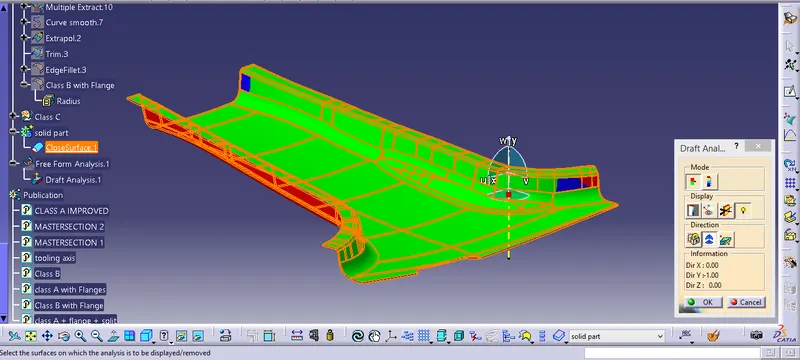
9. Draft Analysis for the solid part
First, Change to material mode. Open the Feature draft analysis command
Place the compass along the tooling axis
10. Creating B side features for the B pillar
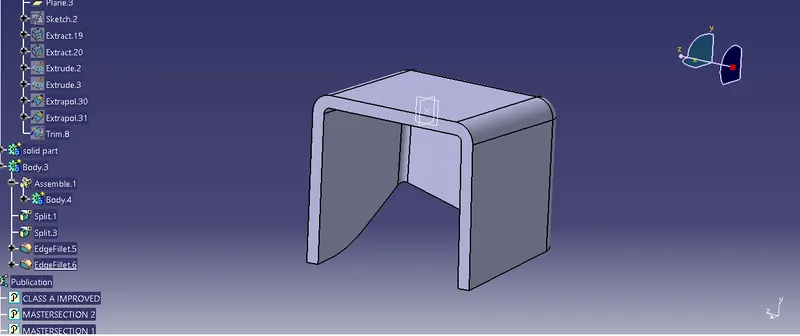
To create the Dog house as per the Master section given.
First create a YZ plane along Master section 1.
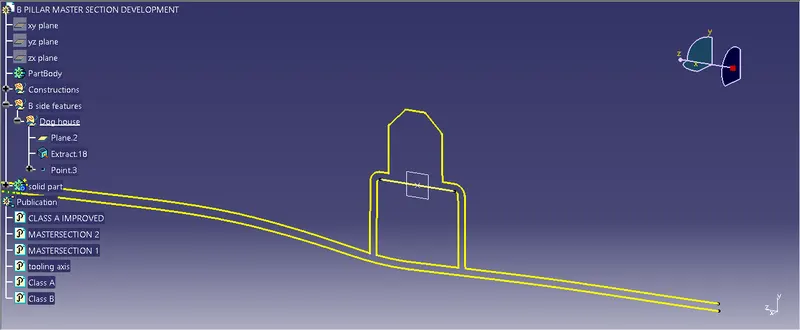
Project the Master section 1 skech and Constrain them and extend it beyong class A
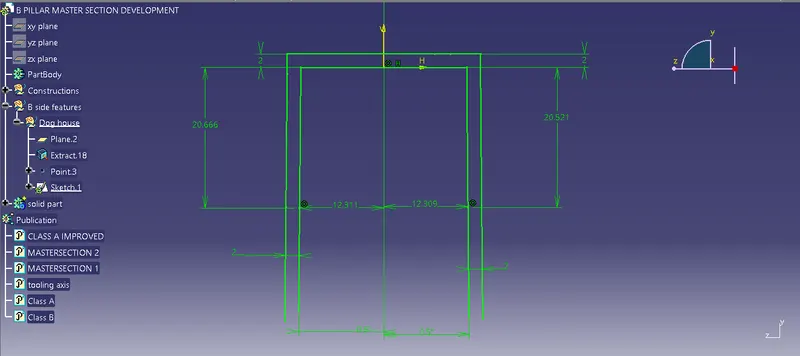
Extrude the inside wall with respect to the plane created
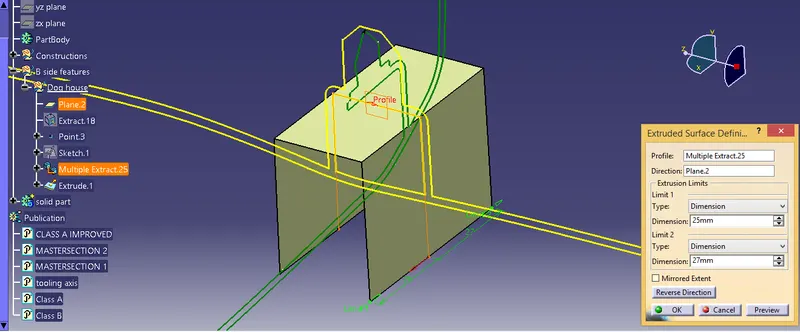
Create another plane with respect to Mastersection 2 and create a positioned sketch in it
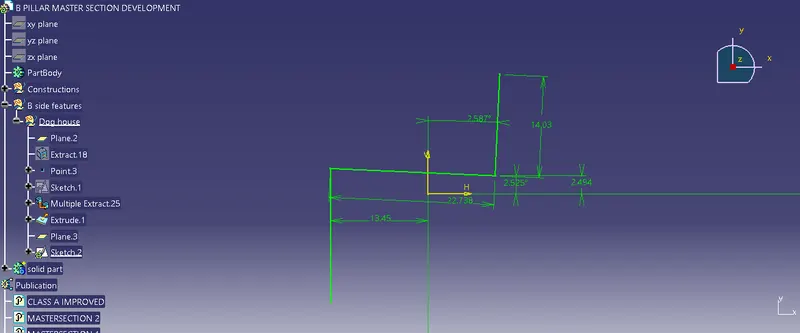
Extrude the two limit lines and extrapolate them
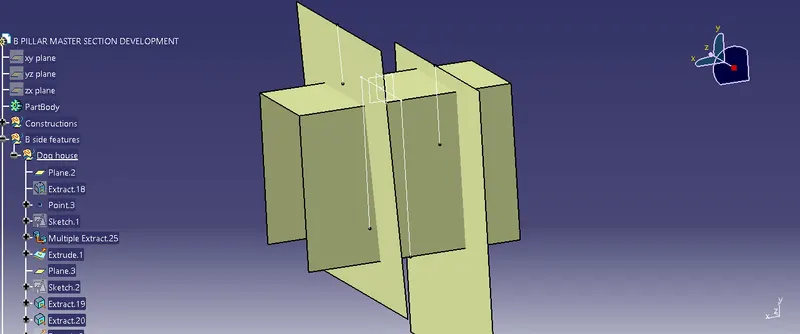
Now trim them
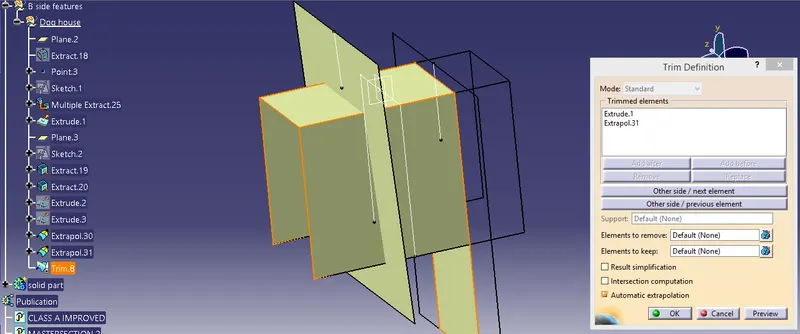
Enter into the part body and thicken the surface, then we can split it
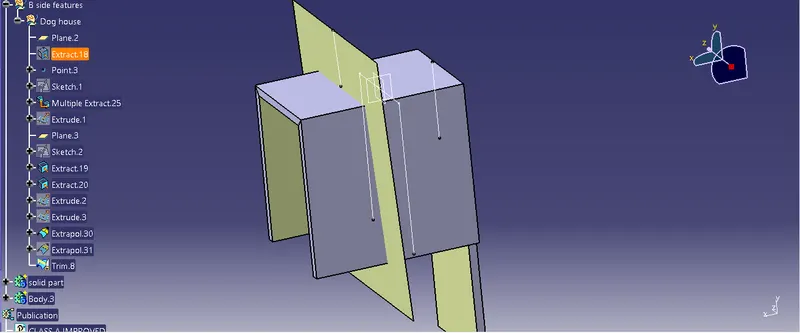
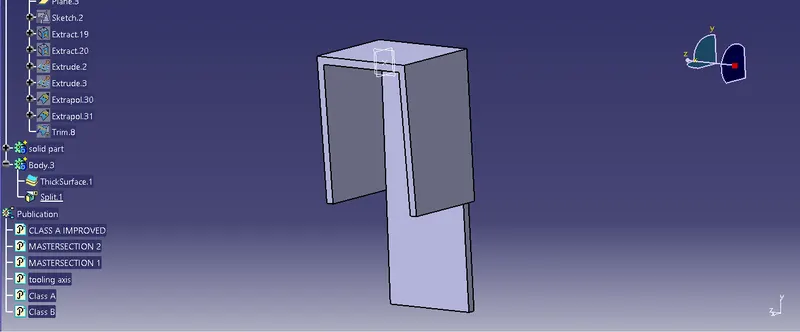
The bottom face can be splitted with class A
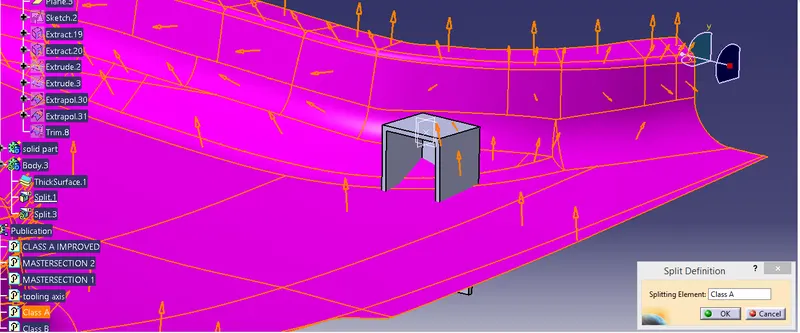
Now we can give fillets to the inside and outside edges
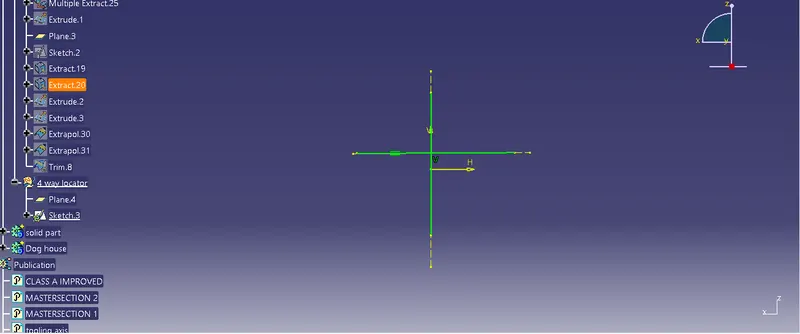
To create a 4 way locator
Create a plane with respect to ZX plane and do a positioned sketch for the 4 way locator
Now pad the sketch, add entrance chamfer and add draft to it
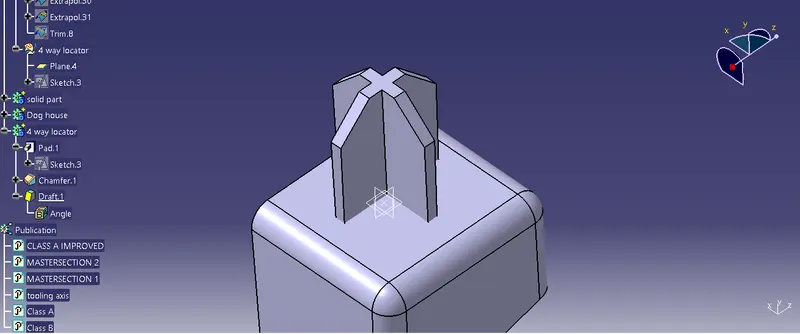
Now add the 4 way locator to the dog house created using the boolean operation and add fillets to the edges with min fillet values
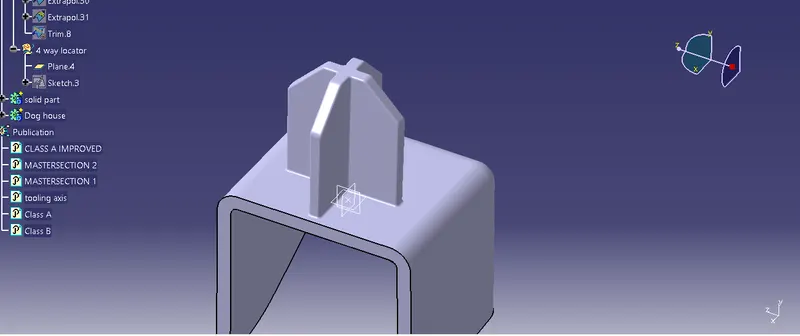
To avoid sink marks during molding add the engineering features to the dog house
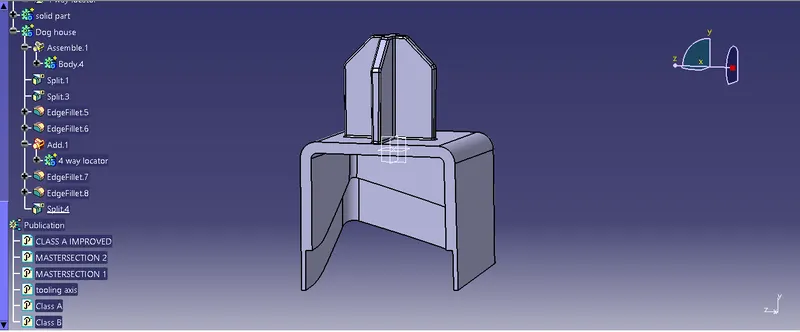
Now we need ti check the draft analysis with respect to the main tooling axis
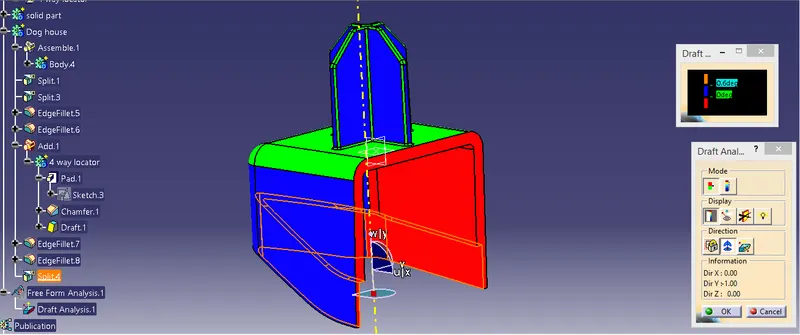
For a dog house, we need to create a Lifter axis as well inorder to clear the inside wall of the dog house with respect to the draft analysis
Create a line with respect to the YZ plane and the point created
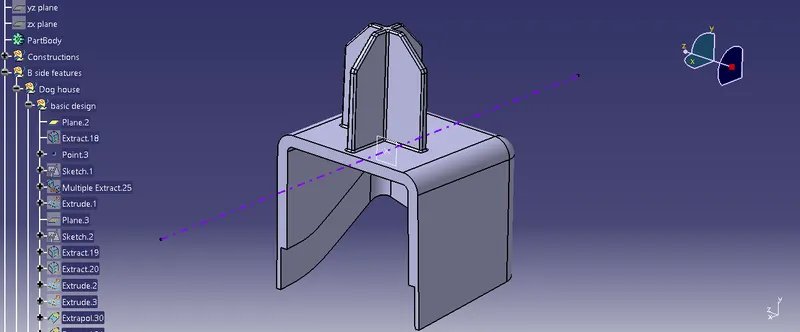
Now we can perform the draft analysis with respect to the lifter axis
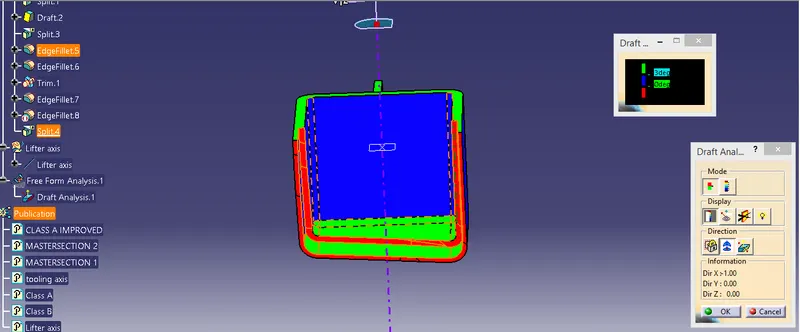
In the above we can see that the below edge of the dog house is below 0 deg. So to clear that red area ;
Intersect the B surface extract and the extrapolate from dog house design
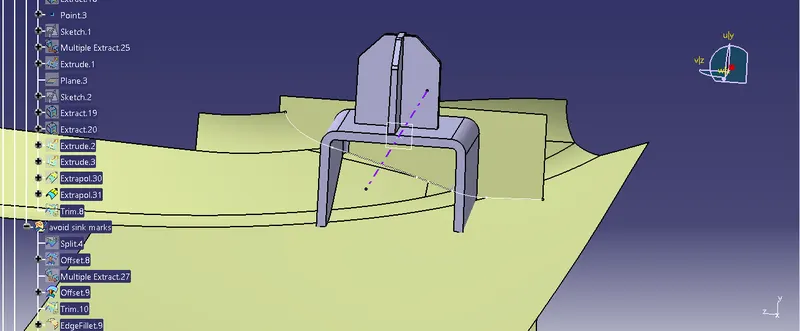
Now, porject the intersection into the sketch with which we created the base design if dog house with mastersection 1
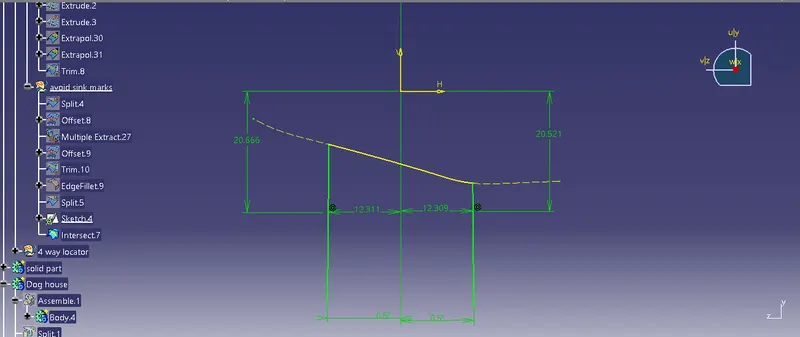
Extrude it and trim it with the extrapolate
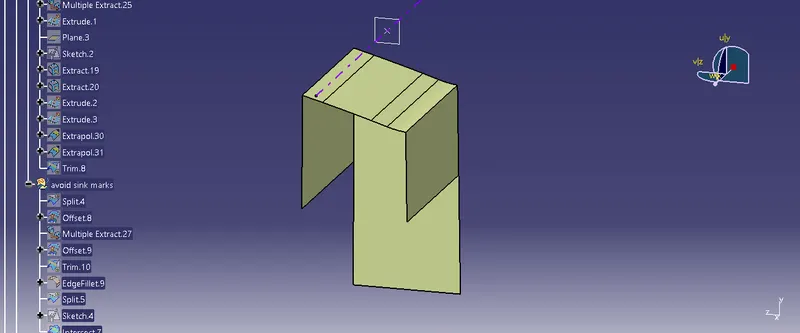
offset it for 1.2mm and trim it with the dog house before the avoid sink mark engineering feature was done
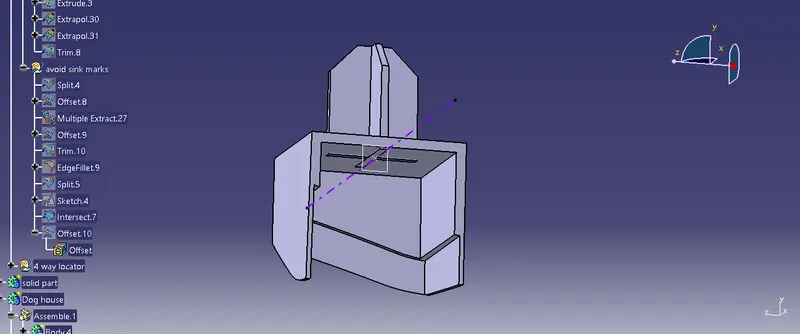
Now draft the side walls of the splitted faces and fillets to the sharp edges
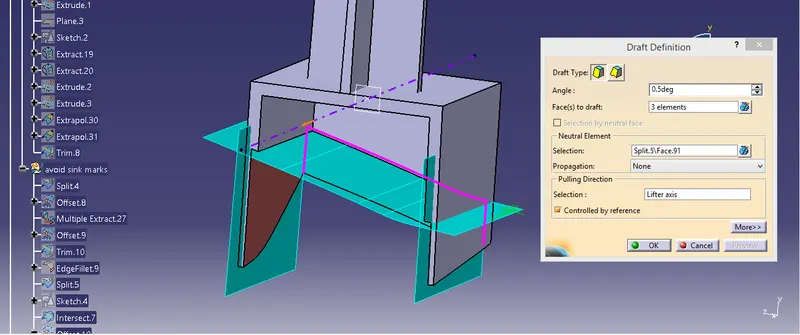
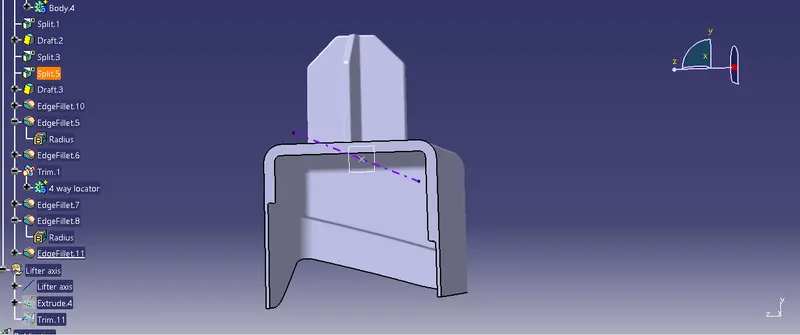
Now we can check the draft analysis
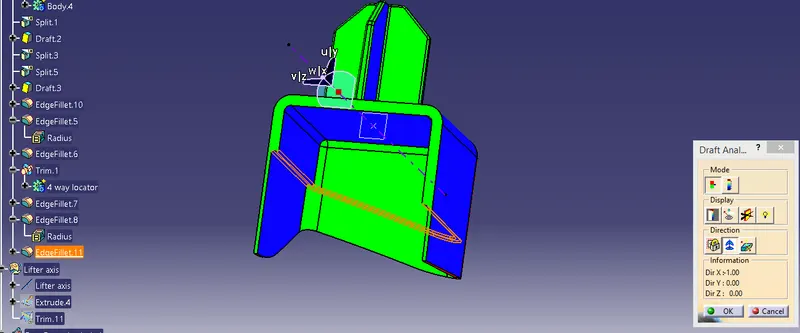
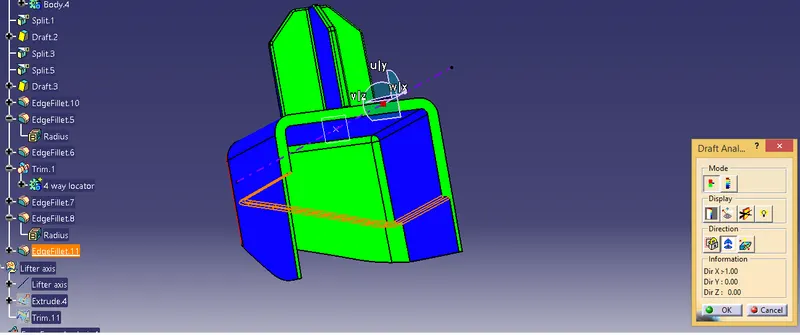
From the ablove image it is clear that the internal faces of the dog house also clears the draft analysis
Now with the union trim option under the boolean oprations, add the dog house to the B pillar body
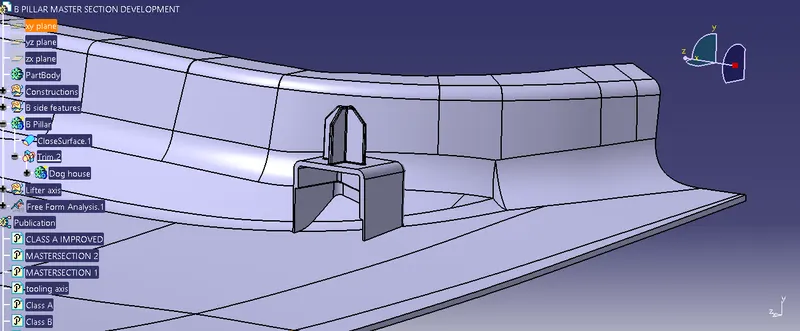
We need to replicate the same 4 way locator with dog house, for which we can mirror the 4 way locator with dog house
Create a mid point with the mastersection 1 and create a plane there
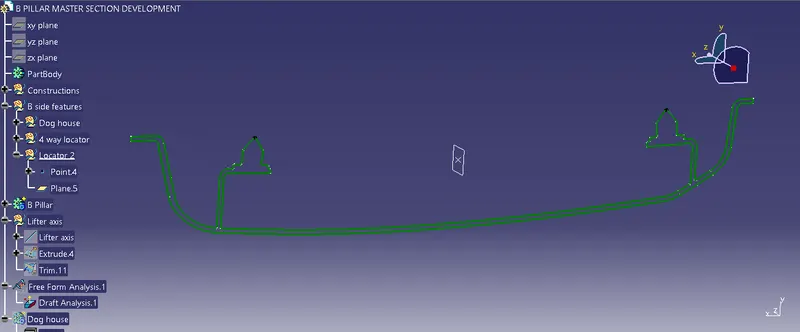
Now mirror the 4 way locator with dog house using the symmetry command, then union trim it with the main B pillar body. After which provide minimyn fillets to all the sharp edges
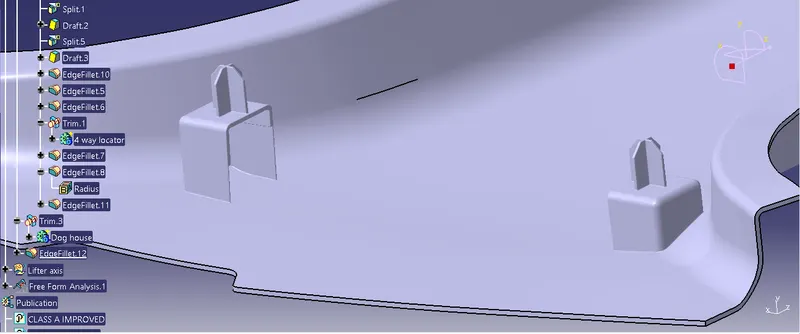
To create Ribs
The basic condition for ribs to be formed is that, it has to be 50mm apart
Create a sketch for the ribs
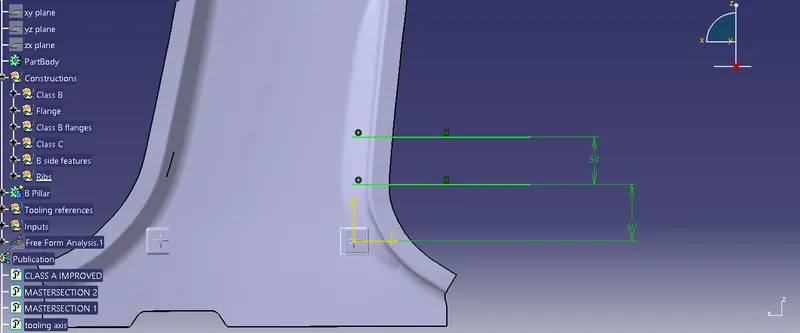
Extrude it give thickness with respect to 40% of the component thickness. Then add draft to it
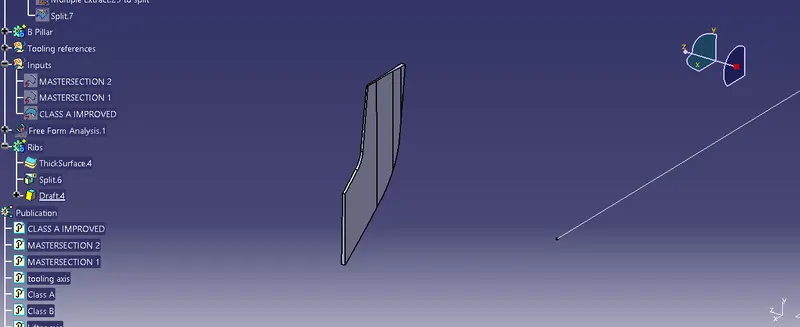
Now union trim it with the main B pillar body and give fillet to edges
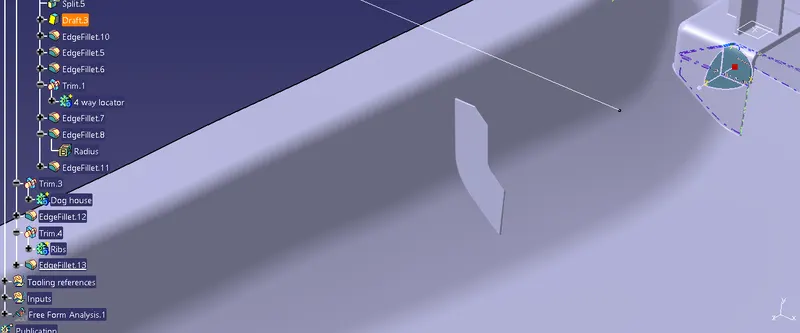
similarly create rib 2 on the other side. Then using pattern command, replicate the rib 1 and rib 2 fior every 50mm on the B pillar
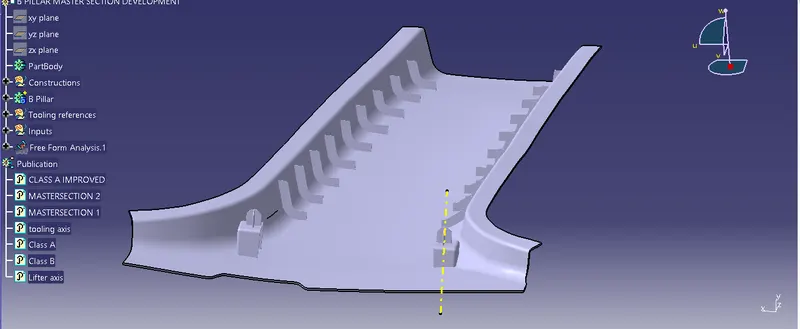
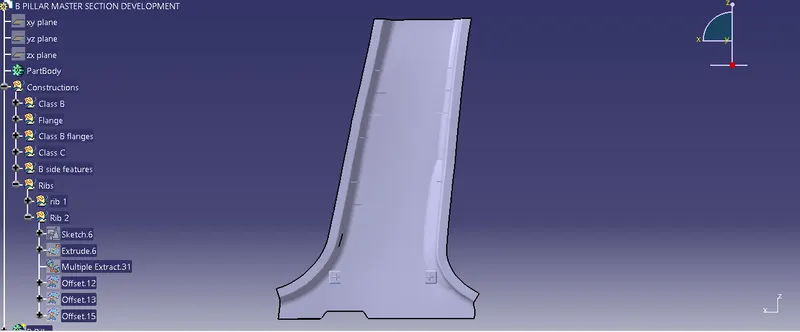
11. Final Draft analysis
Open the Feature draft analysis command, place the compass along the tooling axis and click on the component
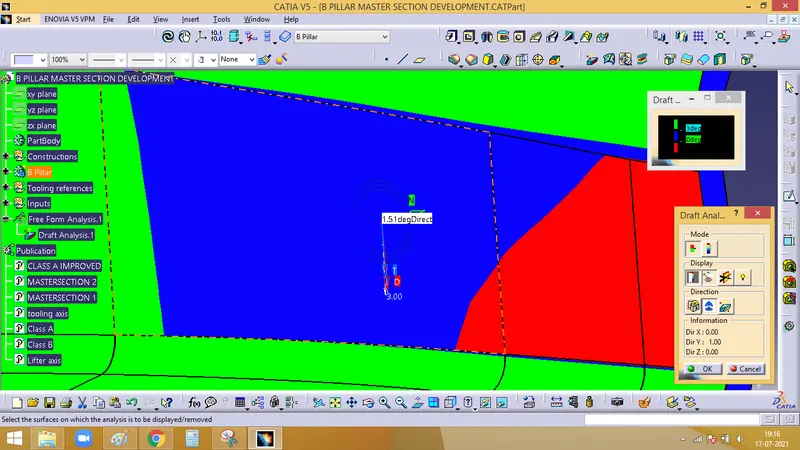
A surface draft analysis :
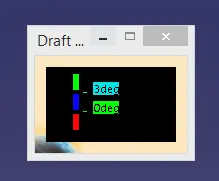
The nominal draft considered is 3 deg
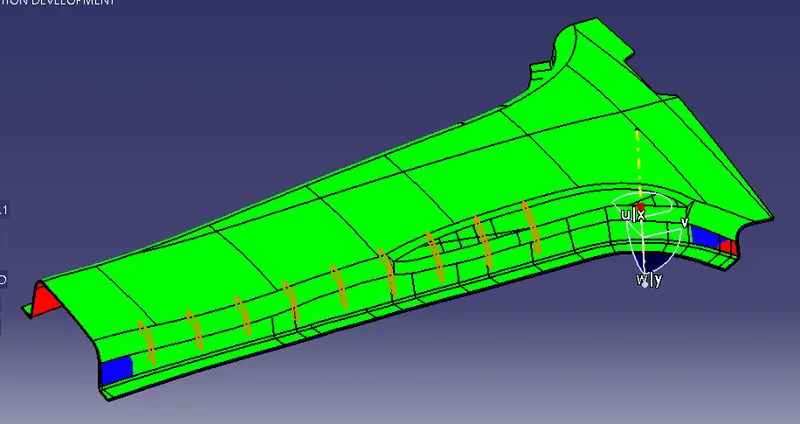
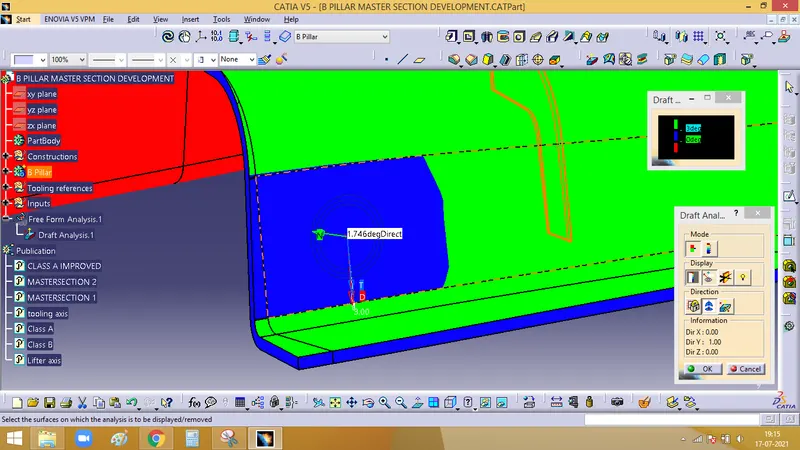
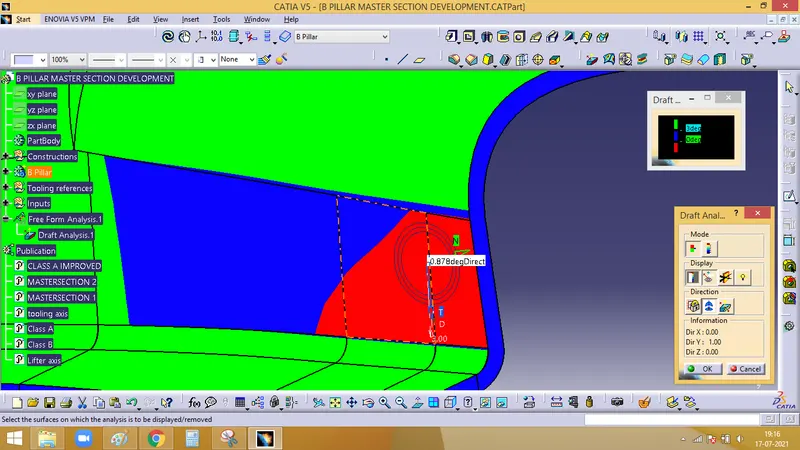
But for the below 3 images, the minimum draft value varies at 1.74, -0.8 and 1.5 degrees
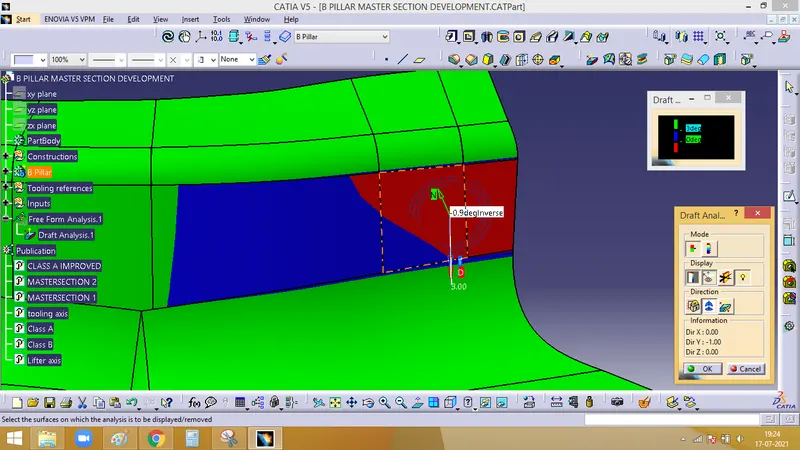
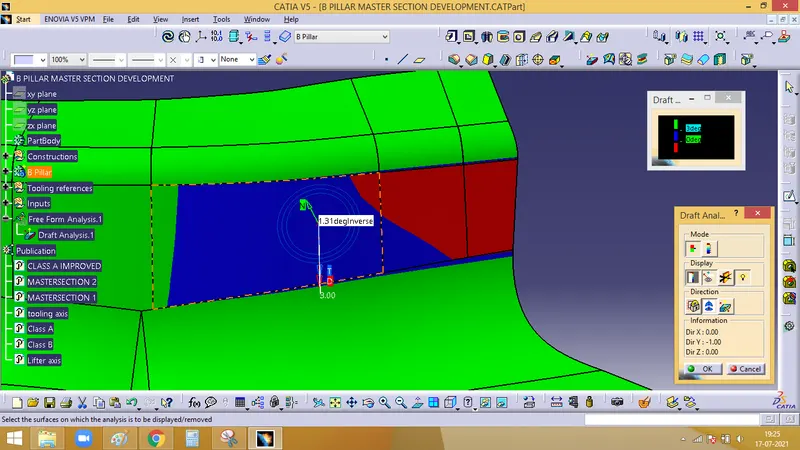
B surface draft analysis :
The below 3 images, the minimum draft value varies at -0.9, -1.3 and 2.08 degrees
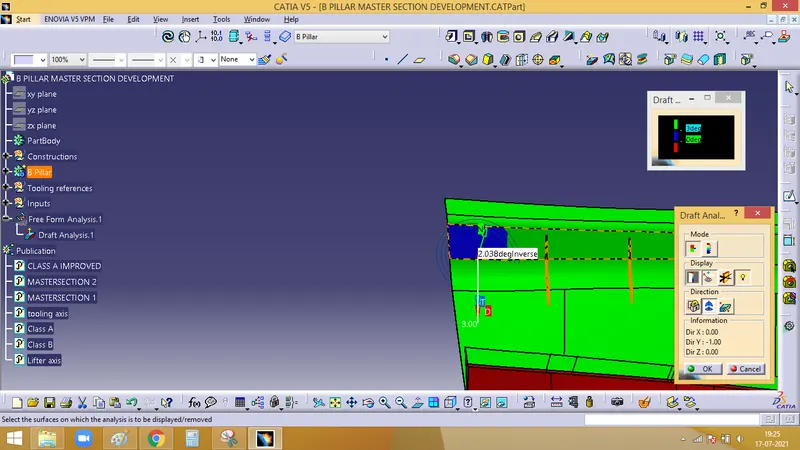
C surface draft analysis :
All faces of C surface are with 3 degree draft
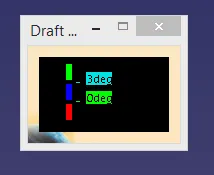
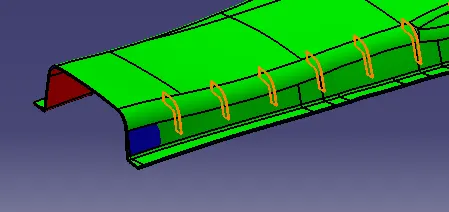
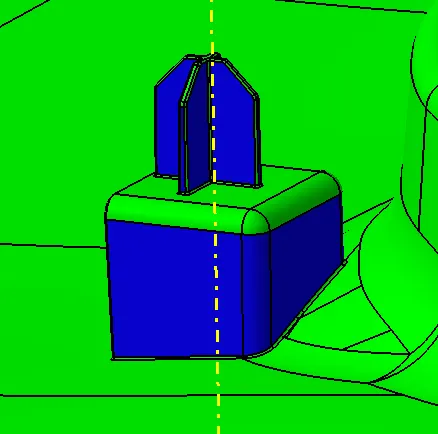
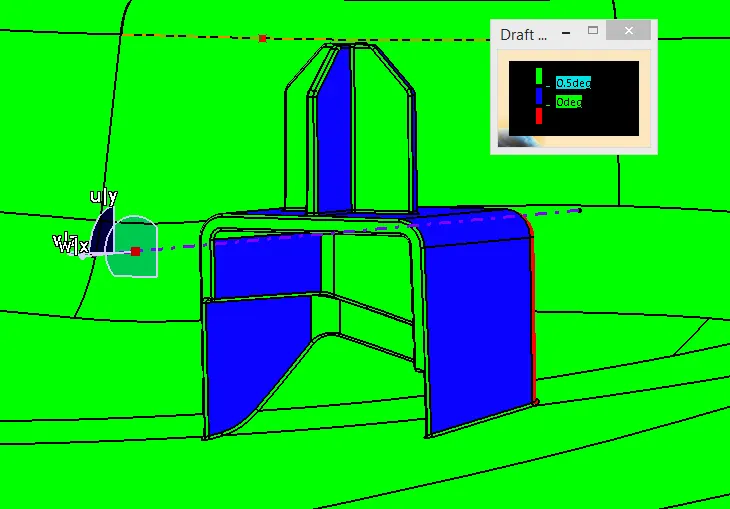
Dog house with 4 way locator draft analysis :
With respect to main tooling axis :
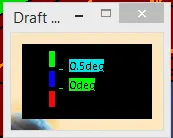
Minimum of 0.5 deg on blue faces and 3 deg on other faces
With respect to Lifter axis :
Minimum of 0.5 deg on blue faces and 3 deg on other faces
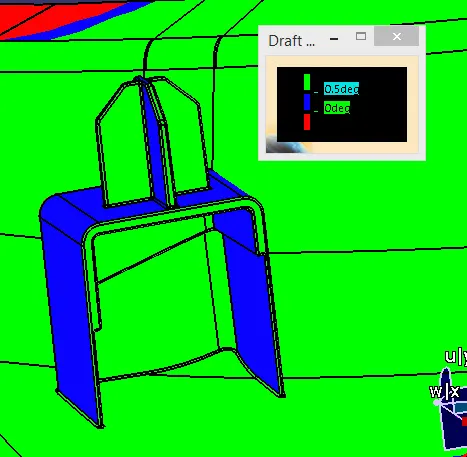
For dog house with 4 way locator 2 with respect to lifter axis
Minimum of 0.5 deg on blue faces and 3 deg on other faces
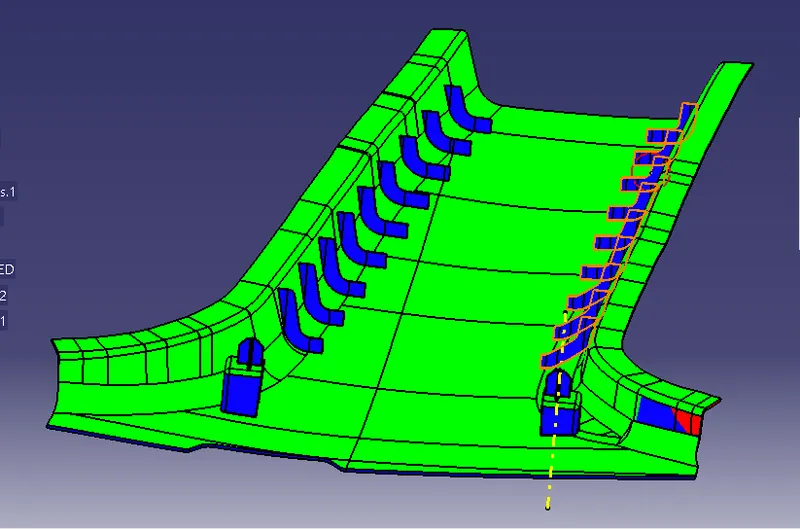
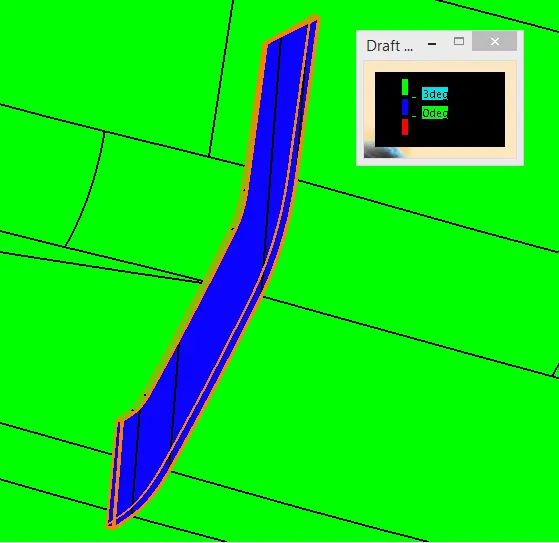
Ribs draft analysis :
Rib 1
Minimum of 3 deg draft on all faces
Rib 2
Minimum of 3 deg draft on all faces