Week 9 - Challenge 3 - Bumper
Design Of Bumper Using Class-A Surface
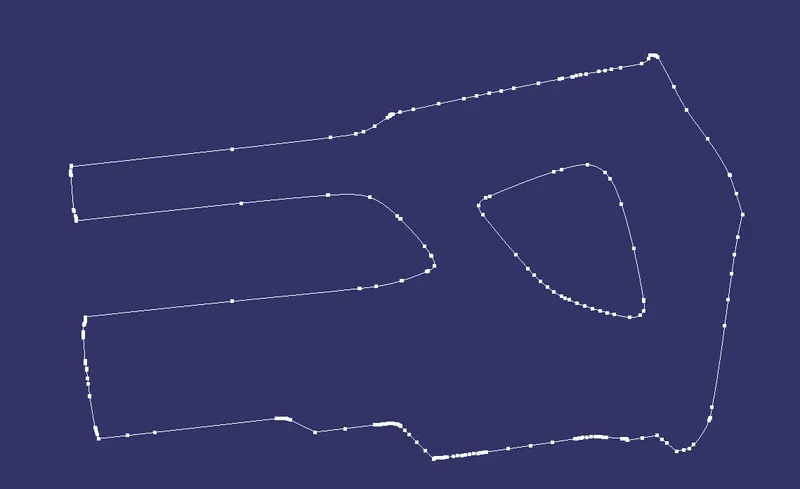
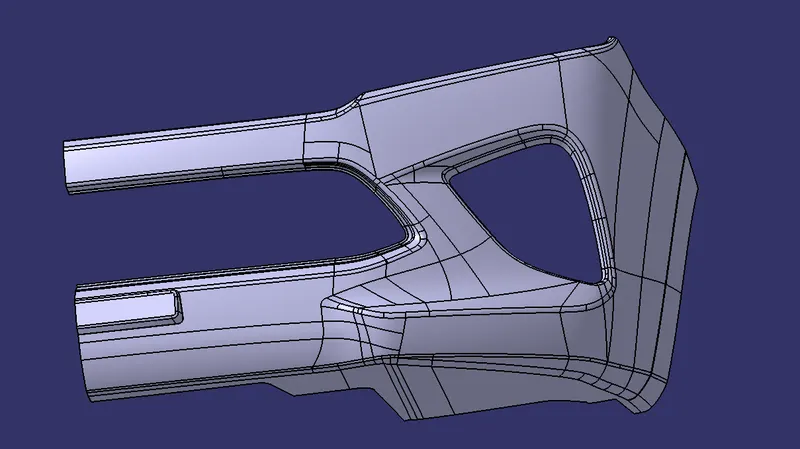
AIM: Design the bumper of a car using the class A surface provided in CATIA software.
Objective: The main objective is to generate a Class-B surface by using a given Class-A surface, after that create Class-C with the help of Class-A and then Join Class-A and Class-C. Finally, trim Class A+C with Class B which leads to the closed surface, and apply the solid surface feature to obtain a solid body out of it. Then do the draft analysis.
Steps Involved:
- TOOLING AXIS CREATION
- DRAFT ANALYSIS.
- CLASS B CREATION
- CLASS C CREATION
- FINAL TRIM
- SOLID-BODY
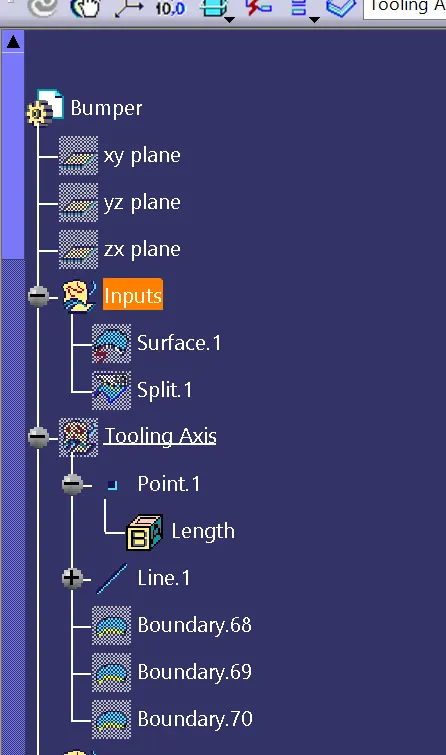
Tooling Axis: The tooling axis can be created by different methods based on the application a)Normal to surface method b)Point to direction method c)Bisecting method. In this case, I used to point to the direction.
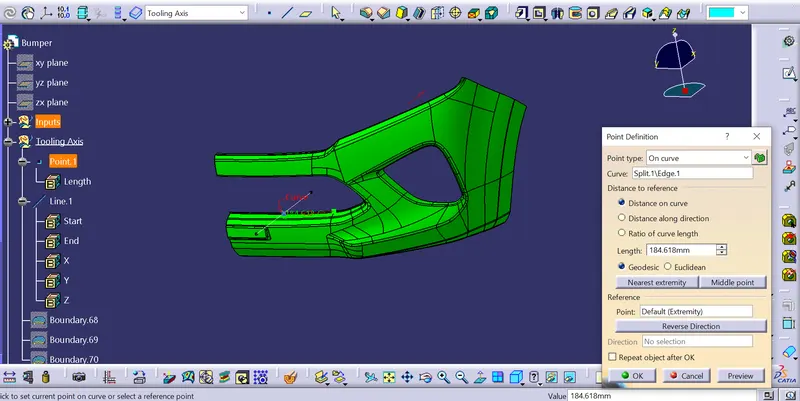
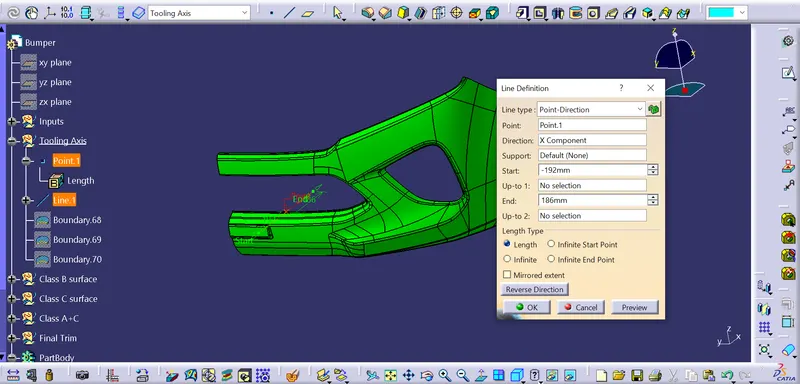
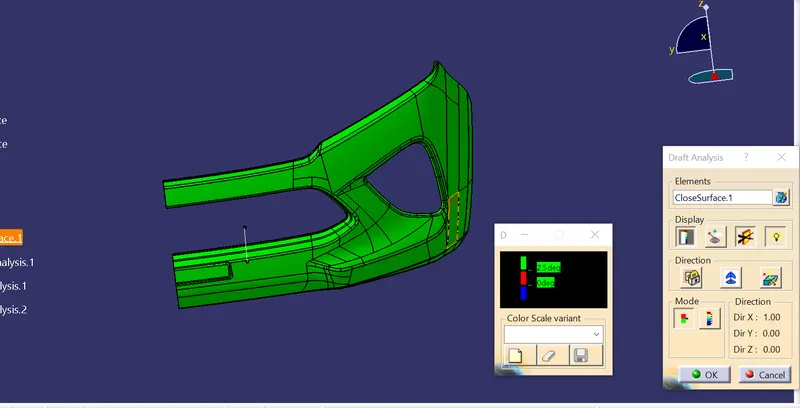
After creating the proper tooling analysis need to check for the draft analysis for the given surface. The draft angle should be 3 degrees.
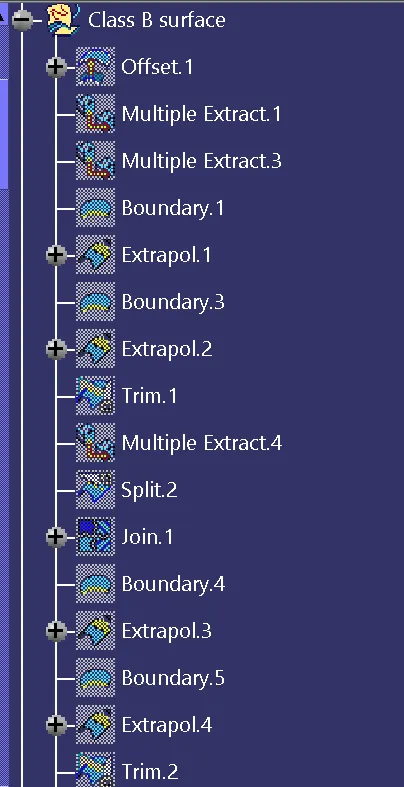
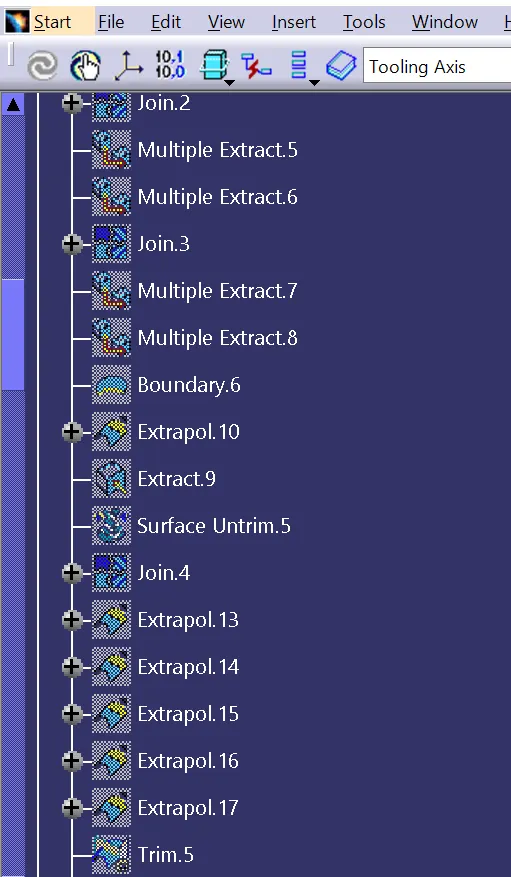
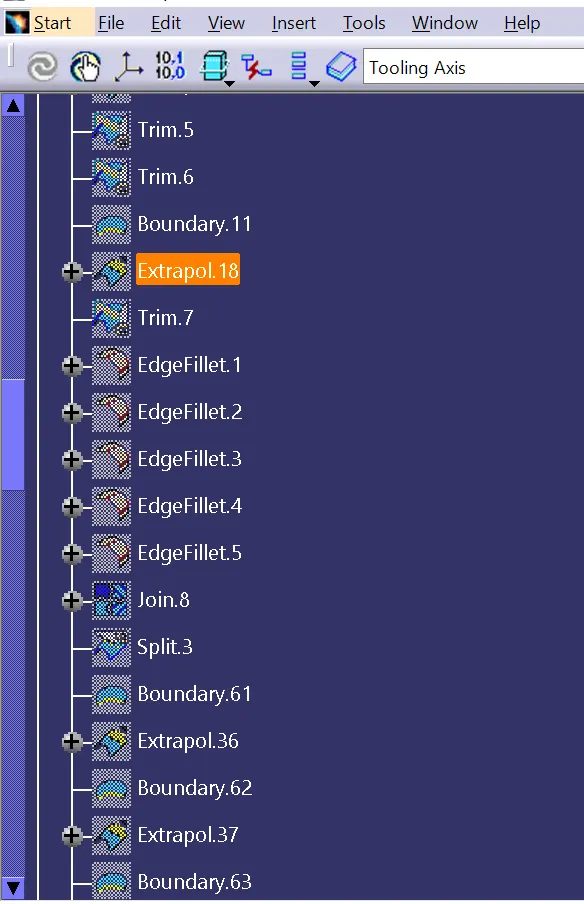
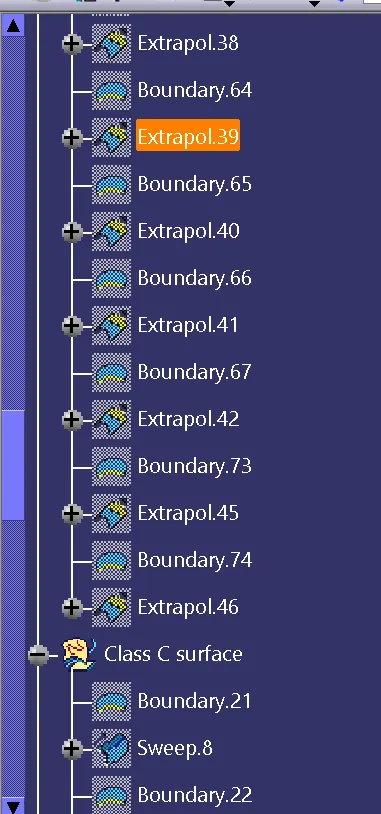
Creating Class B: Based on the application Class B need to be created, there are different approaches to creating Class B, here we can directly do the offset for a given class A with a 3mm distance. After offsetting there won't be a closed surface some patches will generate a need to resolve these patches by using the commands like multiple extract, boundary creation, extract, trimming, and Union trim. The final need is to do a close surface.
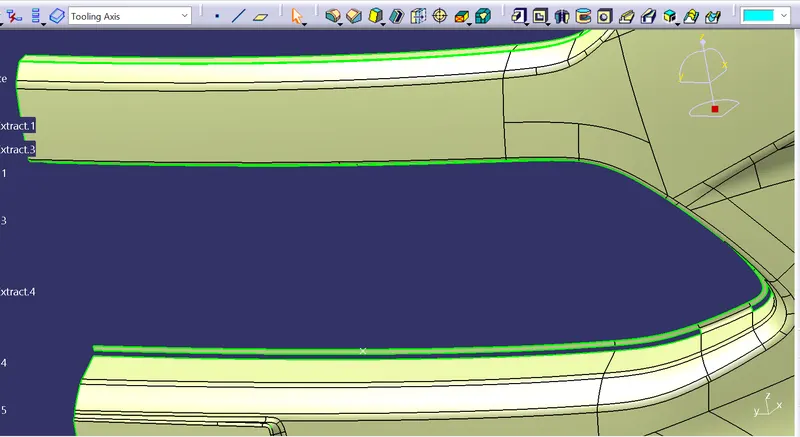
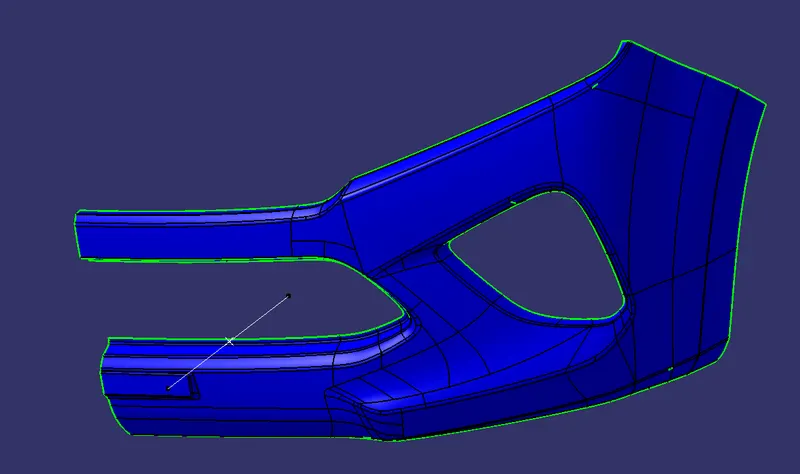
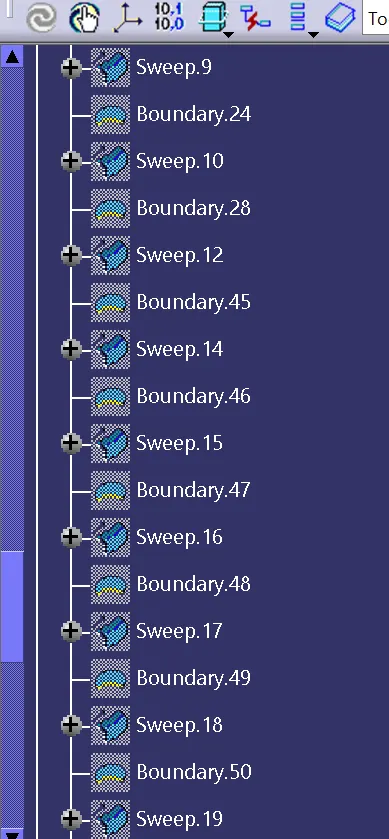
Creating Class C: Class C surface is joining for Class A and Class B. By using Class A need to use the sweep command with respect to the surface or with respect to the tooling axis.
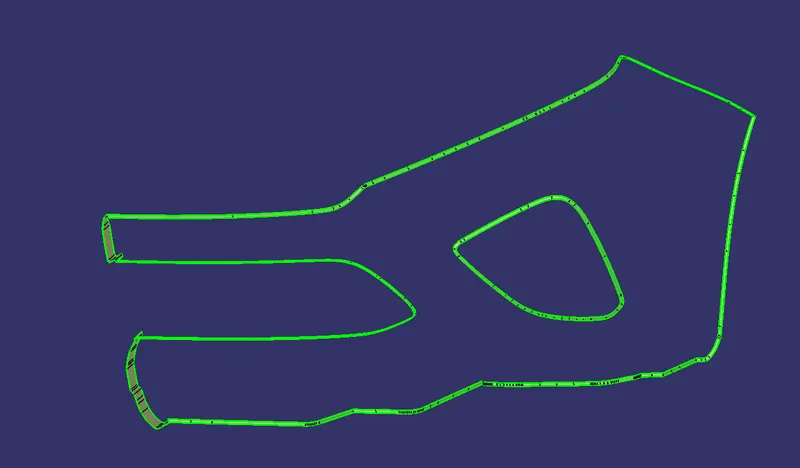
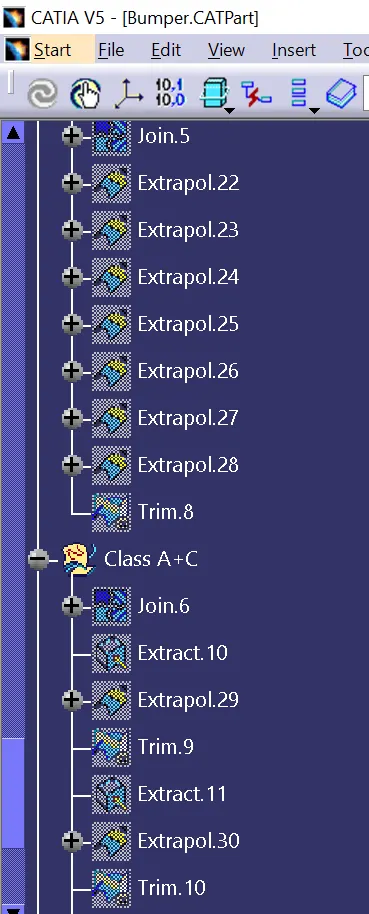
After creating c need to join with A surface by using the join command.
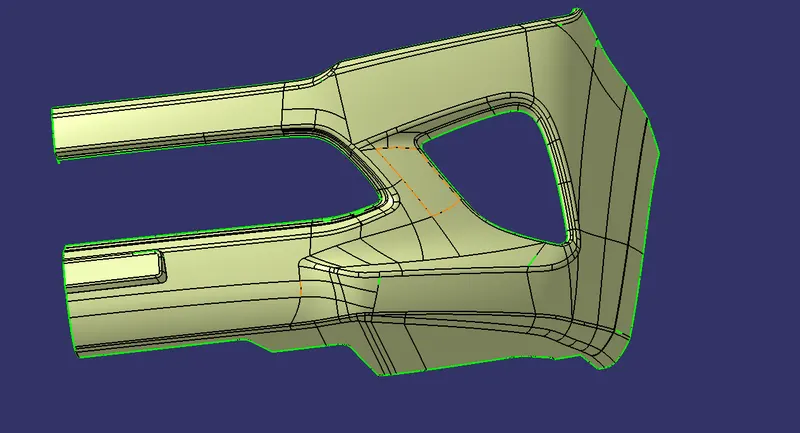
Final Trim:
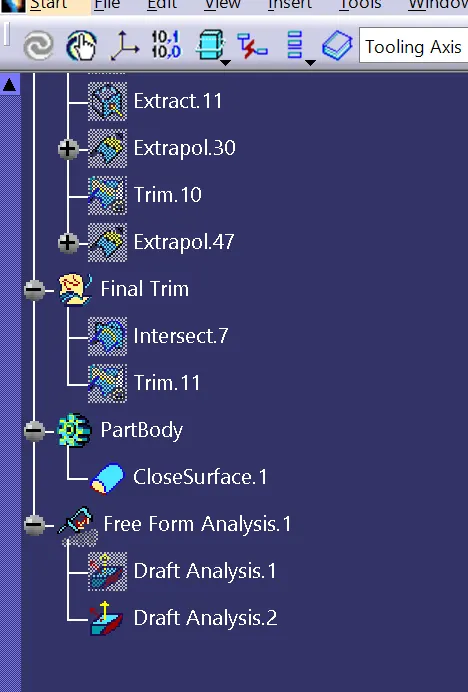
After joining class A+C need to do an intersection to know whether the joining did properly or not and then need to do the trim for classes A+C and B, by this final closed surface is happened. After that go to Part body and select closed body final output we will get. Finally need to perform the draft analysis for the final body.