Week 7 Challenge - Assembly Workbench
1. Quick Return Mechanism:
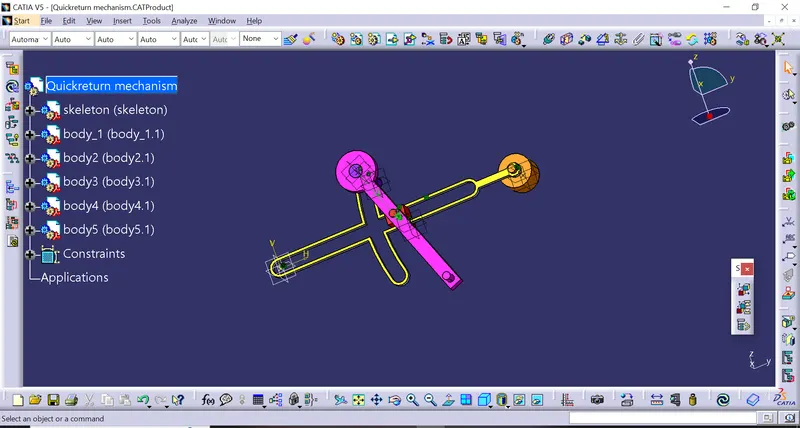
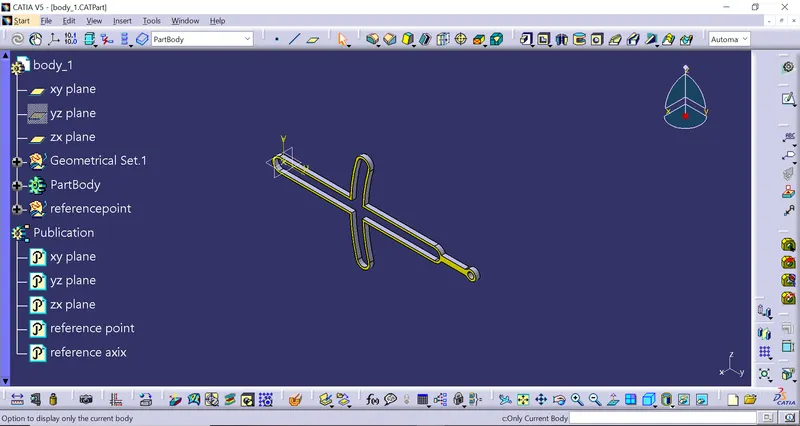
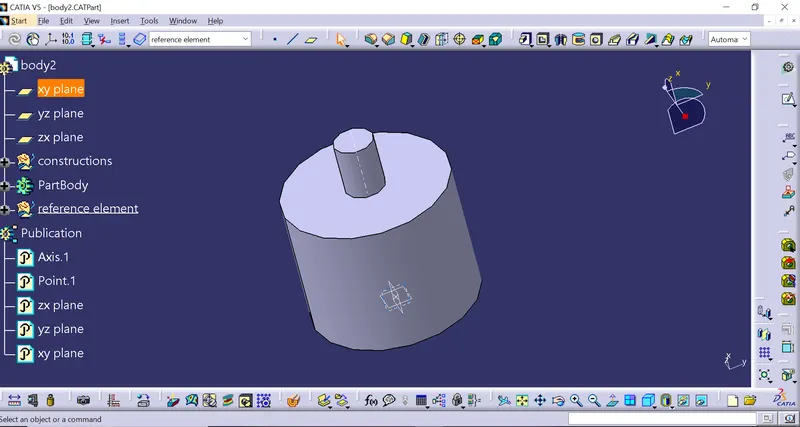
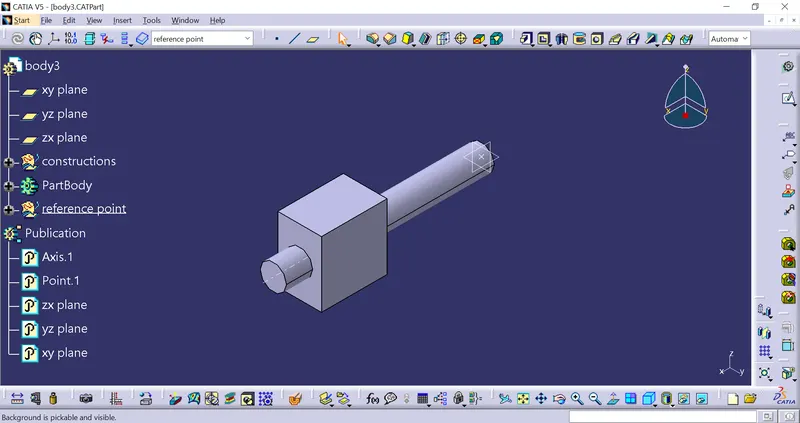
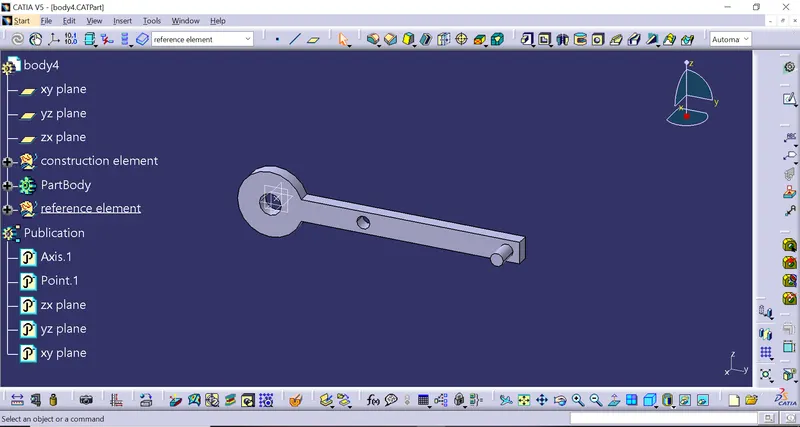
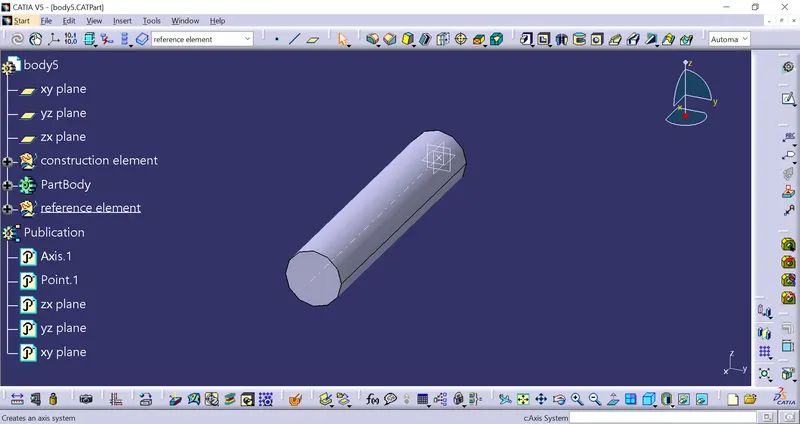
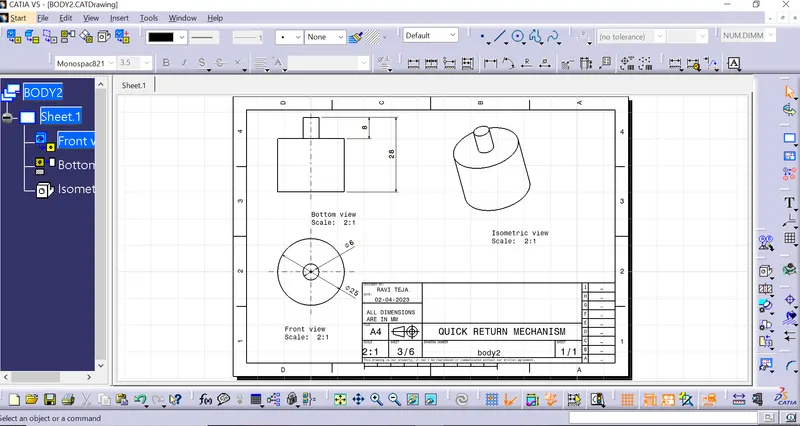
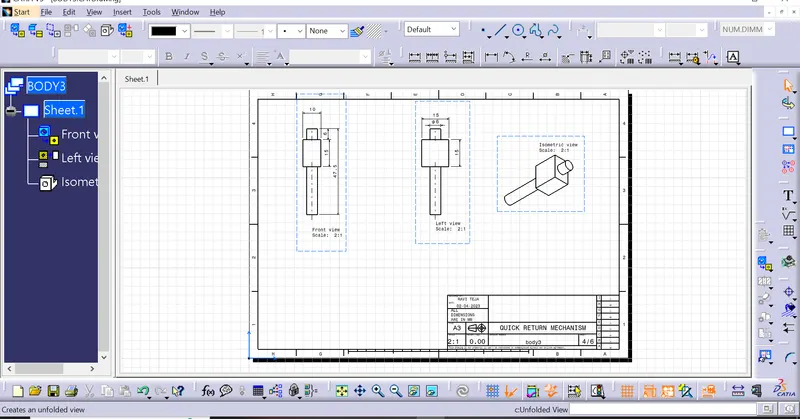
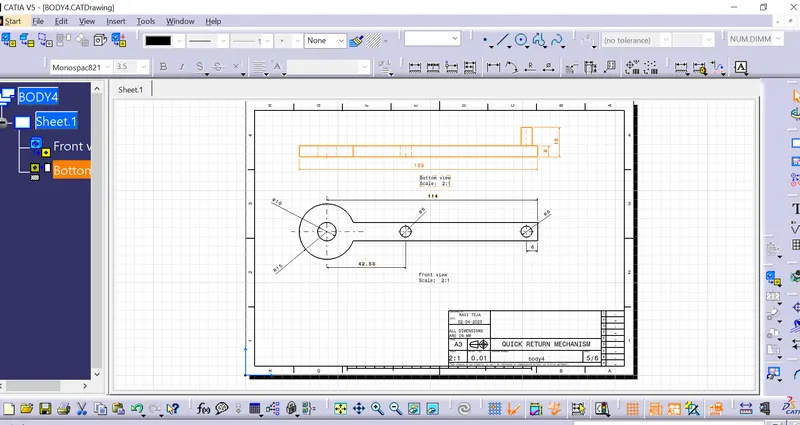
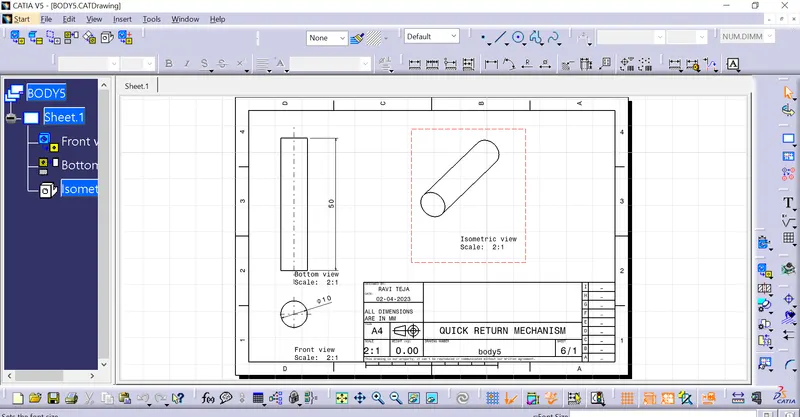
- First Started with the part modeling for the given assembly. A total of 5 parts are there in the given assembly. Named as Body_1, body2, body3, body4, body5.
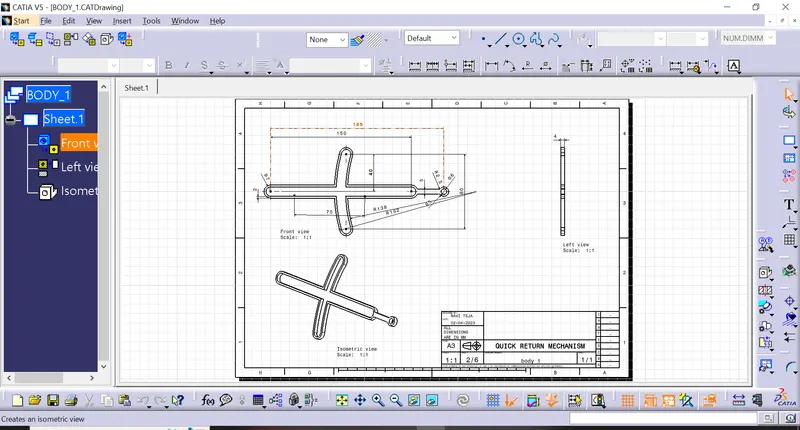
- After creating all part bodies, converted into 2D and assigned the dimensions.
- After that opened the product design( indicates assembly module). By using EXISTING COMPONENT recalled all 5 parts in the product module.
- Initially created a dummy part and named a SKELETON. Created a point in that, this indicated the center of the product.
- Later created a reference point and reference axis for all parts in the assembly. By this, the initial setup was completed for the assembly module. Now we need to join all the parts to make a complete assembly.
- Now we need to use the constraints toolbar for assembly.
- At first, using the fixed constraint to the skeleton point.
- Body_1 is a coincidence with the skeleton point.
- For fixing the body 2 used coincidence and offset.
- For the body3 offset around 100mm from the fixed point and offset 5 mm from the bottom body_1.
- Used coincidence command with respect to the body3.
- Used coincidence command with respect to the body_1 and body3.
- Finally, save the total command by using save management.
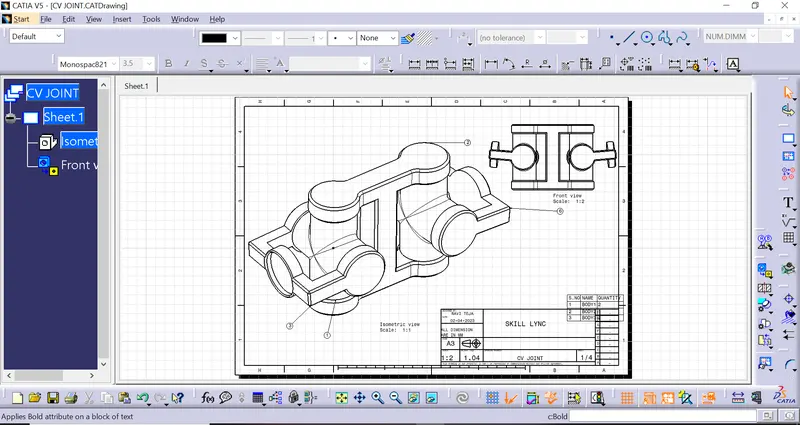
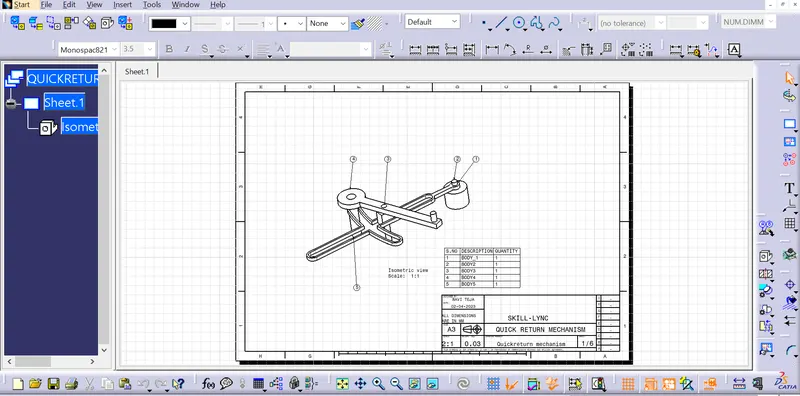
- Total assembly converted into drafting and giving numbering. ( by using generate numbering in the product module and in the drafting balloon option.)
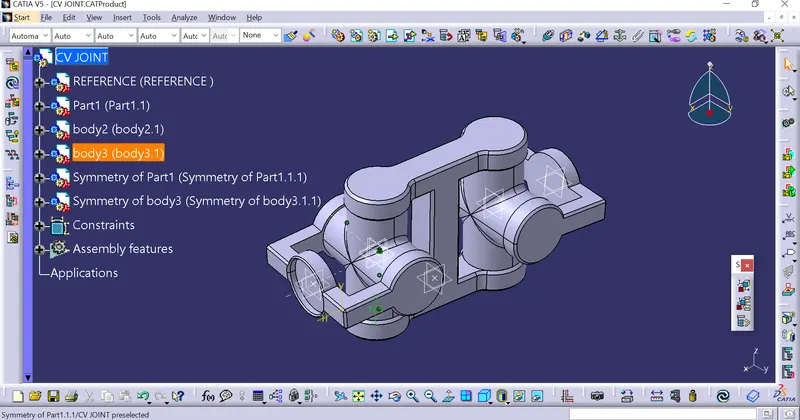
2. CV JOINT:
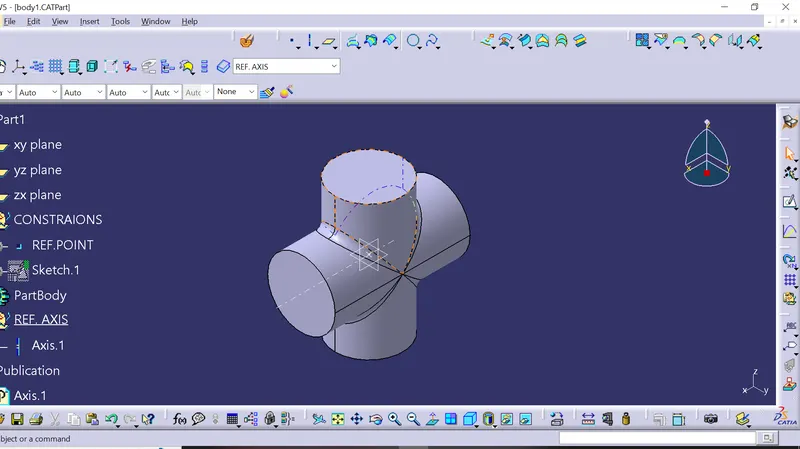
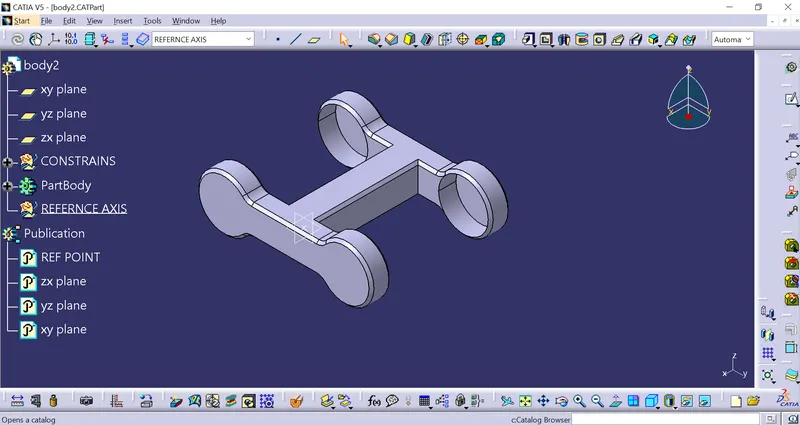
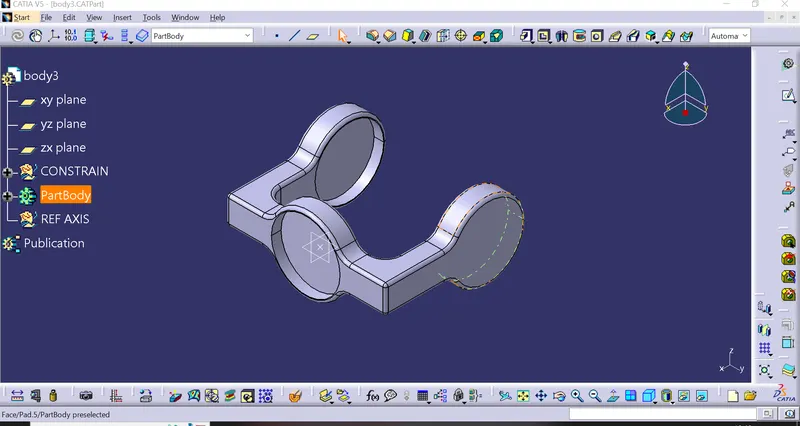
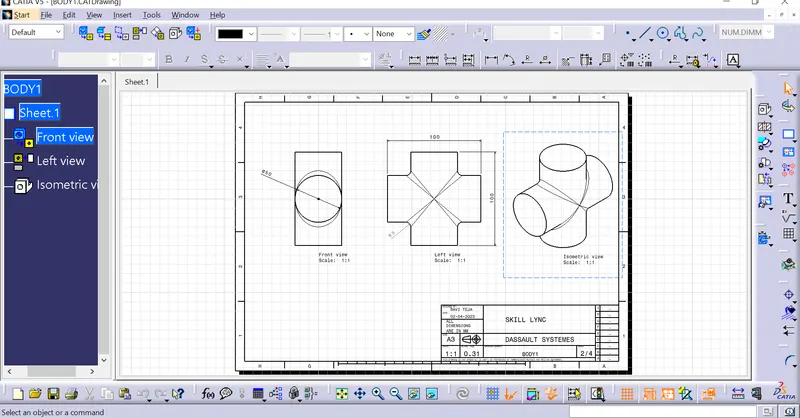
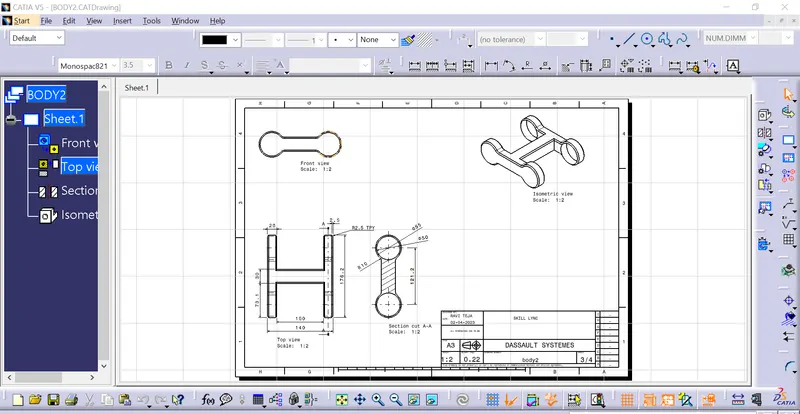
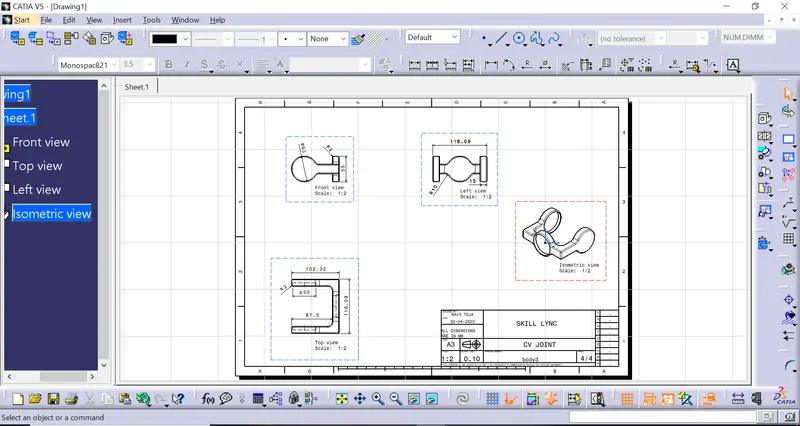
- Started the part modeling for the given assembly. Assembly contains 3 parts named body1, body2, and body3.
- After creating the individual parts converted into 2D drawings.
- Went to the product module and recalled the all parts with the EXISTING COMPONENT commands.
- Initially created a dummy part and named a SKELETON. Created a point in that, this indicated the center of the product.
- Later created a reference point and reference axis for all parts in the assembly. By this, the initial setup was completed for the assembly module. Now we need to join all the parts to make a complete assembly.
- Now we need to use the constraints toolbar for assembly.
- At first, using the fixed constraint to the skeleton point.
- Body_1 is a coincidence with the skeleton point.
- body2 also coincidence with body1 with respect to the reference axis and offset 17.5 to match the circles.
- body3 is a coincidence with respect to the reference axis body1 and coincidence with the circle.
- Finally based on the symmetry command mirrored body 2 and body 3 with the reference axis.