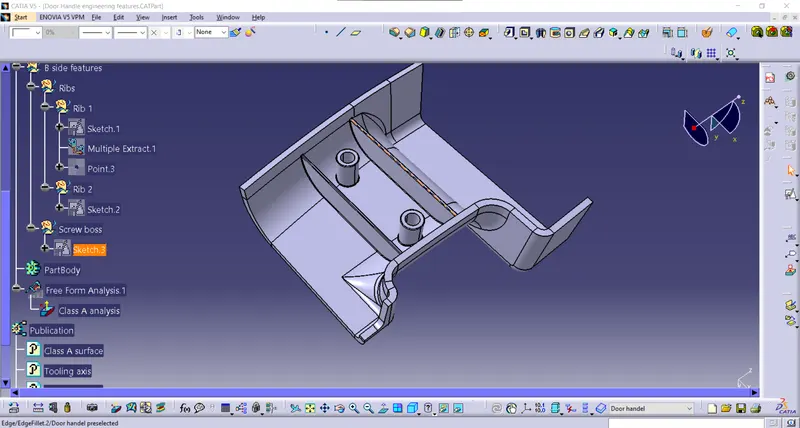
Week 9 - Attachment Feature Creation (Ribs & Screw Boss) - Challenge 1
Aim:
To create the rib for the Drill Handle considering the design rules.
Solution:
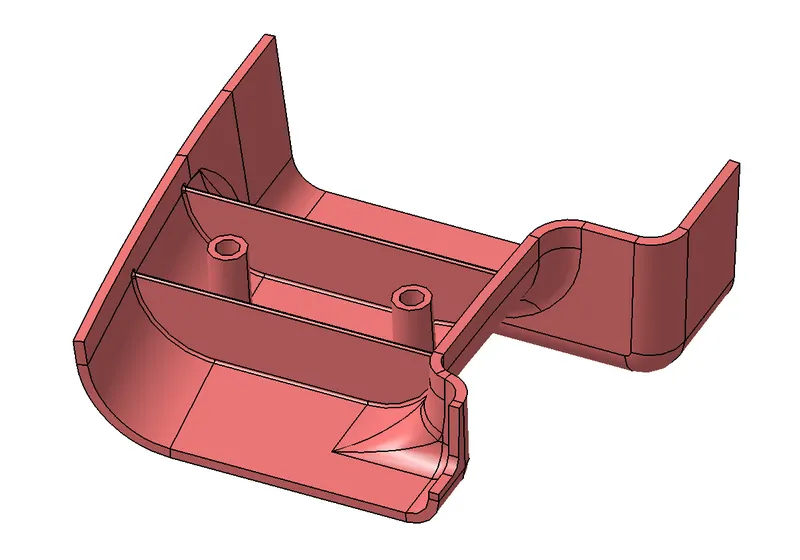
Download the file and save it as catpart.
1. CREATING TOOLING AXIS -
The Tooling Direction is basically the direction that the mold pulls a part. The mold is built in two separate pieces, basically. You have a Cavity side and you have the Core side. The Core pulls apart from the Cavity and that's the Dye line or the Tooling Direction.
- Check for gaps between surfaces for that click on join and then preview.
- If theres any gap between the surfaces join them with a maximum tolerance of 0.003 mm.
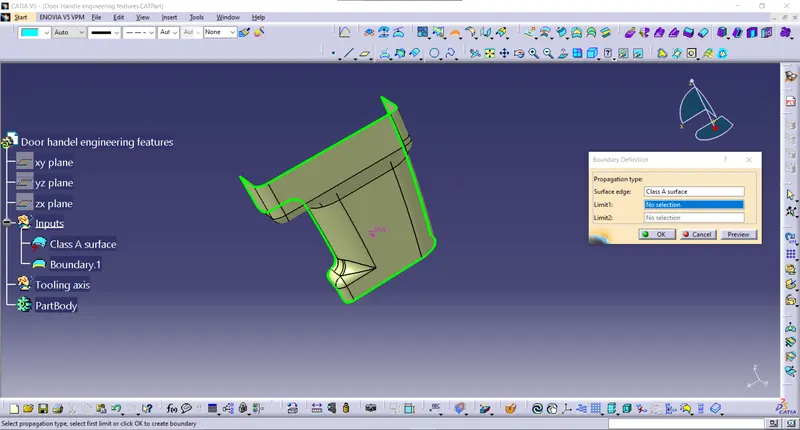
- Extract the boundary and dissemble the boundary.
- Find the correct tooling axis where the material don't interfere with the tooling axis and all the elements can be created.
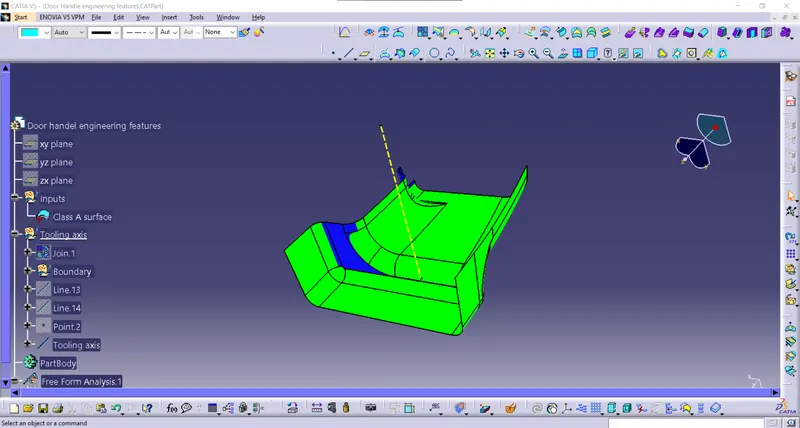
- The draft analysis is complete.
4. CREATING CLASS B SURFACE
- Extract the surfaces from the class A using multiple extract and untrim them.
- Use Extrapolate to make sure that all the untrims are properly intersected to trim and offset the surfaces to 2.5 mm to create the thickness.
- Trim the extra surfaces using trim command.
- Insert them into new geometrical set and name it with respective part names.
- Apply fillets to the model after creating the entire surface.
- If the edges are outside the fillet value will be added to the thickness of the component and if the edges are inside, the fillet value will be subtracted from the thickness of the component, for instance the thickness of the component Is 2.5mm the fillet value is 15mm so the outside portion value should be 17.5mm and inner eges should be filleted 12.5mm to get uniform thickness.
- Perform trims one at a time so that it will be clear to understand.
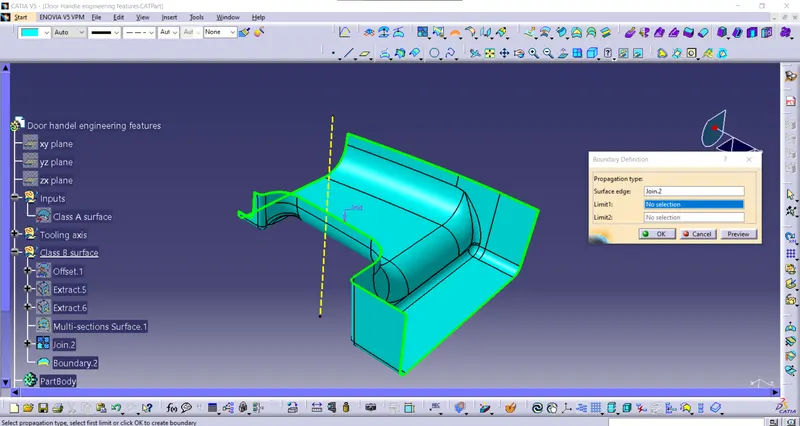
The boundary is taken to check the gap
Class C creatrion:
- Extract the boundary from the class A surface using boundary command.
- Using disassemble tool to divide the boundary as the boundary contains domains.
- Use sweep command > choose profile > With reference surface> choose guide curve and reference surface > draft angle as 90 degree > preview.
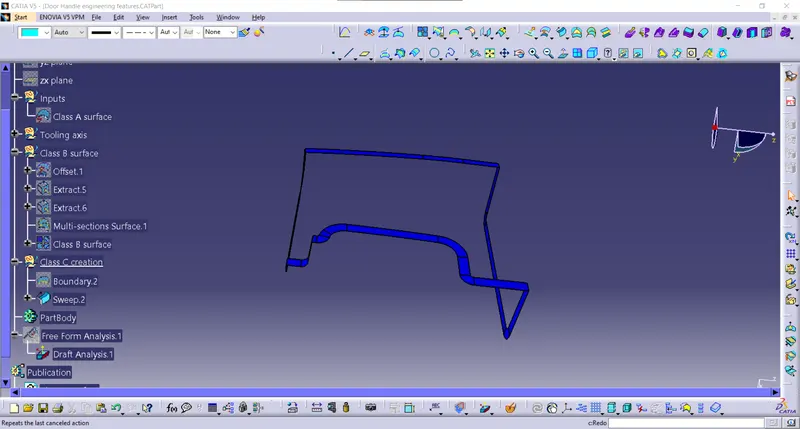
Then join the Class A and C surface to form a single body and then trim it with class b surface and checj for boundary fo openings
Class A & C:
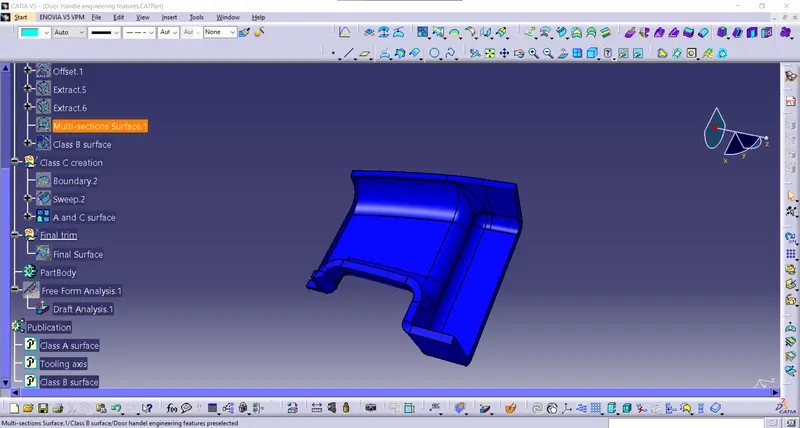
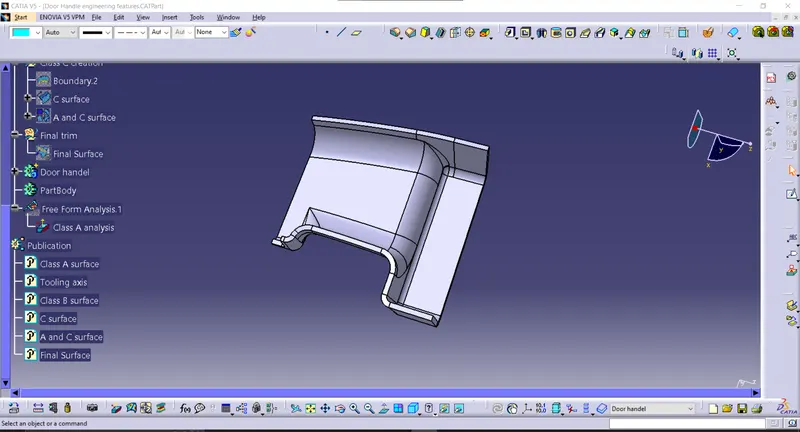
The final surface is created and then converted to solid model.
The finals surface:
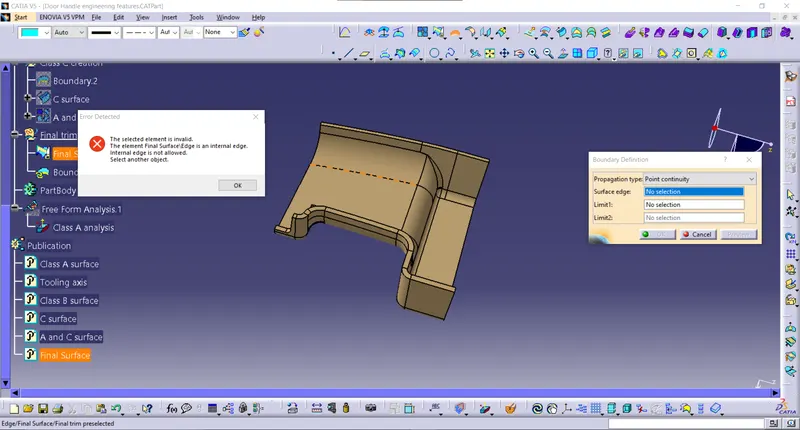
In the above image there is no boundary is to be created.
The next is to convert it to a solid body we need to shist to part design>insert a body>select the surface>give the closed surface command to create the solid model.
B SIDE FEATURES CREATION
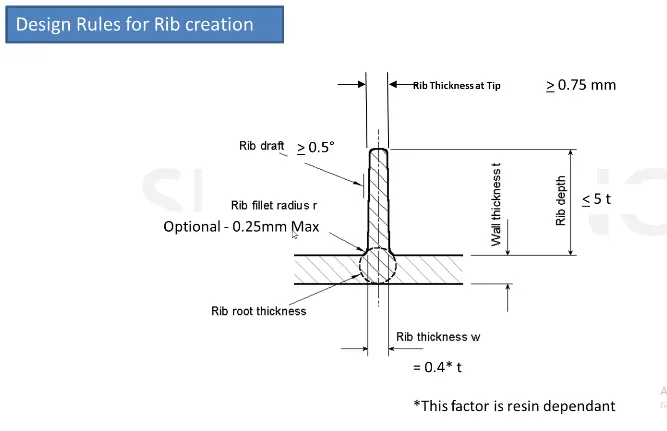
RIB CREATION
- Design Principle for Rib Creation
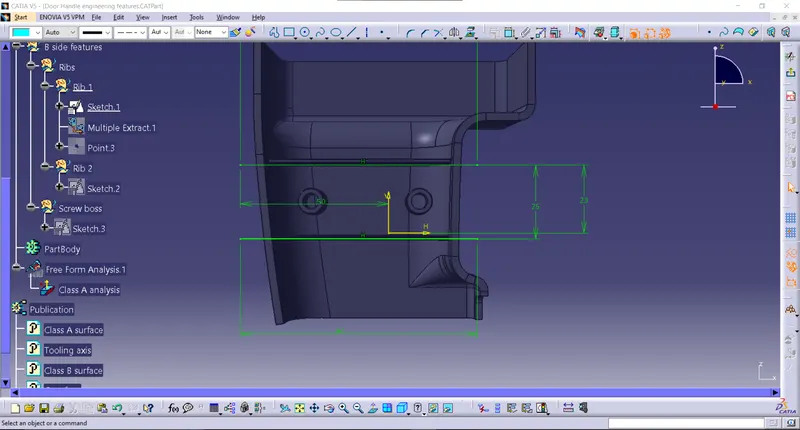
Sketch pf the ribs 1 and 2
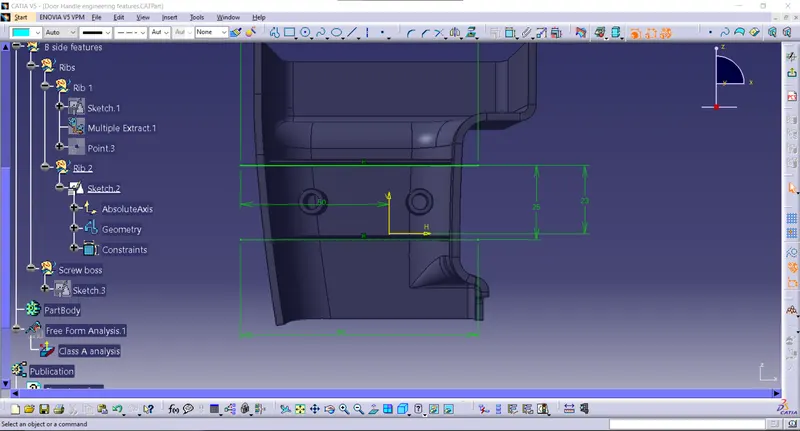
Rib 2:
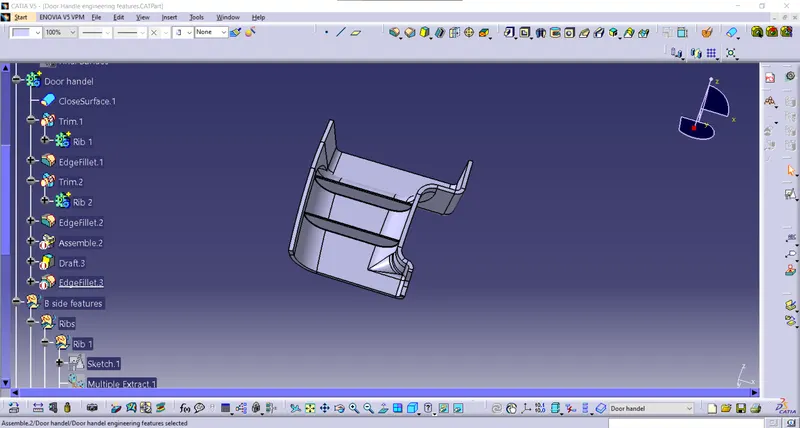
Screw Boss:
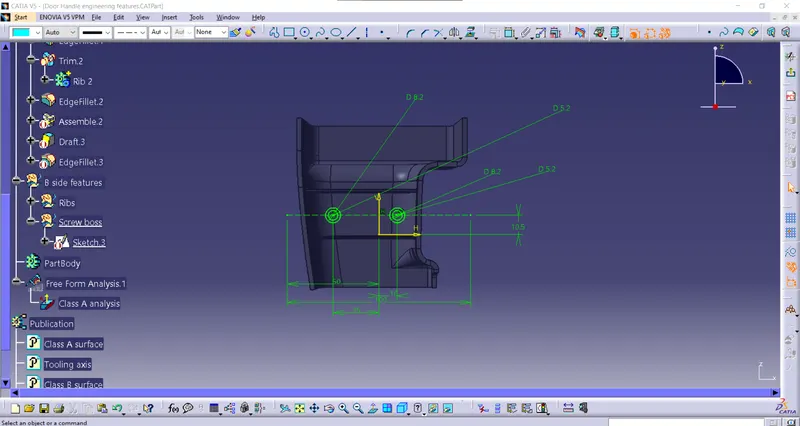
The final body with screw boss and ribs