Week 9 - Attachment Feature Creation - Challenge 2
AIM:
Create the boss and Dog House for the Centre console coin holder considering the design rules OBJECTIVES:
- Create Class B and C surfaces through Class A surface.
- Create tooling axis using bisecting method.
- Perform draft analysis.
- Create screw boss and dog house considering the design rules.
THEORY:
Draft Analysis:
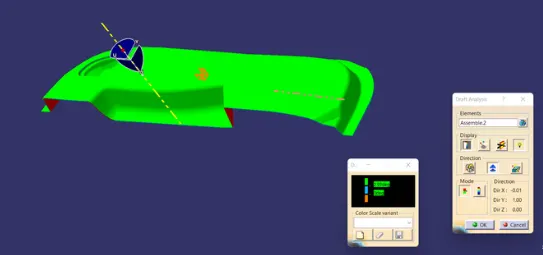
Draft analysis helps to detect if your drafted part is easily removable from the mold (in case of plastic component) or die (in case of sheet metal). All plastic components will have a minimum draft of 0.5 to 3deg. And for automotive sheet metal parts the draft will be 7deg or more. If a mold wall is perpendicular to the part ejection, there is ample friction or interference between the mold and the part which will not allow one to release from the other. This is why design engineers give a minimum draft to the part.
In CATIA V5 the feature draft analysis dialog box look like this:
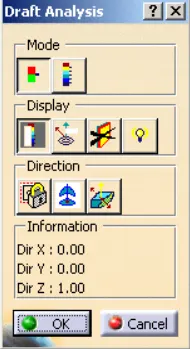
Mode:
- The mode option let you to choose between quick analysis and full analysis mode.
- In quick mode there are 3 ranges with blue, red and green colors. In case of plastic component we will set the draft angle as 3deg.
Display:
- The first box is to open and close the color scale dialogue box.
- The second box is the analysis under running point, when activating the checkbox and move the pointer over the surface. This option enables you to perform a local analysis. Arrows are displayed under the pointer, identifying the normal to the surface at the pointer location (green arrow), the draft direction (red arrow), and the tangent (blue arrow). As you move the pointer over the surface, the display is dynamically updated. Furthermore, circles are displayed indicating the plane tangent to the surface at this point. The displayed value indicates the angle between the draft direction and the tangent to the surface at the current point.
- Click the No Highlight Representations button to set the display option of highlight effect sources as "on/off". When checked "On" the surfaces are selected but they will not be seen in the specification tree.
- Click the Light Effect button and the colors of the analyzed elements react to the light source
Direction:
- The first check box is locked direction icon which is used to lock the direction of the compass after selecting the specified direction.
- Click on compass icon to specify the new pulling direction to remove the part.
- Click the Inverse button to automatically reverse the draft direction. When several elements are selected for analysis, the draft direction is inverted for each element when the button is clicked.
Tooling Direction:
The Tooling Direction is basically the direction that the mold pulls apart. The mold is built in two separate pieces, basically. You have a Cavity side and you have the Core side. The Core pulls apart from the Cavity and that's the Dyeline or the Tooling Direction. There are different methods to find out the tooling direction. Here we are using bisecting method to find out tooling direction. We can use any method the ultimate aim is to reduce the cost of manufacturing by reducing the complicity in manufacturing the component.
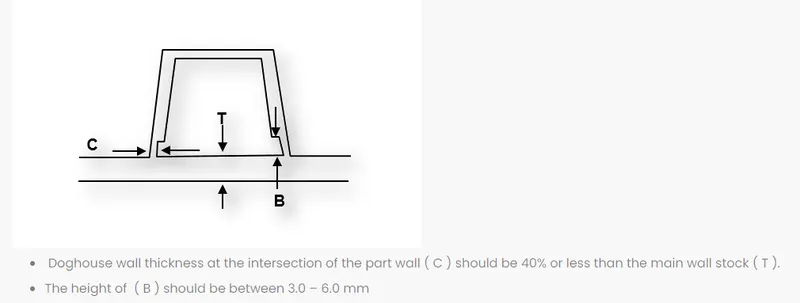
Design rules:
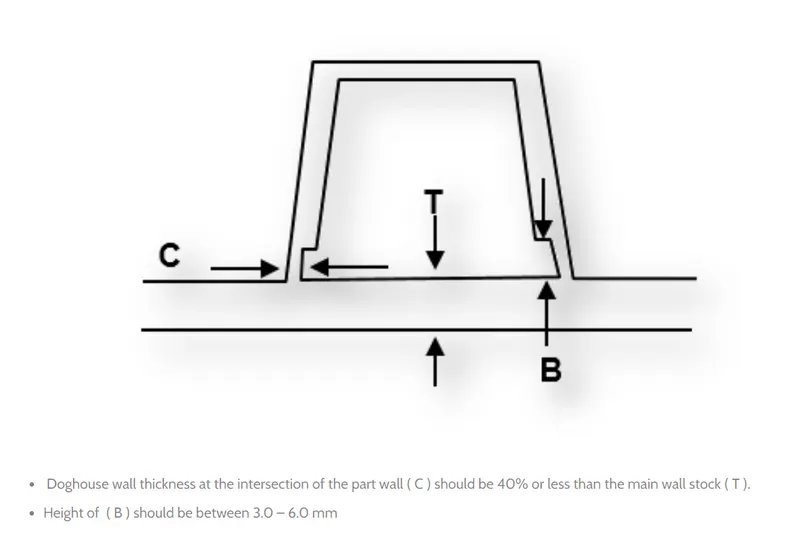
FIG: Design rule for dog house
PROCEDURE:
The procedure is divided into two parts first creating the tooling axis then performing the draft analysis.
Creating tooling axis using bisecting method:
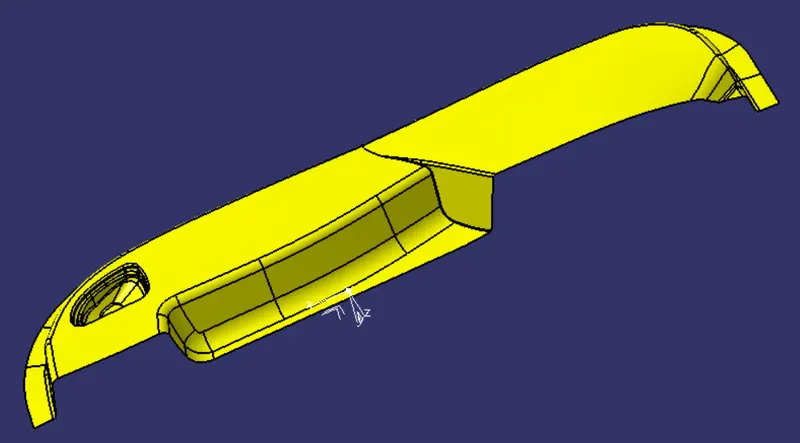
- The first thing to do is finding out the possible tooling direction by visually checking the part. Rotate the part in all direction and find out most suitable direction for tooling. Here in this case viewing from Y direction we can clear the face in tooling.

- Then we create a point on the surface of the part, we can create the point anywhere on the surface but usually we take CG point or take a point near to centre. On this point we put a new axis system.
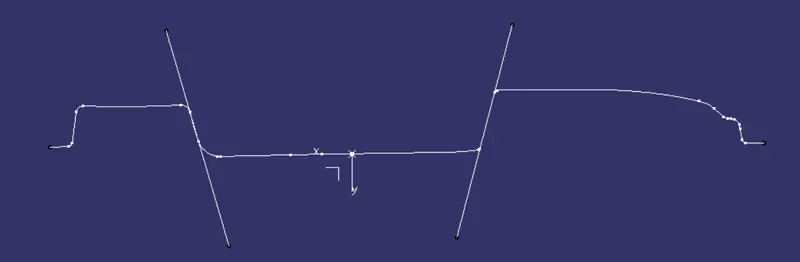
- Now take cross-sections on XY plane,By using that cross section lines I will create the tooling axis by bisecting Method.


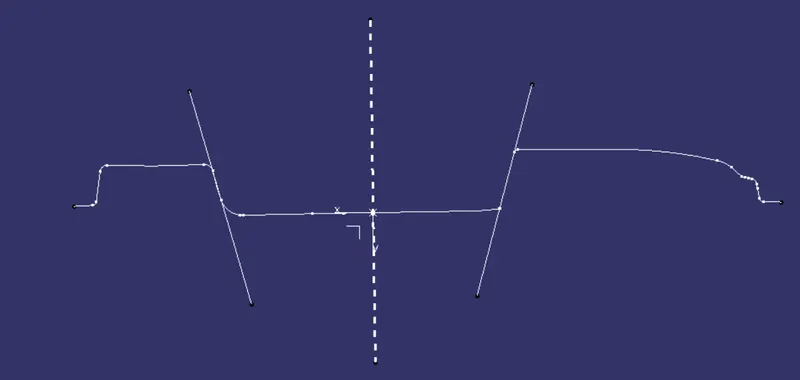
Then using both Line, I can now create the main tooling axis for the class-A surface by bisecting method
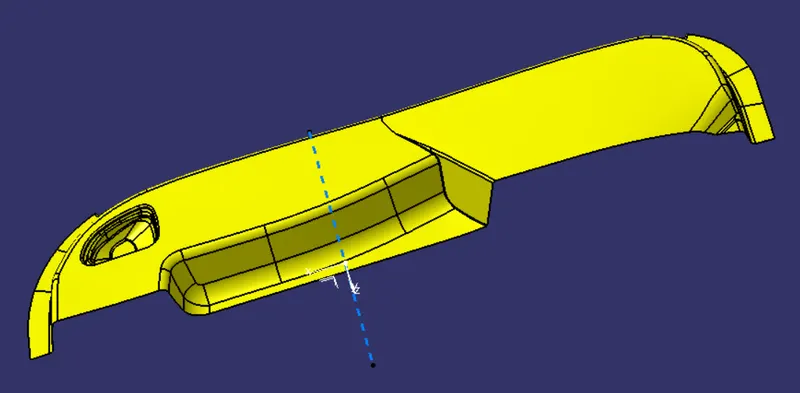
Performing the draft analysis(Class A Surface):
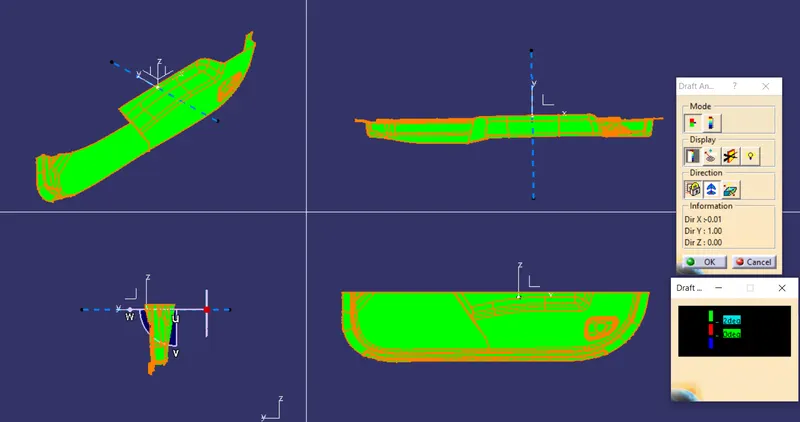
- Now performing draft analysis to check whether the tooling axis has some negative draft
CREATING THE DOGHOUSE
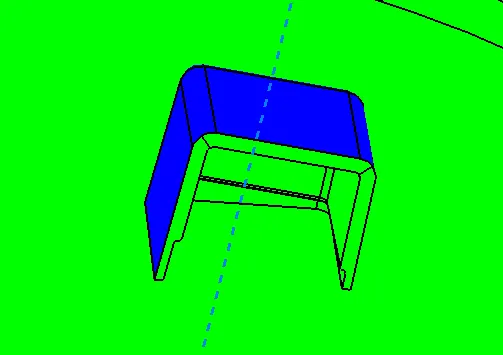
The dog house is an engineering feature used in the plastic trim design. Dog houses are used as a supporting feature. Sometimes other engineering features like snaps; locators, etc. are mounded on them to increase their strength.
The doghouse is created by following the design rules.
This process is usually done by ThickNESS surface command.
SOLID BODY:-
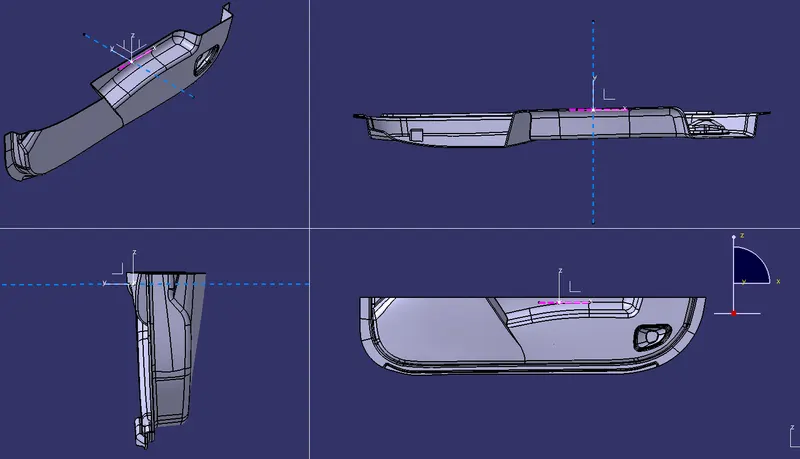
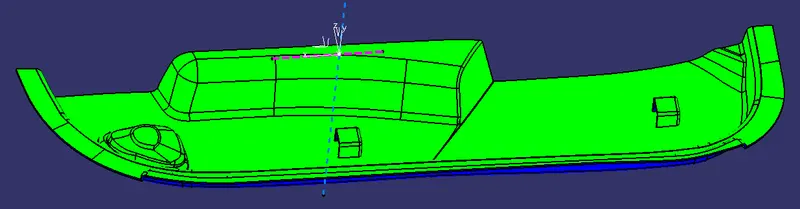
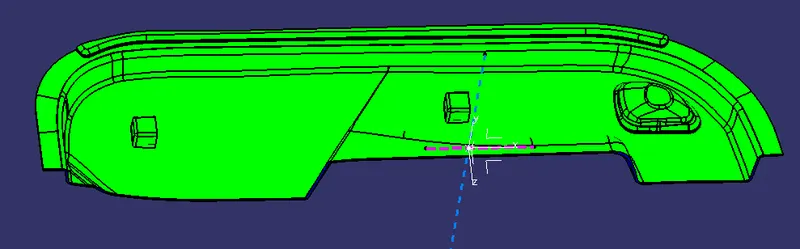
Performing the draft analysis on final Part(Including DOG HOUSE):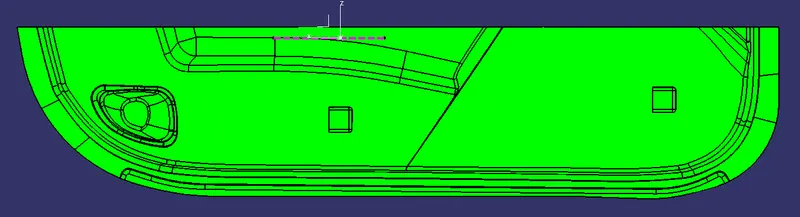
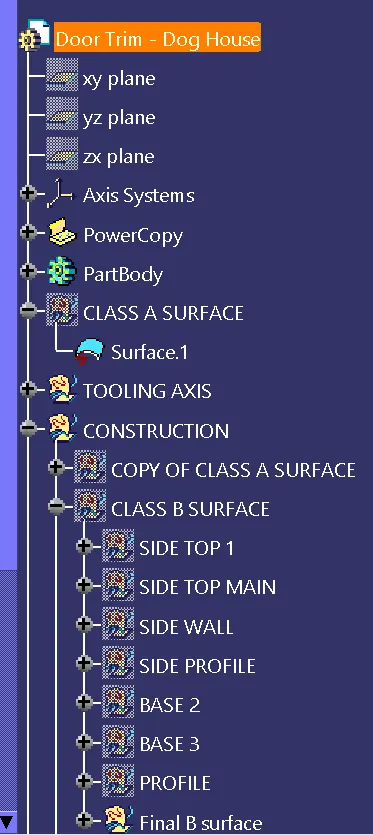
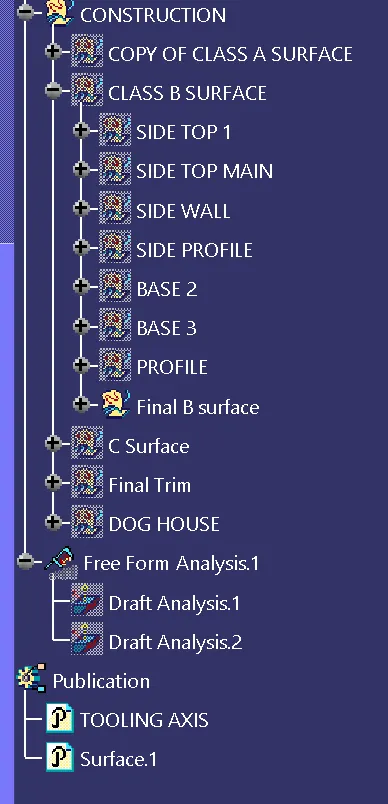
TREE STRUCTURE:-