Door Arm Rest Week 8 Challenge
A class-A surface from a vehicle door is provided to me to design a part model and validate it.
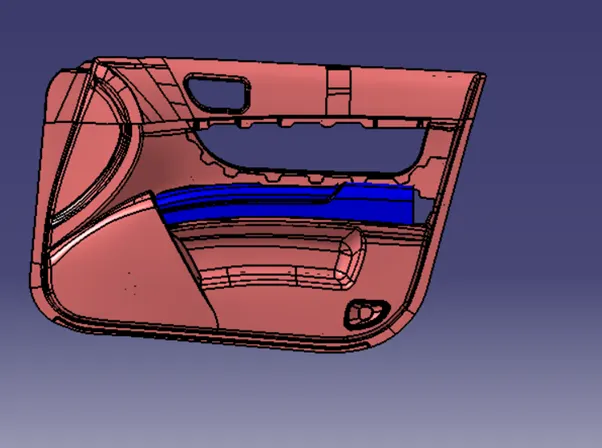
For this door armrest as a Class -'A' surface, first I need to check whether the surface has some boundary irregularities and any open boundaries.
- After checking I need to create a tooling axis for the class-'A' surface. And also I need to create the side core tooling axis for the surface.
- Then I need to create the -'B' surface and class-'C' surface with the help of the class-'A' surface
TOOLING AXIS CREATION
- First, I will create an axis system, from that axis system I will get two cross-sections. By using that cross-section line I will create the tooling axis for the surface.
taken cross-section along ZX plane
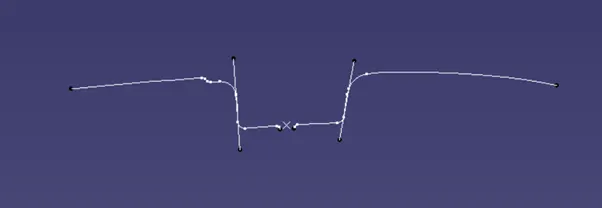
created tooling axis along the X-direction
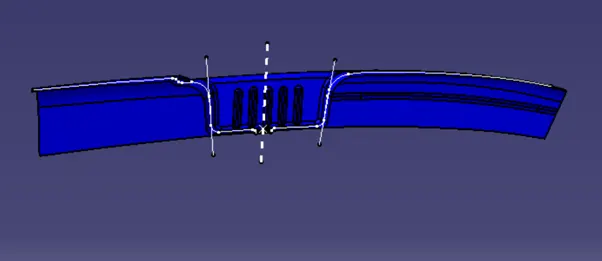
- Now creating cross-section along ZY plane
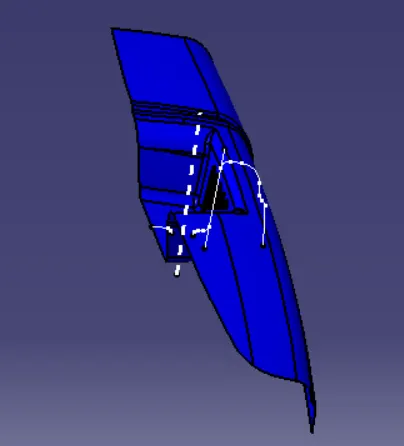
- Then using both tooling axis I can now create the main tooling axis for the class-A surface by bisecting method.
- For Side core tooling Axis
We will extract the side face and then add a point on the surface at 0. We will then add a line normal to the surface
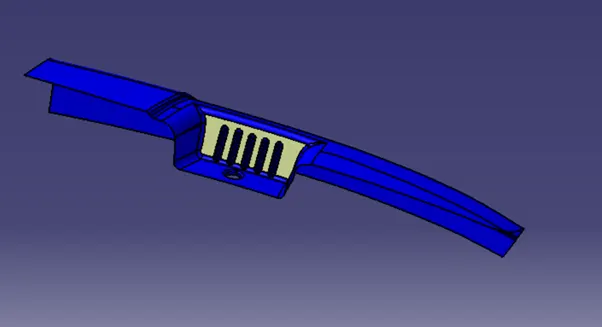
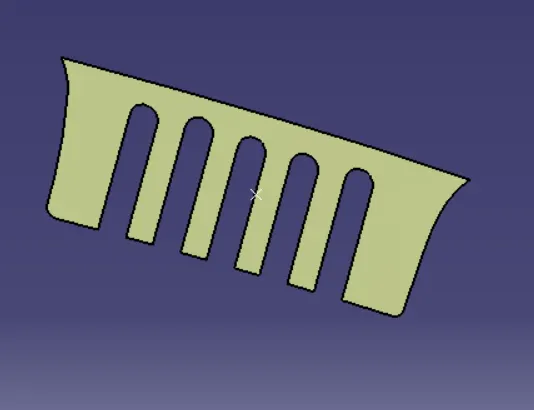
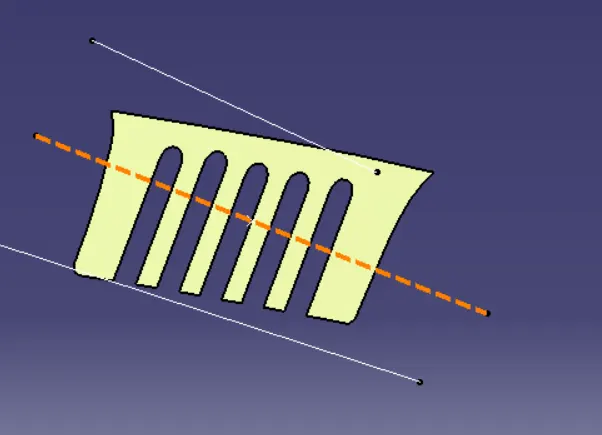
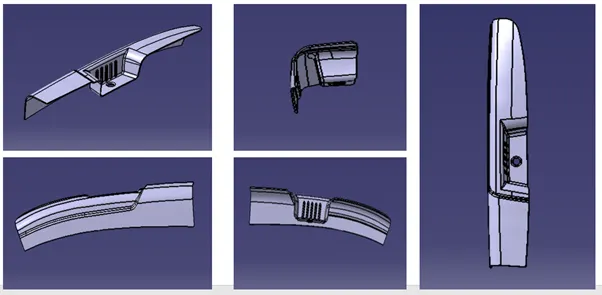
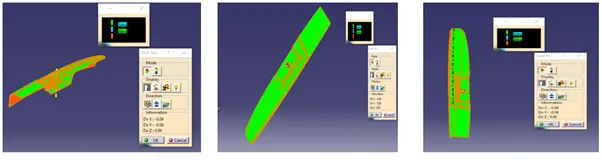
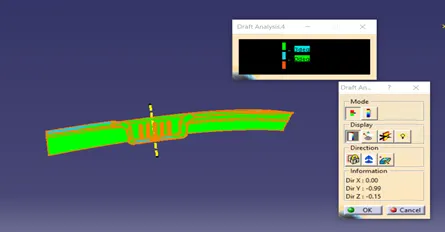
- Now performing draft analysis to check whether the tooling axis has some negative draft
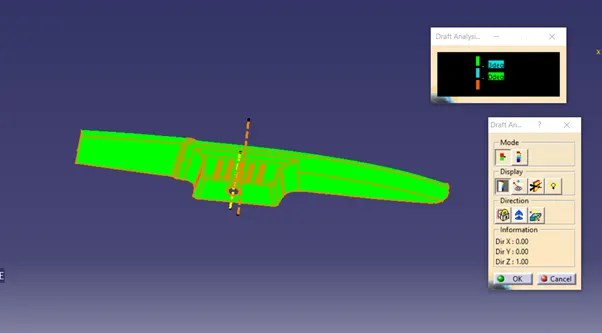
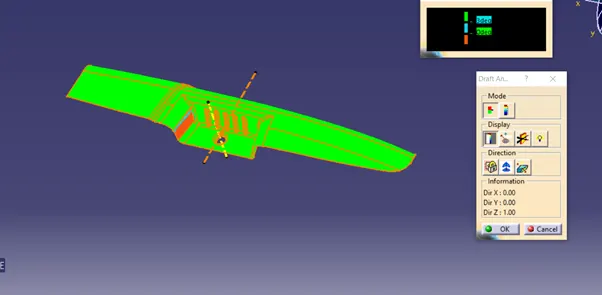
From the main tooling axis, it is clear seen that some of the surfaces have some negative and positive drafts. So, changing whether the creating negative draft clears from the side core tooling axis.
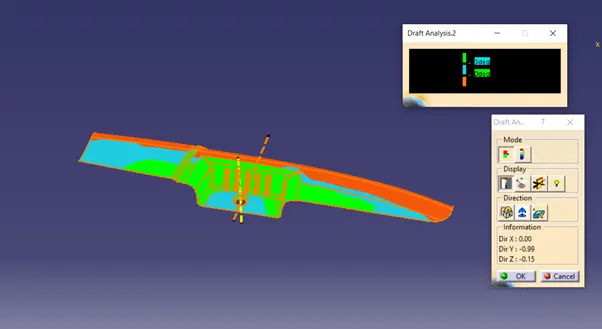
The surfaces which had negative draft from the main tooling axis now cleared and now I can proceed with the creation of Class-B surface.
Creation of Class-B surface
Extracting the class-A surface without the fillets and then trimming and extrapolating them to join them, and after that offset the surface to 2.5mm thickness which forms as the Class-B surface.
FIRST HALF
- Now, we will start with creation of Class B surface. We will extract the faces as shown below. Then we will un trim the two extracted surfaces. We will join the two surfaces together. As shown in below images.
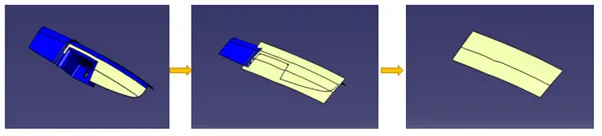
We will extract the back surface; we will extrapolate it.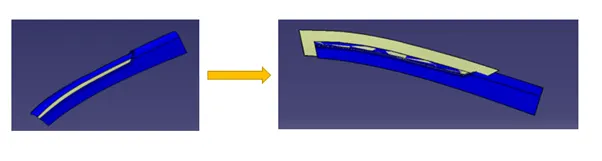
Now will offset these two surfaces with a value of 2. 5mm.We will then trim the offset surfaces together, then we will add a fillet as per the requirement

For the connecting surface, we will extract the boundary line between the two fillet, this will act as our sweep path. We will use the sweep tool to get the required surface. Then we will offset it by 2.5mm.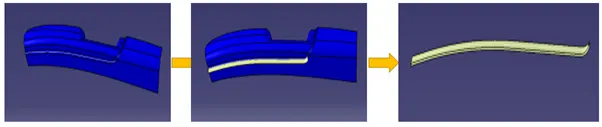
We will extract the faces as shown. We will untrim this face and offset it for a value of 2.5 mm. Now we need to connect this surface with the sweep so first we will add a line onto this surface at an angle, this will help in the blend operation. We will split this surface with the line, as shown in image. We will then use the blend tool on the sweep and the split surface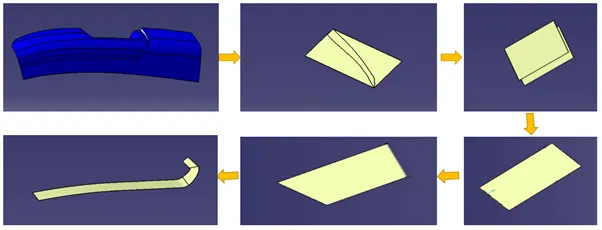
We will extract the faces as shown below, we will then extrapolate it from one side only so that they meet each other, we will then trim it together and add a fillet to it.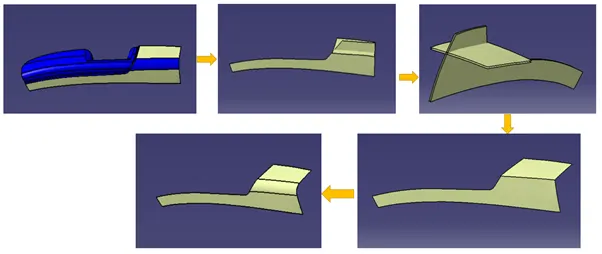
We will trim this surface with the other two surfaces that we have developed. We will add a fillet as per Class-A surface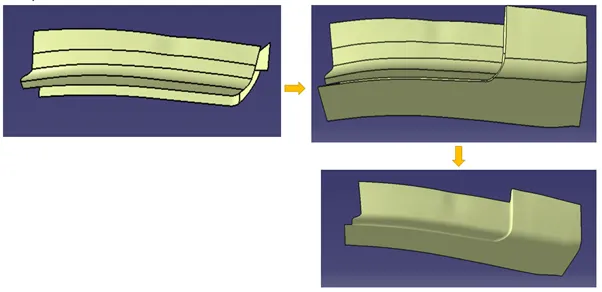
SECOND HALF
We will now extract all the surfaces from the basin. We will untrim them add a offset of 2.5mm to them and then trim the offset surface together.

We will then extract the faces of hole, we will untrim them and then offset them at 2. 5mm.We will then trim this offsetted surface with above surface and add a fillet to it.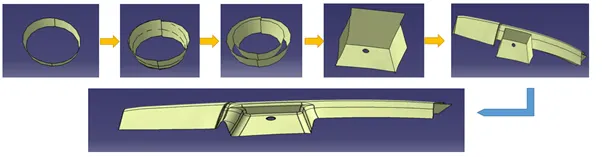
SLOT
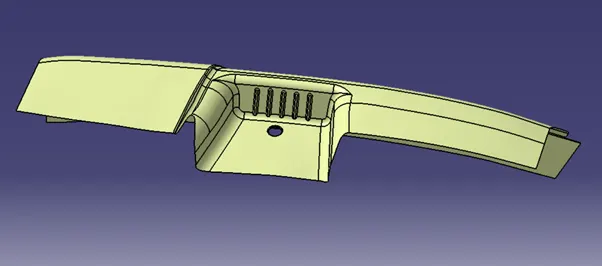
We will then extract the slot faces with multiple extract. We will offset it by 2.5mm then we will extrapolate this surface for 5 mm. We will then do this procedure for the remaining slots. After that we will trim these slots with the main surface. We will add a fillet to it. This will be our Class B surface.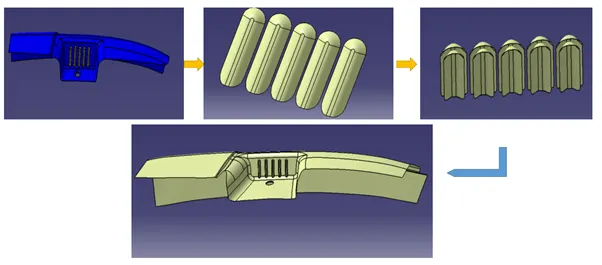
FINAL CLASS-B SURFACE
CLASS-C SURFACE CREATION
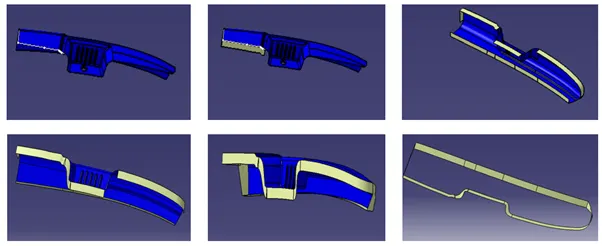
- Take outer boundary using boundary command of class ‘A’ surface
- Use smooth curve.
- Use sweep command to create surface using tooling axis and draft angle as 3 degrees.
- Create points and line to split the surfaces as and where ever needed
- Join the split surfaces with multi section surface.
FINAL BODY CREATION:-
- Join class-A surface and ‘C’ surface.
- Trim resulting with ‘B’ surface
- Result is complete close body
SOLID BODY: -
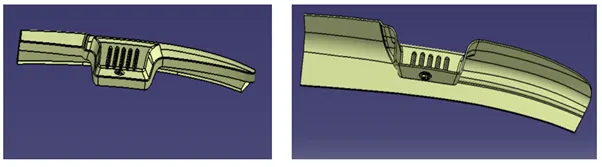
- Change to part workbench
- create body.
- Surface Base feature->Close surface->select last join/trim
DRAFT ANALYSIS: -
MAIN TOOLING AXIS
SIDE CORE TOOLING AXIS
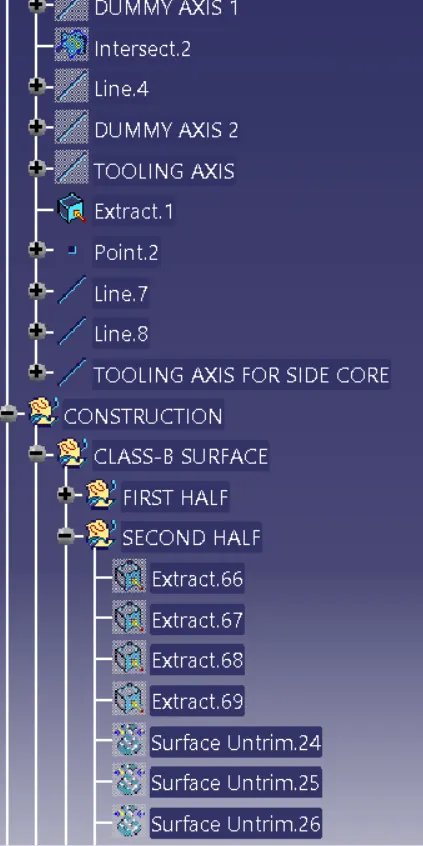
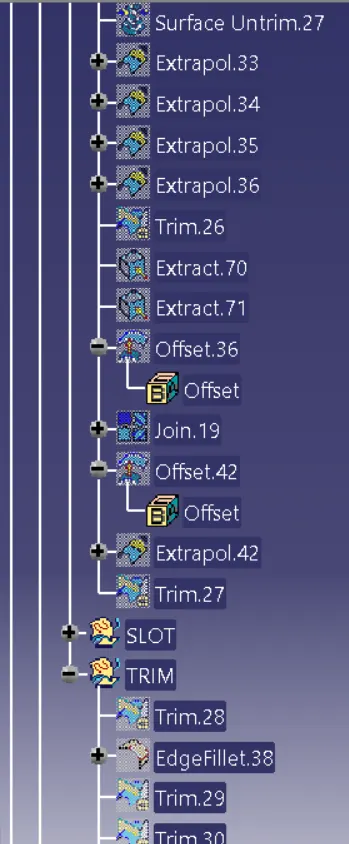
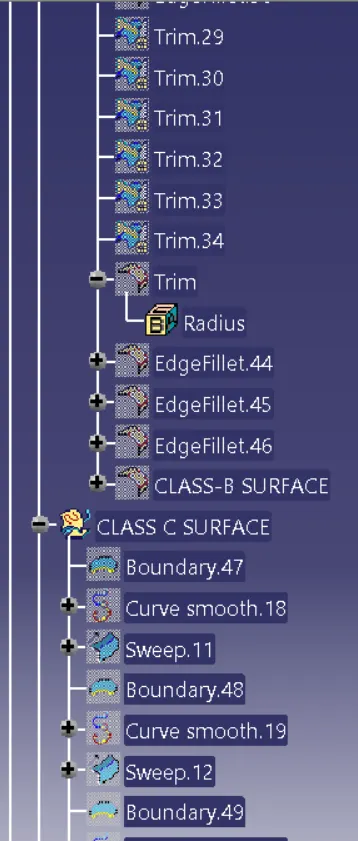
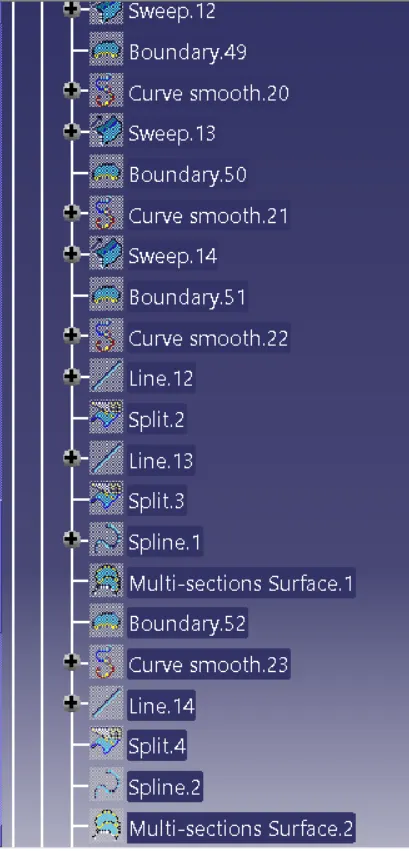
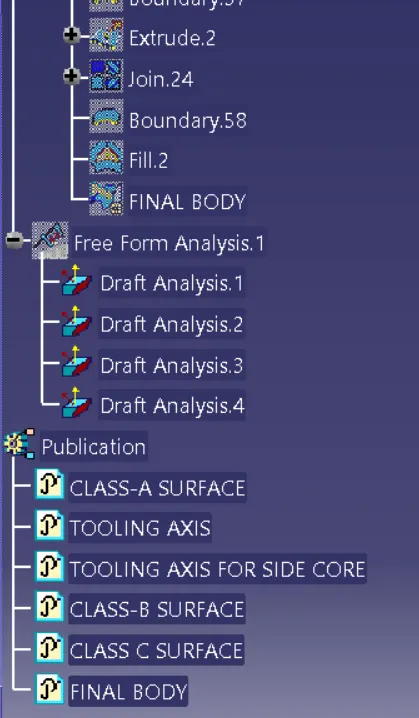
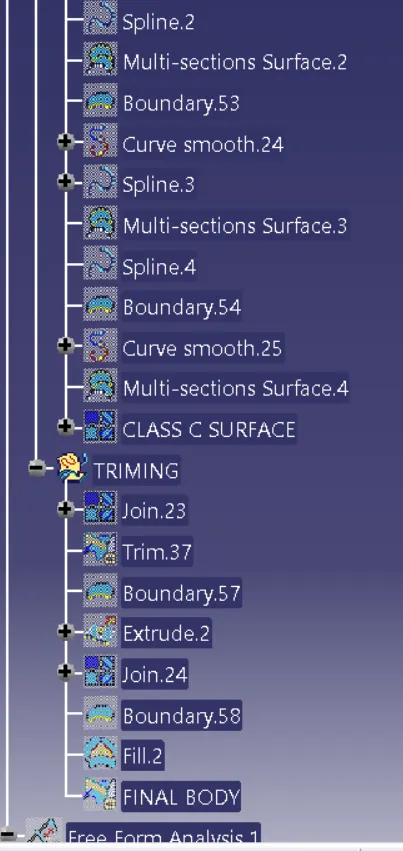
TREE STRUCTURE: -