Week 8 - Challenge 3 - Switch Bezel Design
THEORY:
Draft Analysis:- Draft analysis helps to detect if your drafted part is easily removable from the mold(in case of plastic component).All plastic components will have a minimum draft of 0.5 to 3 deg.If a mold wall is perpendicular to the part ejection ,there will be ample friction or interference between the mold and the part which will not allow one to release from the other.
In CATIA V5 the feature draft analysis dailog box look like this:
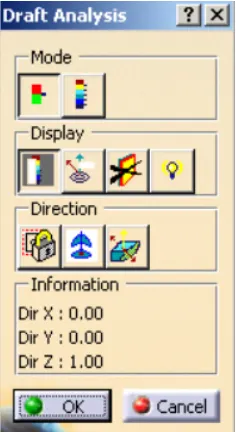
Mode:-
- The mode option let you choose detween quick analysis and full analysis mode.
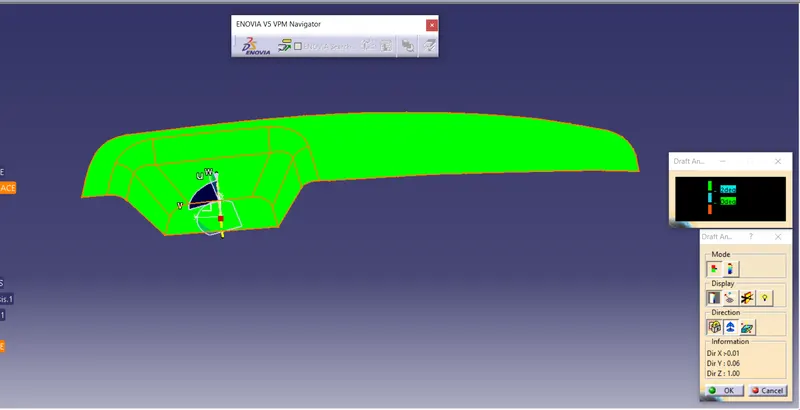
- In quick mode there are 3 ranges with blue,red and green colours. In plastic component,will set the draft angle as 3deg.As shown in below image.
Display:-
- The first box is open and close the colour scale dialogue box.
- The second box is analysis under the running point,when activating the checkbox and move the pointer over the surface.This enables you to perform local analysis.Arrows are displayed under the pointer, identifying the normal to the surface at the pointer location(green arrow),the draft direction(red arrow), and the tangent(blue arrow).As you move the pointer over the surface, the display is dynamically updated.Furthermore,circles are displayed value indicates the angle between the draft direction and the tangent to the surface at the current point.
- Click the No highlight representations button to set the display option of highlight effect sources as "on/off".When checked "on" the surfaces are selected but they will not be seen in specification tree.
- Click the light effect button and the colours of the analyzed elements react to light source.
Direction:-
- The first check box is the locked direction icon which is used to lock the direction of the compass after selecting the specified direction.
- Click on the compass icon to specify the new pulling direction to remove the part.
- Click the inverse button to automatically reverse the draft direction. When several elements are selected for analysis,the draft direction is inverted for each element when the buttion is clicked.
Tooling Direction:
The tooling direction is biscally the direction that the mold pulls apart.The mold is built in two separate pieces,basically.You have a cavity side and you have the core side.The core pulls apart from the cavity and that's the tooling direction.There are different methods to find out the tooling direction .Here we are using bisecting method to find out tooling direction.We can use any method the ultimate aim to reduce the cost of manufacturing by reducing thr complicity in manufacturing the component.
Method:
- In order to obtain the proper draft analysis tooling axis is required and the following steps show how it is done
- As the component has 1 hole from where tooling axis can be generated,however it does not have proper 4 walls to generate it.In this case,an approximation is made in order to obtain the tooling axis.
- First by using the two side walls a dummy axis is made.As shown in below image
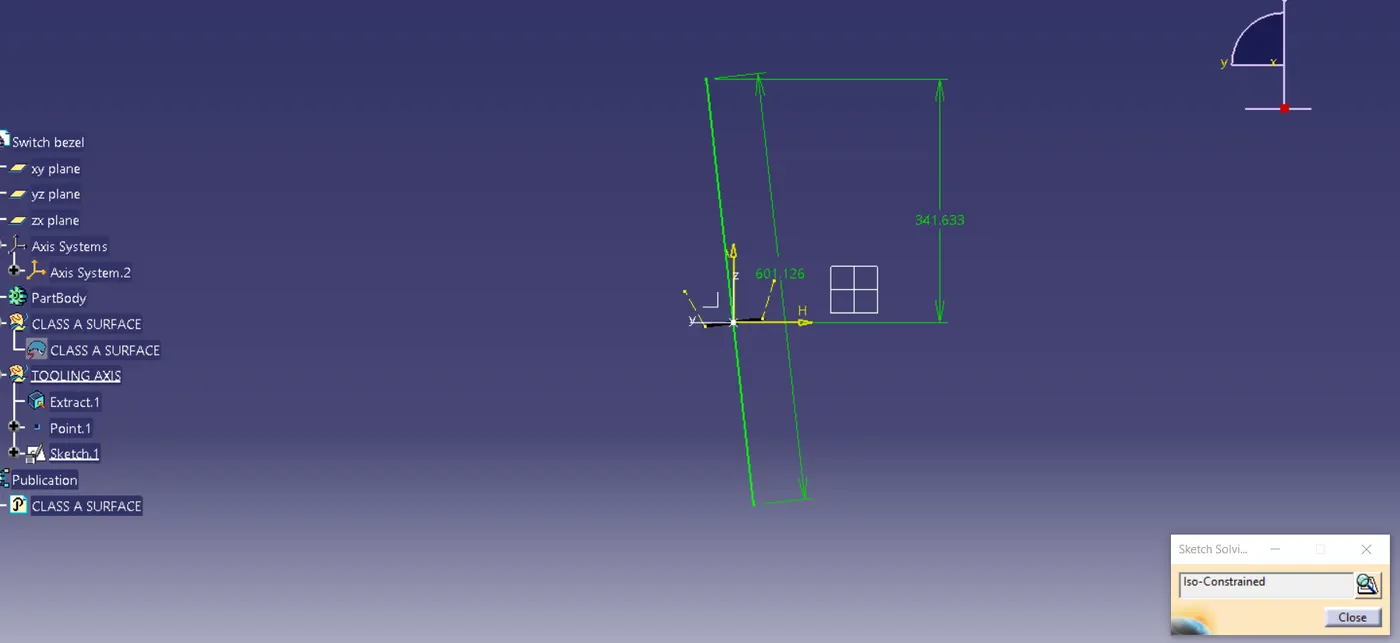
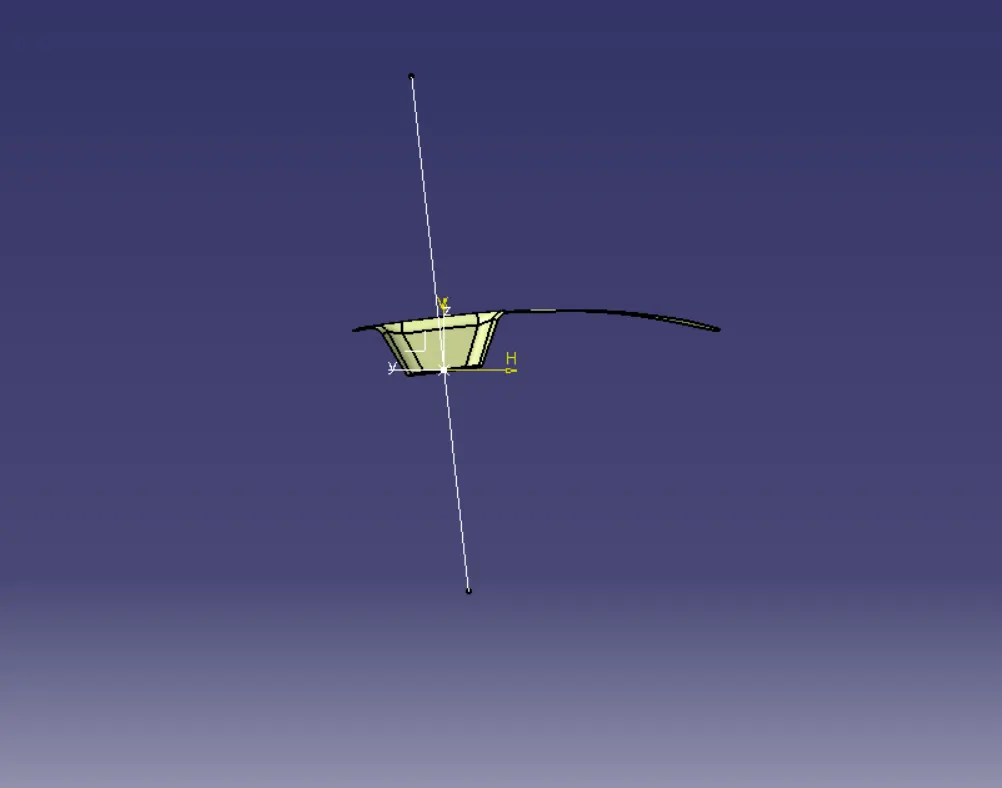
- As it is known that the draft angle is 3 degree,the second axis is taken as a 3 degree to given wall
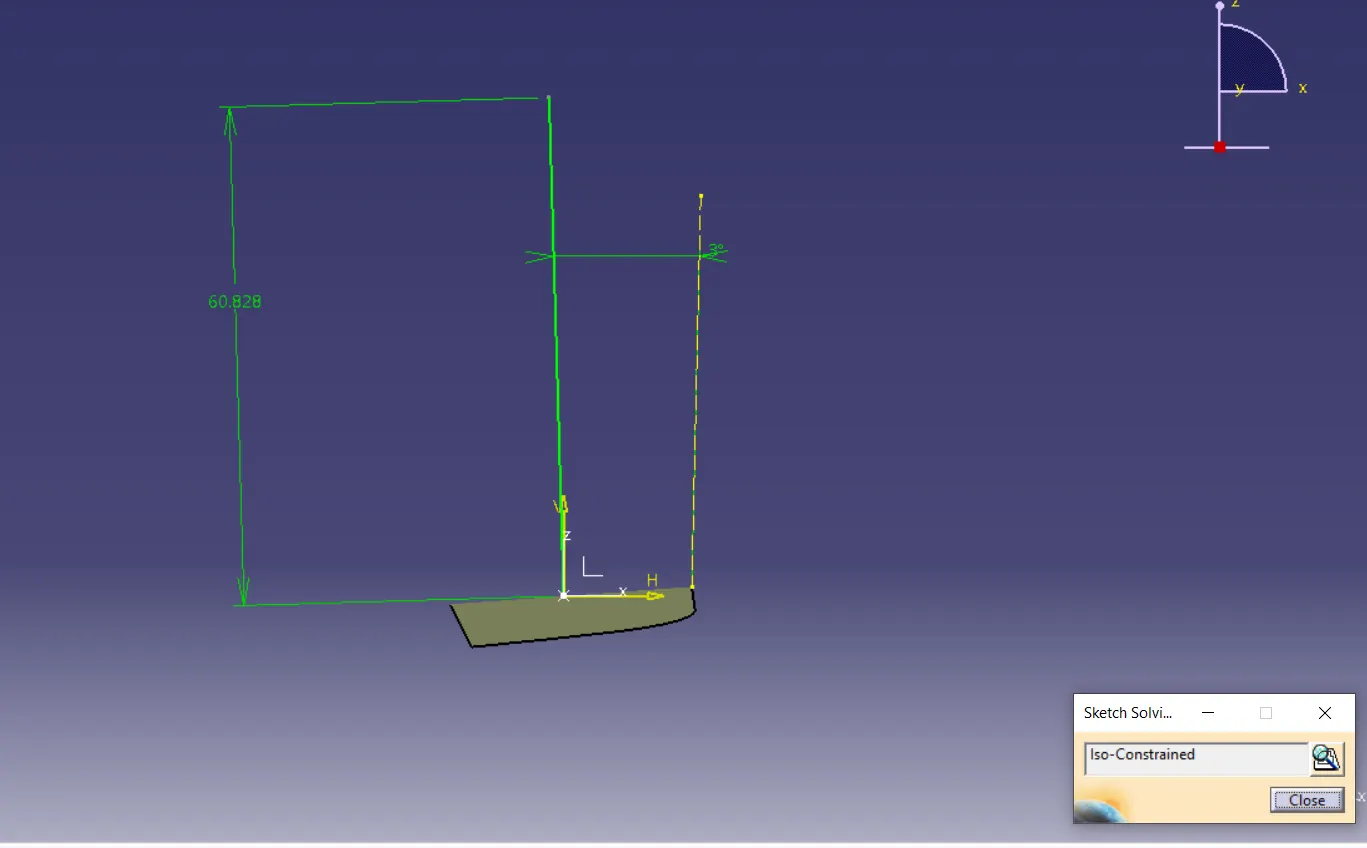
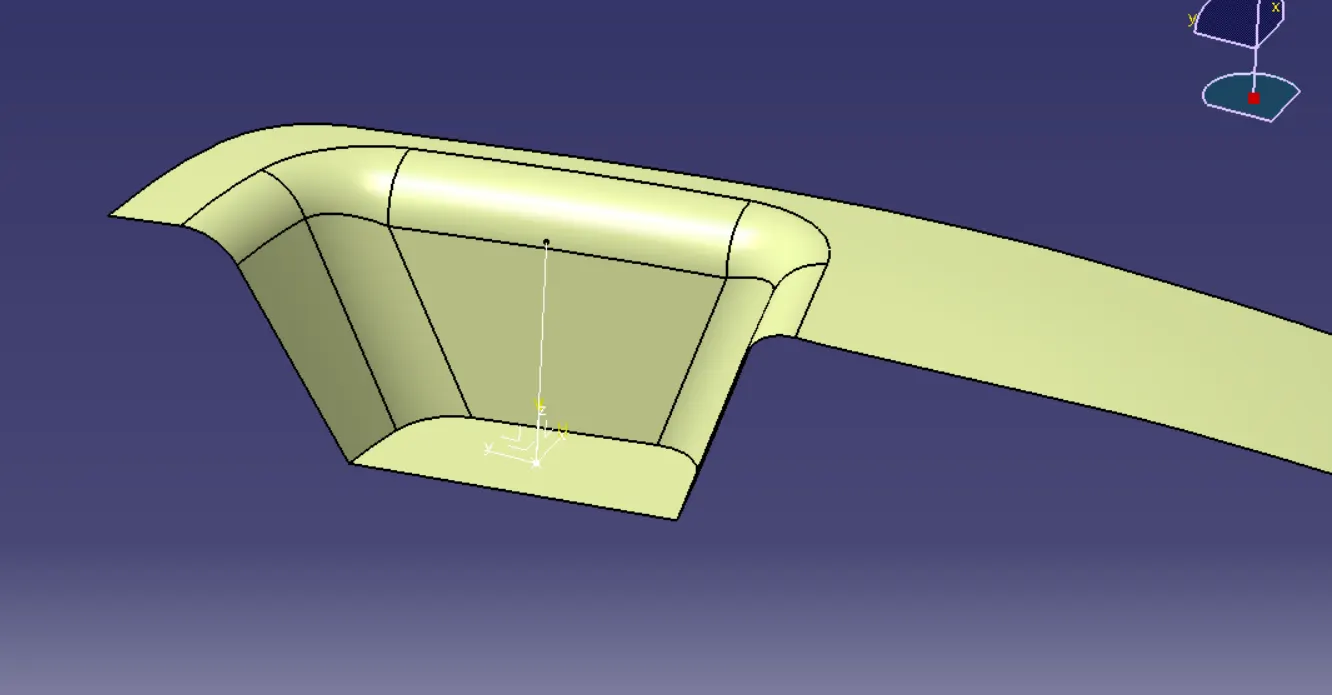
- By bisecting these two lines tooling axis is made
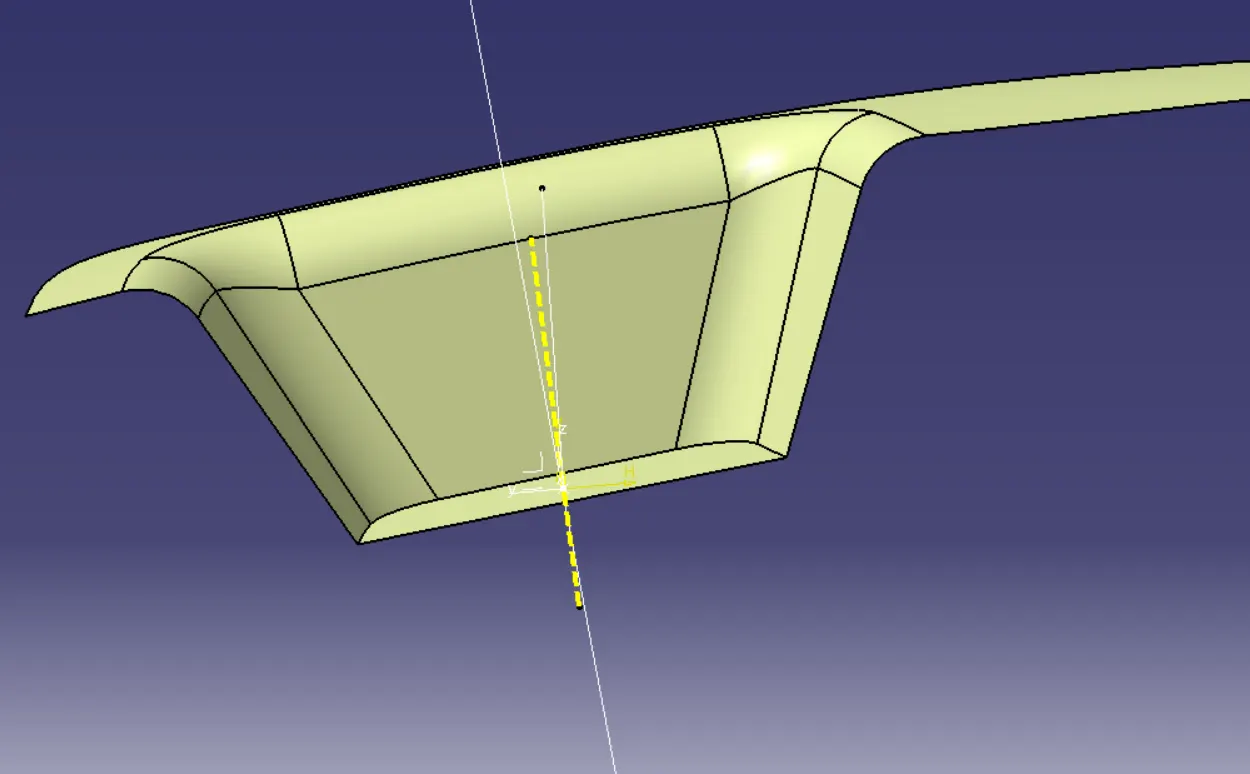
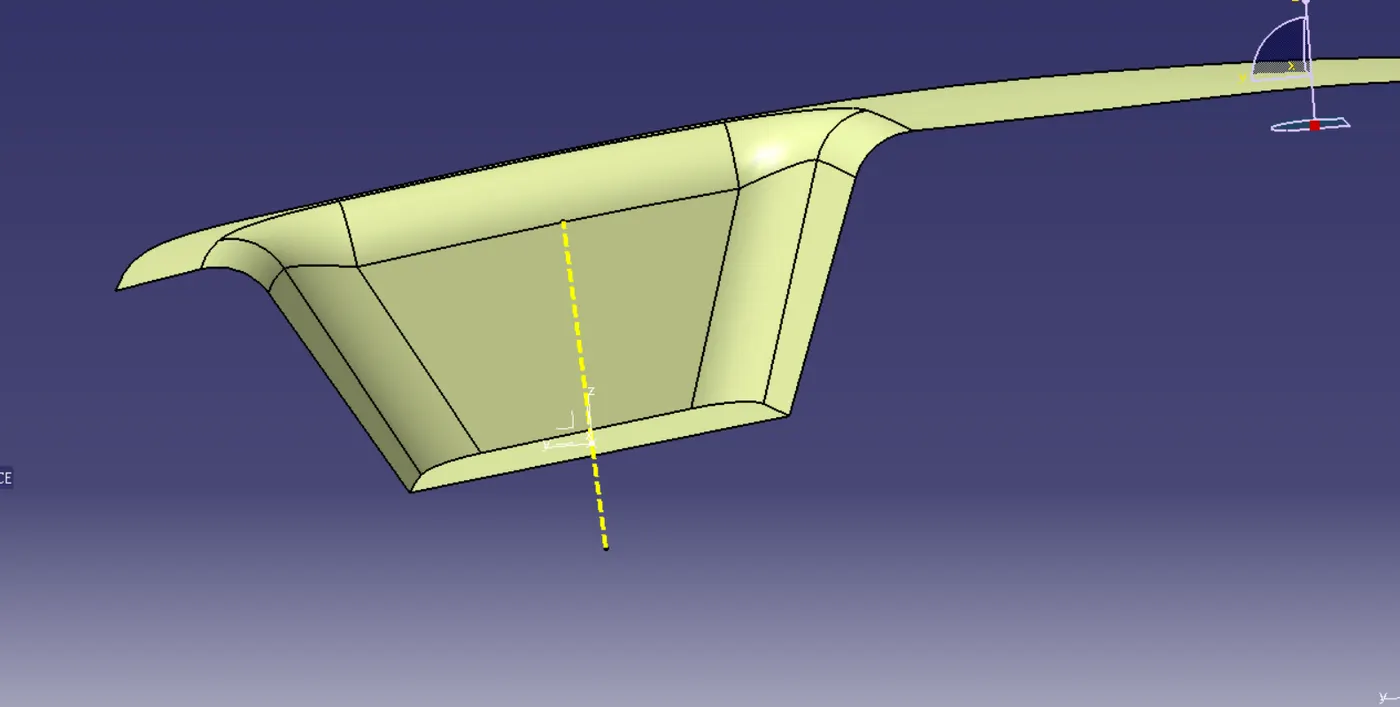
Performing draft anaysis:
- Open feature draft analysis option from Insert>Analysis>Feature draft analysis.
- A new window pops up by default it will be in quick analysis mode.
- Next you have to position the compass on the tooling axis by dragging the compass from top right corer of the working area. The W axis of the compass should be inline with the main tooling axis.
- Then you have to define the compass by click on compass icon the draft analysis window.Then lock the position of the compass by clicking the lock icon.
- After the select the surface and the whole surface will show a color range.
RESULT FOR DRAFT ANALYSIS:-
Report for the CLASS A surface:FOR 2deg Draft it is ok.
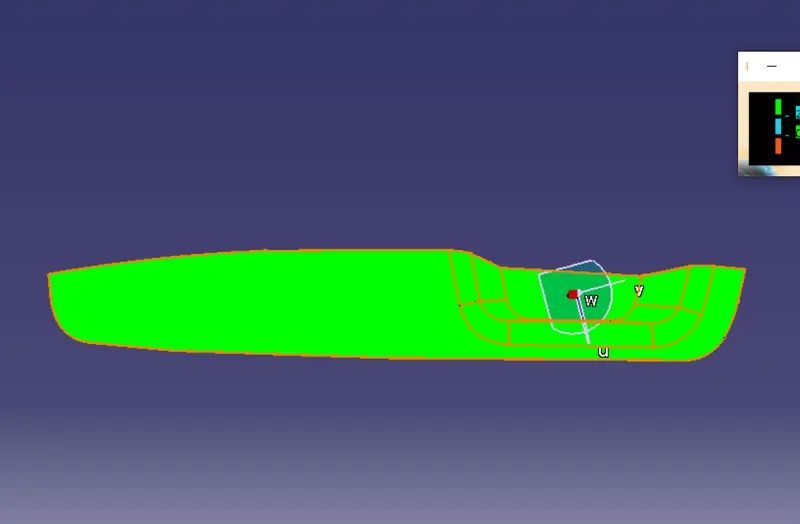
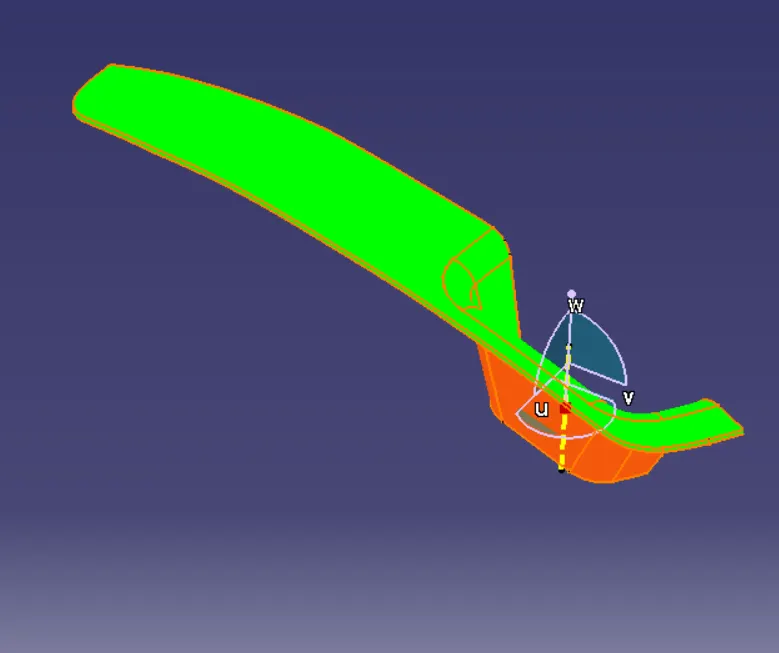
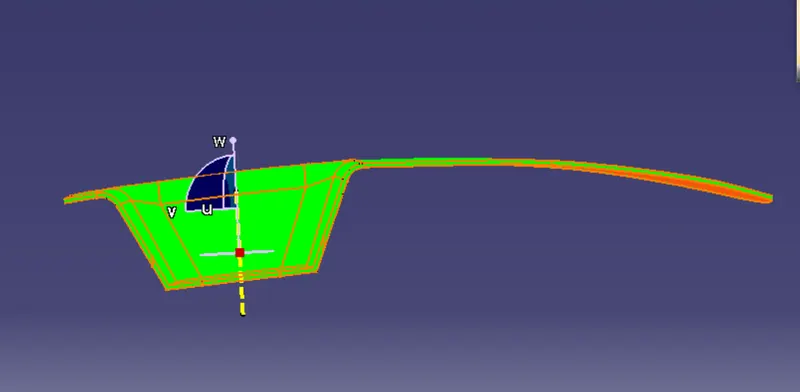
Report for the final plastic component:
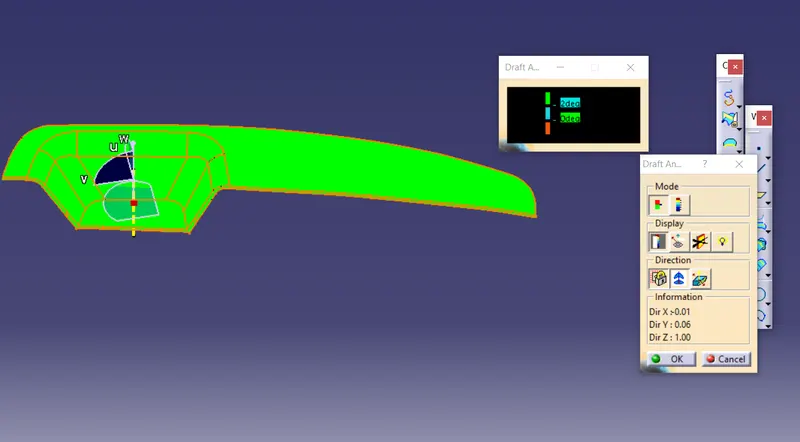
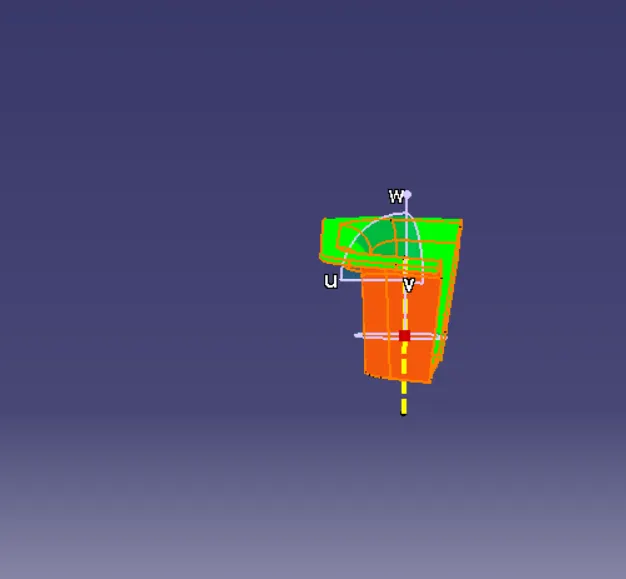
Screenshots of the solid model with the proper color code of draft angle in various orientations:
Class-B surface:-
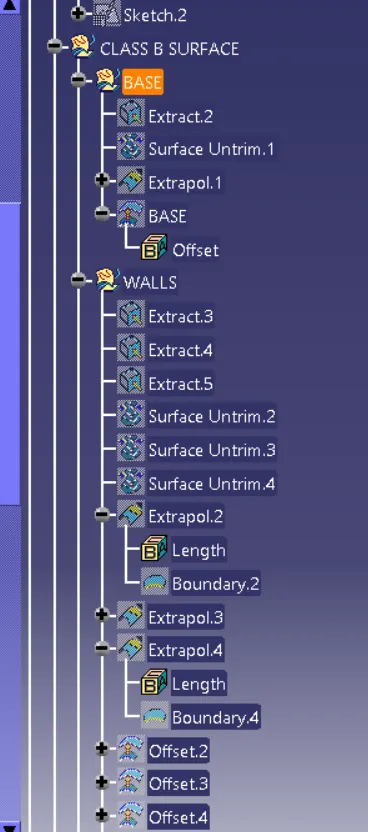
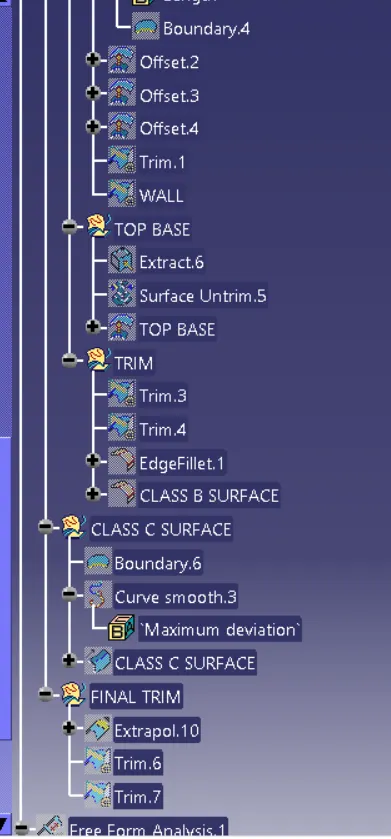
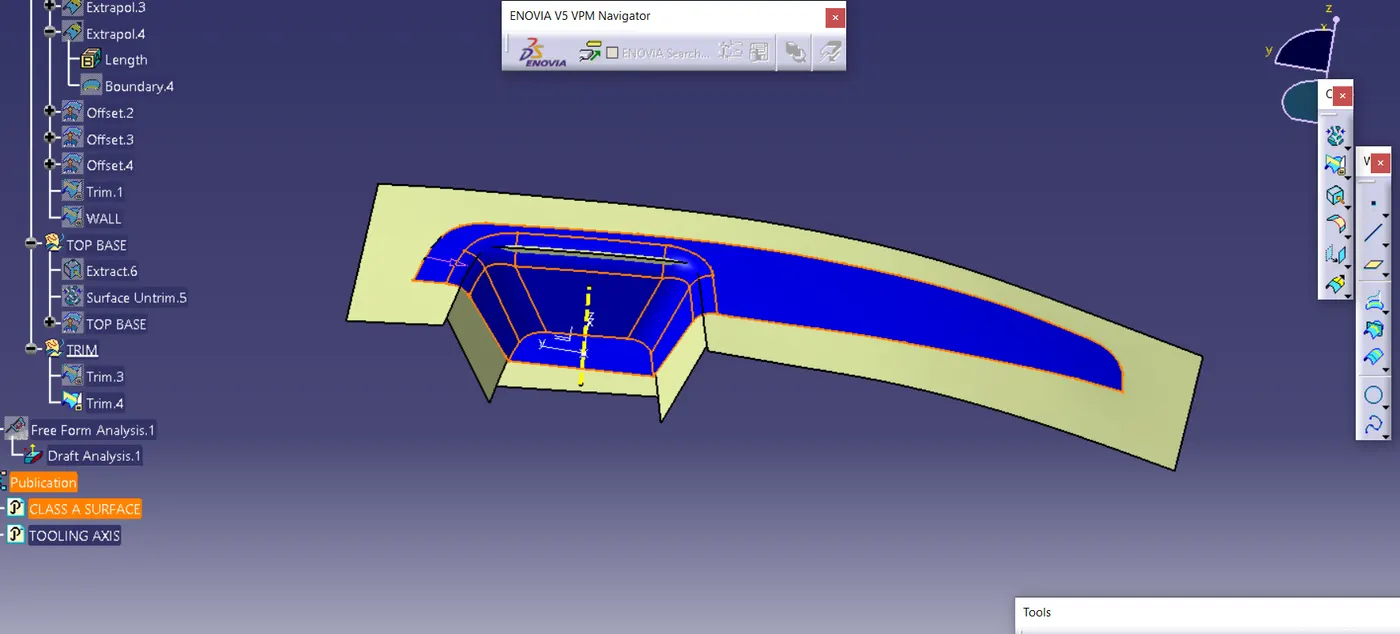
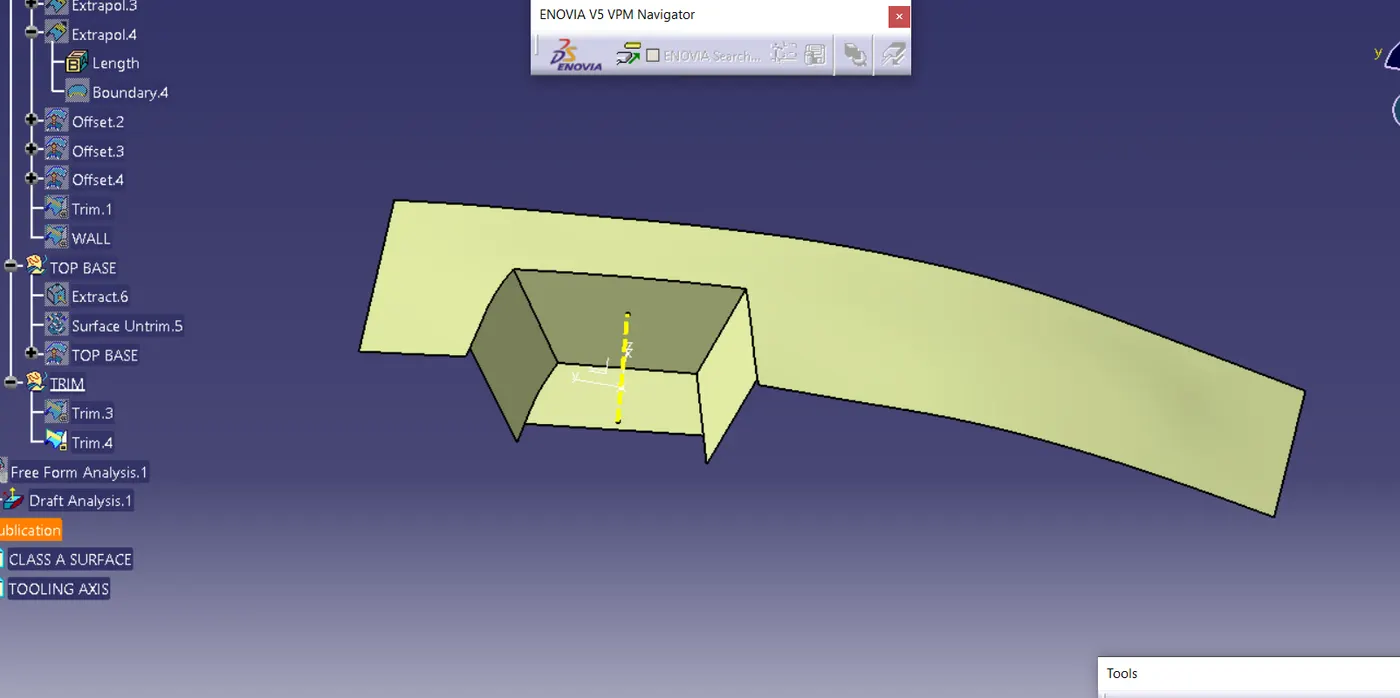
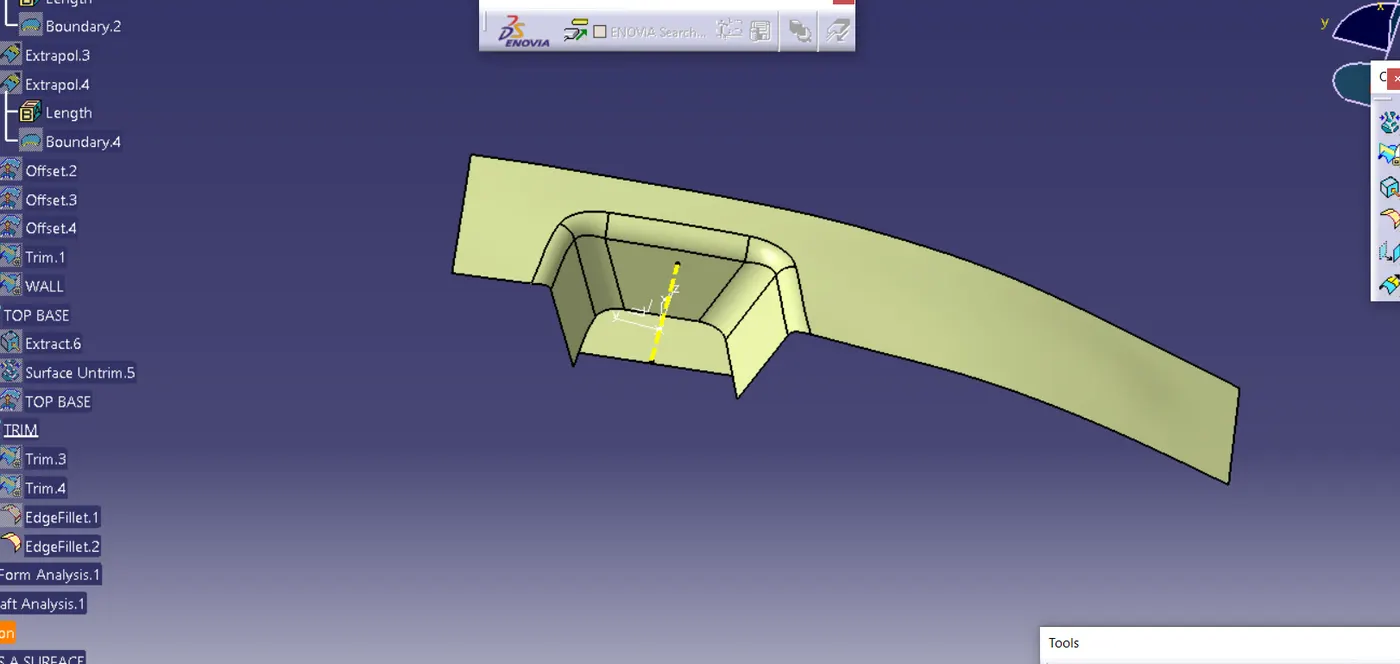
Class -B surface is created by extracting each wall and untrimming and extrapolating the walls to obtain the shape by trimming the excess surfaces and offsetting it to a certain distance based on the thickness of the model.The offset surface will be the B-surface.
Class-C surface:-
The surface created using sweep command by sweeping the boundaries of A-surface along the tooling axis to connect from A to B-surface is known as C-surface.
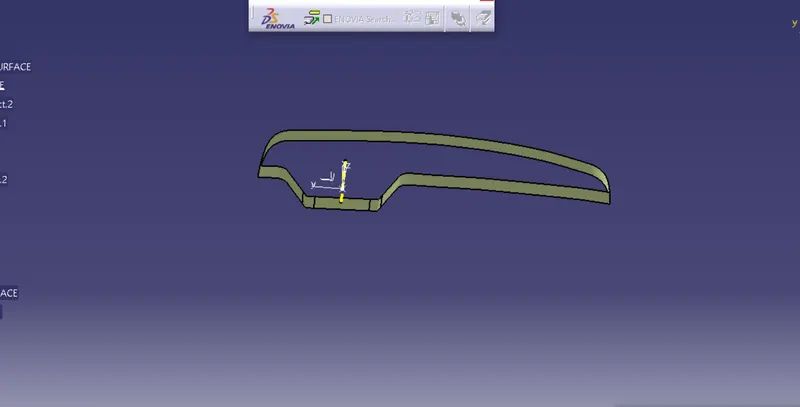
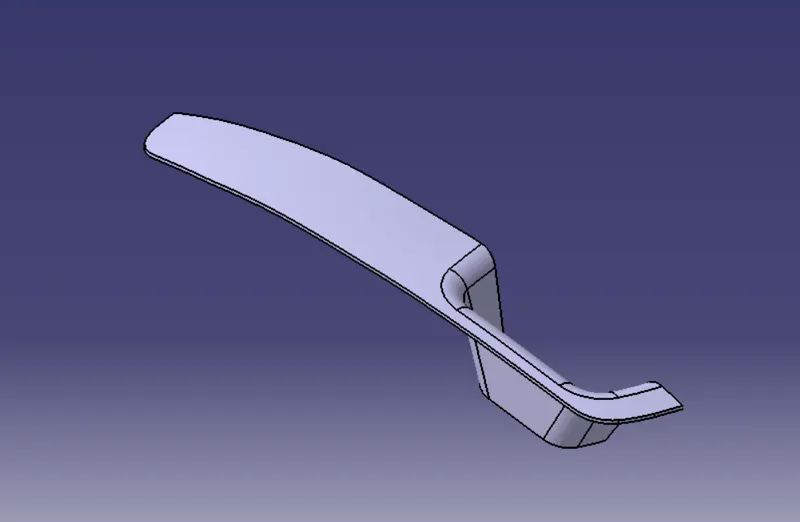
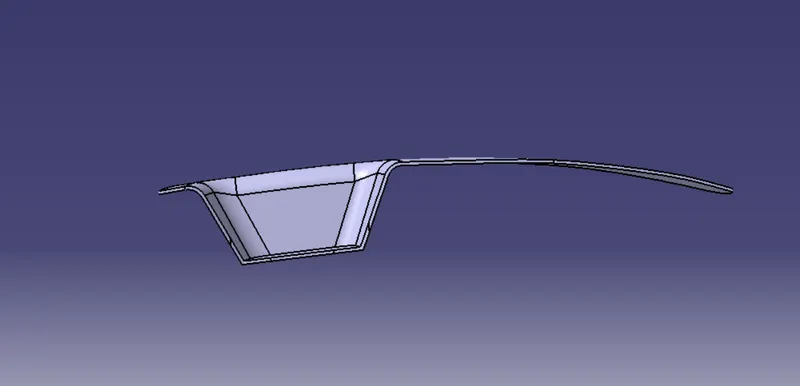
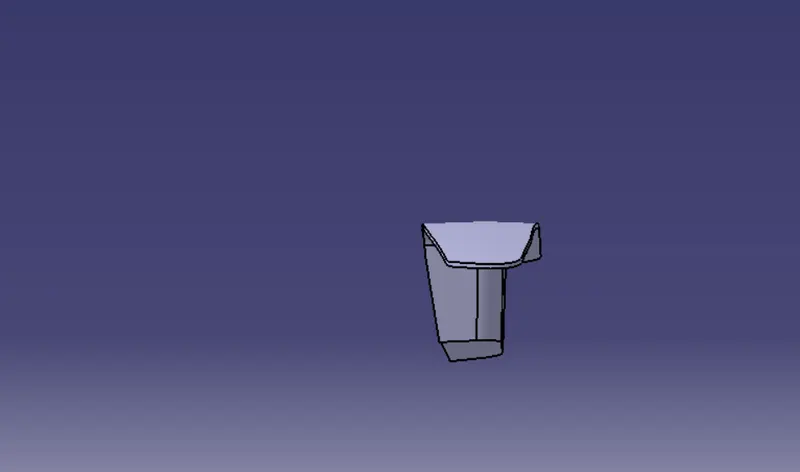
FINAL PART(CLOSED PART)
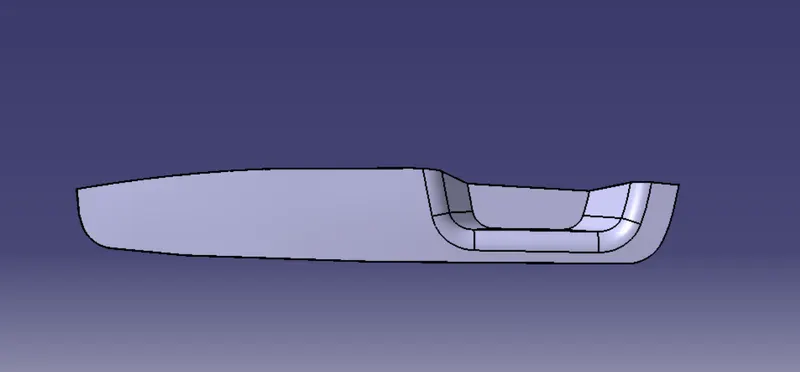
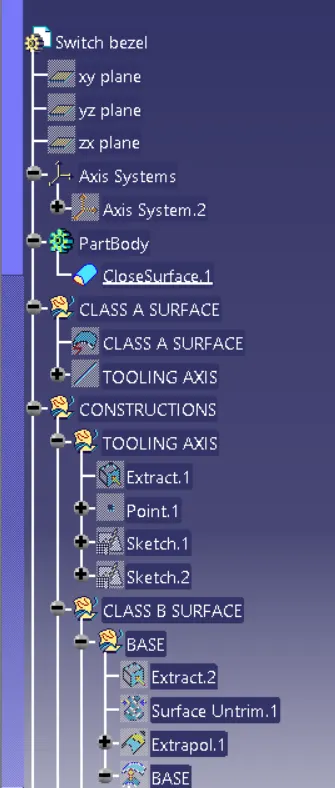
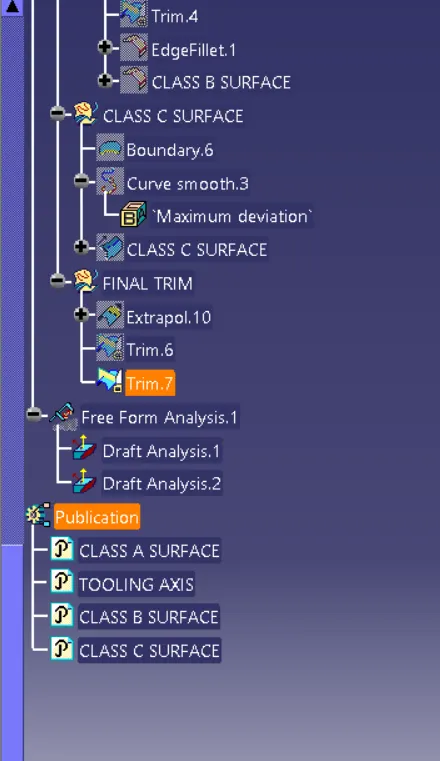
TREE: