Week 8 - Challenge 4 - Coin Holder Design
A class-A surface hase been provided to me for designing a full solid body out of a surface and validate it.
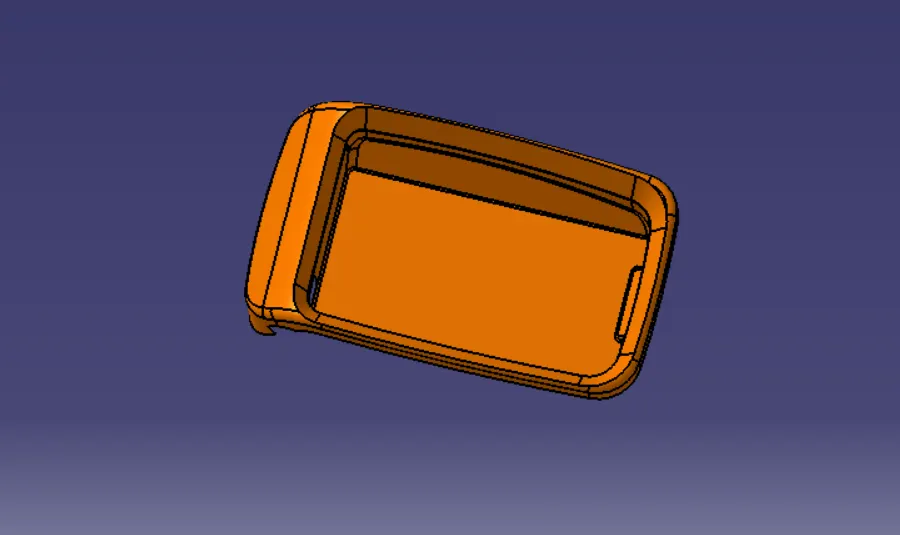
In given surface first I need to check any open boundaries that may create errors while designing.
- After checking I need to create a tooling axis for the class-A surface.
- Then I need to create class-B and class-C surface with the help of the class-A surface.
Tooling axis creation
The tooling axis is important for removing the material when finished.
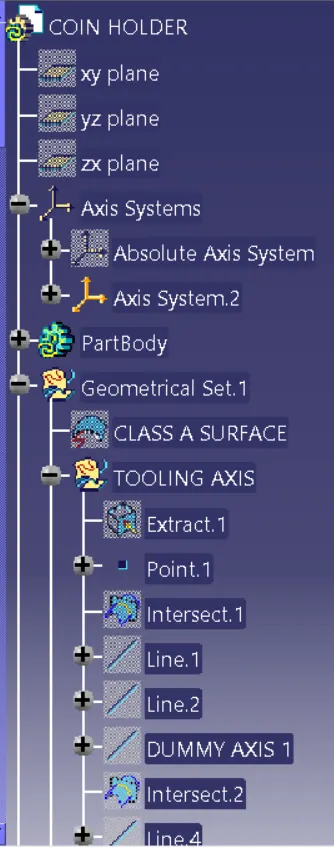
- First,I will creating the point on base surface respectively also extract the surface of the component as shown in image.
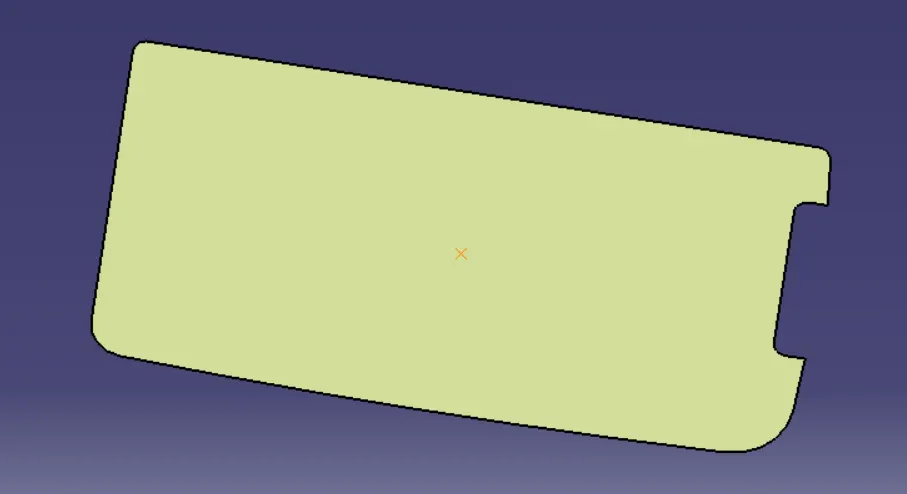
- I will create an axis system, from that axis I will get two cross-sections by using that cross sections lines i will create the tooling axis for the surface.
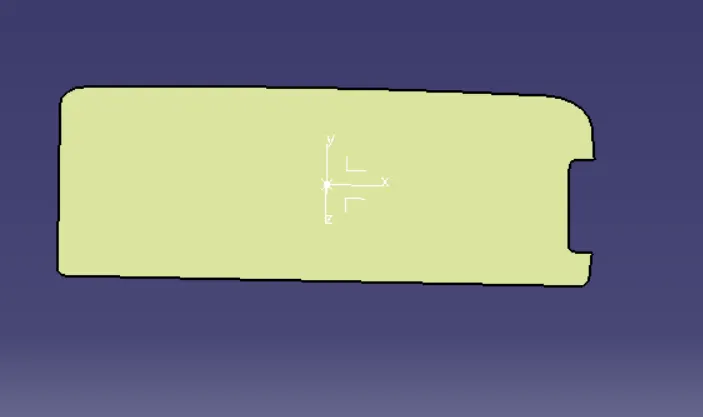
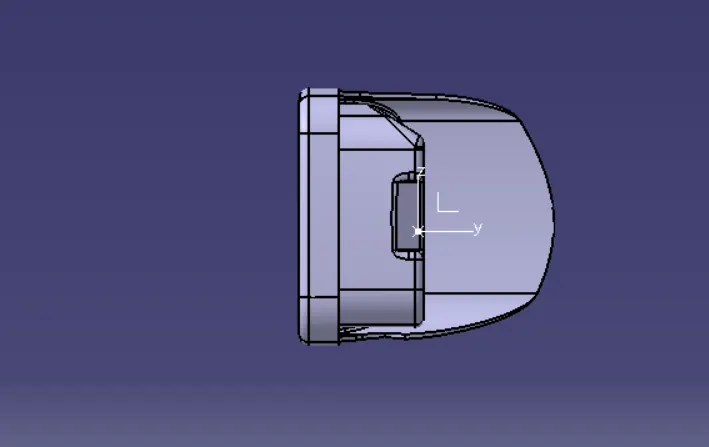
Taken cross-section along ZY plane.
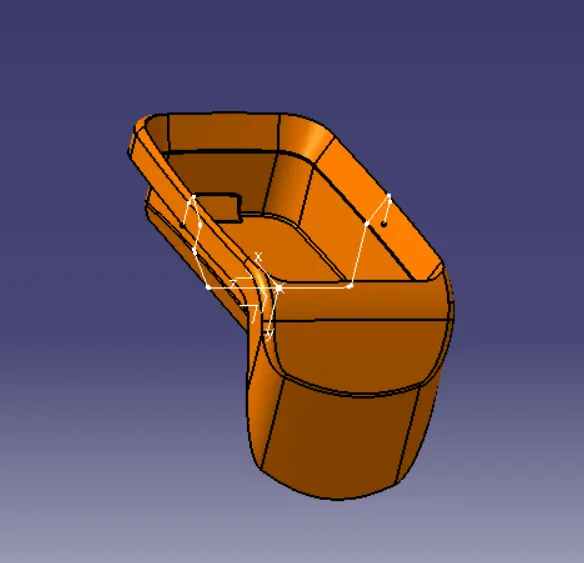
Clearing tooling axis along Y direction
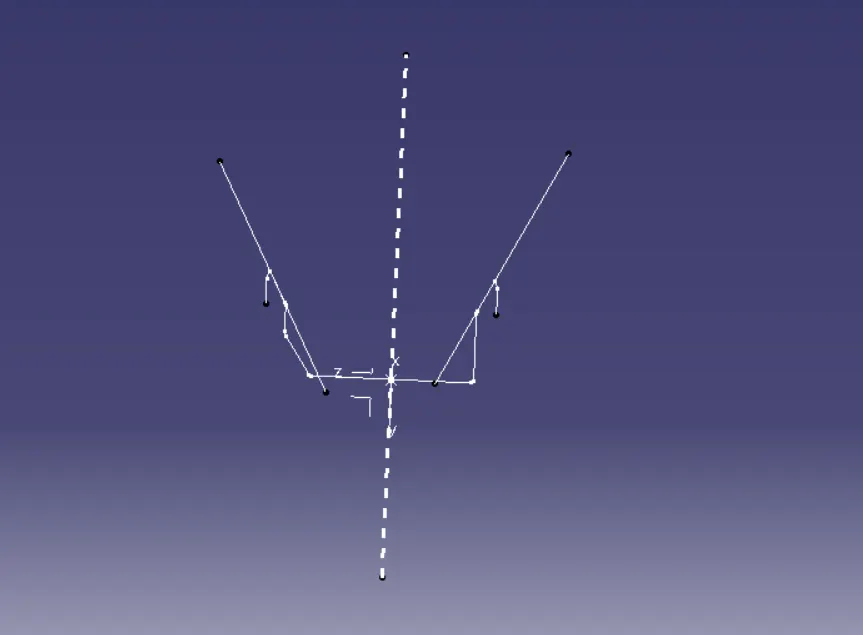
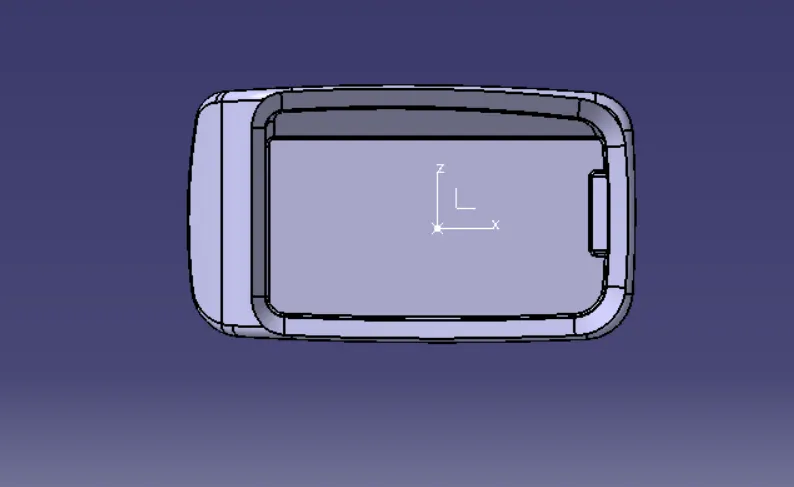
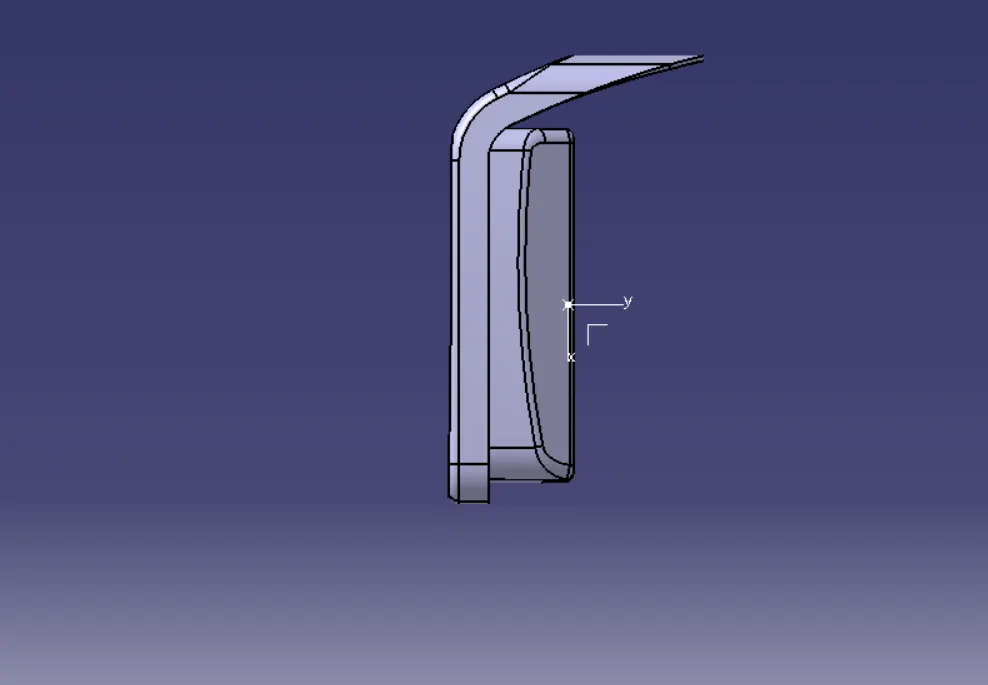
- Now creating a cross-section along the ZX plane
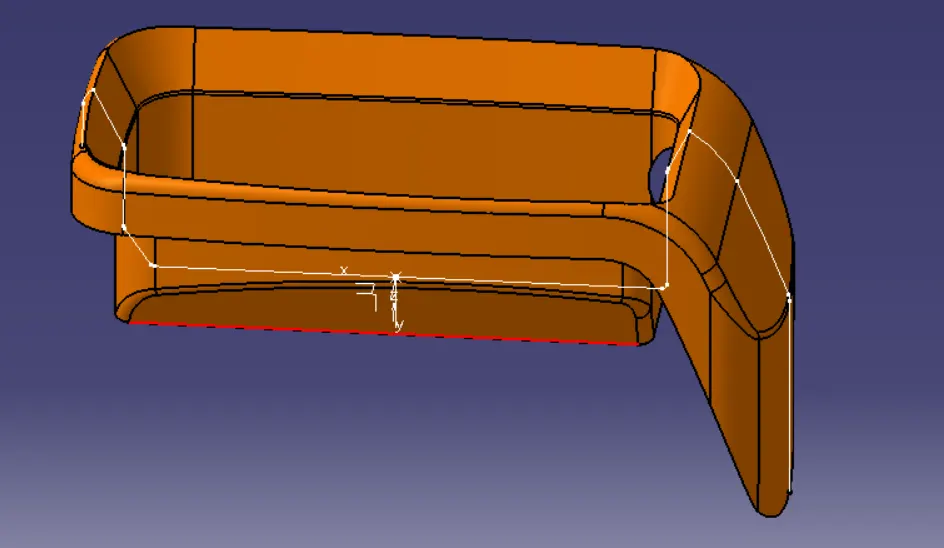
Clearing tooling axis along the X direction
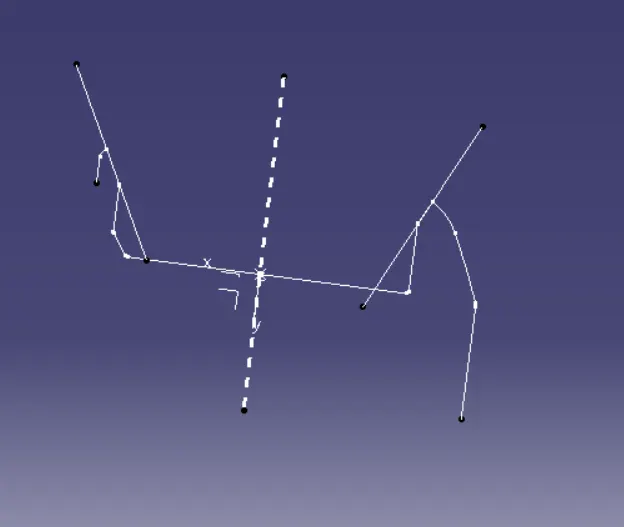
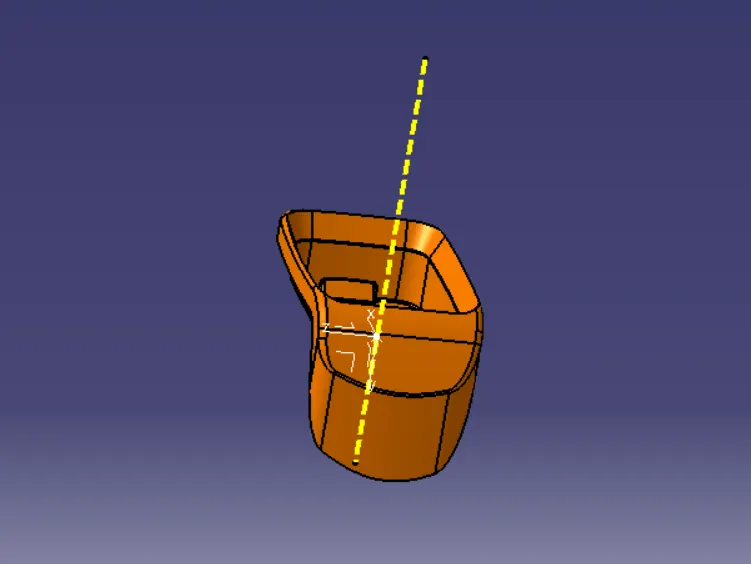
- then using both tooling axis I can now create the main tooling axis for the class-A surface by bisecting method.
Draft analysis of Class-A surface:
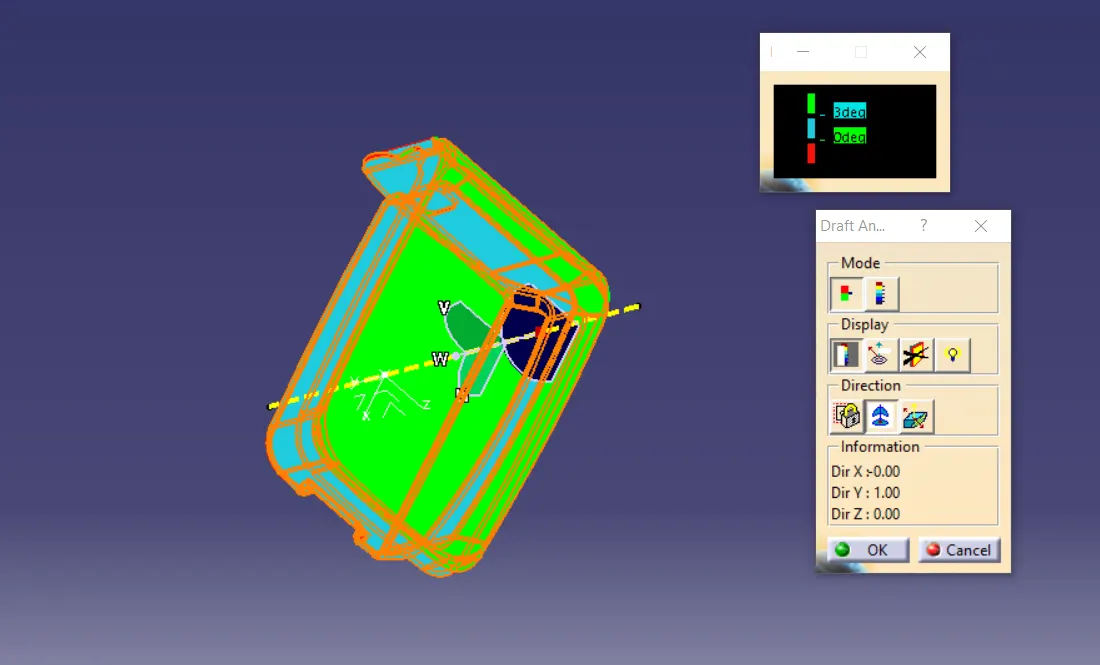
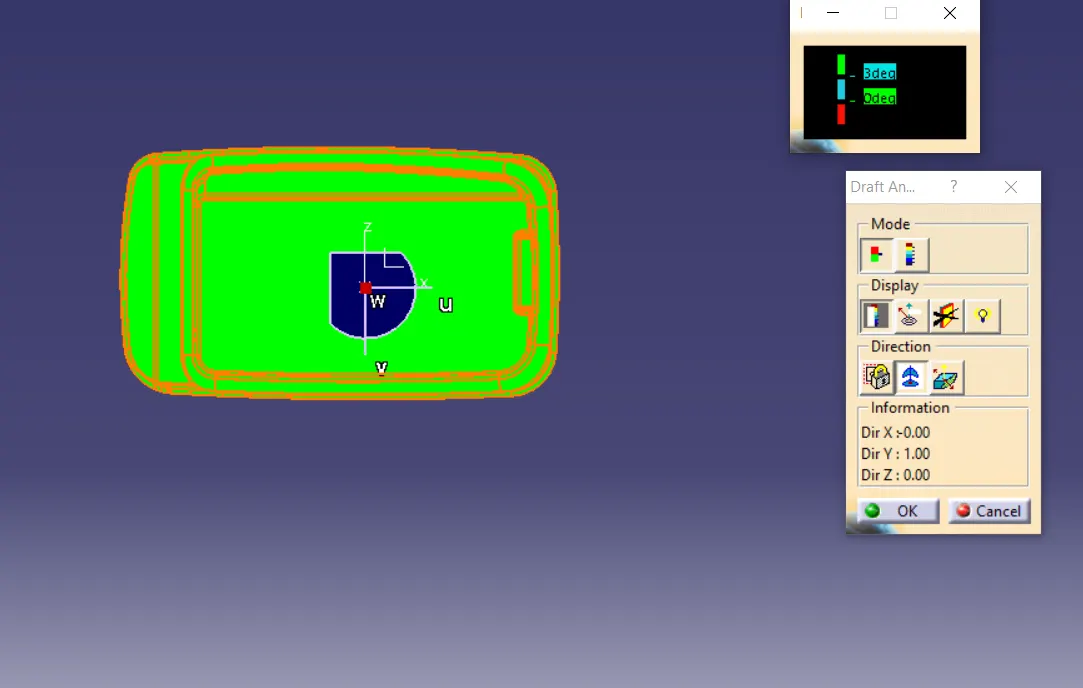
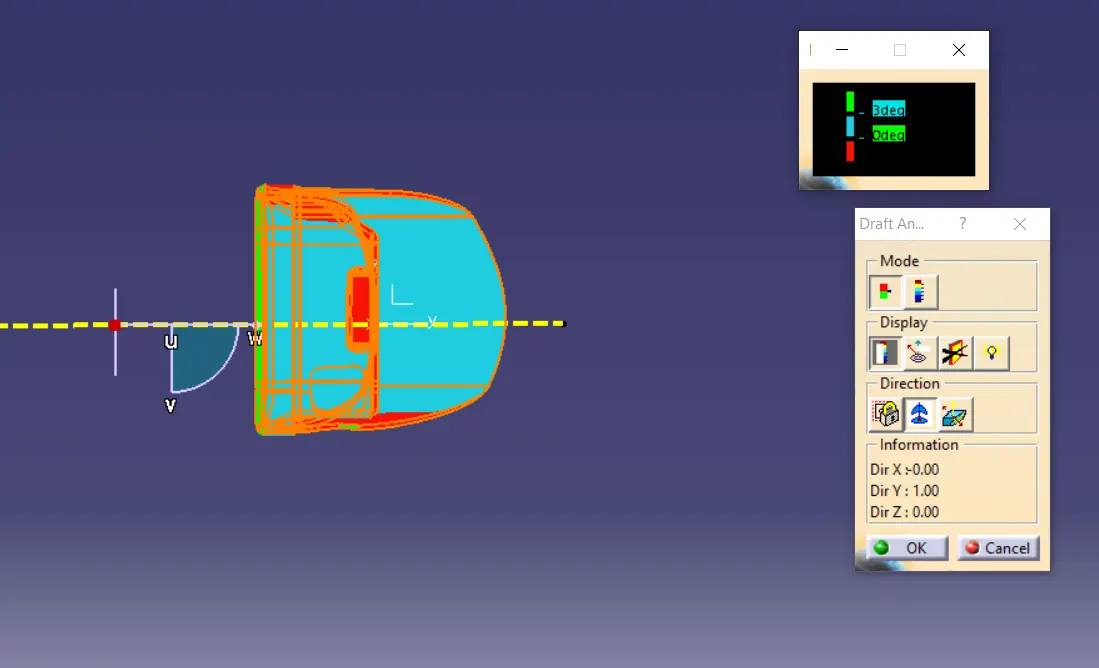
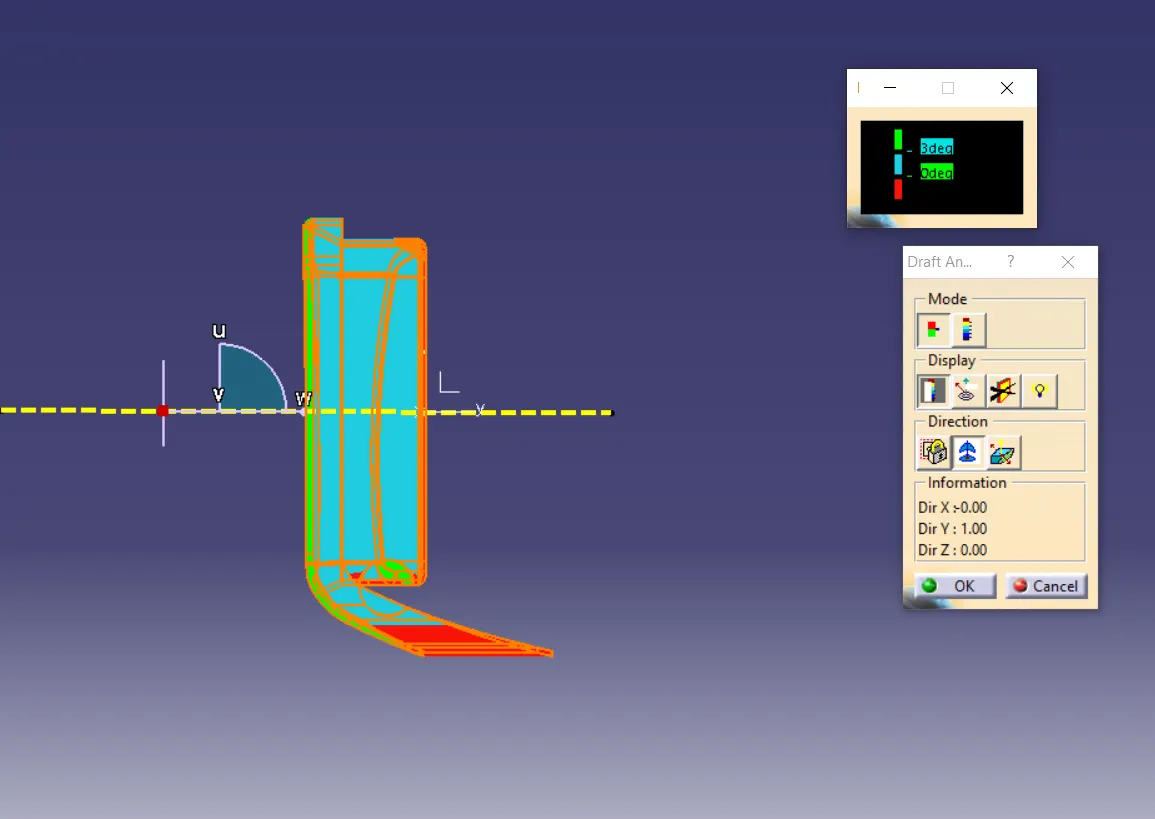
- After the creation of tooling axis,I will now perform the draft analysis for the provided class-A surface.
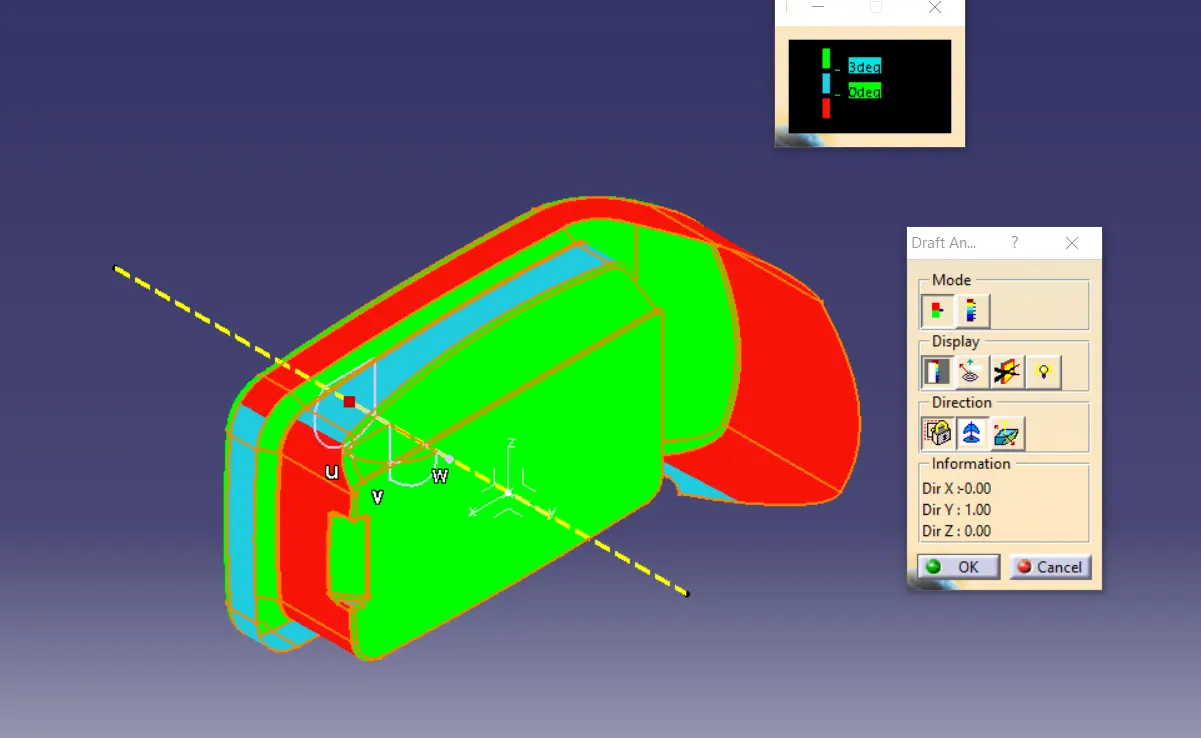
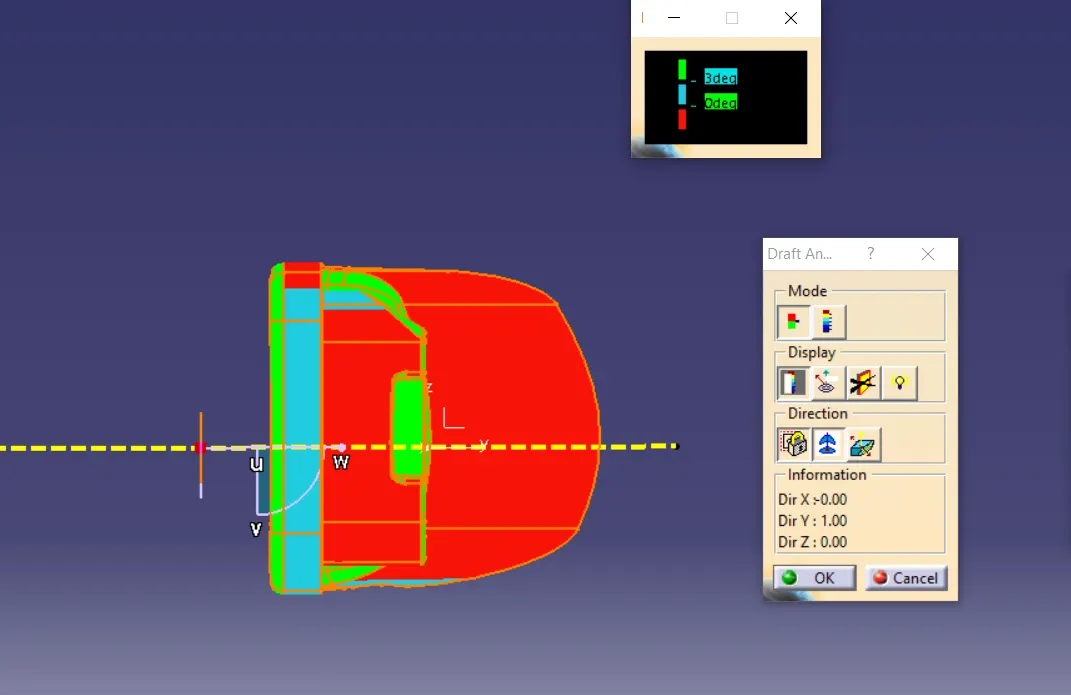
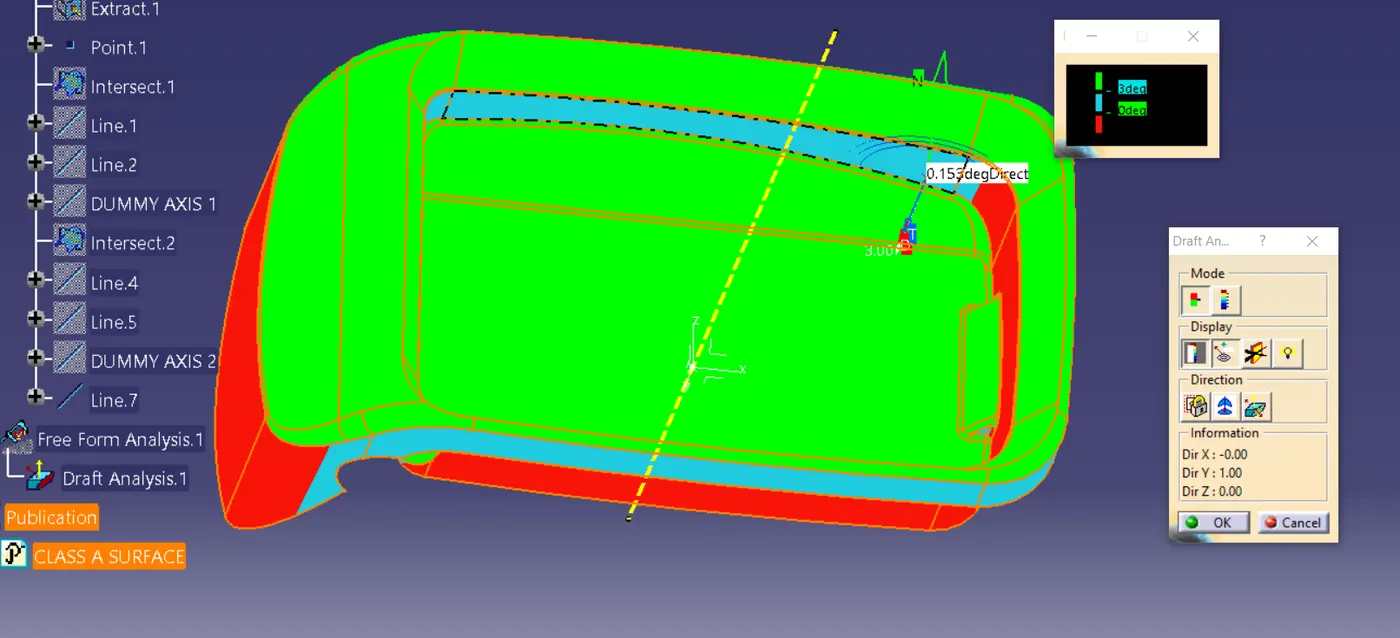
From the draft analysis,I observed that the blue and red sides surfaces are almost or equal to 0 degrees.
- One way is to create a secondary or tertiary side core tooling axis to overcome this problem,but the overall point is to manufacture the product with fewer expenses.
- So what I should recommend to class-A surface creater to give some draft angles on these sides for minimum 3 degree to negative sides.
Now keeping the draft issue aside,I will now create the class-B and class-C surface.
Creating the Class-B surface
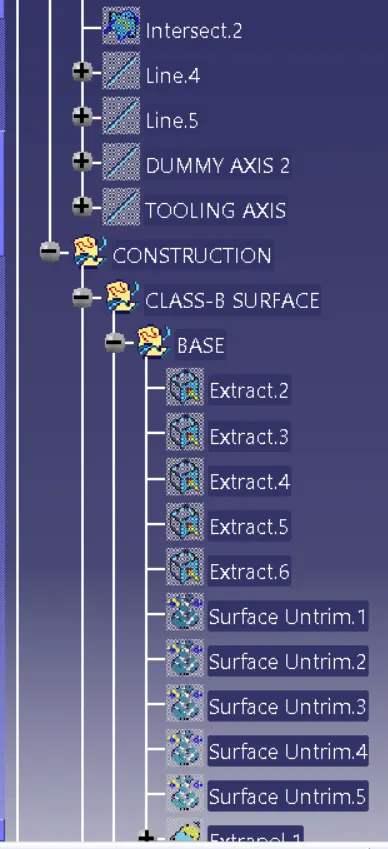
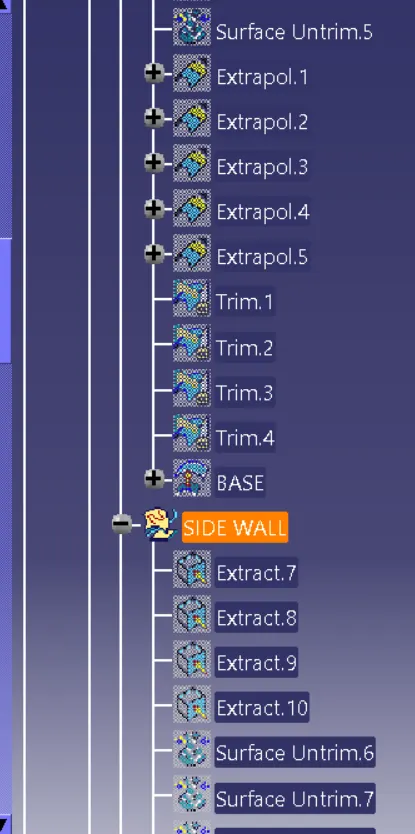
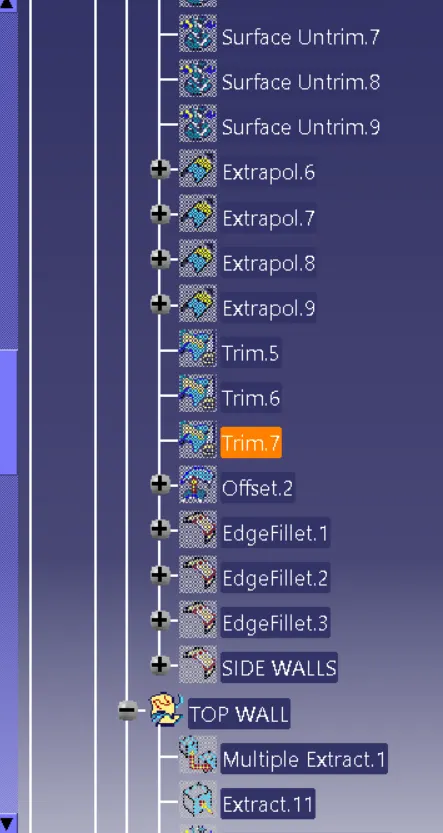
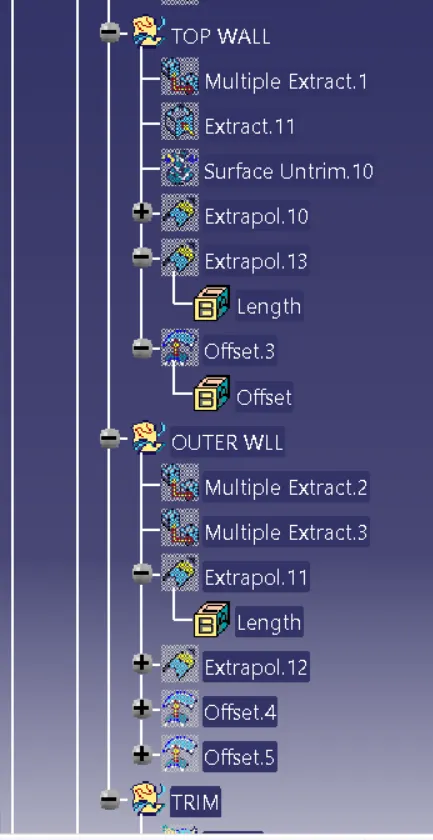
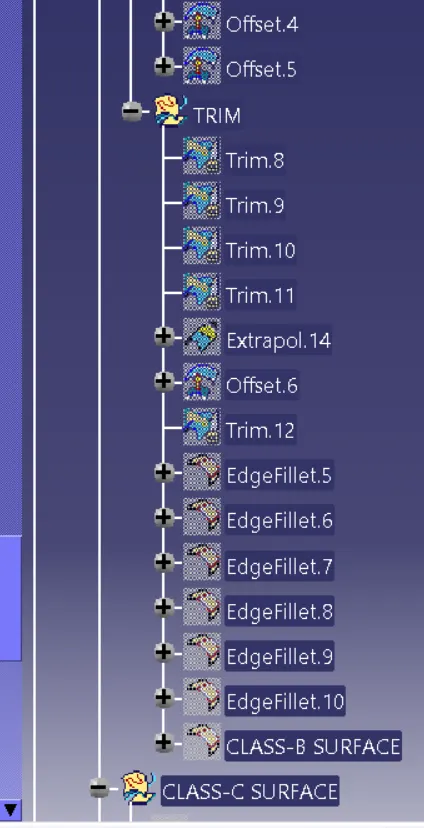
Creating the B-surface by extracting the class-A surface,by each surfaces separtely,it is untrimmed and extrapolated to certain distance using point continuity for uniform extension all over the boundary.After that we trim the surfaces to the desire shape and offset the surface to 2.5mm.
- Starting from the base part of provided Class-A surface.
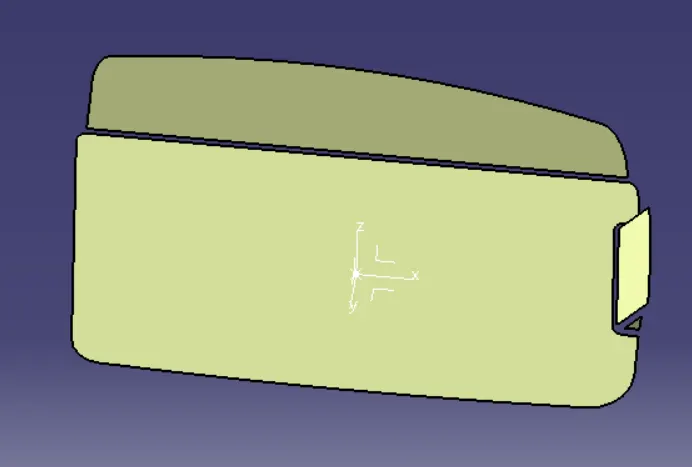
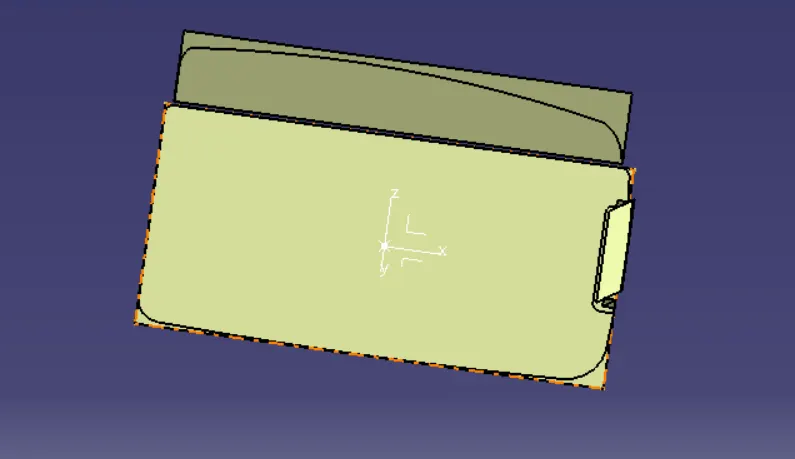
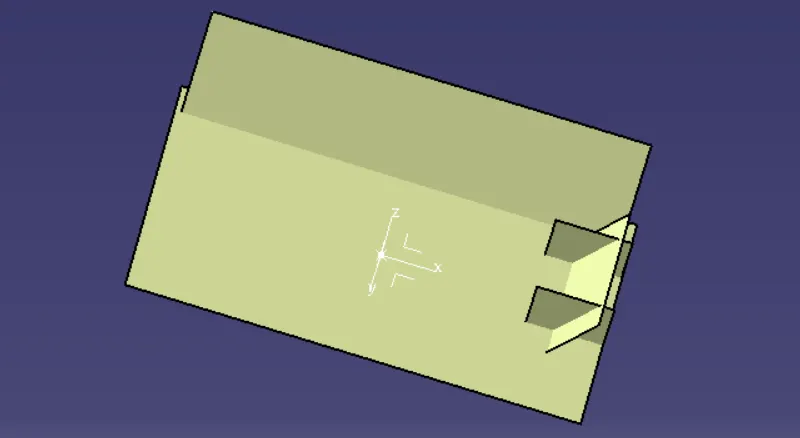
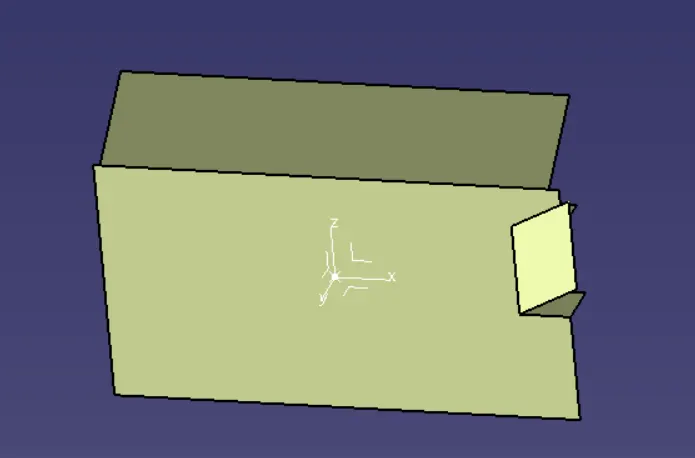
- Sidewalls.
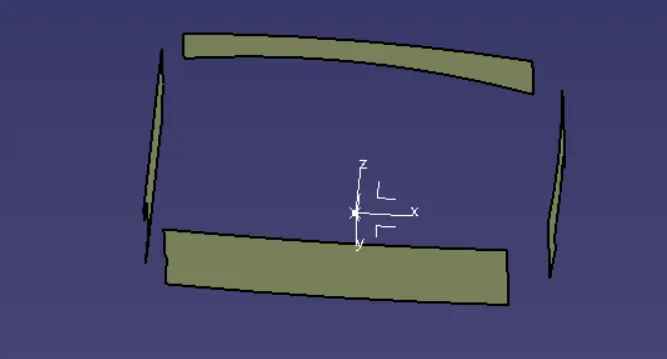
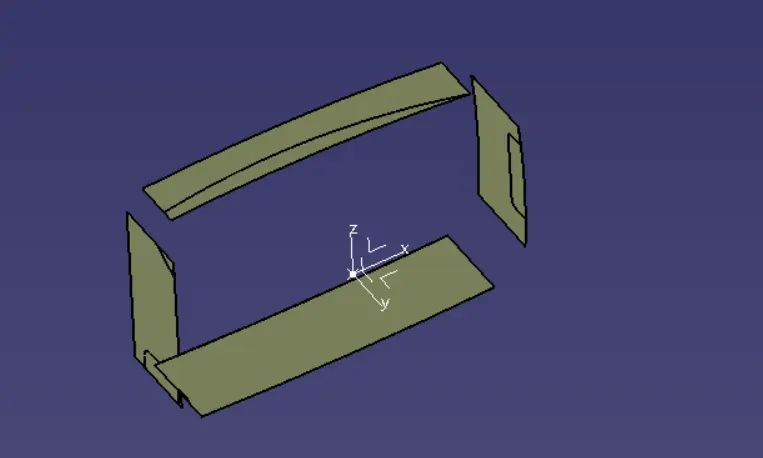
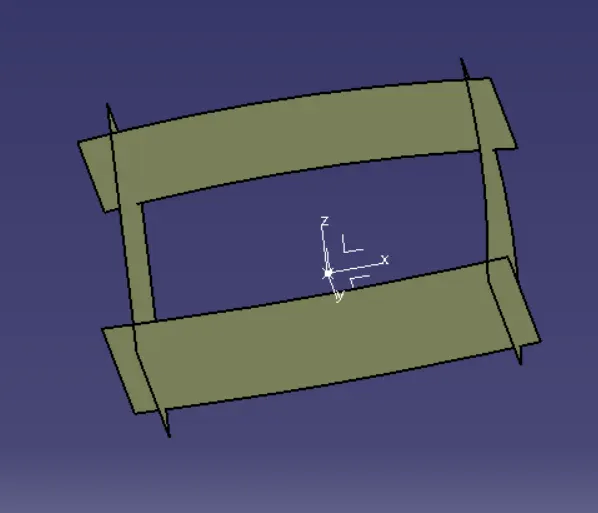
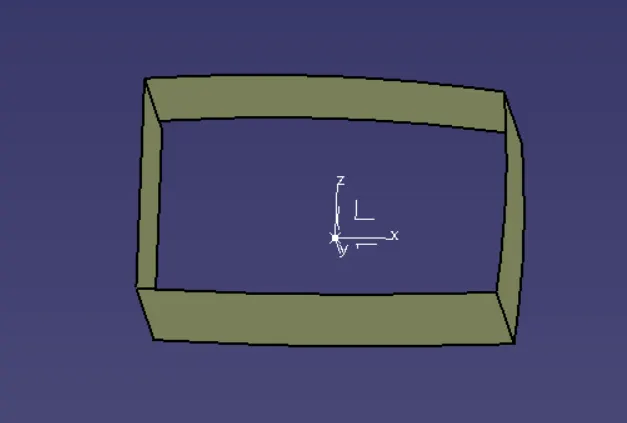
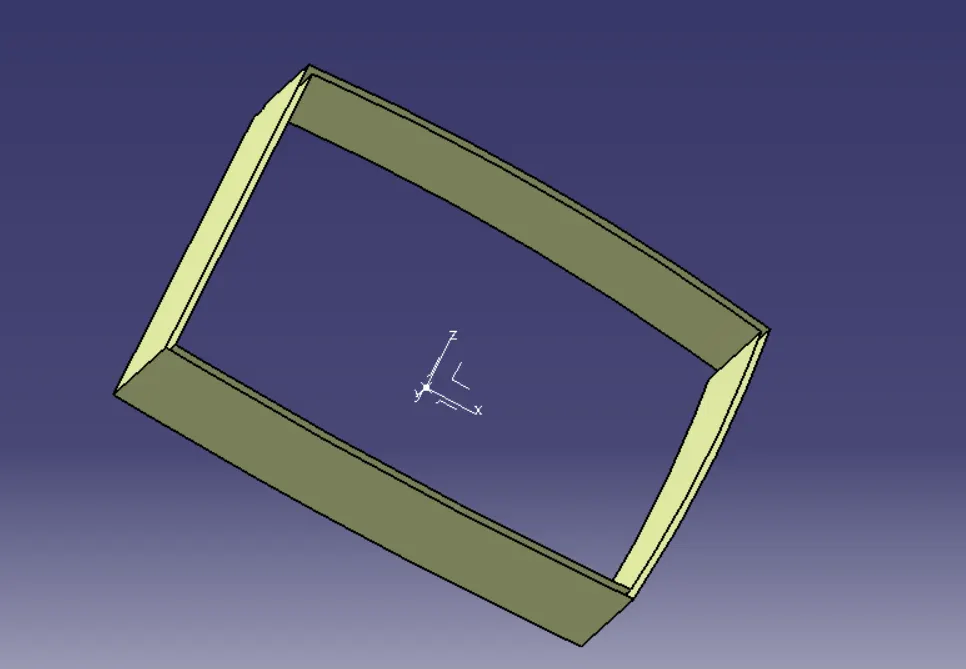
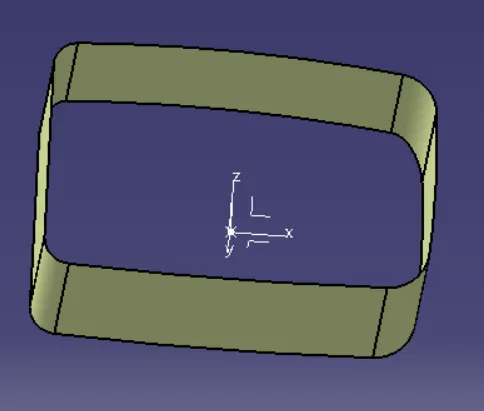
- Top walls
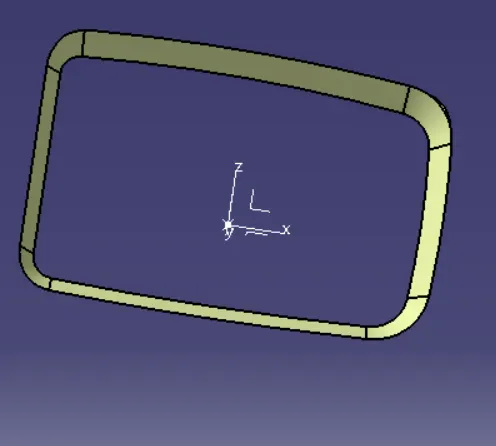
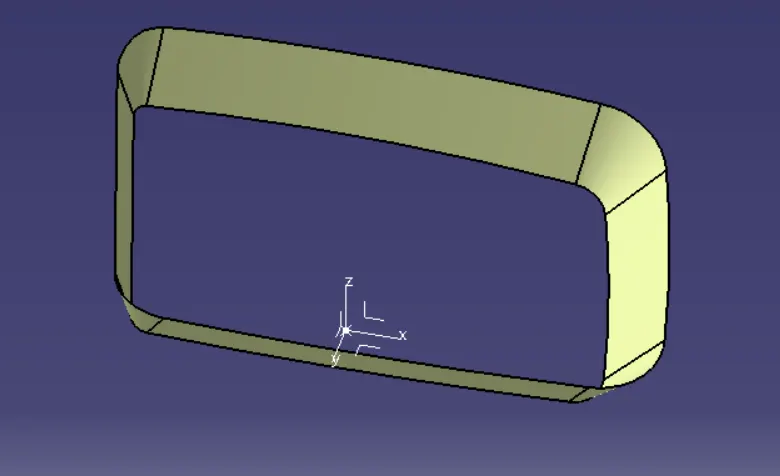
- Outer walls
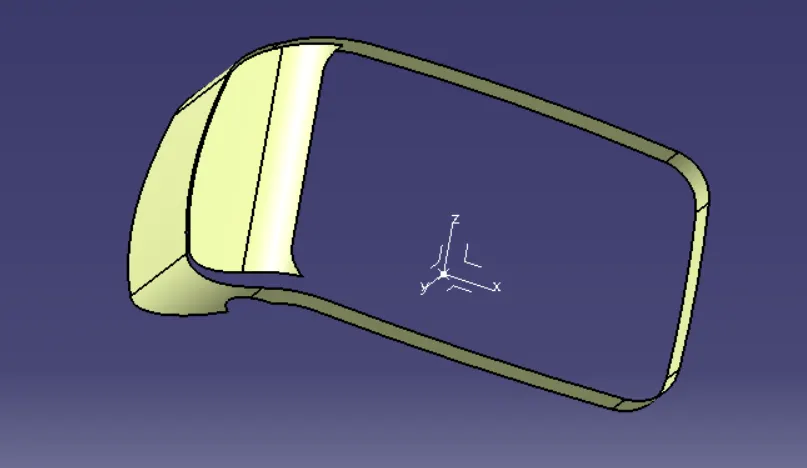
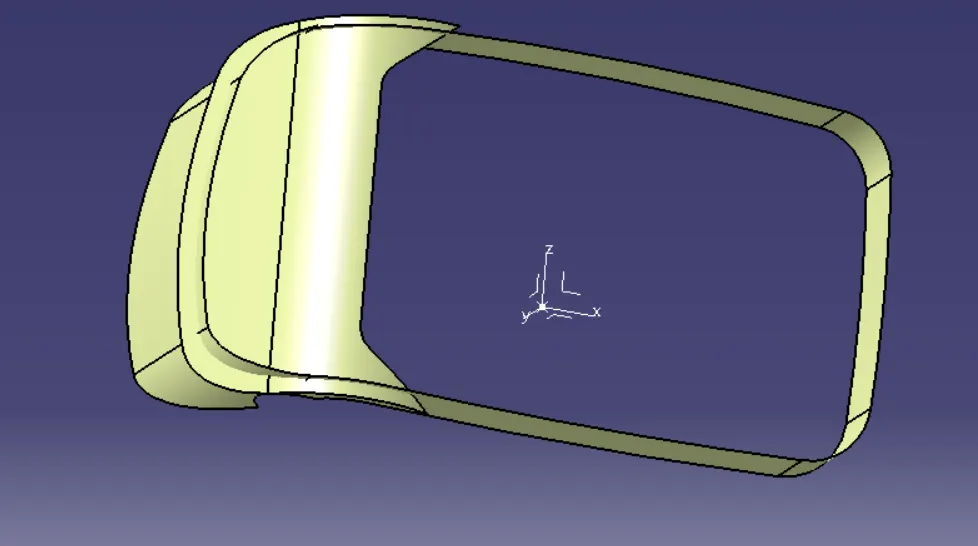
- Now trimming all the separte surface altogether and will form the class-B surface.
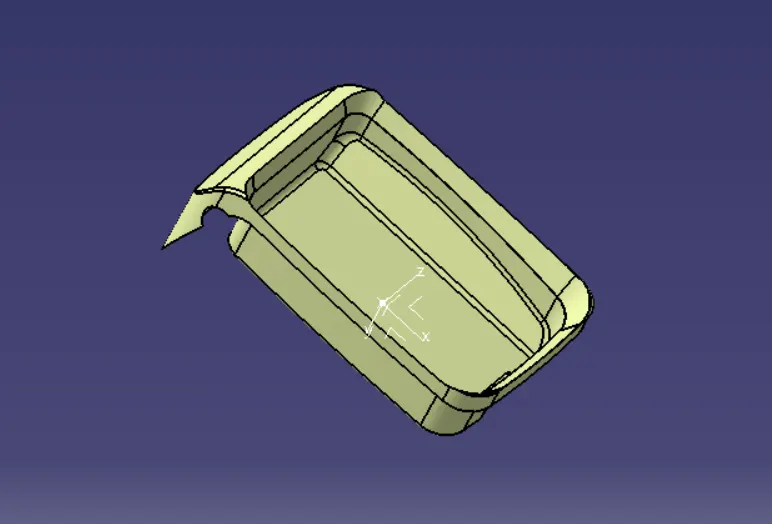
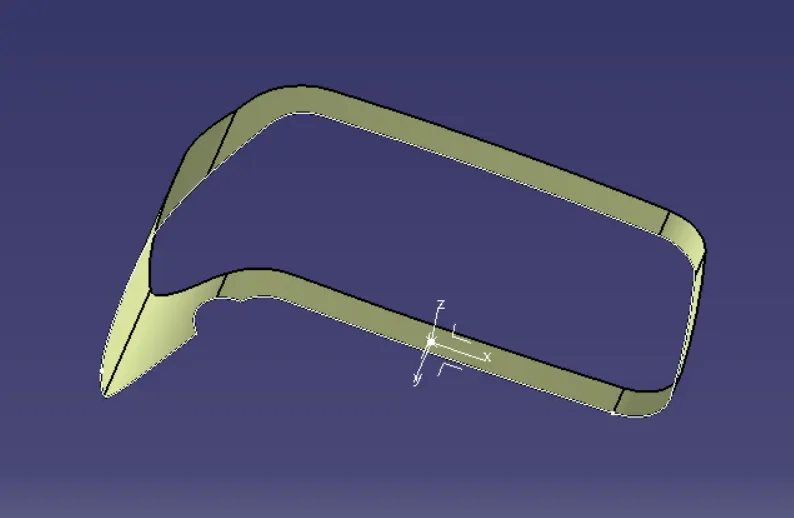
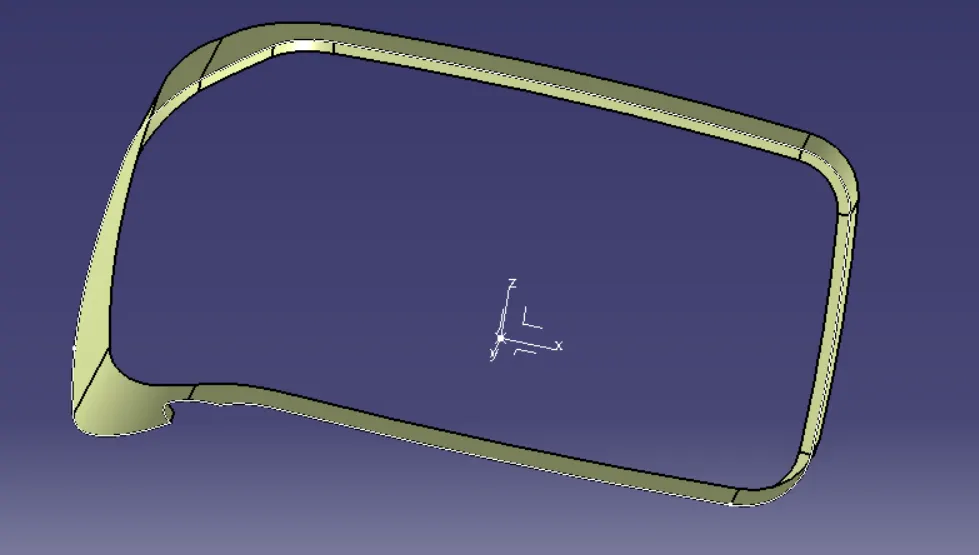
Creating the Class-C surface
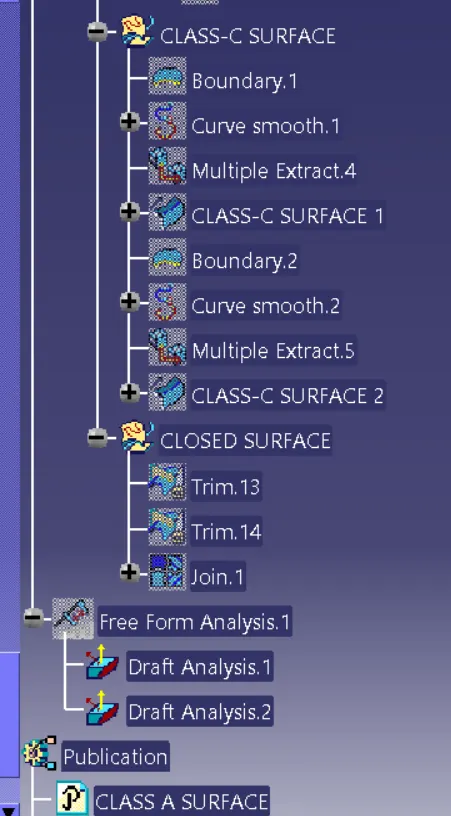
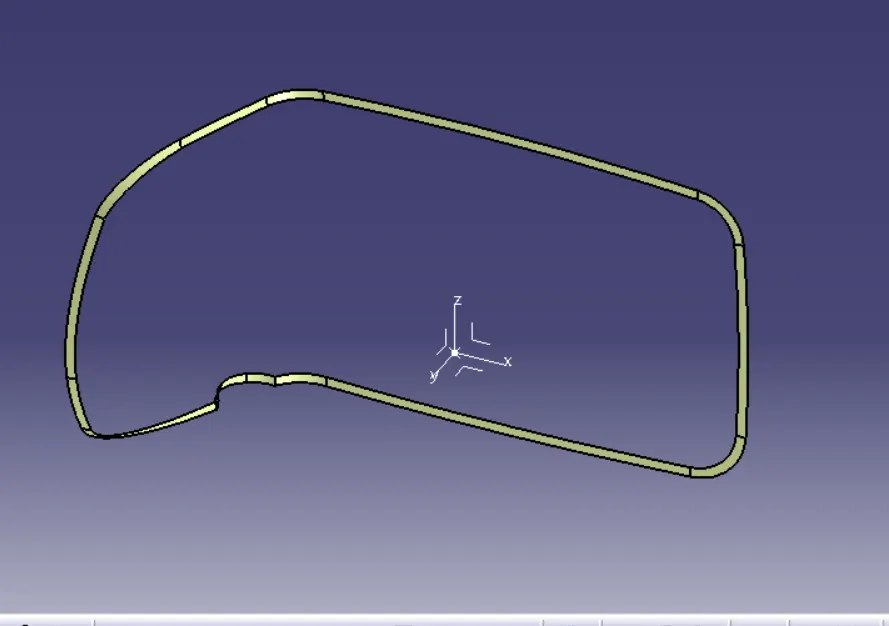
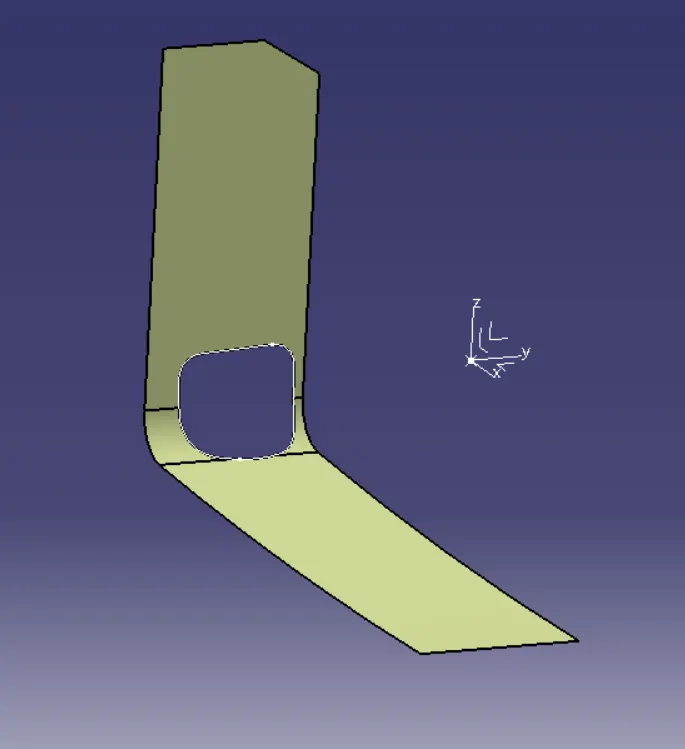
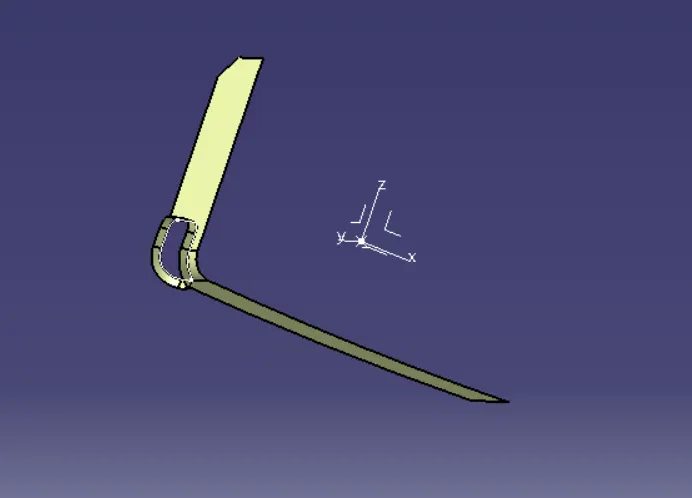
Extracting the boundary of Class-A surface and it is make into smooth curves to sweep the curves by using support surface to 90 degree respectively.
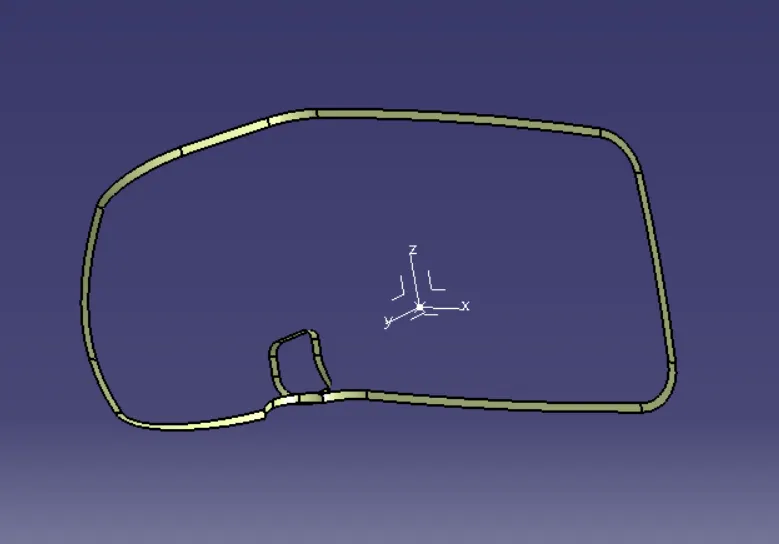
Creation of solid body:
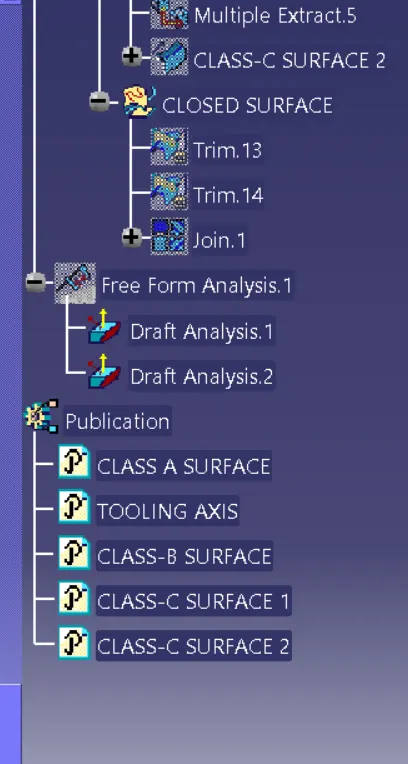
After class-C surface we need to trim the class-B surface to Class -C surface to make the cloased surface.After we have closed surface we go to part design and choose the cloased surface feature to make the surface into solid body.
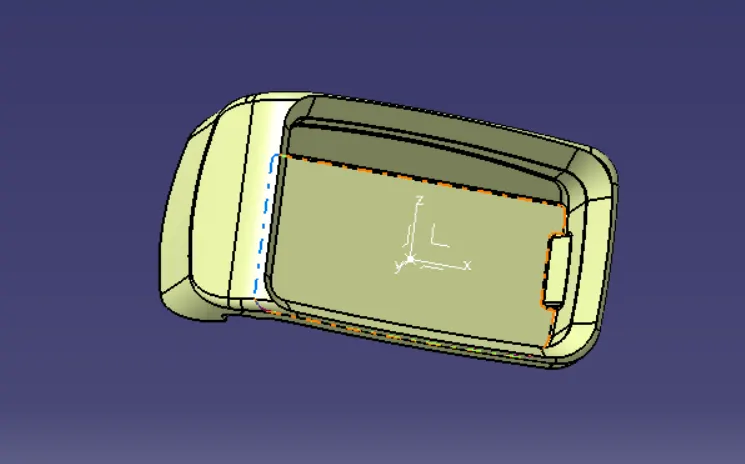
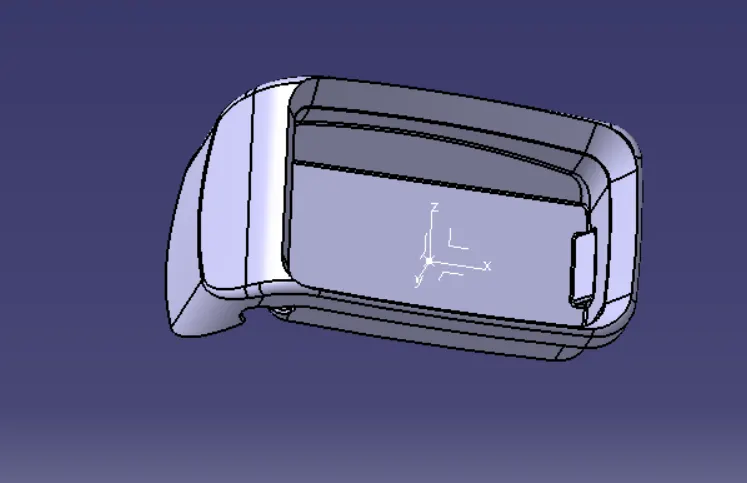
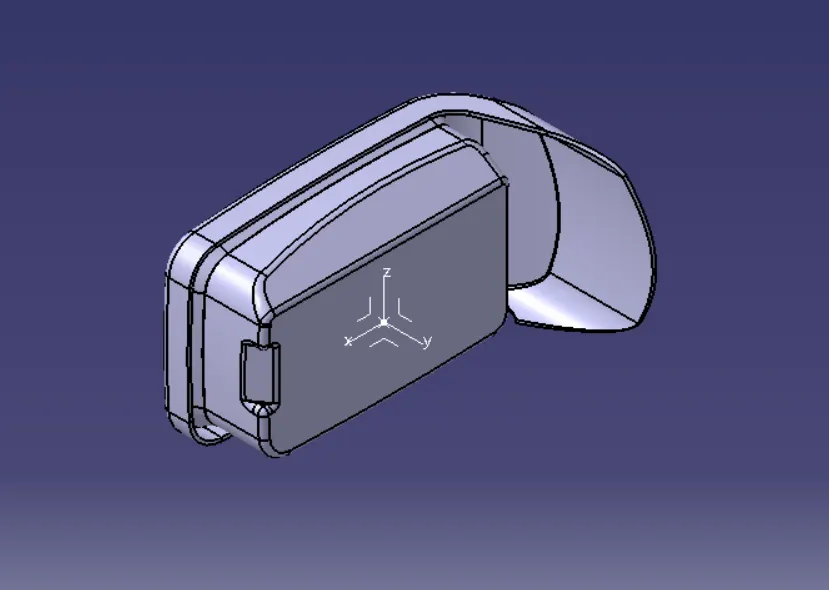
Draft analysis of Final component:
Tree structure: