Week 8 - Challenge 2 - Base Bracket Design
BASE BRACKET
AIM :- Create Base Bracket plastic component through the given Class-A surface.And perform the draft analysis on the model
Tooling Axis:-
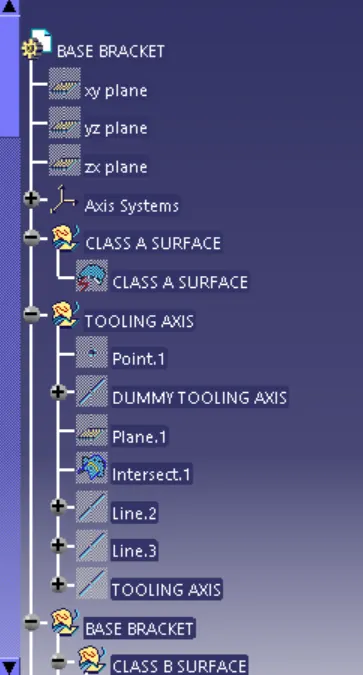
The tooling axis is defined as the direction in which the mould opens or core and cavity open and closes.The selection of correct tooling axis is important to ensure the component is taken out perfectly and also the cost of the component should be less.I will start by inserting a geometrical set and naming it as a tooling axis.For creating the tooling axis I will analyze the model and first create the dummytooling axis.So on analyzing the model I found out that the z-axis will be perfect for creating the tooling axis.Because along the Z direction,only the whole component is visible.
First,I will create a point on the bigger hole and from that point, I will create one line along Z-direction that will be my dummy tooling axis.
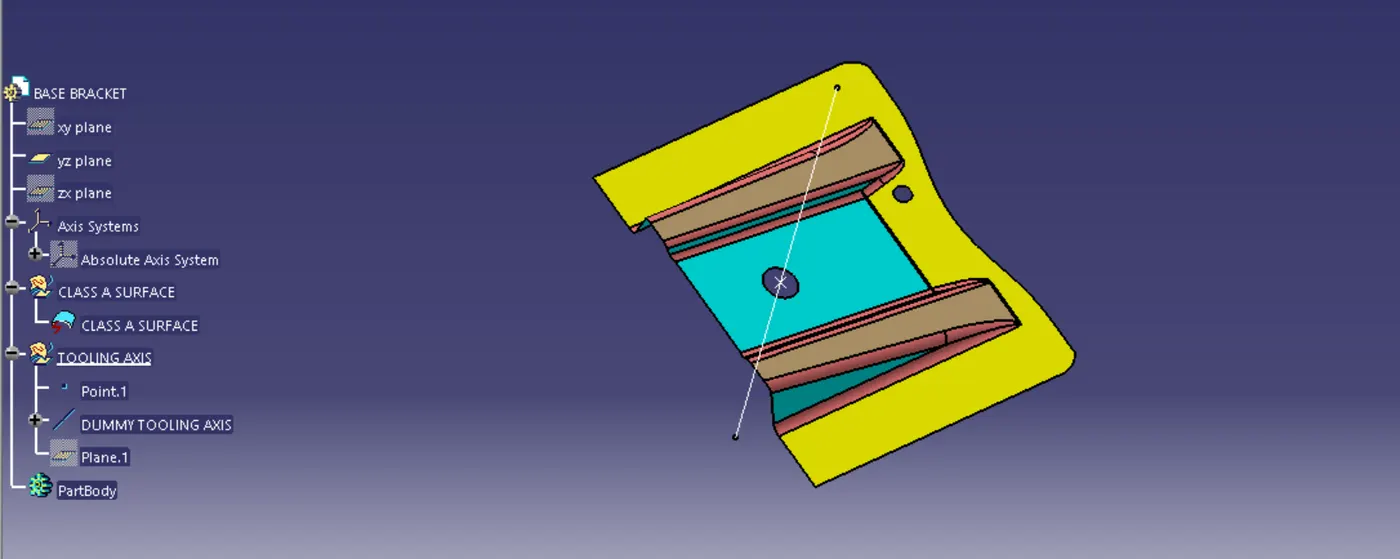
I will create a plane from the point which I have created in that hole.Then I will create an intersection of the surfaces along x and y-direction.Because the tool should be clear in both x and y-direction.Here in the x-direction,I won't be creating any intersection because in the x-direction for Class A given it won't cause any problem.But in the y-direction,I will create the intersection between the yz plane of the axis system and the class A surface.
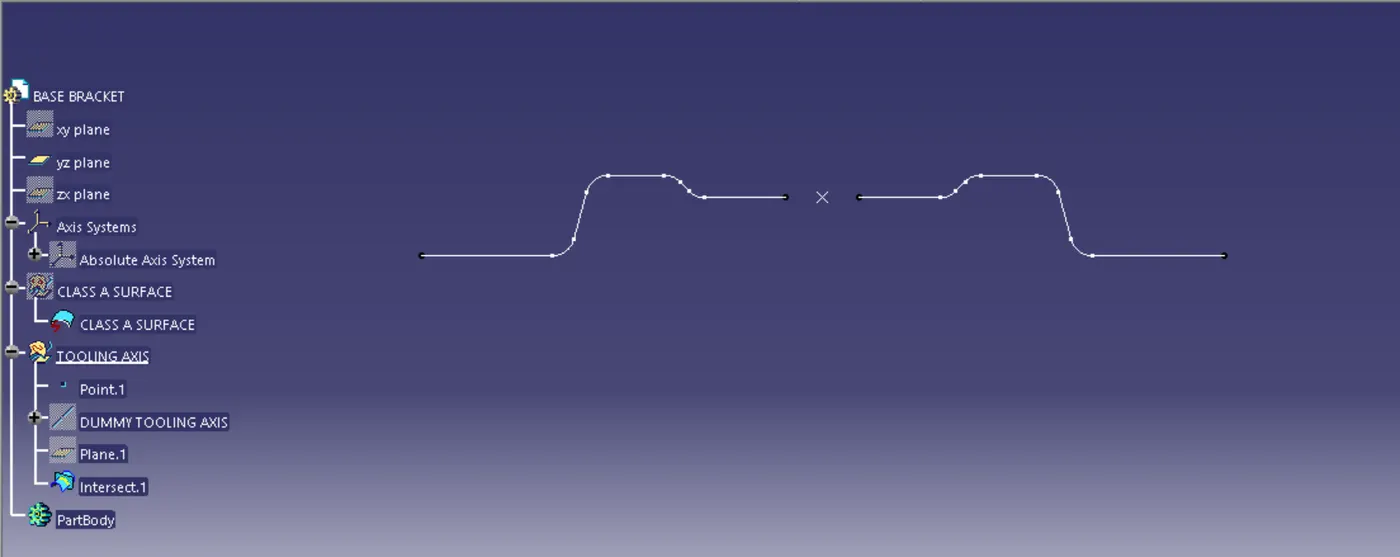
Then I will create lines for the surfaces that would cause problems during the ejection of the part from the mould.So,basically I will extend those lines which are not perpendicular to the dummy tooling axis that I have created.Neglecting those parts which have fillets.
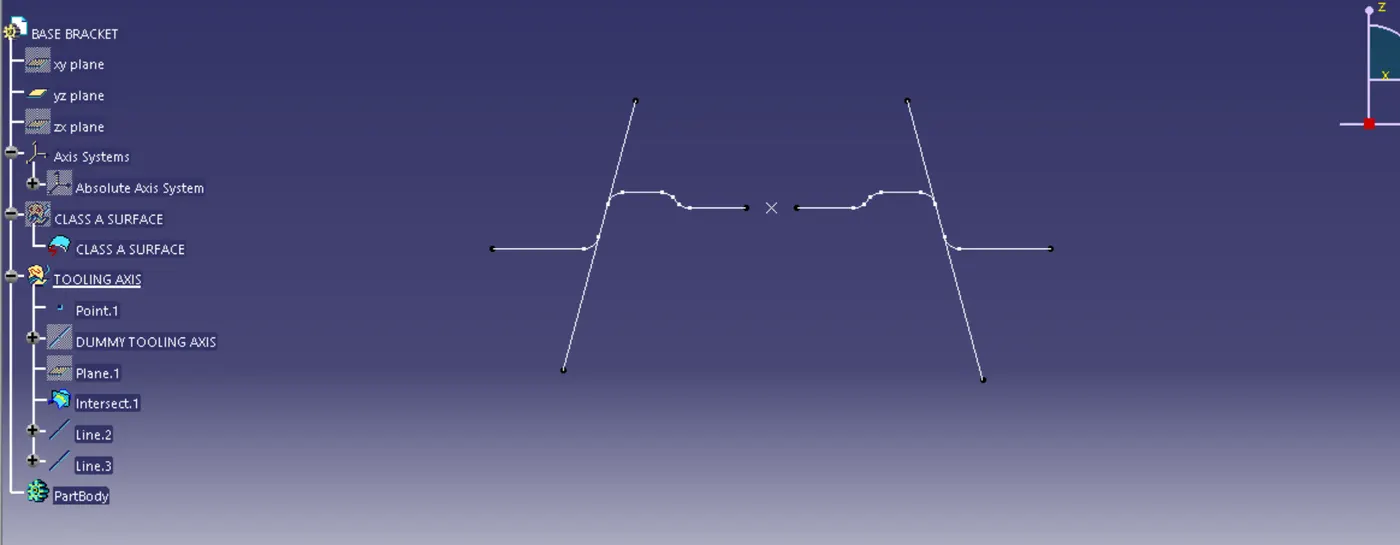
After doing this i will create one bisecting the two lines that I have created and i will name it as my tooling axis .so my bisecting the lines will make sure that the ejection should be perfect without any problems.
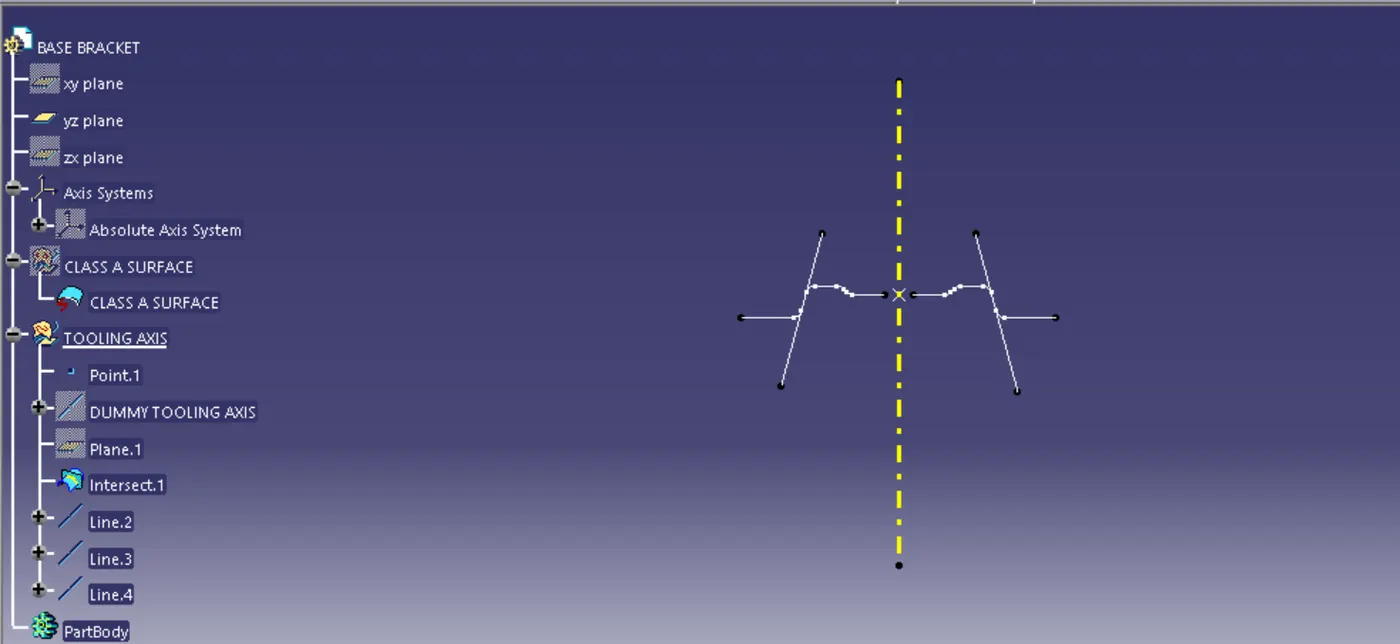
Draft Analysis of Class-A surface(given Surface):-
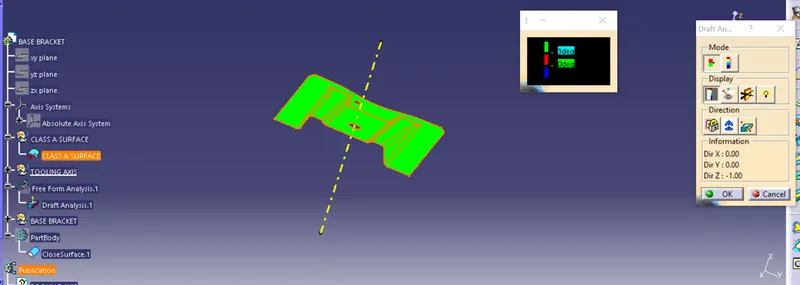
Draft analysis helps to detect if your drafted part is easily removable from the mold(in case of plastic component).All plastic components will have a minimum draft of 0.5 to 3 deg.If a mold wall is perpendicular to the part ejection ,there will be ample friction or interference between the mold and the part which will not allow one to release from the other.In CATIA V5 the feature draft analysis dialog box looks like as shown in below image
Mode:-
- The mode option let you choose detween quick analysis and full analysis mode.
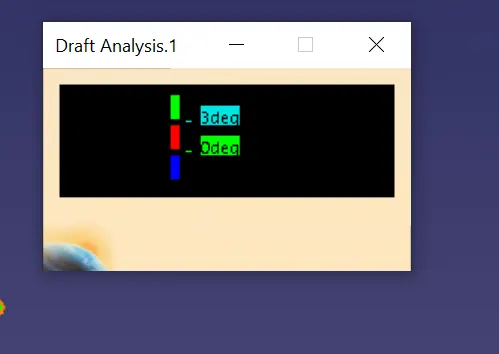
- In quick mode there are 3 ranges with blue,red and green colours. In plastic component,will set the draft angle as 3deg.As shown in below image
Display:-
- The first box is open and close the colour scale dialogue box.
- The second box is analysis under the running point,when activating the checkbox and move the pointer over the surface.This enables you to perform local analysis.Arrows are displayed under the pointer, identifying the normal to the surface at the pointer location(green arrow),the draft direction(red arrow), and the tangent(blue arrow).As you move the pointer over the surface, the display is dynamically updated.Furthermore,circles are displayed value indicates the angle between the draft direction and the tangent to the surface at the current point.
- Click the No highlight representations button to set the display option of highlight effect sources as "on/off".When checked "on" the surfaces are selected but they will not be seen in specification tree.
- Click the light effect button and the colours of the analyzed elements react to light source.
Direction:-
- The first check box is the locked direction icon which is used to lock the direction of the compass after selecting the specified direction.
- Click on the compass icon to specify the new pulling direction to remove the part.
- Click the inverse button to automatically reverse the draft direction. When several elements are selected for analysis,the draft direction is inverted for each element when the buttion is clicked.
Class-B surface:-
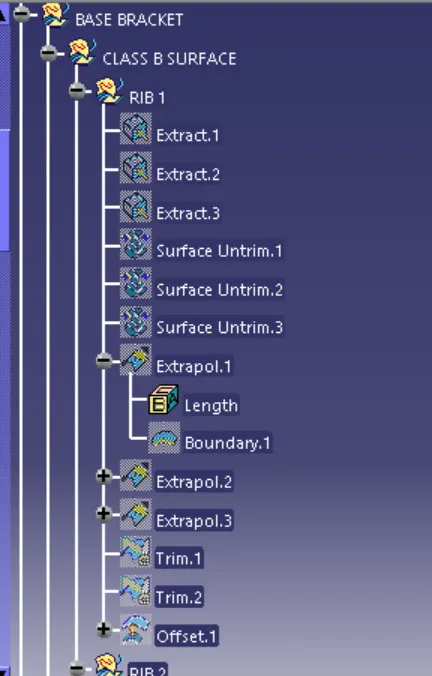
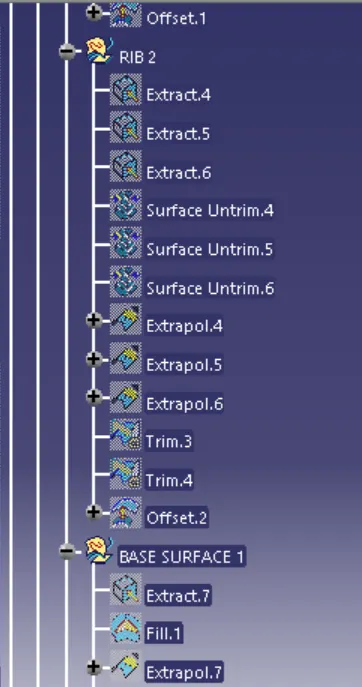
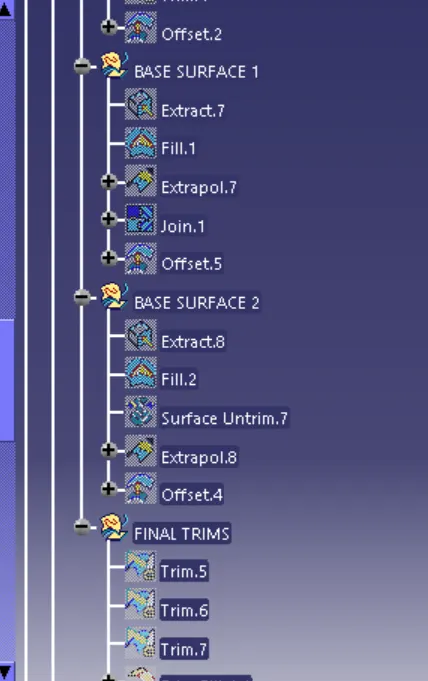
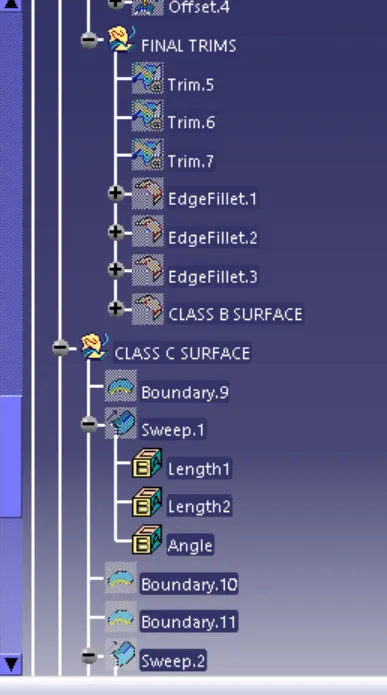
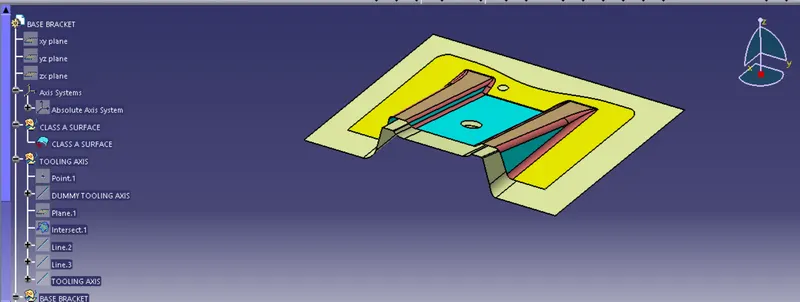
Class -B surface is created by extracting each wall and untrimming and extrapolating the walls to obtain the shape by trimming the excess surfaces and offsetting it to a certain distance based on the thickness of the model.The offset surface will be the B-surface.
Class-C surface:-
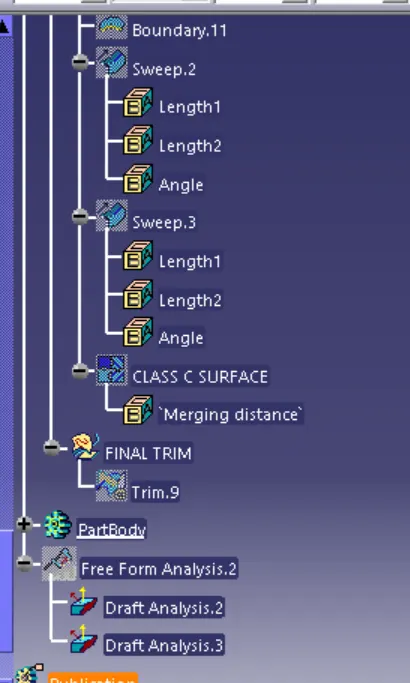
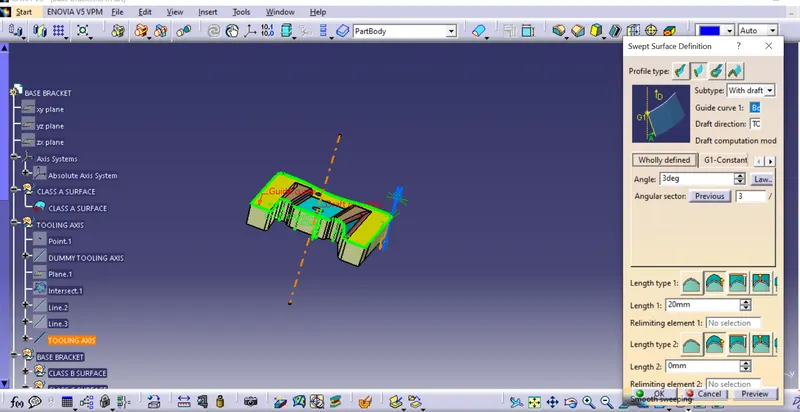
The surface created using sweep command by sweeping the boundaries of A-surface along the tooling axis to connect from A to B-surface is known as C-surface.
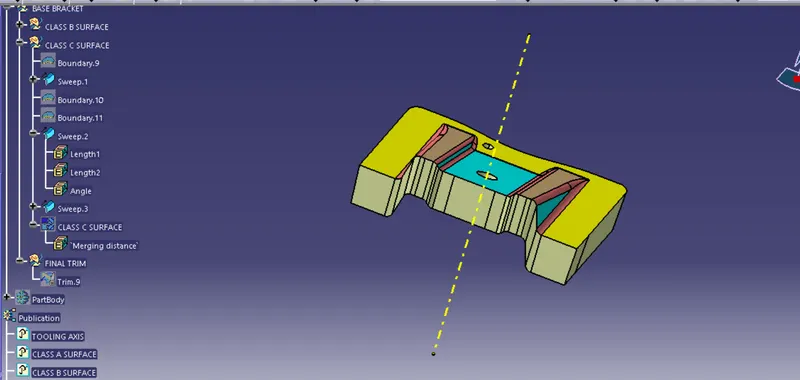
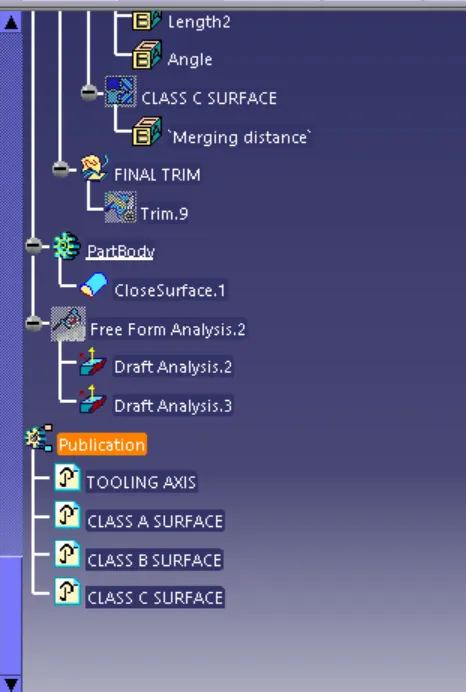
Using the B and C surfaces created a clsoed surface will be formed by trimming the excess surfaces the surfaces will be converted into a solid model using the clsed surface option.
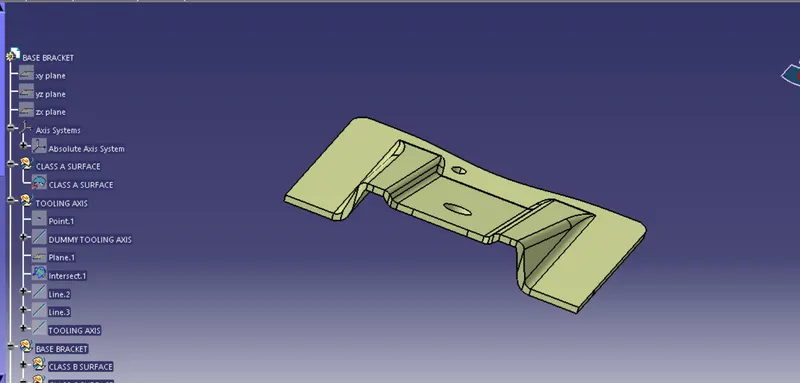
After doing this i will go to the part design and select the close surface feature to create the solid part from the surface I created.
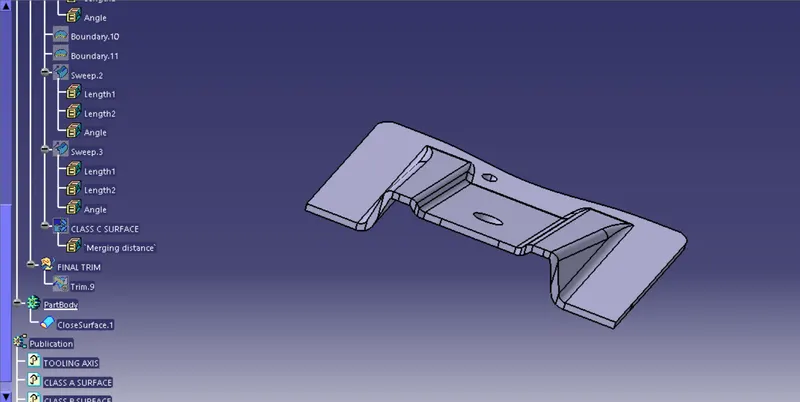
Then I will perform the draft analysis again but this time on the whole part body.So, for draft analysis,I will follow the same process as I did for for draft analysis of Class A surface.
First is to change the view parameters to material mode and then go to insert then analysis and under that select draft analysis.
Then I will drag the compass to my tooling axis making sure that direction is correct.
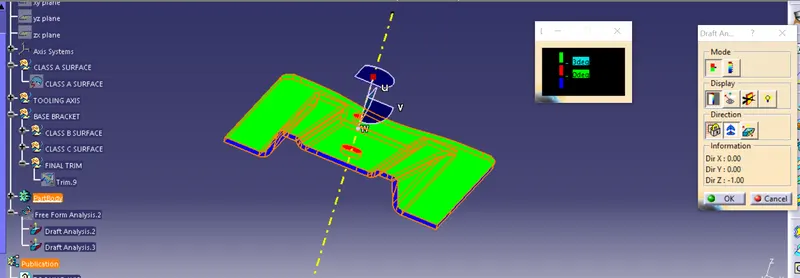
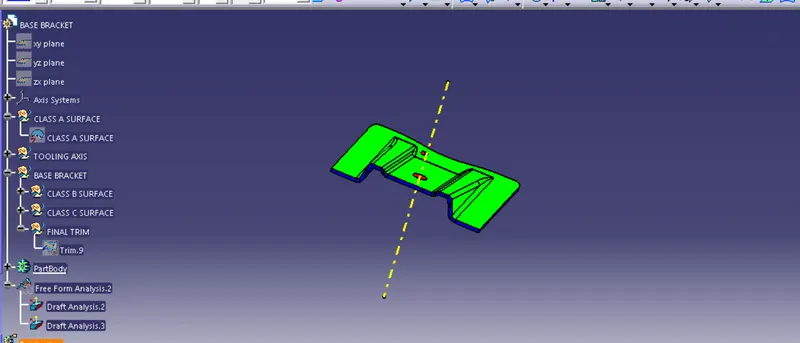
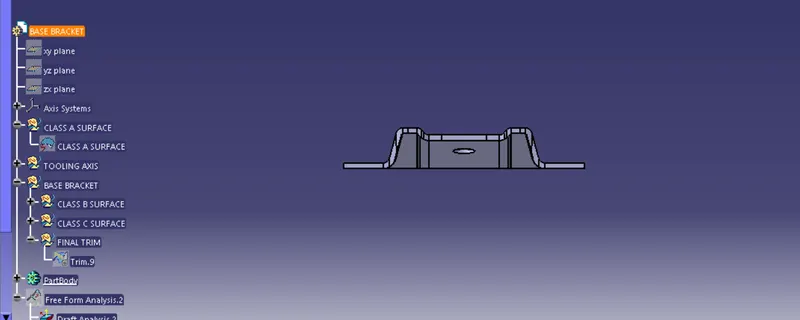
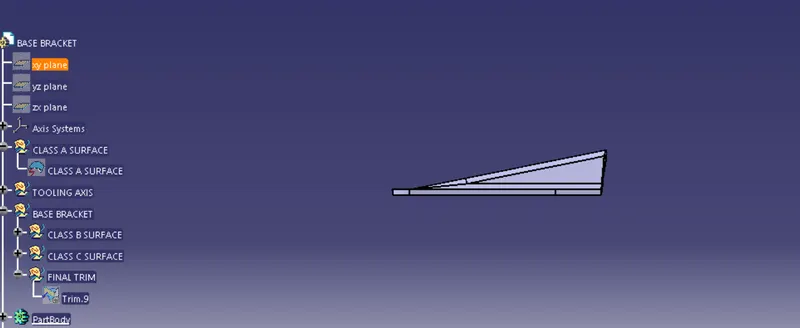
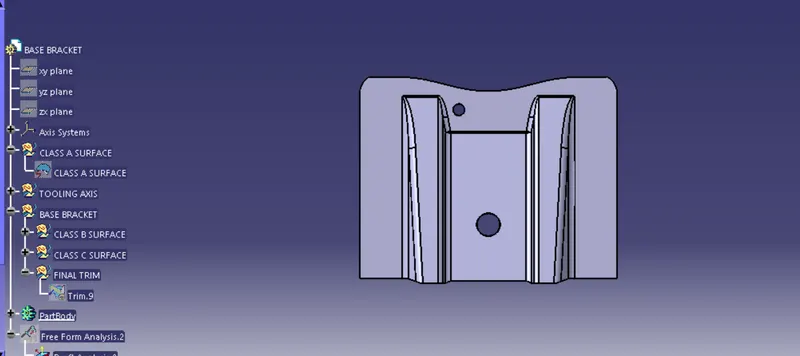
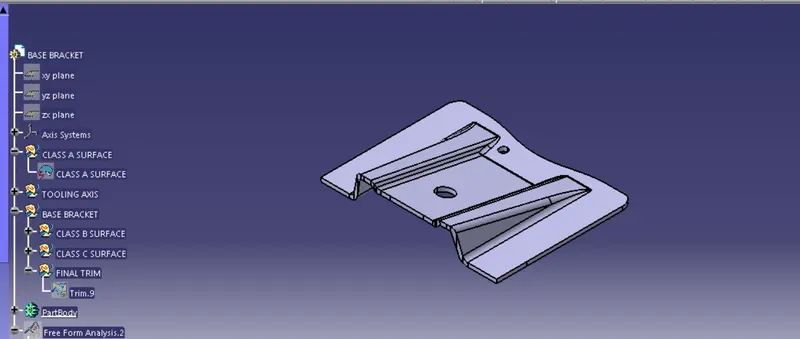
views
TREE