Week 8 - Challenge 3 - Switch Bezel Design
Challenge :
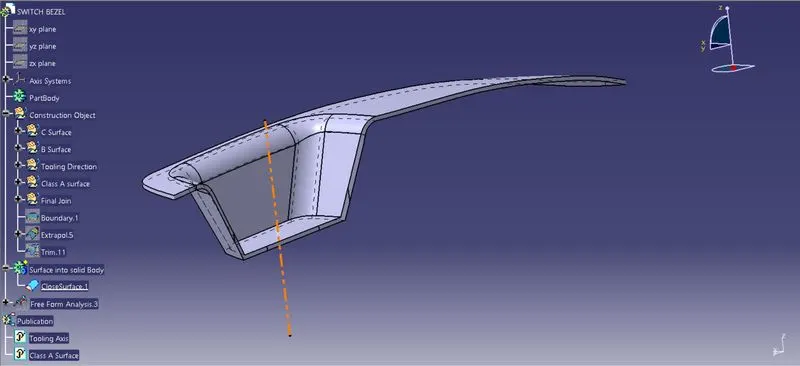
Creating the Switch Bezel Plastic component through the given Class-A surface. To begin with, the tooling axis for the given Class-A Surface will be created meeting the requirements of the draft angle and at the end of performing the Draft analysis on the model.
Step : 1
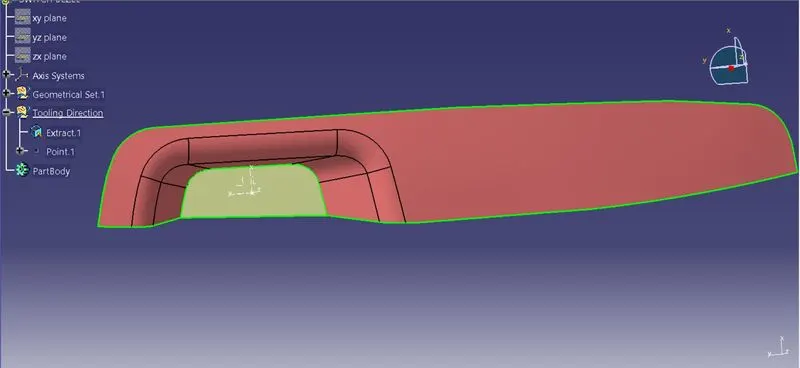
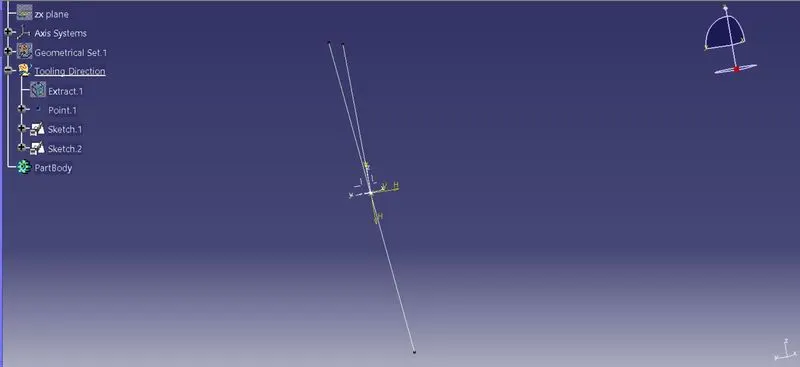
In order to create the tooling axis for the component, we had to create the bisecting lines for the axis according to the shape of component by intersecting lines of it. initially create the point and axis ssytem.
Step : 2
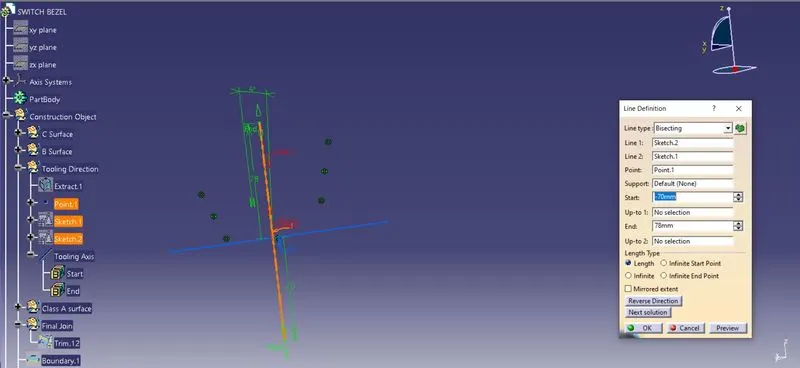
Using the insertsecting lines, we are creating planes at the point, creating the bisecting line in the intersecting lines aswe get our tooling axis shown below.
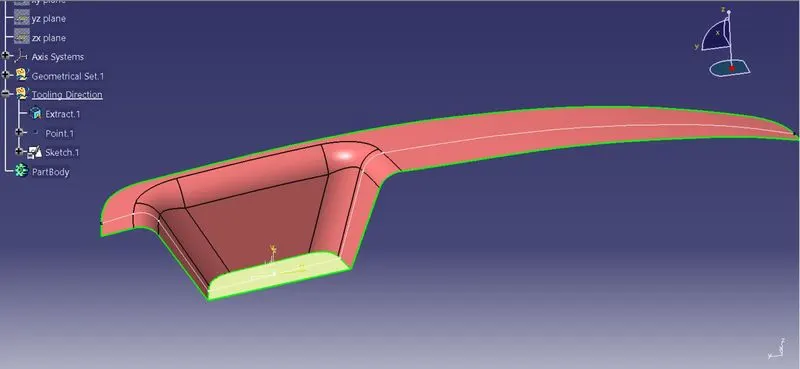
Here the degree of draft has been changed to the 6 degree to get perfect draft analysis
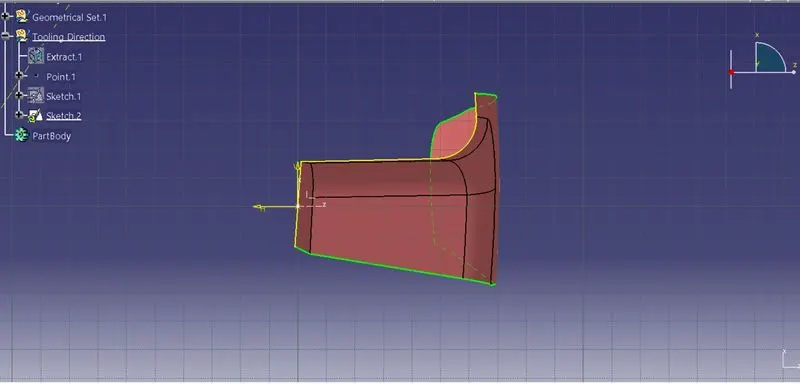
Using the intersection of both walls we creating the bisectiong line to have the tooling axis.
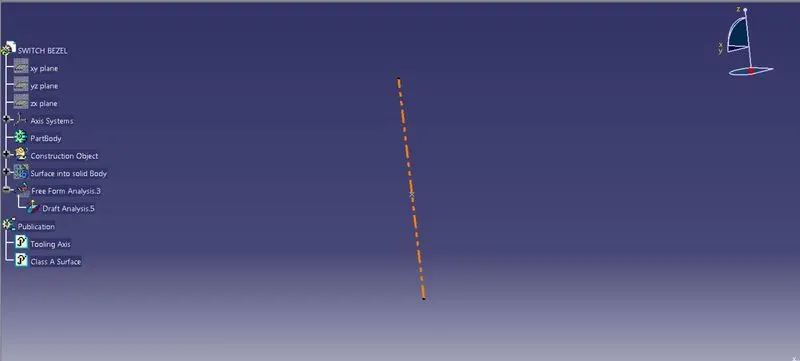
the tooling axis has been validated here, where the in normal view we can see all walls clearly, as shwon below.
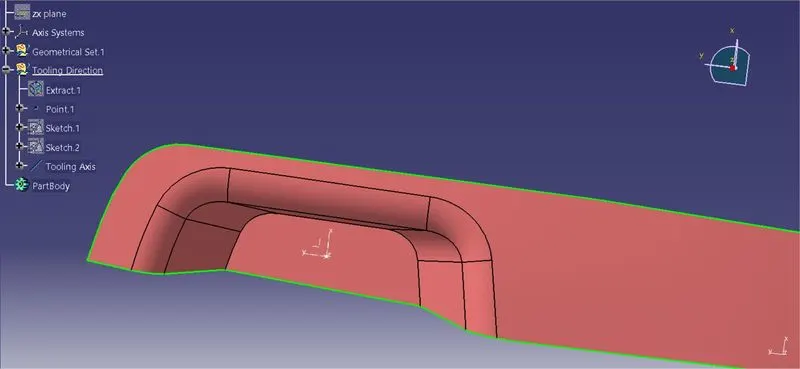
Step : 3
To create the B class surface from the given class A surface, by extracting the surface from the given component.
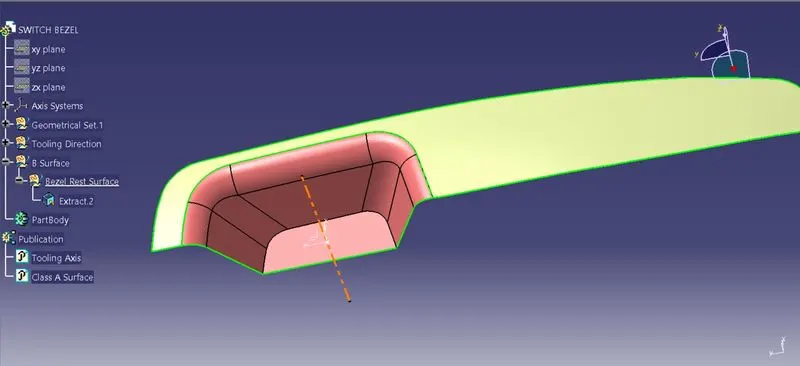
we going to untrim surface and going extrapolate the extracted surface to get the definite shape before it filleting or trimmed.
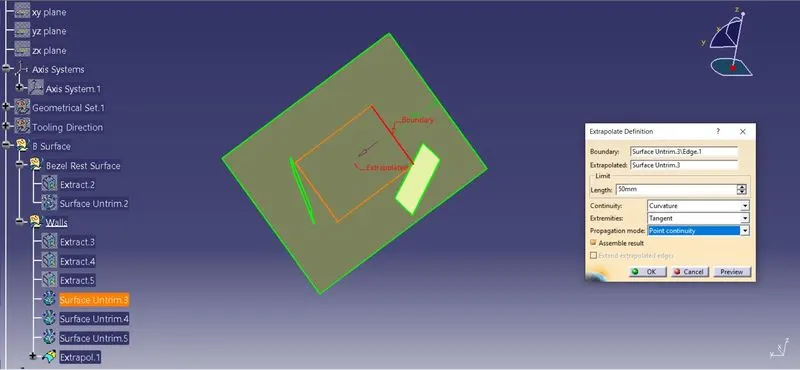
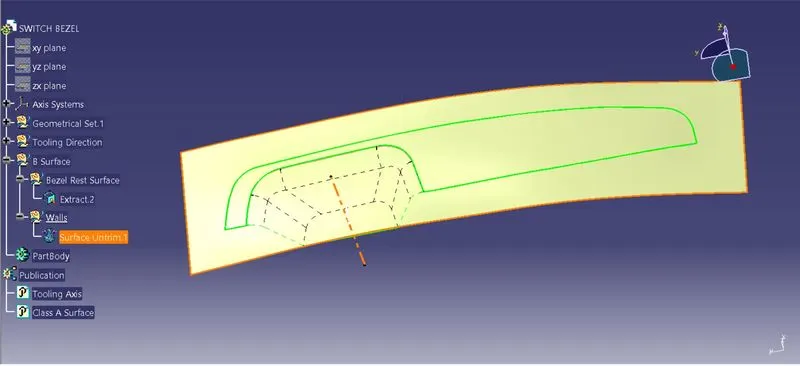
Once the surface get meeting each other, now we are gonna trim the surfaces and gonna offet to the 2.5 mm has shown below. following this for other side also to get the aashape of the component.
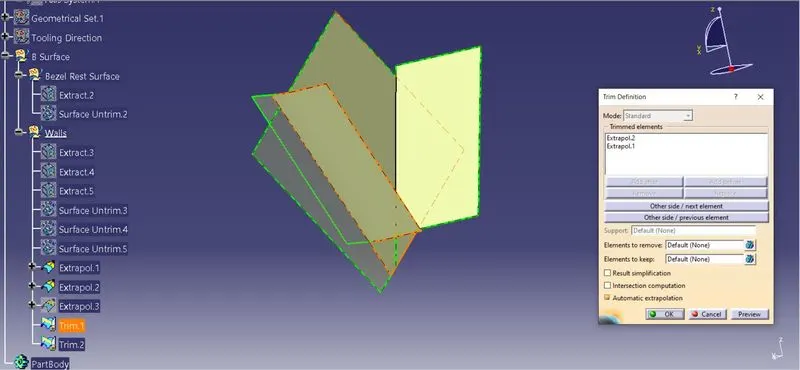
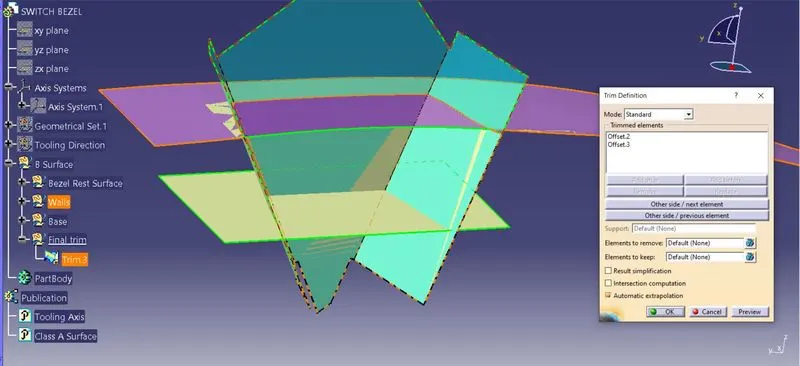
We going to trimmed out the extra surface to get the proper shape and gonna fillet the edges to make smooth surafce as shown below.
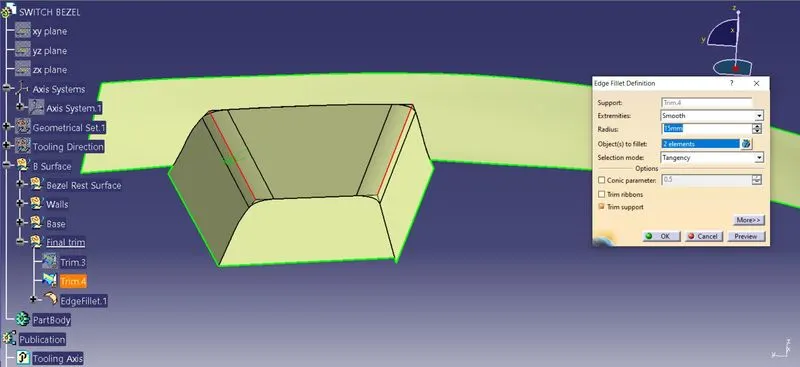
Step : 4
To create the Class C surface, simply gonna sweep the boundary edges of Class A surface to the drafting angle of 3 degree.
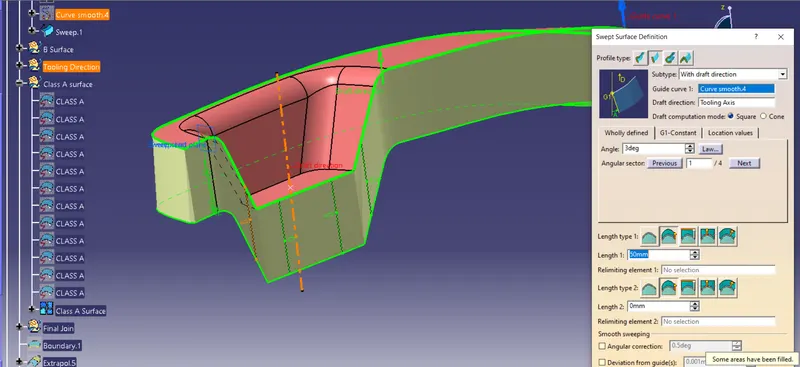
Joining the both Class A surface and Sweep surafce to get the Class C surface.
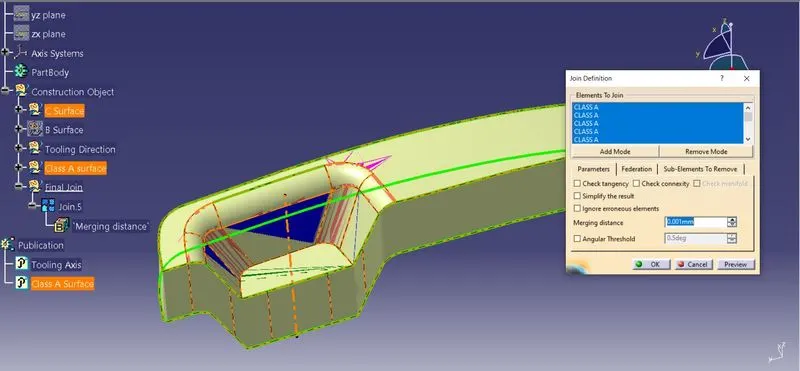
Step : 5
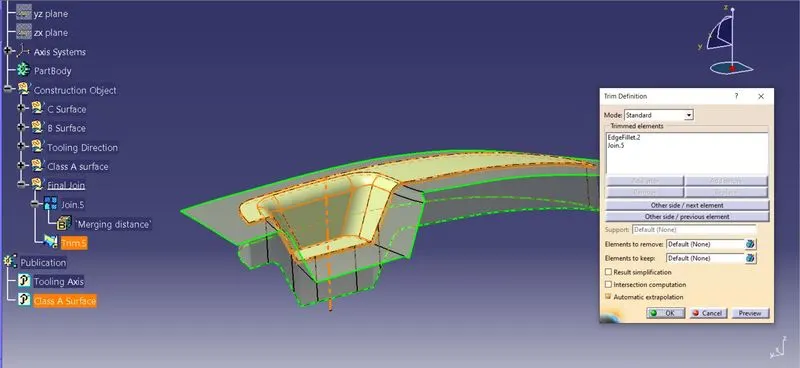
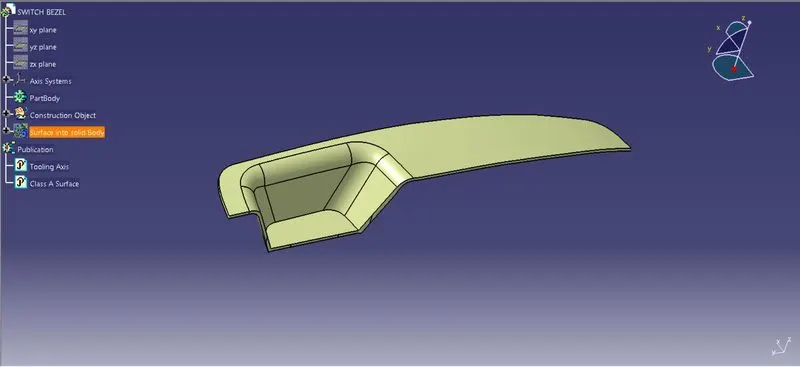
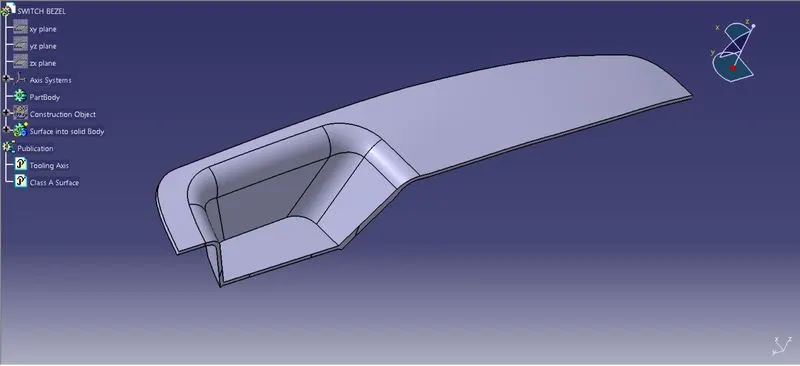
Finally we are gonna get the final plastic component to make the solid body by trimming the Class C surface by B surface. to get the final product. and making it into solid body.
Step : 6
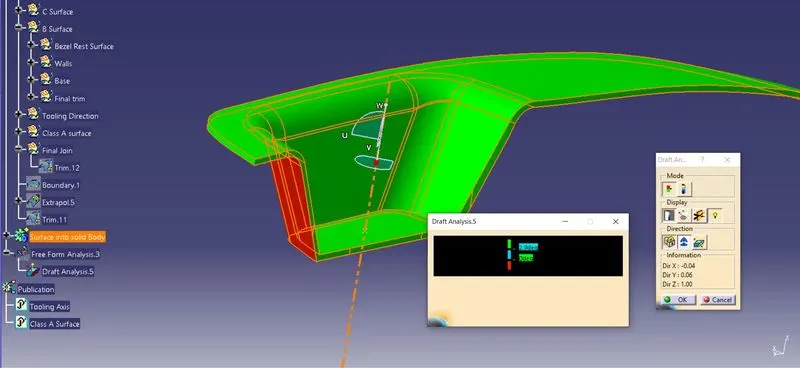
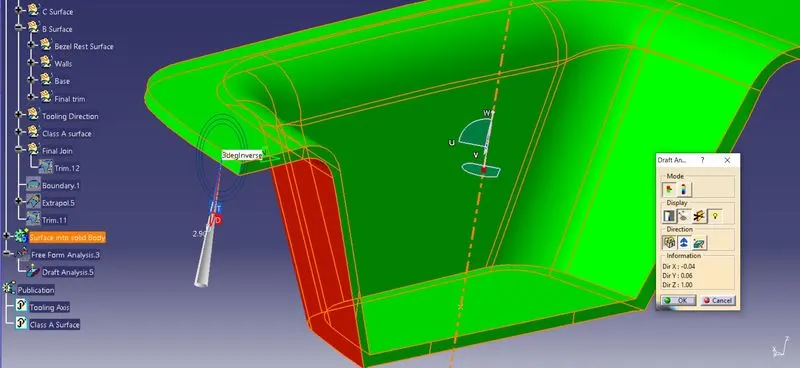
Performing the Draft analysis by using tooling axis we generated with angle of 3 degree and the thickness of 2.5mm. in order to initaite the analysis we have set the compass to the tooling axis and arrest it.
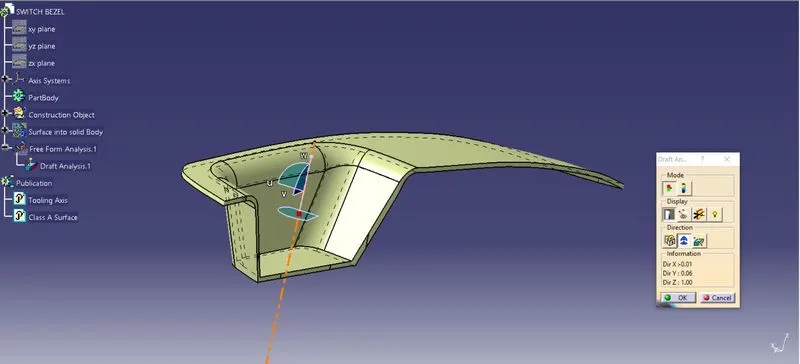
We gonna set the colour code by green in 2.9 degree is okay, blue colour as 0 to 2.9 degree and red has - 0 which is not accepted.
Step : 7
Analyzing the draft angle by using checker over the surface of the component. finally our darft angle is displaying green hence it is accepted.
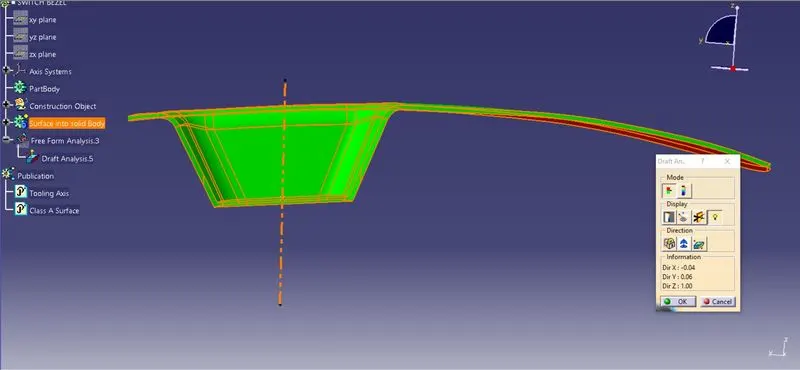
Screenshots of Drafting analysis compnent:
Front View:
Top View:
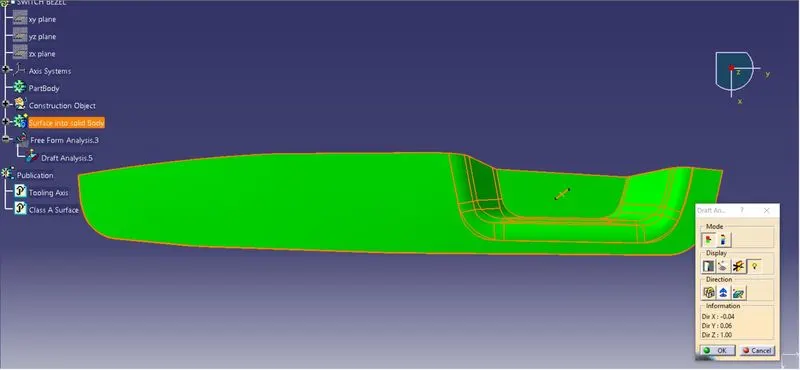
Side View:
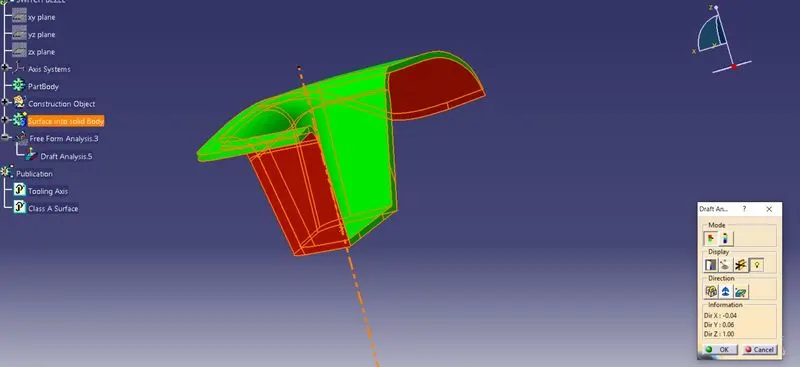
Iso metric View:
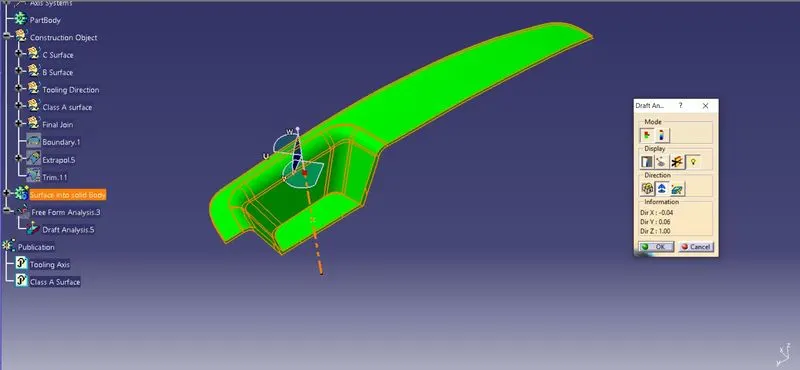
Publication of Tooling Axis and A, B And C surfaces:
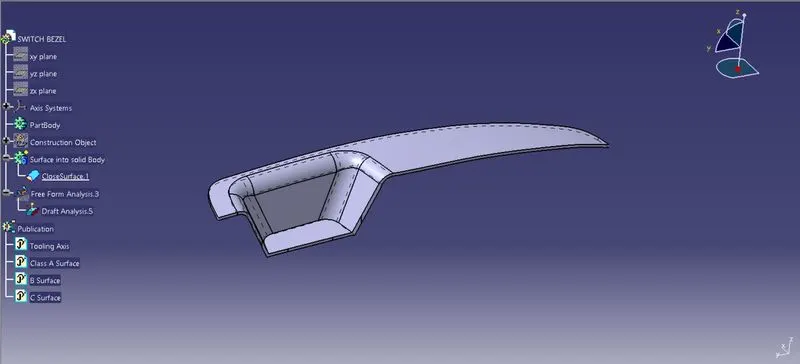
Expanded Tree: