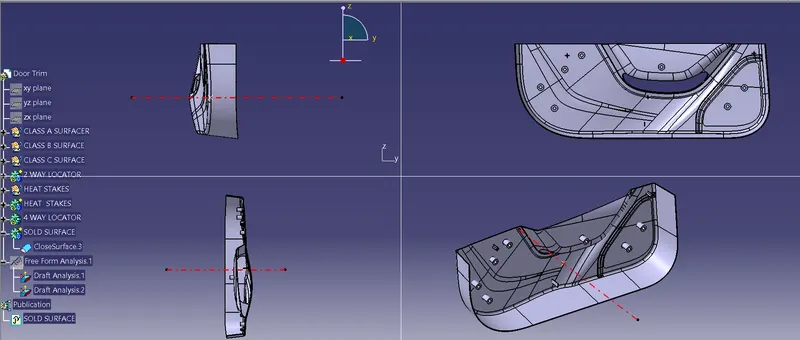
Week 10 - Challenge 3 - Door Trim Lower with Engineering Features
Door Trim Lower with Engineering Features
Aim: To Create the Door trim lower component through the given Class-A surface.
Objective: The main aim of this challenge is to create a solid body of 'Door Trim Lower' with the help of the closed surface method by using the 'Generative shape design' workbench in CATIA V5. Performing the 'Draft Analysis' on the solid part body of the Door trim.
Introduction:
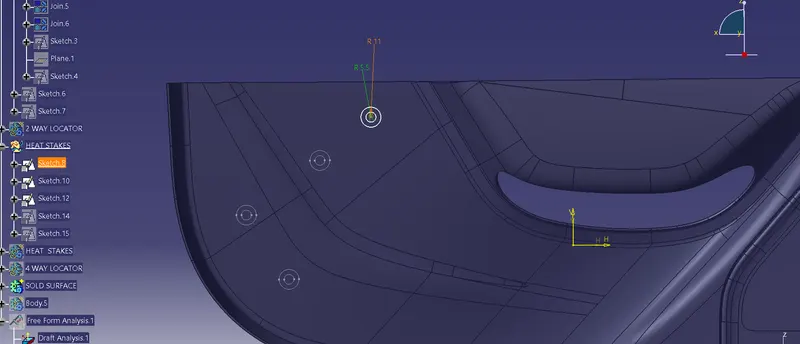
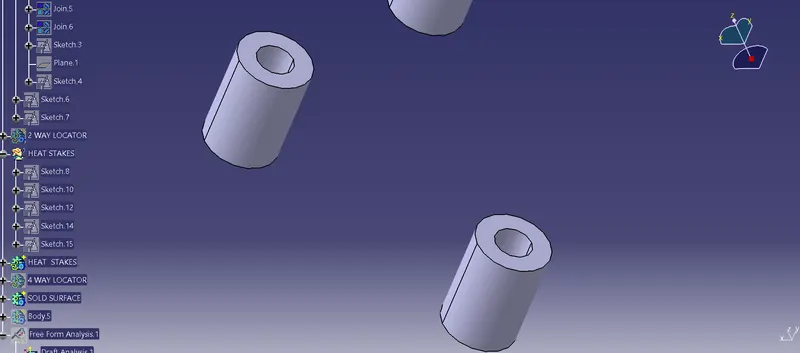
Heat staking: also known as thermoplastic staking is the process of joining two dissimilar materials together. In heat staking we use local heating and cooling to raise the temperature of plastic components and allow plastic reforming to be carried out. This reforming can be used in a wide variety of applications.
Locators: are features which are used to arrest the degrees of freedom while the components are being assembled.
Specifications:
Door Trim Thickness = 2.5 mm
Minimum Draft Angle = 3 Degrees
Overview:
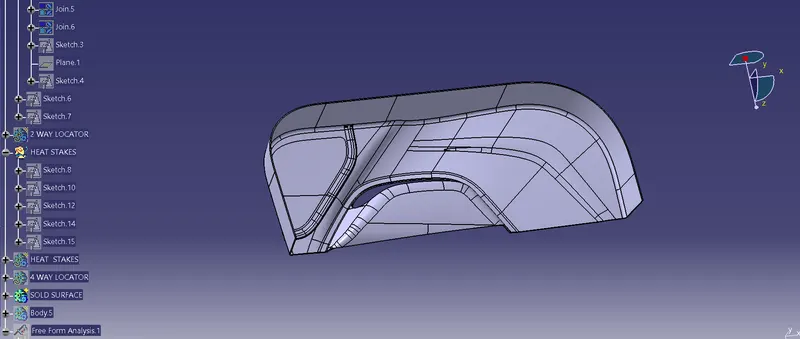
Initially, we need to offset the given Door Trim class A surface in the inner direction to the required thickness (here the thickness is 2.5mm). After that, we need to close the patches on the offset surface of the bumper, the patches are formed due to the fillets on the Class A surface. Once all the patches are closed properly join them together to make a proper class B surface and now sweep the boundary of the class A surface to trim with the class B surface to make a closed body. By using the closed body command in the Prat workbench we can get the solid body from the closed surface of the Door Trim. Now, I created the Heat stakes and Locators by considering all the design parameters. After creating all the B-side features on the solid part body of the door trim, I performed a draft analysis for it to check whether all the surfaces are drafted properly or not (The draft angle for the plastic component is 0.5deg to 3deg).
CLASS A-SURFACE
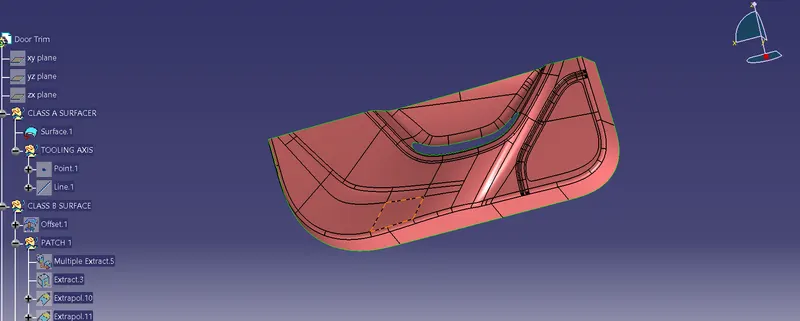
TOOLING AXIS:
To create the tooling axis, I extracted a surface from class A and created a point in the middle of the surface by using the point command and created a line at that point through the x-axis. Now, I performed a draft analysis check from that line whether the created tooling axis is in the correct position or not. If in the draft, analysis check the surface highlighted with green colour on both sides of the surface the tooling axis is in the correct position and direction.
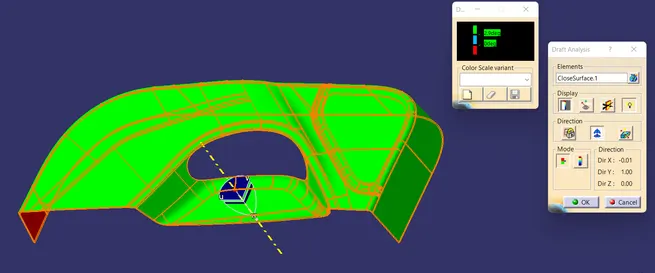
DRAFT ANALYSIS FOR CLASS A SURFACE:
We do perform the draft analysis check for class A surface before we make solid and creation of B-side features. Initially I align the compass to the tooling axis and I gave a 3deg draft angle for the green colour in the colour bar. If the surface is highlighted in green colour the draft angle is given properly for class A surface. If the class A surface is not highlighted fully in green colour, that might be the reason for the draft angle of the class A surface.
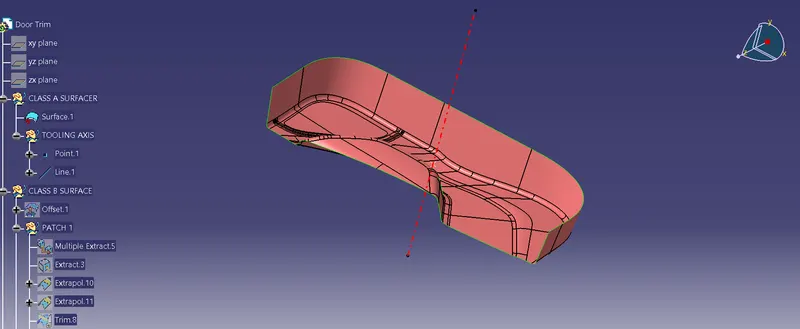
CLASS B SURFACE:
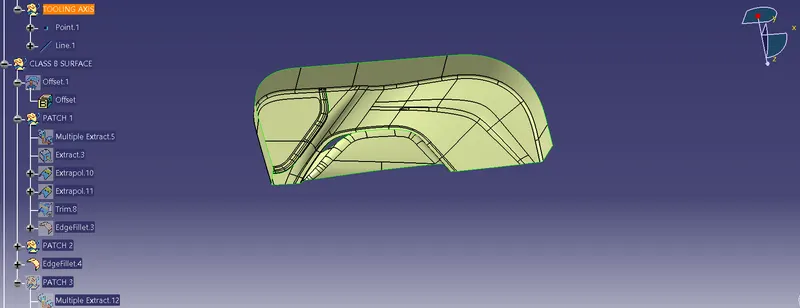
To create the class B surface, offset the class A surface inside as per our thickness requirement (here the thickness is 2.5mm, so I offset the class A to 2.5mm inside). Once the offset is created, we can observe some patches on the offset surface by taking the boundary for the offset surface, those patches are formed due to the fillets on the class A surface. We need to cover those patches with the help of the multi-section surfaces command by extracting the patch boundaries. Once all the patches on the offset are covered properly join all the patches with the offset surface, to get the replicated surface of the class A surface.
CLASS C SURFACE:
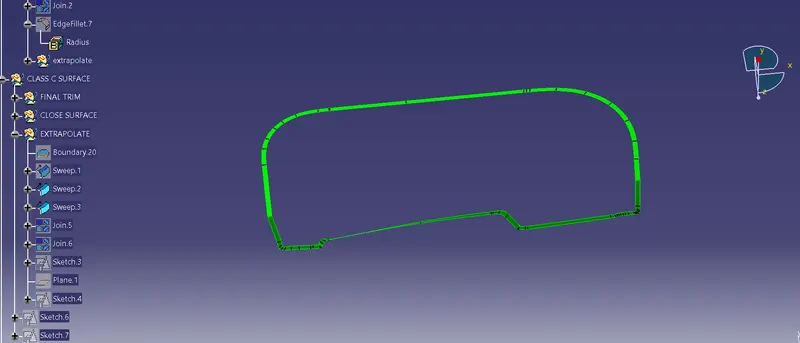
we create the Class-C surface by extruding the edge boundaries of the Class-A surface by 2.5 mm.
- First, we extract the outer boundary of the Class-A surface separately.
- Then, we sweep this boundary using the sweep command. We select the Line option on the sweep command menu, the extracted boundaries as Guide curve 1 and the Class b surface as the Guide Surface. Also, we specify the draft angle as 90 degrees. We give this value because the Class C surface is perpendicular to the Tooling Axis direction.
- After that, we join all the Class-C surface with the Class-B surface by using the Trim command.
- Lastly, we use the Join command to join the Class A, B and C surfaces together and obtain the proper desired surface.
Solid part body:
CREATION OF LOCATORS:
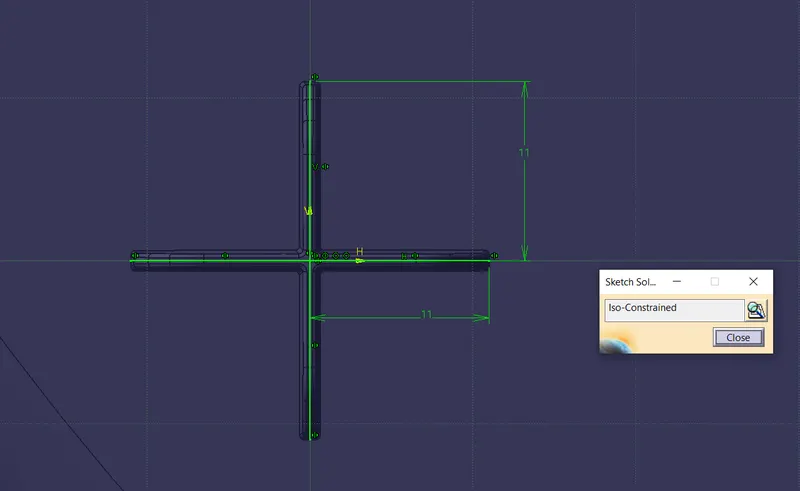
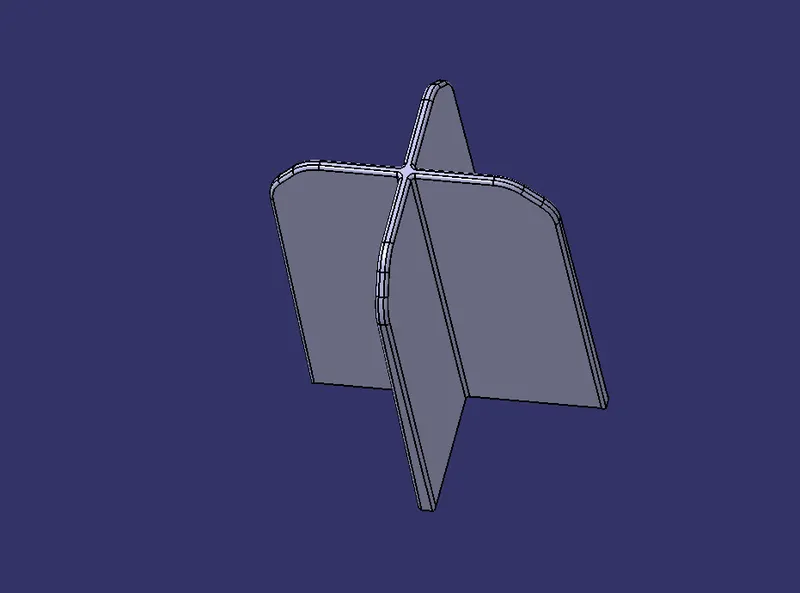
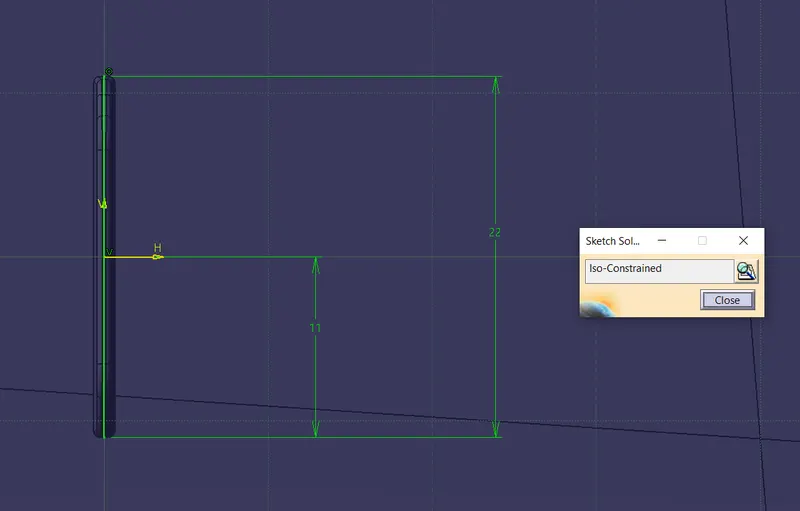
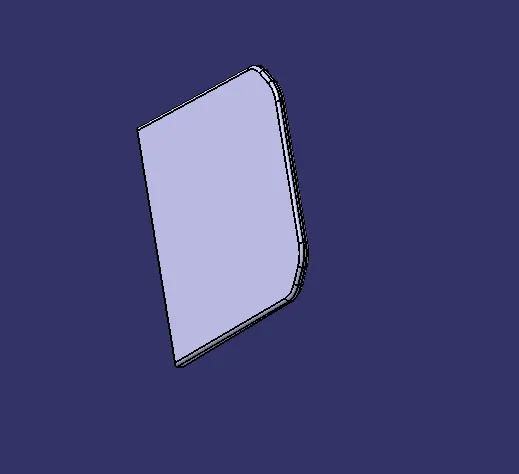
To create the locators, I created a sketch on the body. After creating the sketch, I pad it 20mm in height and thicken it to 1.3mm and I drafted it with 0.5deg in the direction of the tooling axis. I gave 3mm of chamfer with 45deg of inclination and after I gave a fillet of 0.3mm radius.
4-way locator:
2-way locator:
HEAT STAKES:
Final part body with 4-way and 2-way locators including all the heat stakes with supporting ribs:
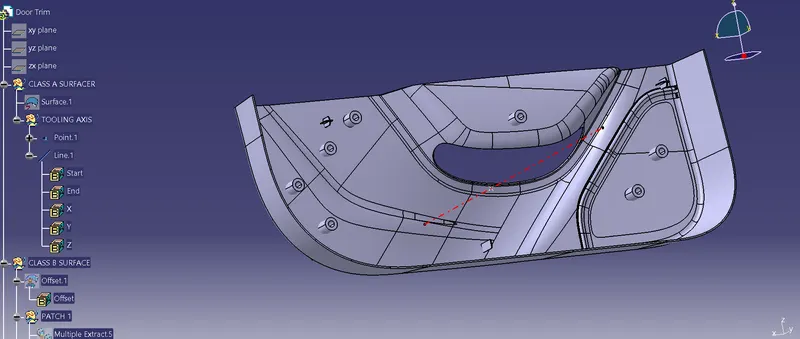
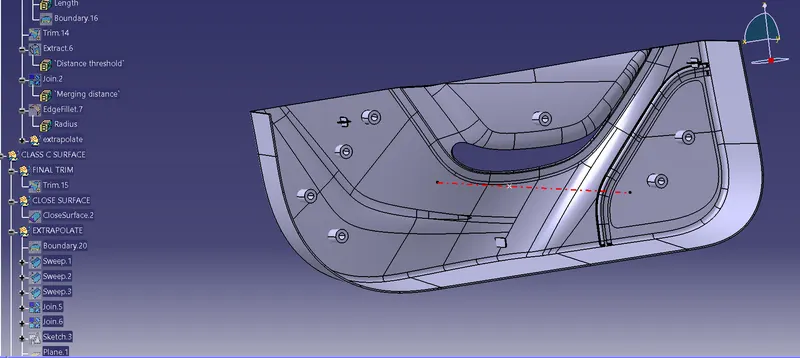
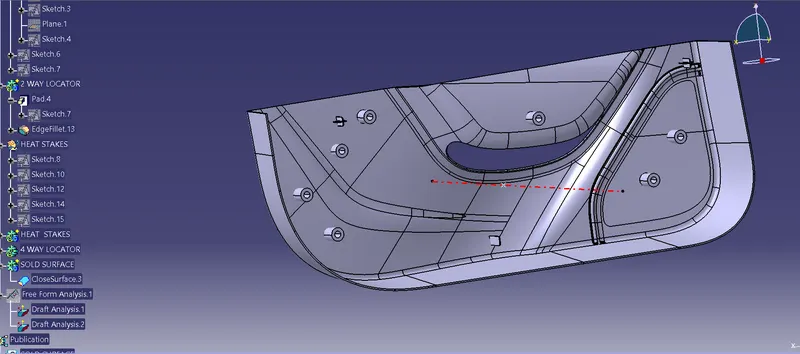
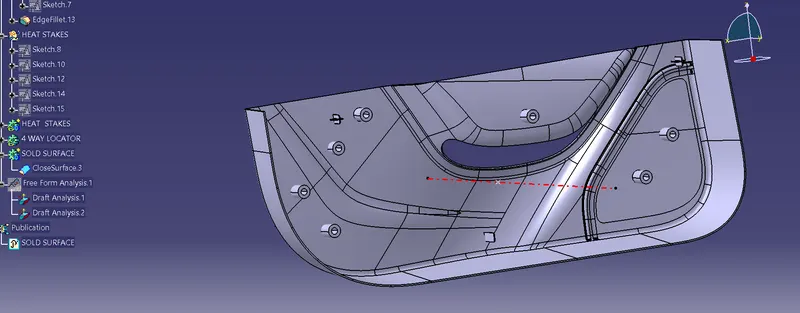
TREE STRUCTURE:
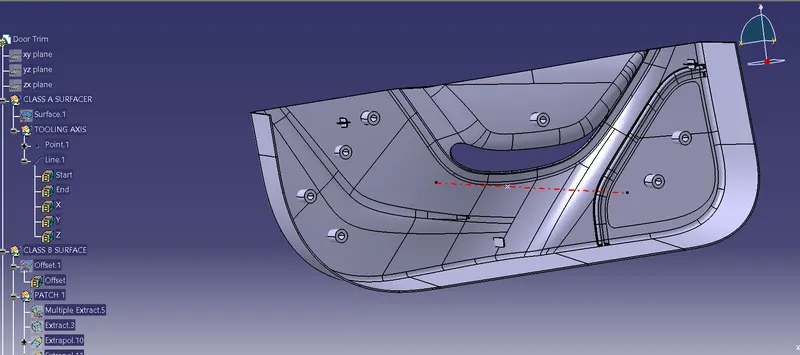
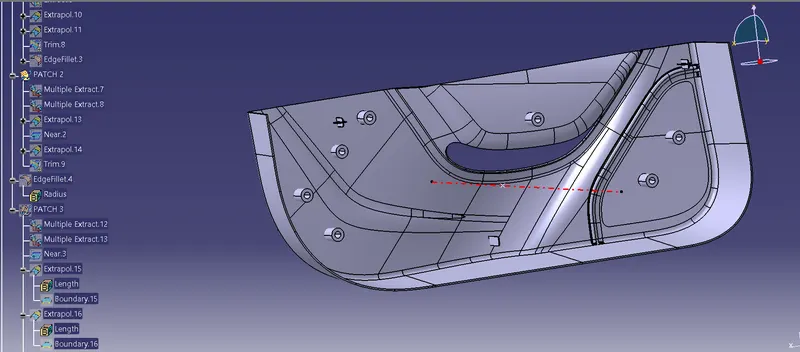
MULTIPLE VIEWS: