Week 10 - Challenge 2- Attachment Feature Creation (Dog House)
TITLE:- To create the Door Trim with attachement features (Dod House) considering the design rules. Consider the thickness of the part to be 2.5 mm.
AIM :- To create the Door Trim with attachement features through the given class-A surface and perform the draft analysis on final component and Class A surface.
OBJECTIVES :-
- Creation of tooling axis for given class – A Surface.
- Creation of Class B and Class C surface
- Perform Draft analysis for given class A and final component.
- Create side core axis for dog house and perform draft analysis.
TOOL USED :- CATIA V5
Introduction :- In this project we are designing a Door Trim with attachement feature(DOG HOUSE) using given class A surface. The approach includes creation of tooling axis , Class B surface and Class C surface keeping the given thickness 2.5 mm.
CLASS A SURFACE:- Following surface is given as the input for the component creation.
To continue design first we need to create a tooling axis for class A surface.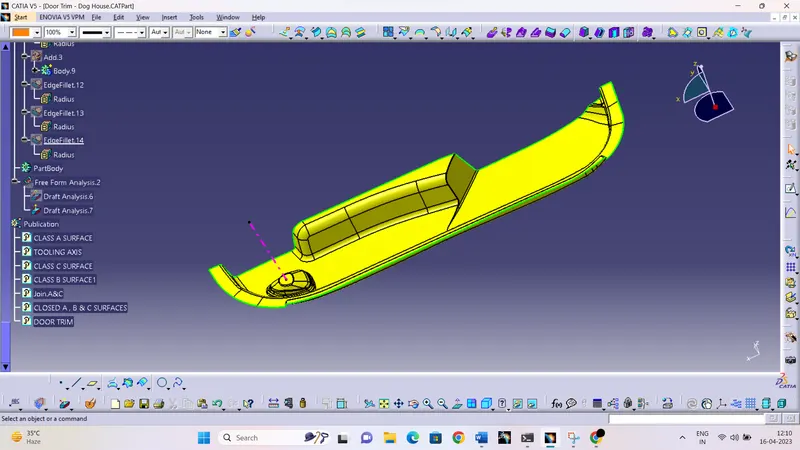
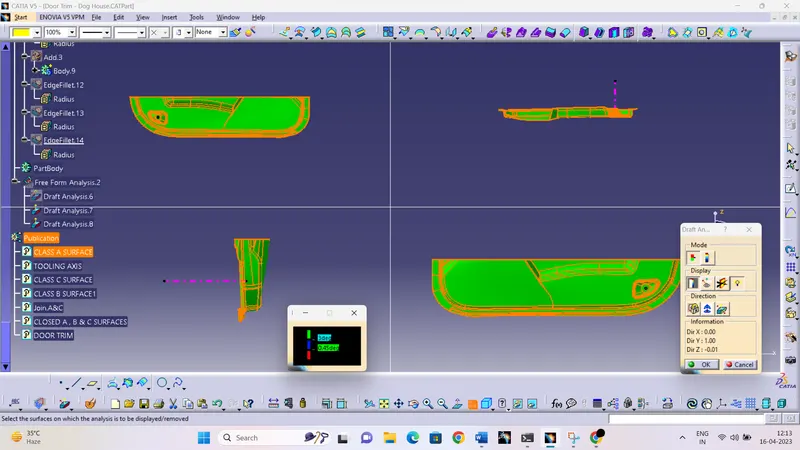
Draft Analysis for class A surface :-
All the draft angles are more than 3 degrees in draft analysis.
Creation of Tooling Axis:-
- Look all the three directions which best suit for tooling direction.
- In complex surfaces,we simply select the one of three planes or select the flat surface.
- Create a point and draw a line in selected direction for tooling.
- This is the final axis for tooling.
Creation of Class B surface:-
- Directly offset the Class A surface with the given thickness value.
- Offset surface will not be proper there will be many patches in the surface.
- We have to fill the patches in offset suraface using different commands like BOUNDARY,EXTRAPOLATE,MULTISECTION SURFACE etc.
- After filling the patches join the B-surfaces.
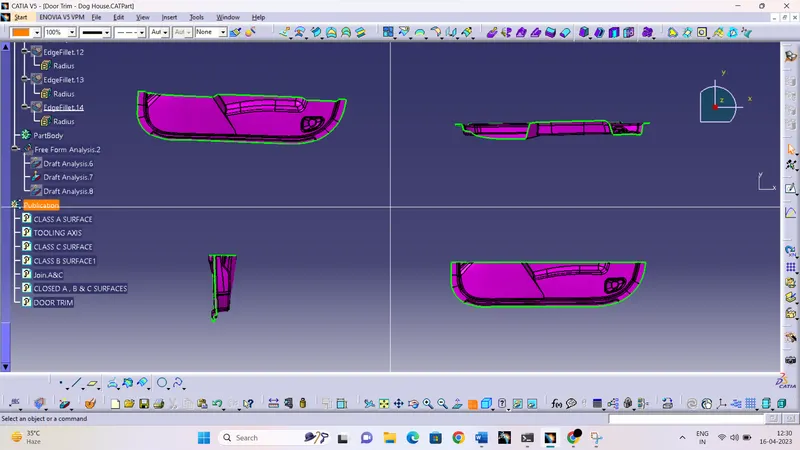
Creation of Class C surface :-
- Create boundary of class A surface and use sweep command to create the surface with 3 degree draft angle.
- If the C surfaces are not properly joined then extrapolate them and trim it.
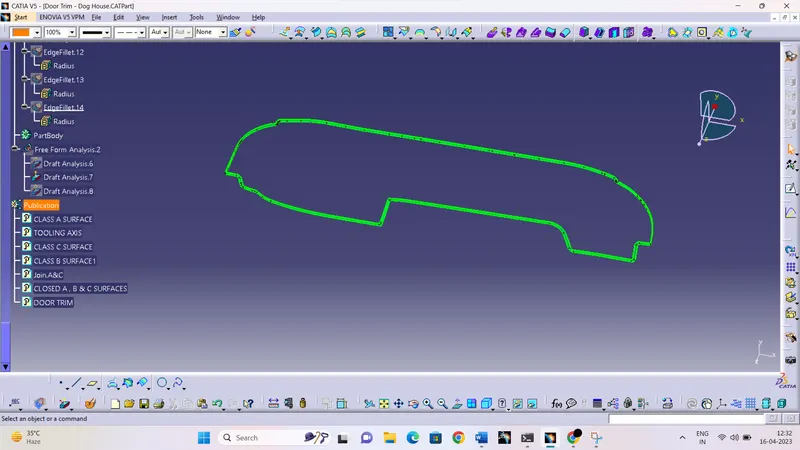
FINAL TRIMS :-
CLASS C SURFACE + CLASS A SURFACE
- Finally trim the joined surface with class B surface to get the final surface body of component.
PART BODY :-
- Use the close surface command in part workbench to change the surface body into closed surface to get the final component.
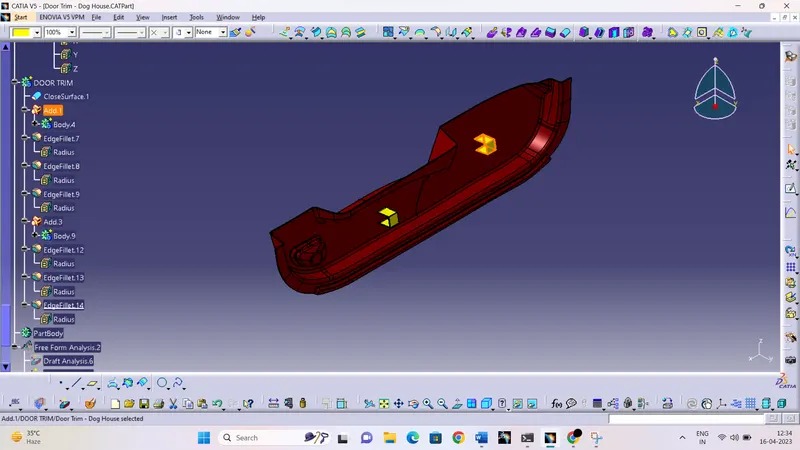
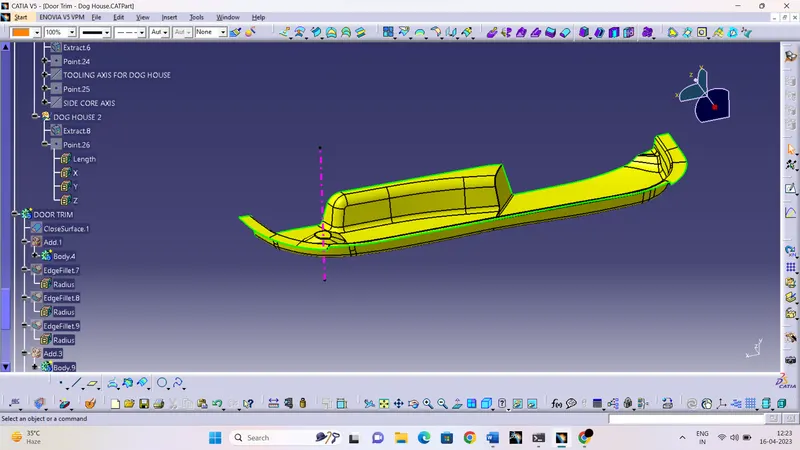
Creation of DOG HOUSE:-
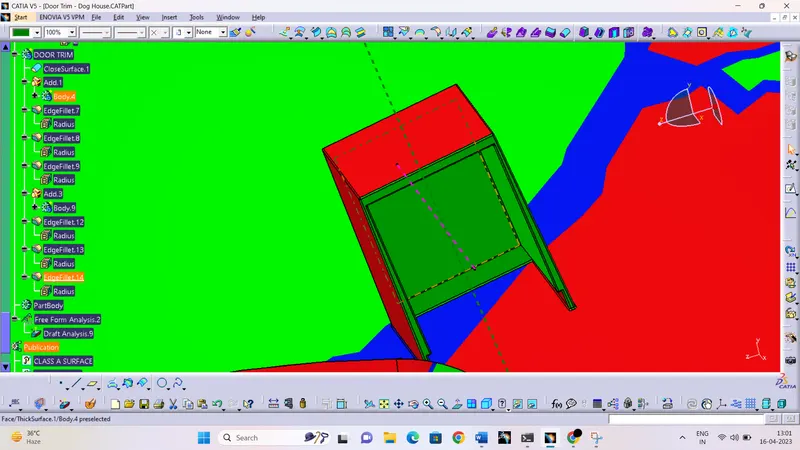
- Extract a surface from class A and create a point on that surface.
- create a plane on that surface and create a sketch for dog house.
- Extrude the sketch and use the thick surface command to get the solid body.
- Give the draft to outer surfaces according to the design rules.
- Now create side core axis for inside surfaces and give draft using this side core axis.
- Now using boolean operation add or assemble the dog with main component.
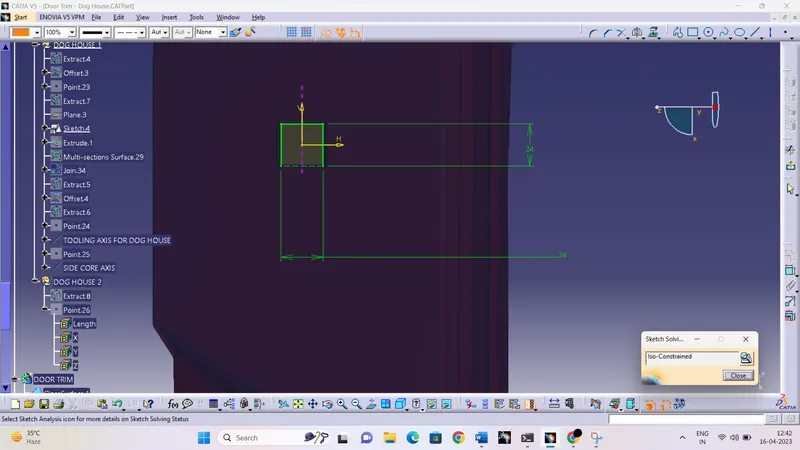
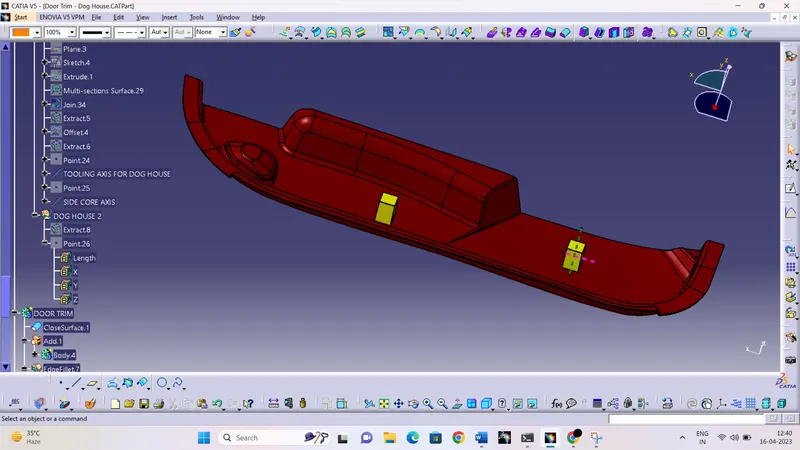
DRAFT ANALYSIS OF FINAL COMPONENT:-
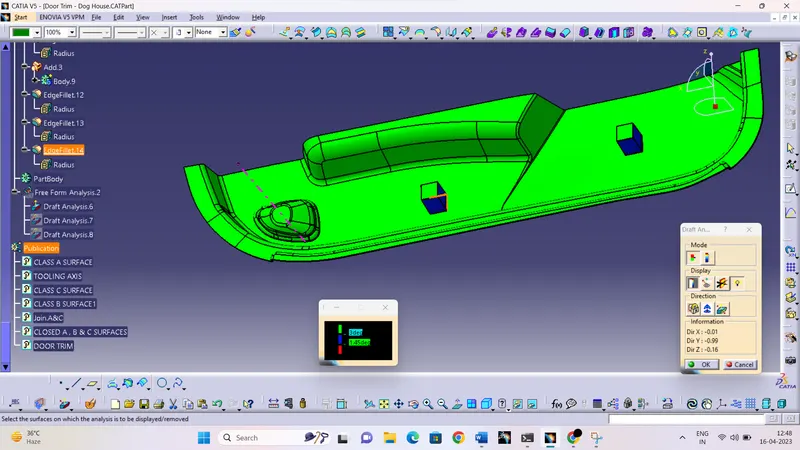
DRAFT ANALYSIS OF DOG HOUSE FEATURE:-
- For outside faces draft angle is 1.5 deg using main tooling axis.
- For inside faces use the side core axis for draft.
Draft analysis for outside surfaces of dog house:-
- All faces clears the 1.45 deg draft.
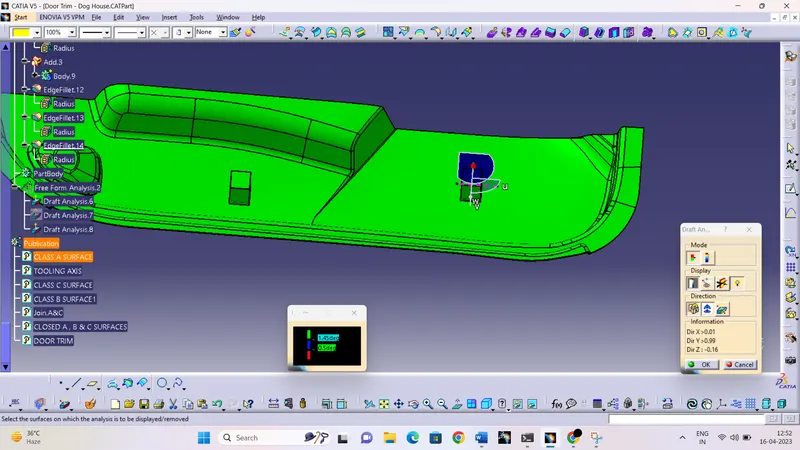
Draft analysis for inside faces od dog house:-
- Inside faces of dog house has 0.5deg draft angle using side core axis.